Welcome to another Hive Learners Creative Sunday Initiative with George Dee.
A few people learned a few things from my entry two weeks ago so I decided to make another lamp with a different design. Electricity hasn't been stable for a few days now and my lamps have been helping me light the house at night.
I got a wrecked radio during the week and I decided to use the stuffs in it to make another rechargeable lamp and it was really cool after the whole process.

Material Used.
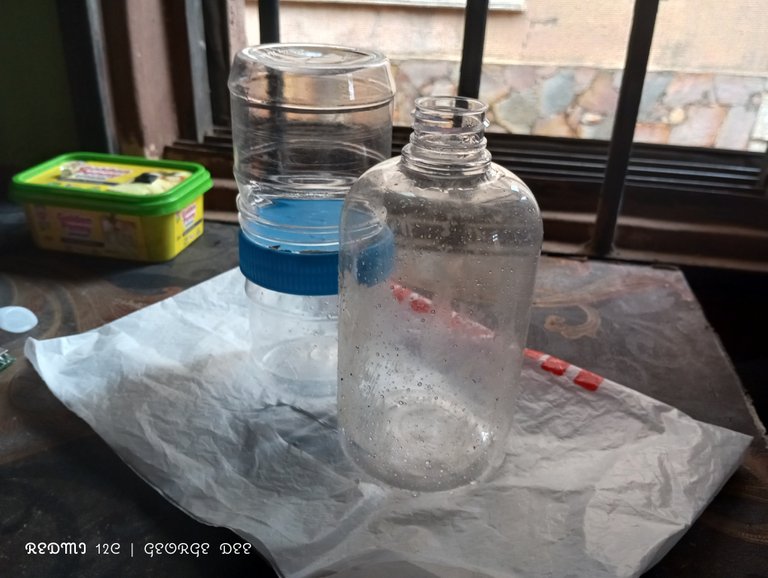
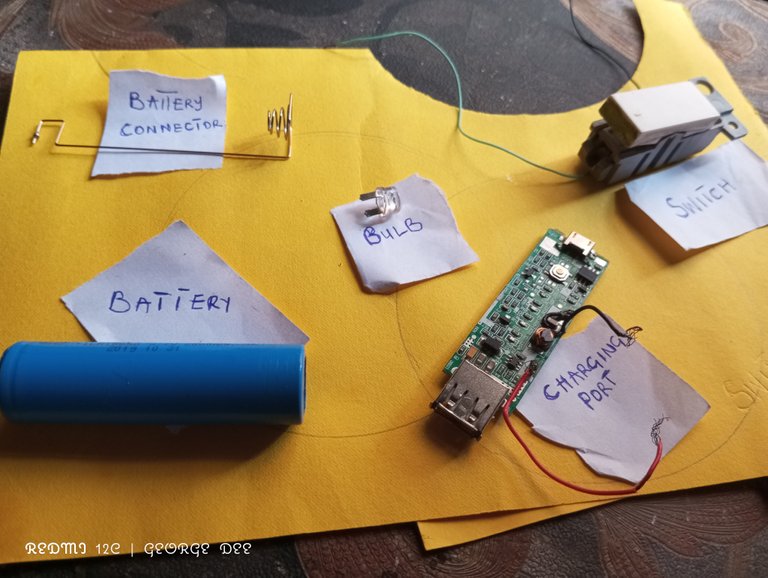
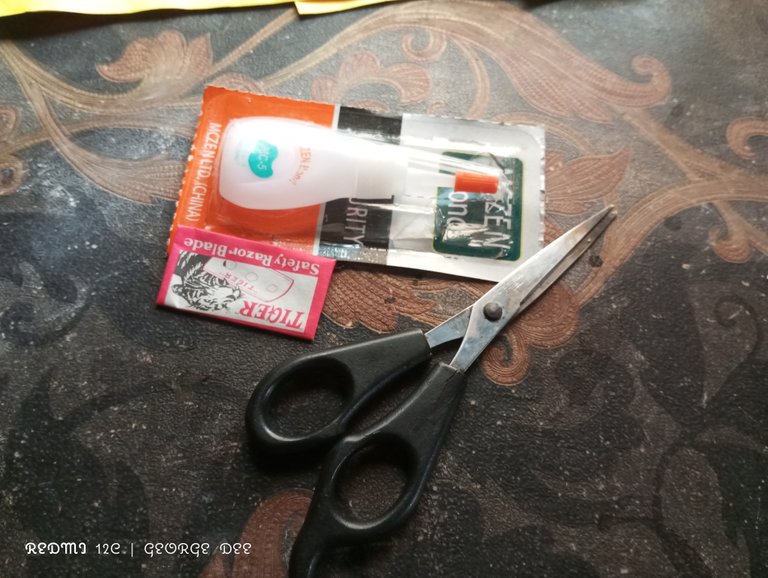
Plastic container
Wires
Rechargeable battery
Bulb
USB cable
Cardboard
Carton
Battery connector
Charging port.
Glue
Scissors & Blade.

Procedure
- I cut the plastic so I easily put the stuff in it, I needed a bigger opening at the top.
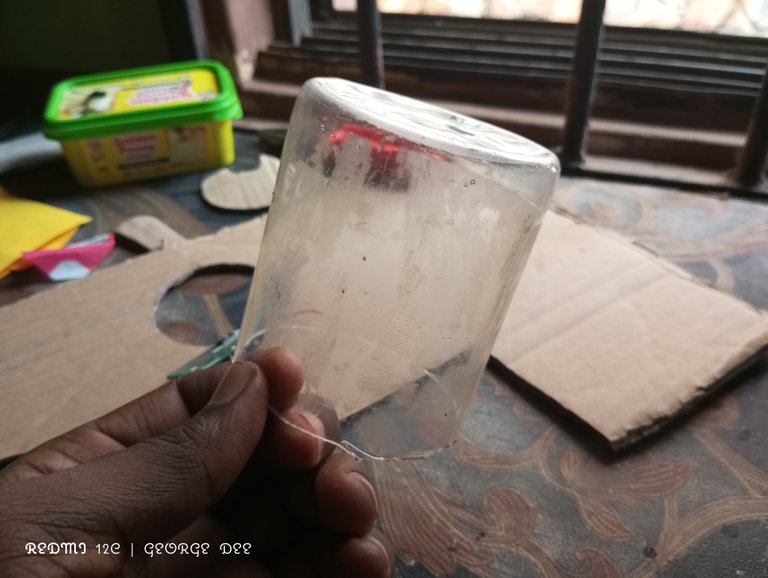
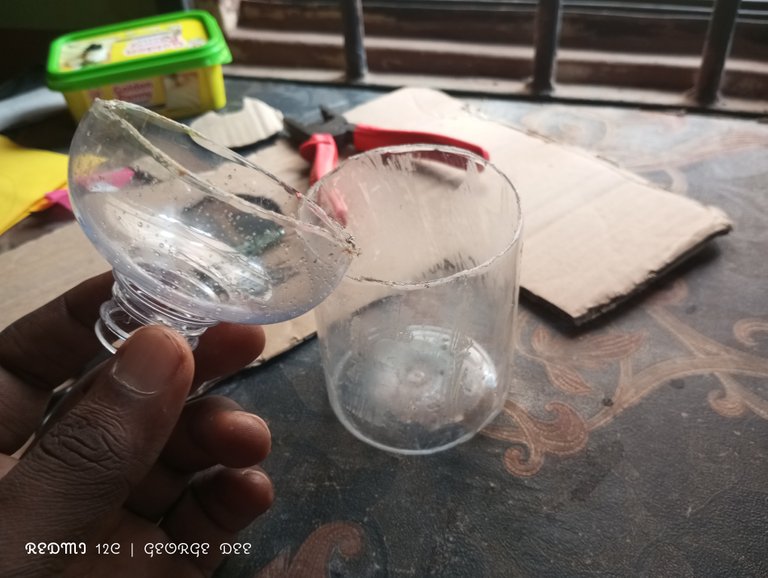
- I made an opening for the switch.
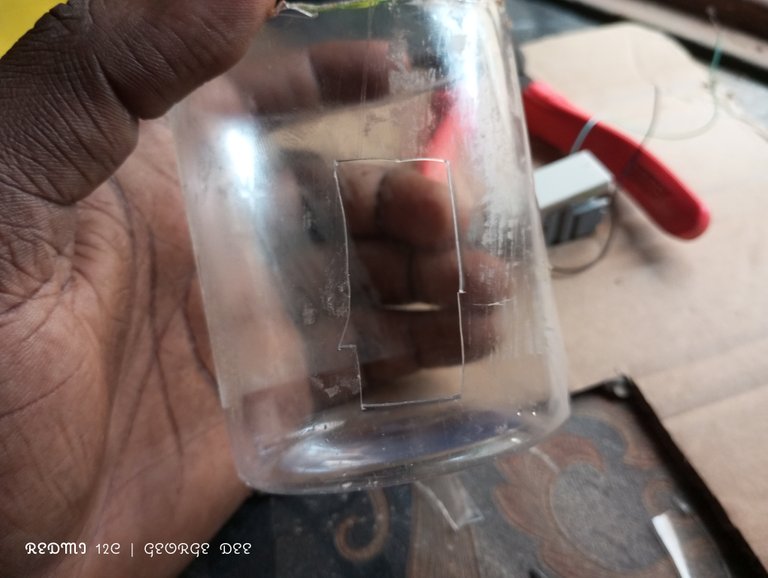
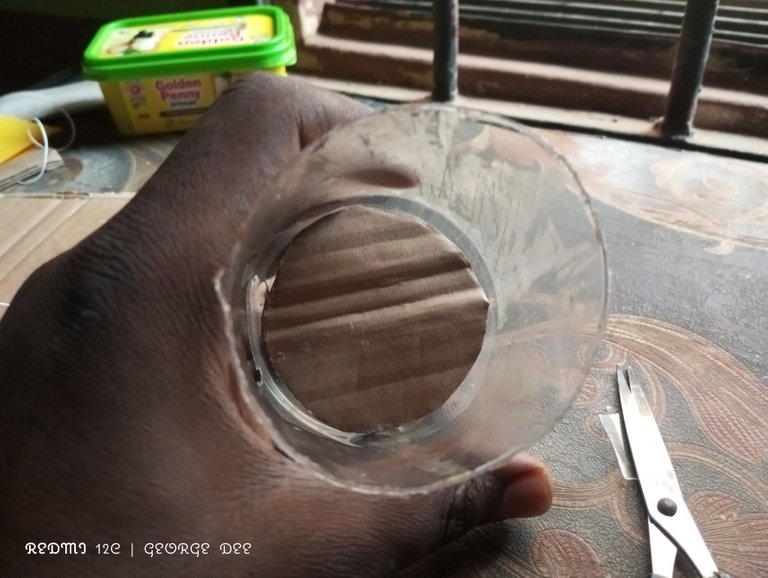
- I cut a round shape to place in the container so that the battery and others can sit very well in it.
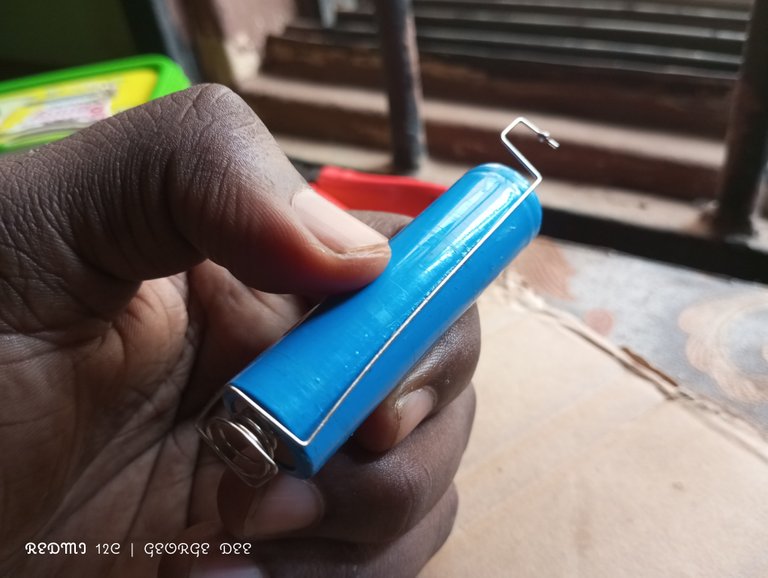
- The battery connector can't stay alone so I glued it to the battery permanently.
- The charging port panel needed a raise so I cut some cards and glued them together
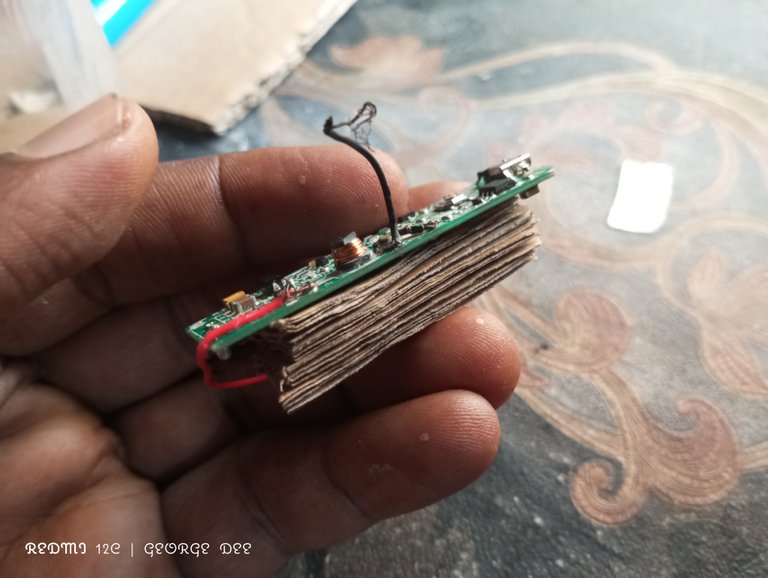
- I moved on to cutting the space for the charging port since I got the exact height I needed after lifting it with the cards earlier.
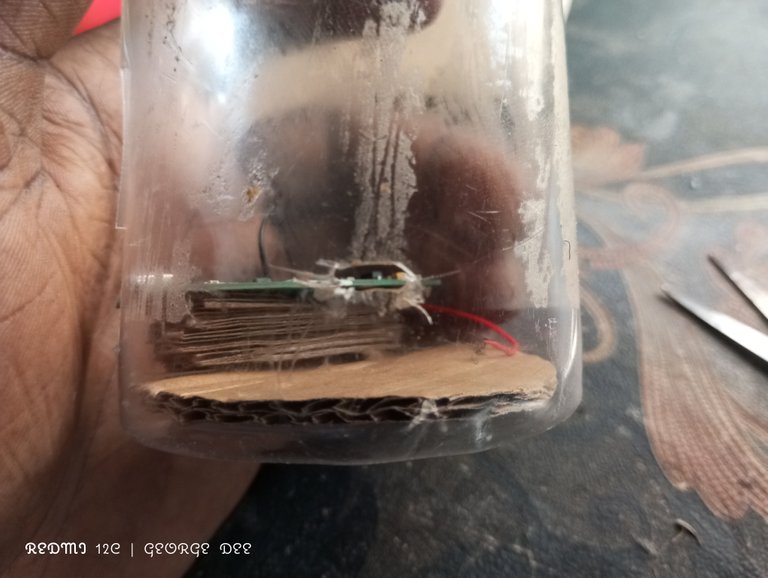
- I have my case ready so it's time to connect the charging port, Battery and Switch together.
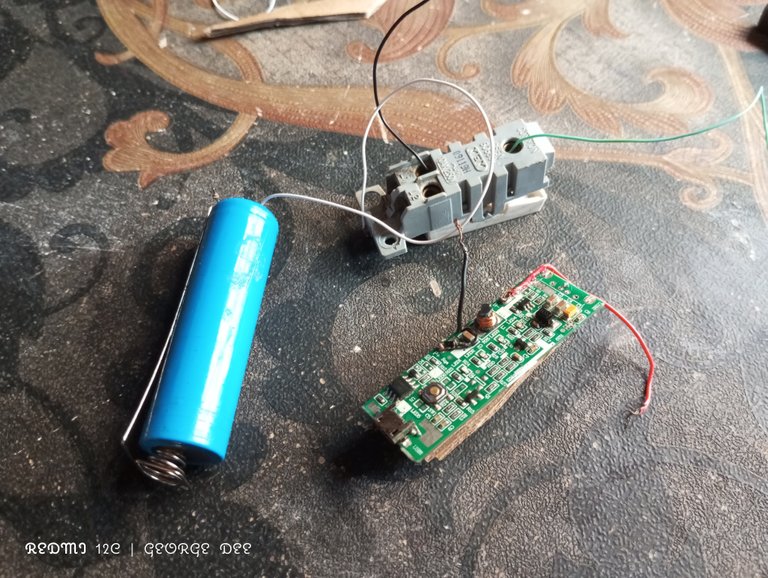
The battery has a positive and negative side so I connected the positive side with a wire to one of the switch input holes and the positive wire to the charging port.
I connected the negative side of the battery to the negative wire on the charging and directly to the bulb.
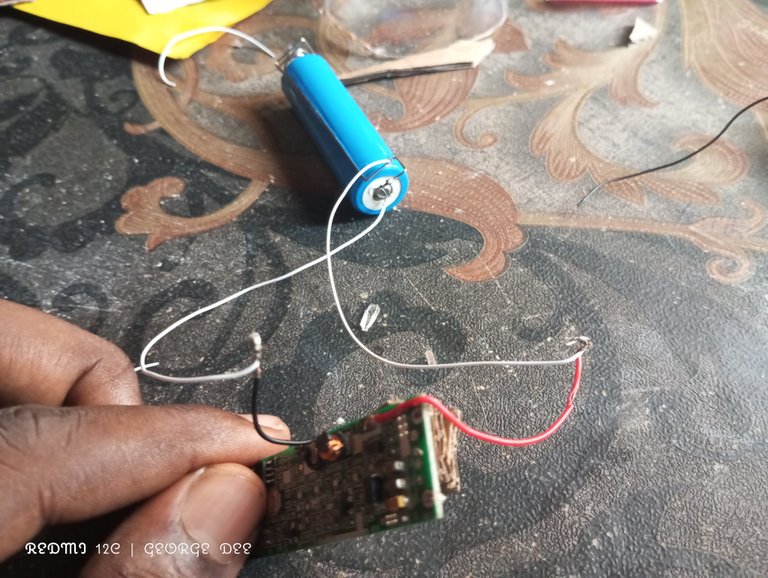
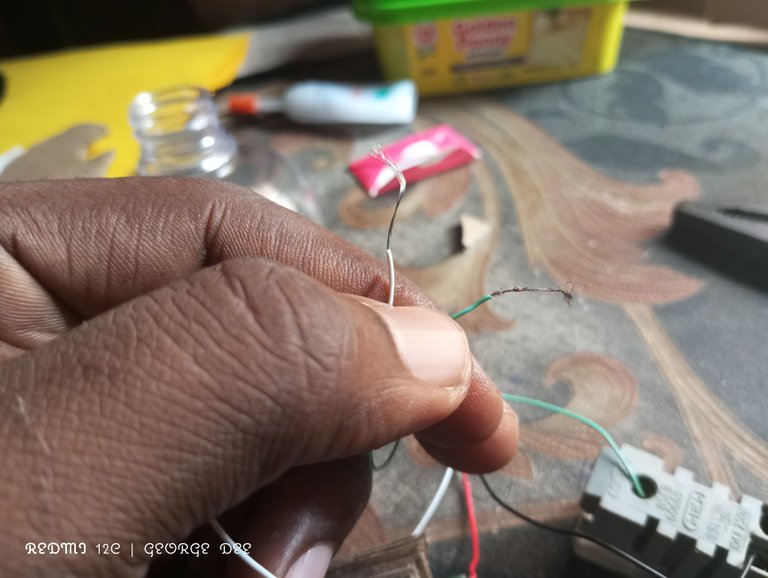
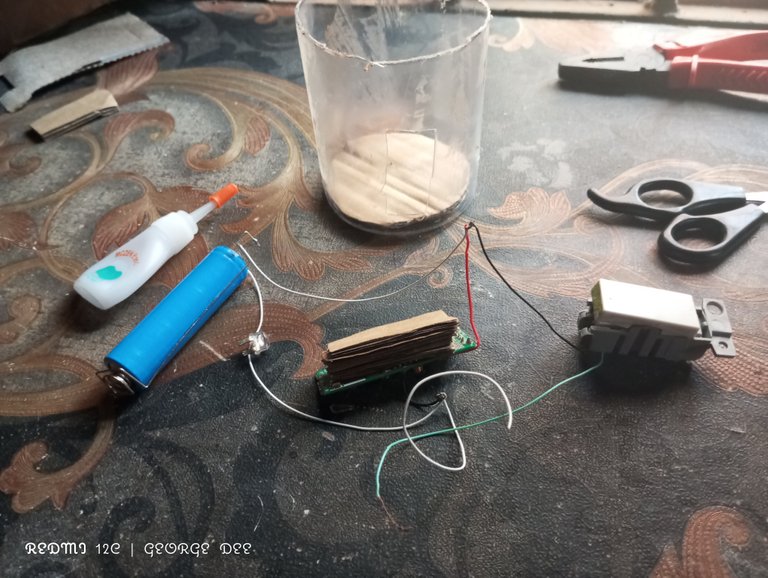
- Installing the Switch, Charging port and Battery followed.
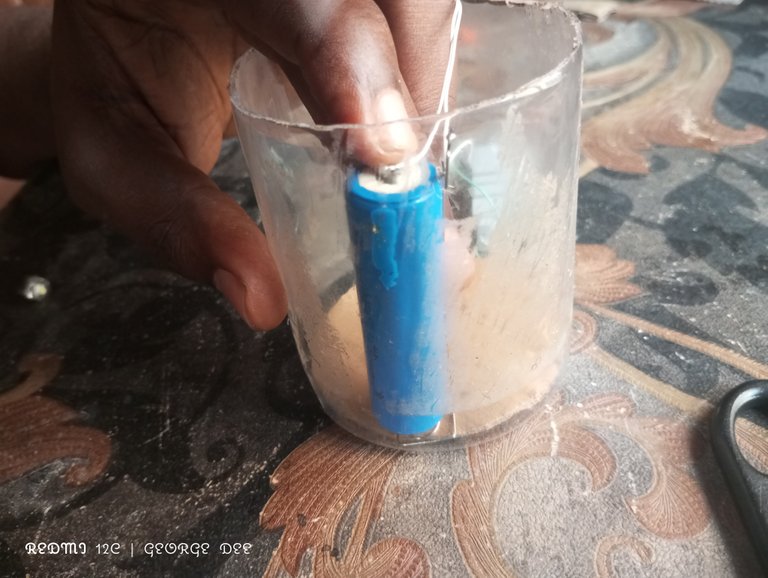

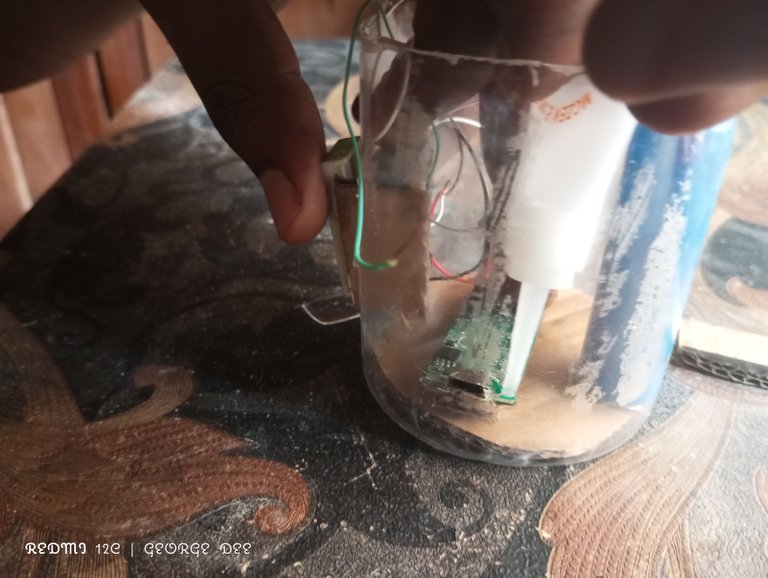
While making sure the charging port sits well, I mistakenly dropped glue on the panel and it was in the wrong spot. I checked if I could carry on but it was a No.
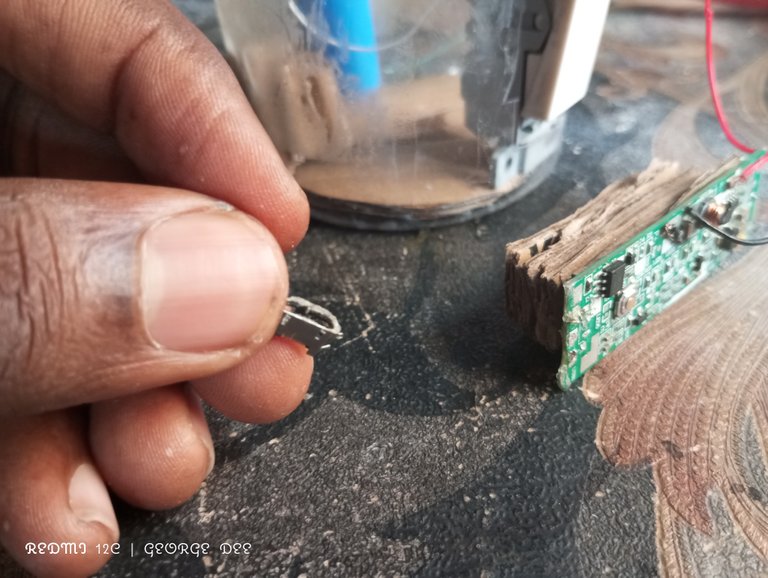
I removed the charging port to see if I could fix it but I couldn't so I changed the charging port to a USB cable.
- I put the cable through the hole I made for the charging port and connected the open end of the cable to the charging port panel.
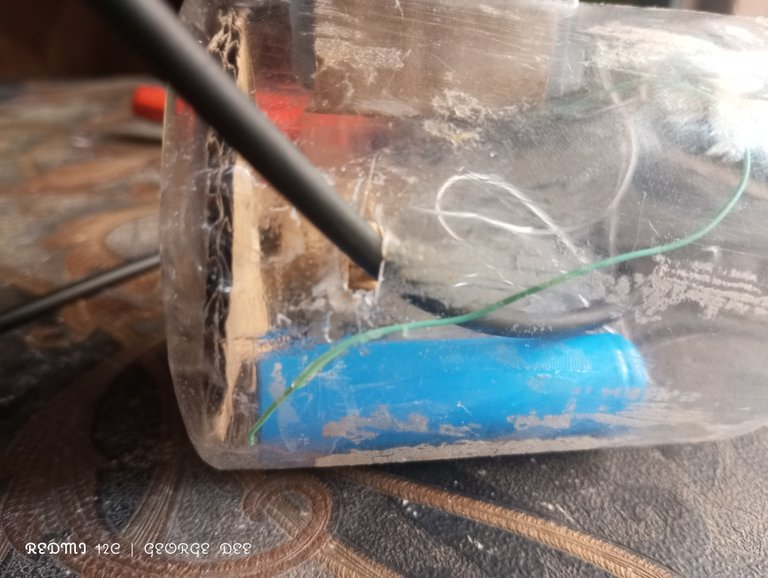
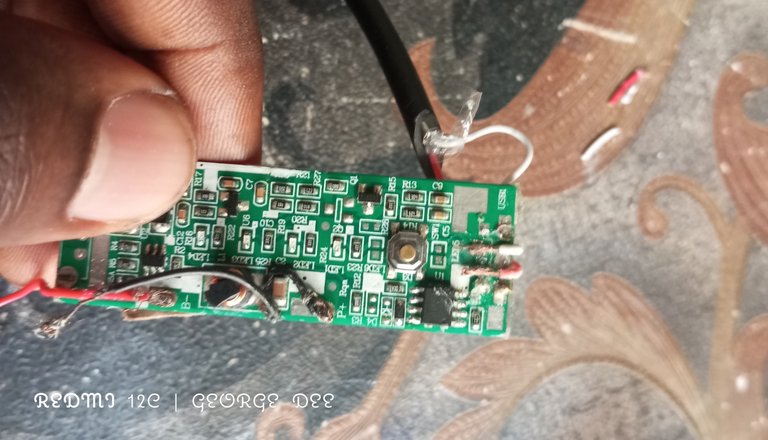
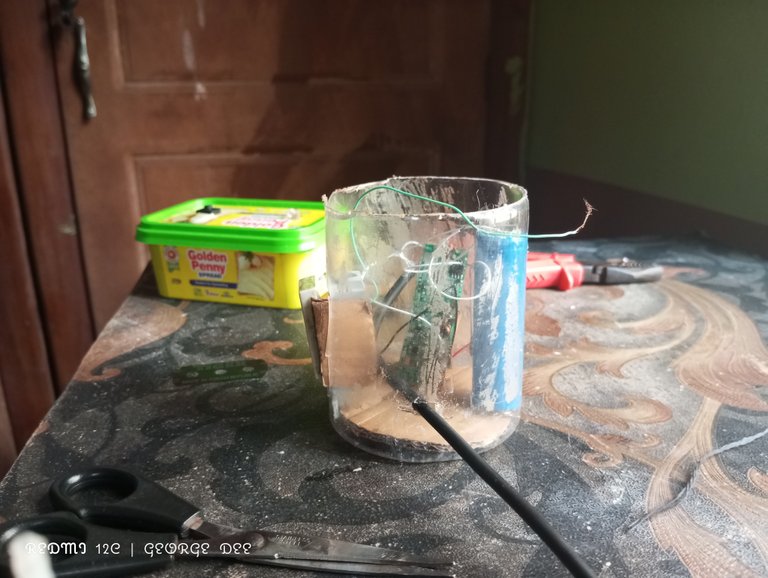
- I installed the panel in the container and connected it to my power bank to see if it worked. It did, the green light in the second image means the battery is charging.
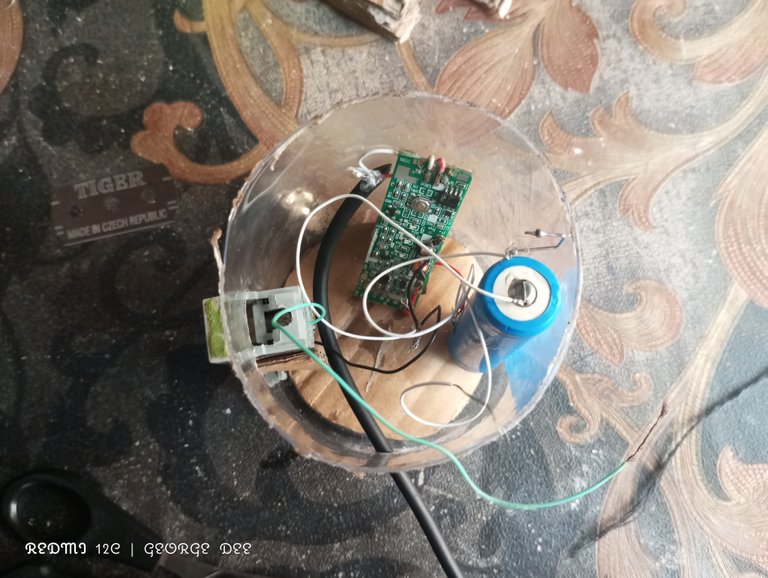
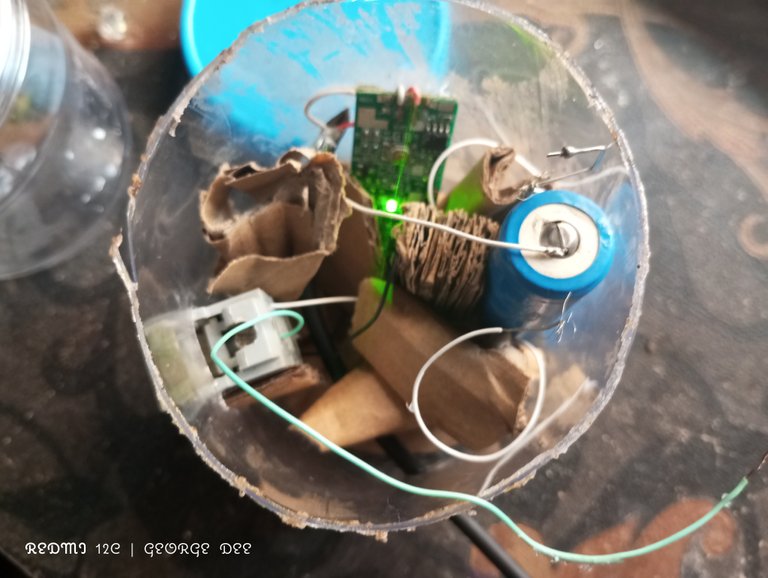
The cards inside are just to separate the stuffs
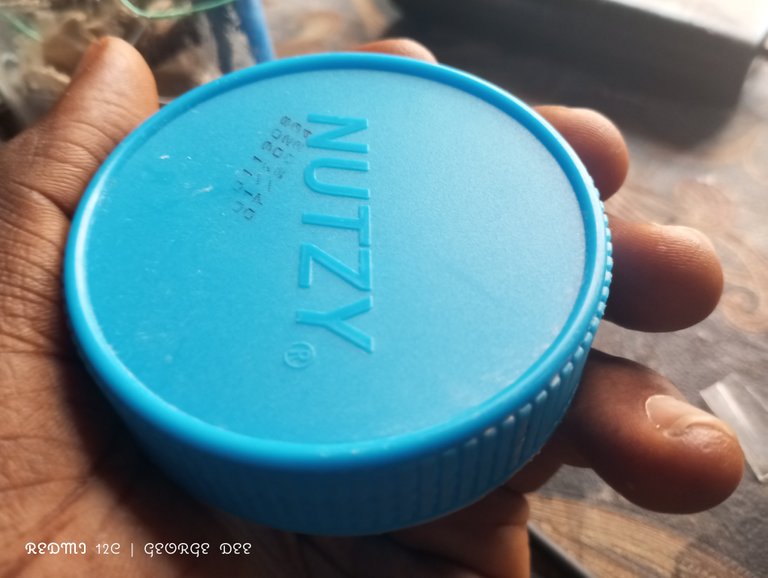
- I moved on to the cover which would hold the bulb
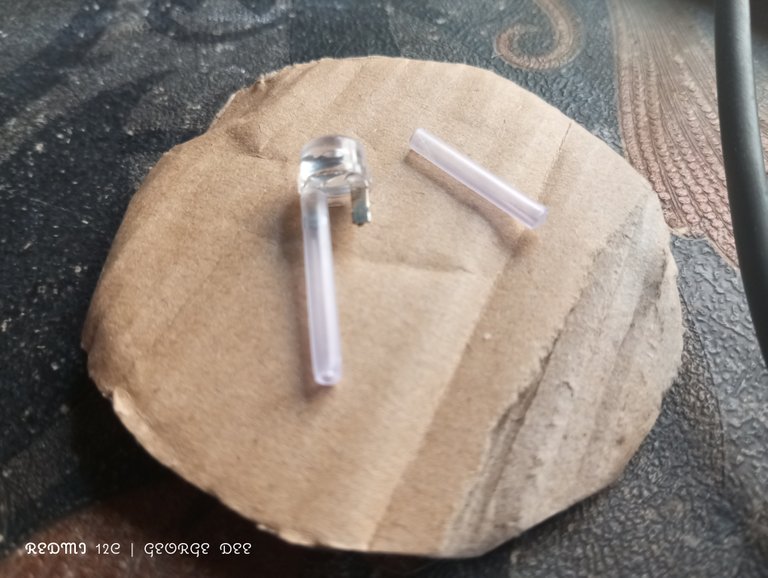
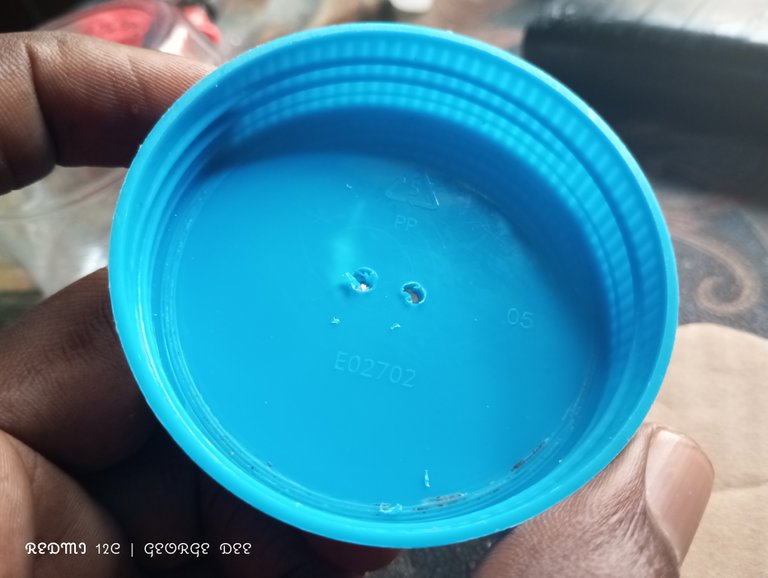
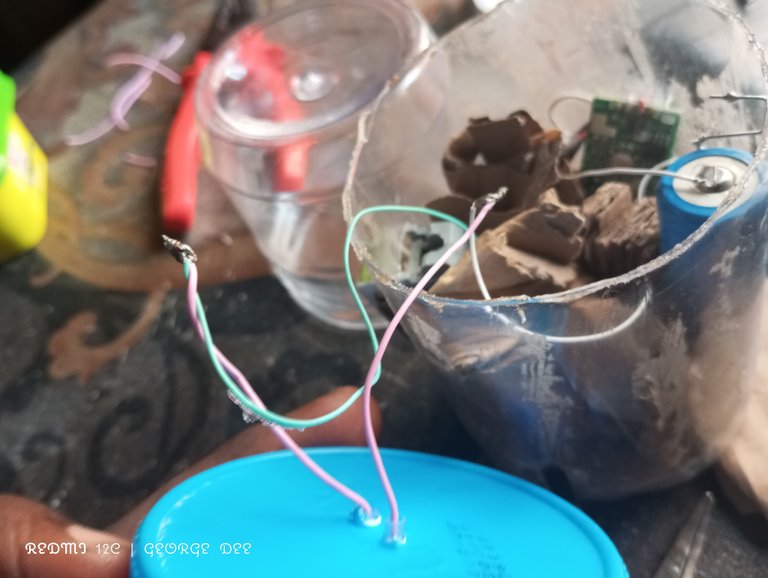
- I made two tiny holes where two tiny straws can fit in. Putting the bulb too low would reduce the brightness so I lifted it with the straw. I took the wires through the straws and connected the bulb before pushing the bulb rods into the straws.
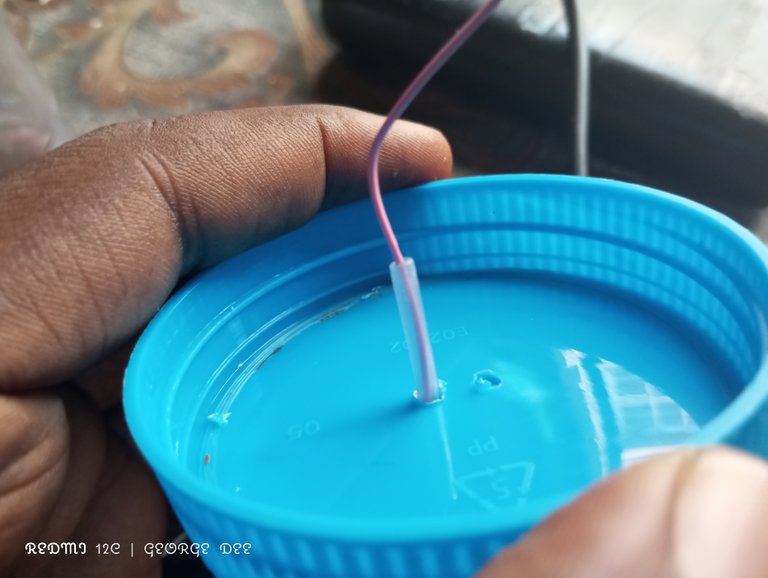
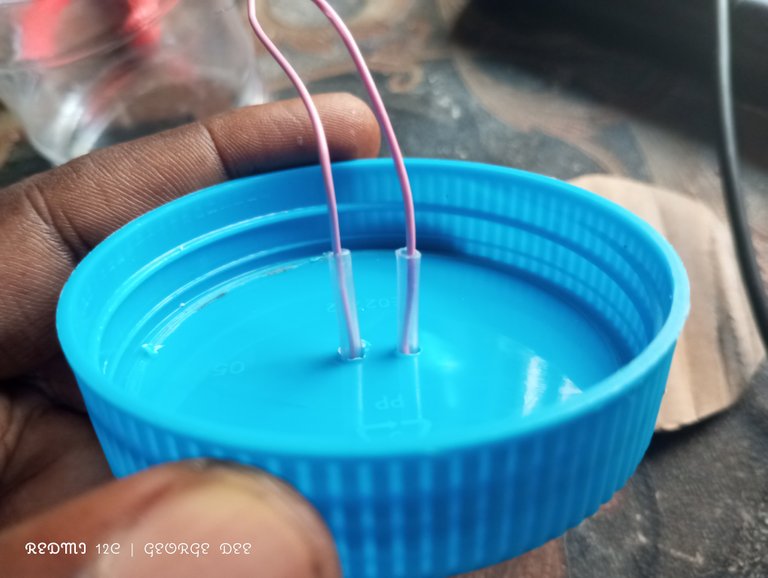
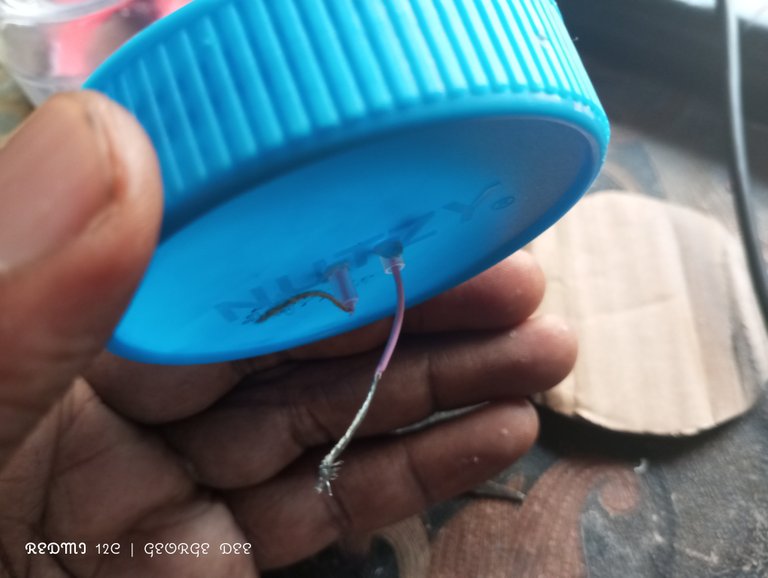
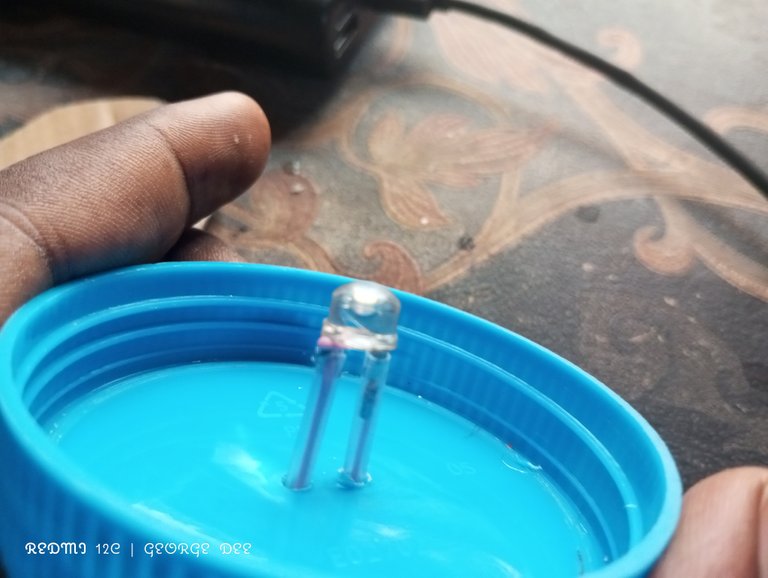
- I connected the bulb positive wire to the positive output wire from the switch and the negative wire from the bulb to the battery and charging negative wires combined earlier.
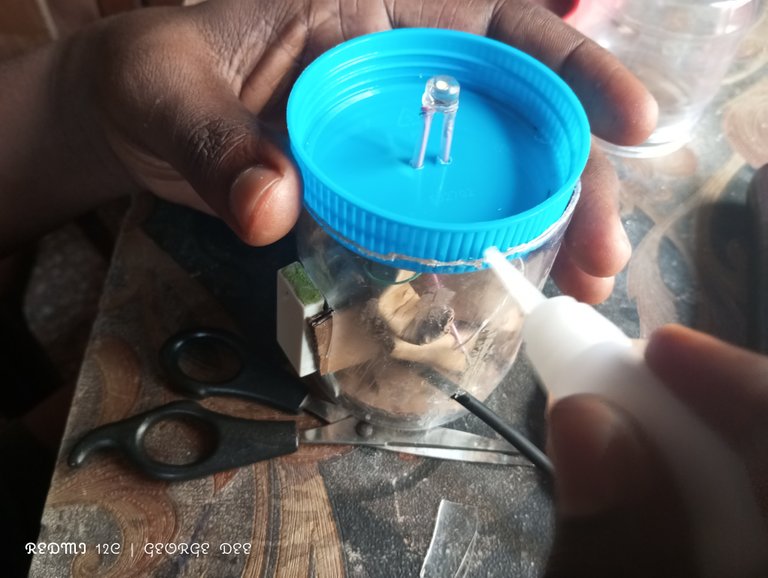
- I placed the cover inside the container and made sure it sat properly. I applied glue to prevent it from shifting.
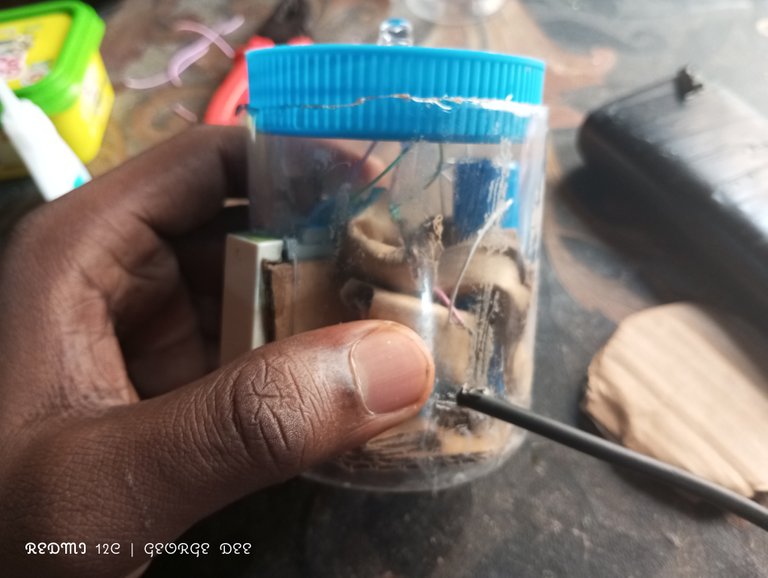
- The plastic is not looking cool so I wrapped it with cardboard and glued it as well.
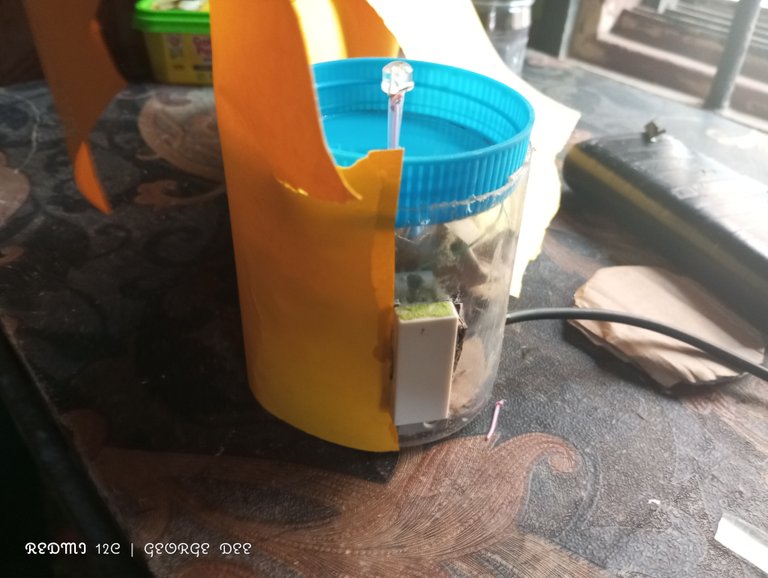
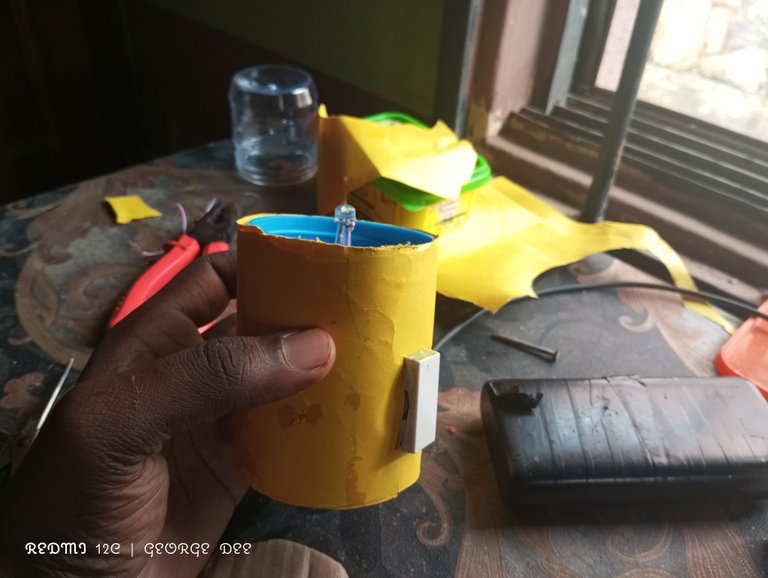
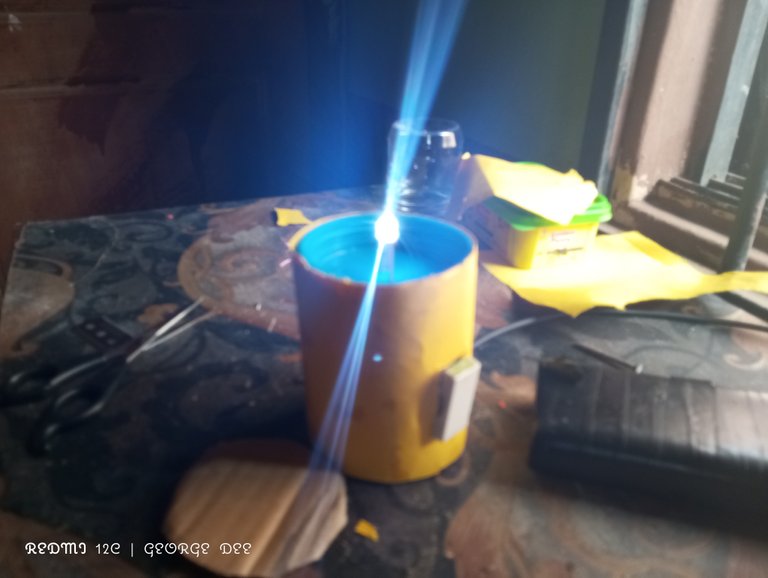
- I covered the bulb with plastic and it was cool but I didn't stop at that.
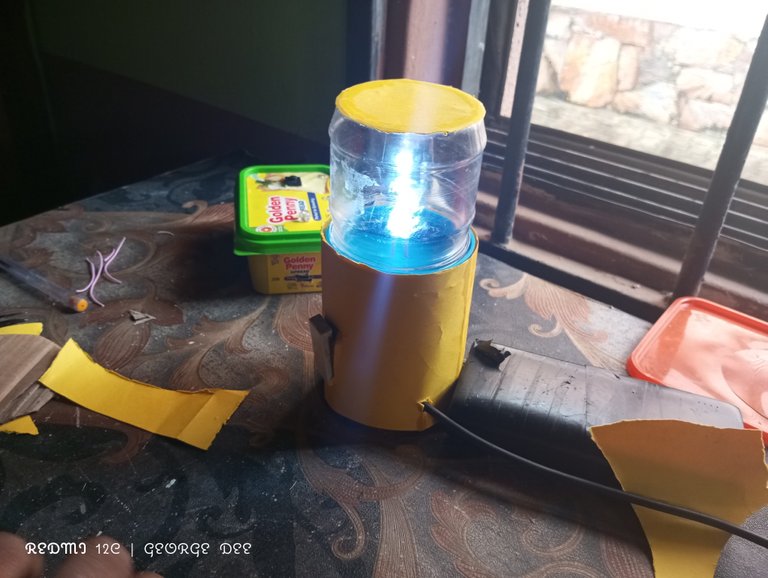
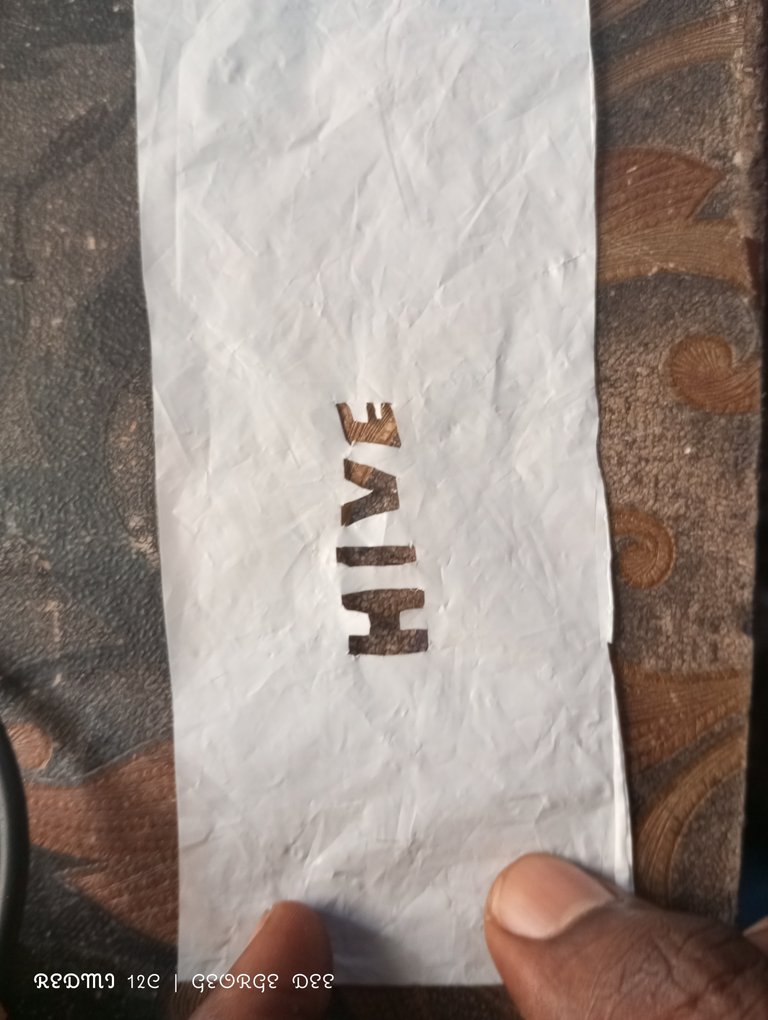
- I cut out the name HIVE on a white plastic bag and covered it with a small piece of yellow plastic before putting it in the plastic covering the bulb.
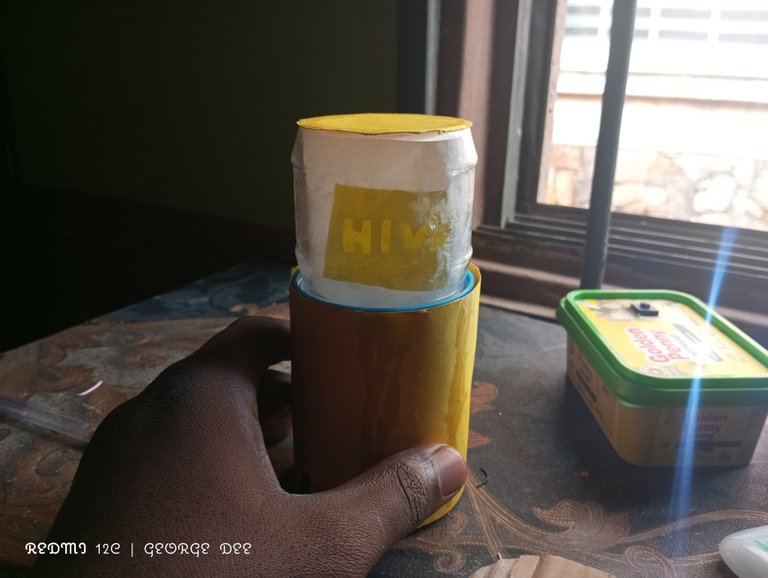
- Now that everything is in place, I switched it on.
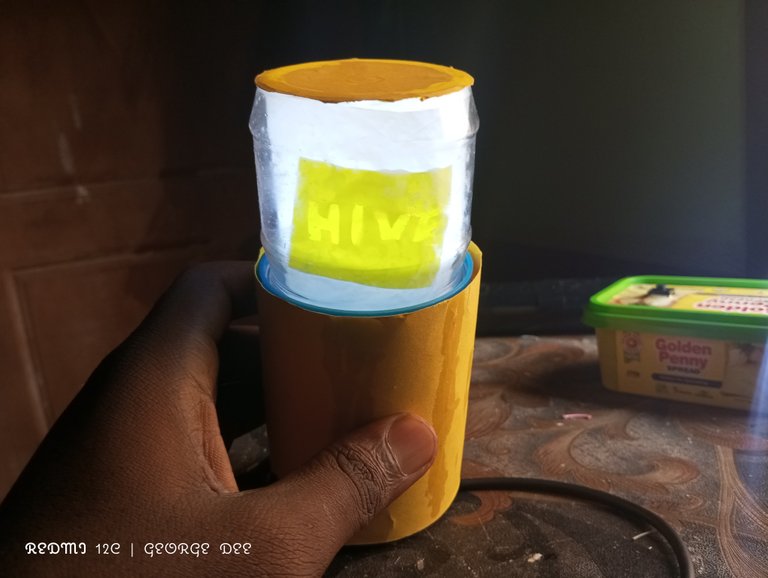


All image in the post belongs to me.
Thanks for reading.
