Greetings to all this creative community! It's been a while since I've been here to share a knitted piece, and this time I'm presenting an amigurumi, a cute little pumpkin.
¡Saludos a toda esta creativa comunidad! Hacía tiempo que no pasaba por aquí para compartir una pieza tejida, y esta vez lo hago presentándoles un amigurumi, una linda calabacita.
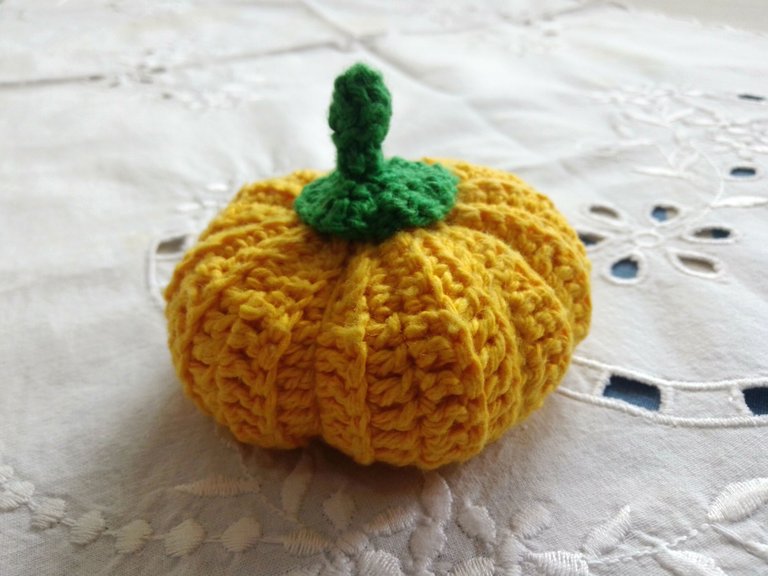
Although I have years of knitting experience, my thing is two needles, not so much crochet. It's the first time I knit an amigurumi, I saw some videos on the Internet, I liked them and I dared 😊, let's see what you think of the result.
Aunque tengo años de experiencia tejiendo, lo mío son las dos agujas, no tanto el crochet. Es la primera vez que tejo un amigurumi, vi algunos videos en Internet, me gustaron y me atreví 😊, a ver qué les parece el resultado.
How I made it / Cómo la hice
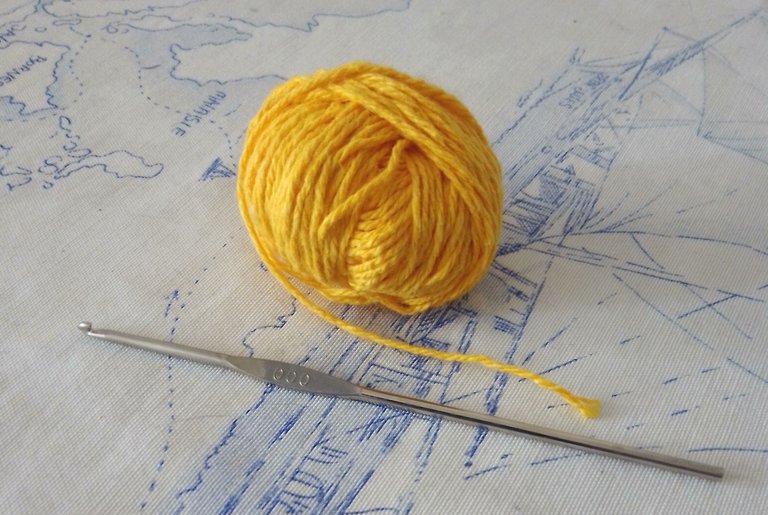
Take note, I used yellow and green cotton yarns, neither too thin nor too thick, but you can make it with the yarn you like, and a crochet hook according to the thickness of the yarn.
Tomen nota, utilicé hilos de algodón color amarillo y verde, ni muy delgados ni muy gruesos, pero la pueden hacer con el hilo que les guste, y un ganchillo acorde con el grosor del hilo.
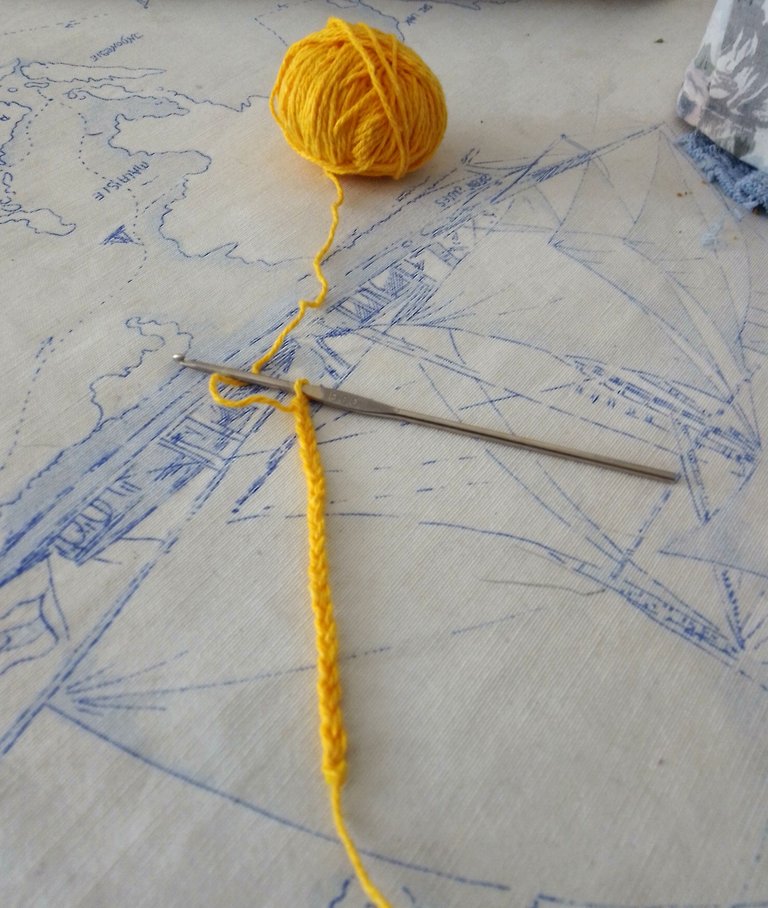
Step 1: Cast on 20 chain stitches plus 1 to go around, in total there are 21 chain stitches.
Paso 1: Montar 20 cadenetas más 1 para dar la vuelta, en total son 21 cadenetas.
Step 2: In the first row we start by making 2 slip stitches, then 4 single crochets, 8 medium stitches, 4 single crochets and 2 slip stitches. To turn we go up with a chain, and in each row we repeat this series of stitches until we have 36 rows.
Paso 2: En la primera vuelta comenzamos haciendo 2 puntos deslizados, luego 4 puntos bajos, 8 puntos medios, 4 puntos bajos y 2 puntos deslizados. Para girar subimos con una cadeneta, y en cada línea repetimos esta serie de puntos hasta llegar a tener 36 vueltas.
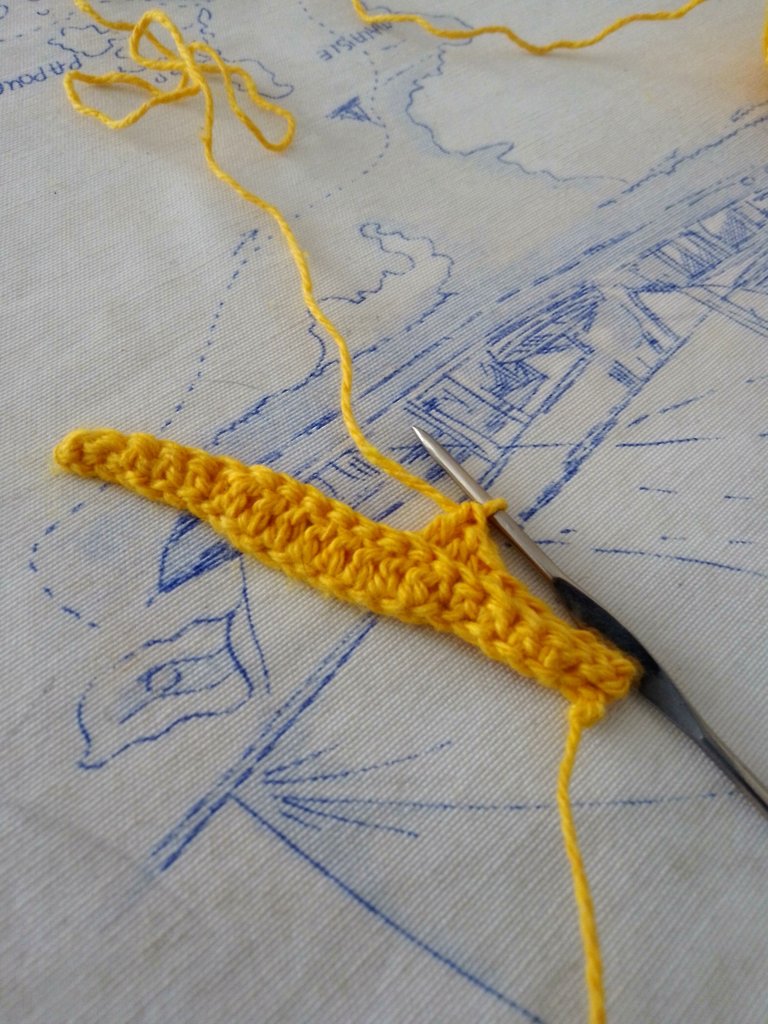
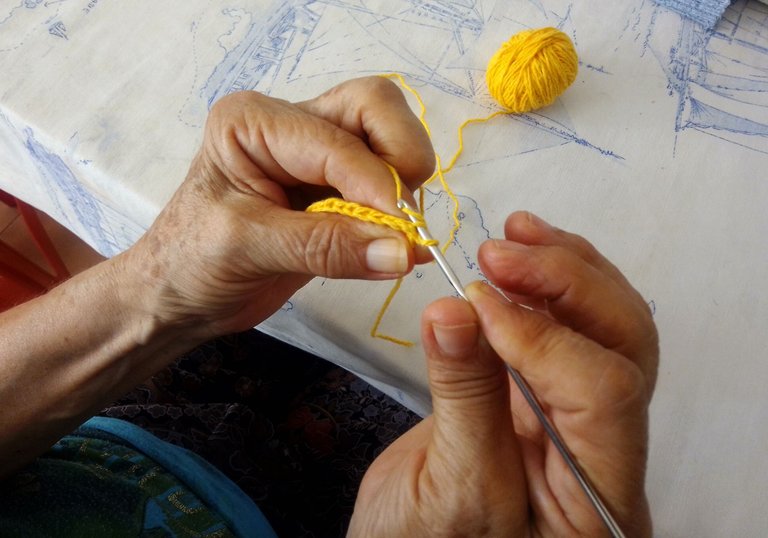
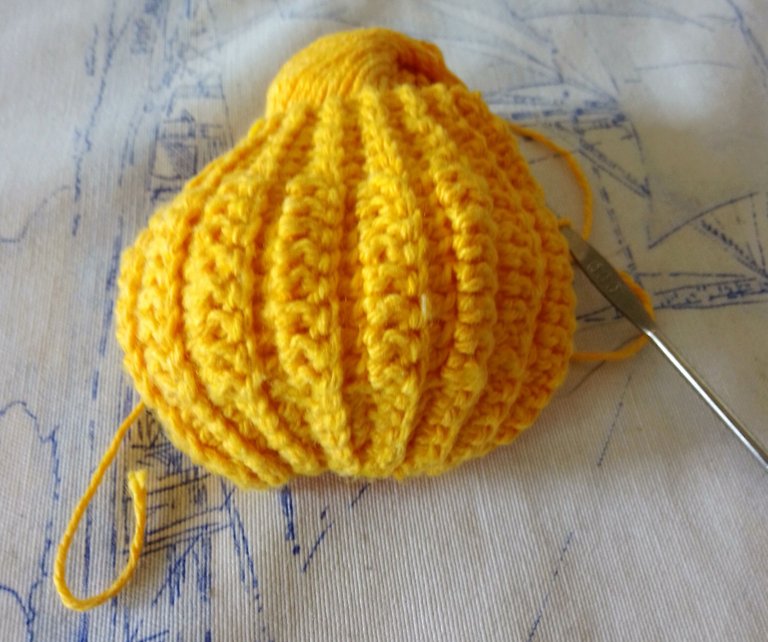
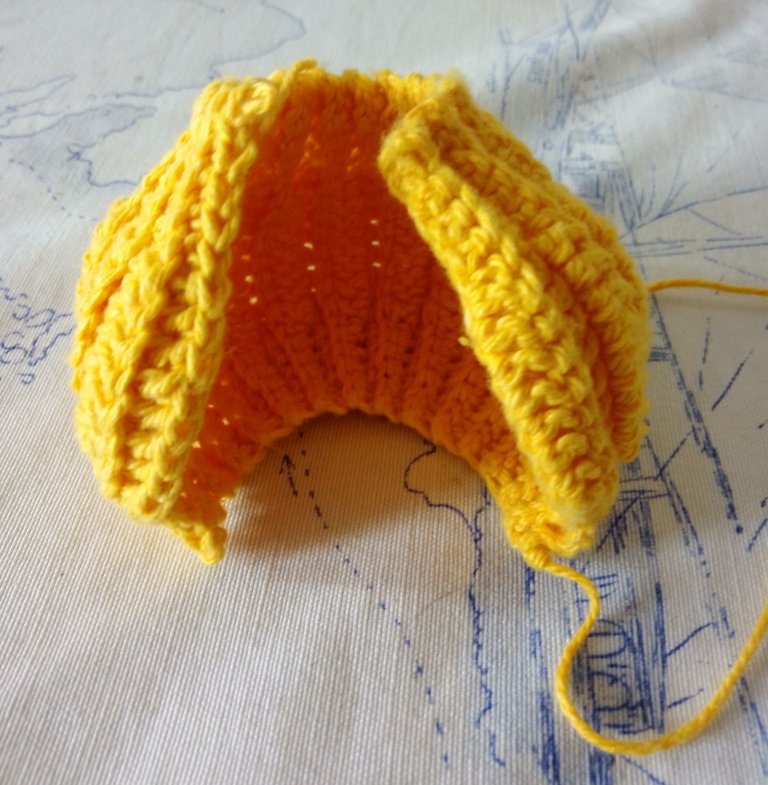
Step 3: Close the sides with a needle or the crochet hook itself, I did it with a needle.
Paso 3: Cerrar los costados con una aguja o el propio ganchillo, yo lo hice con una aguja.
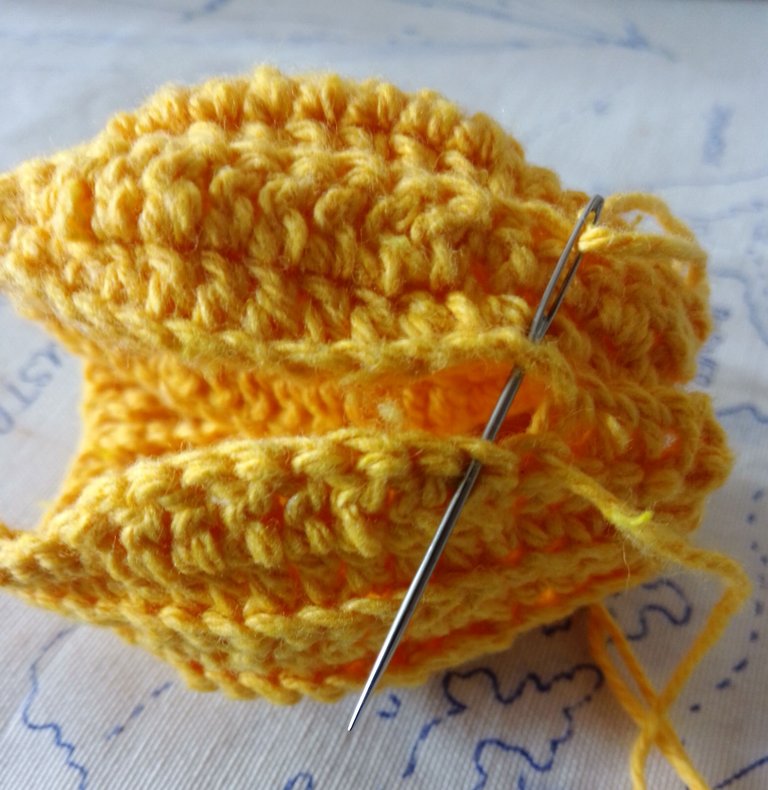
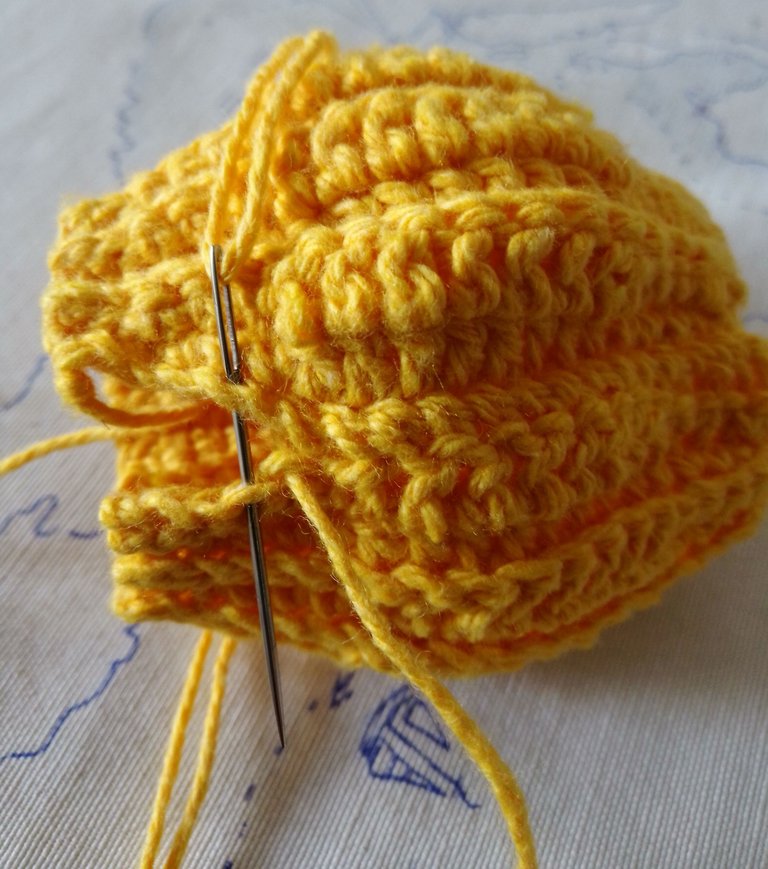
Step 4: Close the bottom of the pumpkin. Pass the thread with the needle around the hole that was formed and adjust the thread to close it. Then tie a knot and hide the excess thread.
Paso 4: Cerrar la parte inferior de la calabaza. Pasar el hilo con la aguja alrededor del hueco que se formó e ir ajustando el hilo para cerrarlo. Luego hacemos un nudo y escondemos el hilo sobrante.
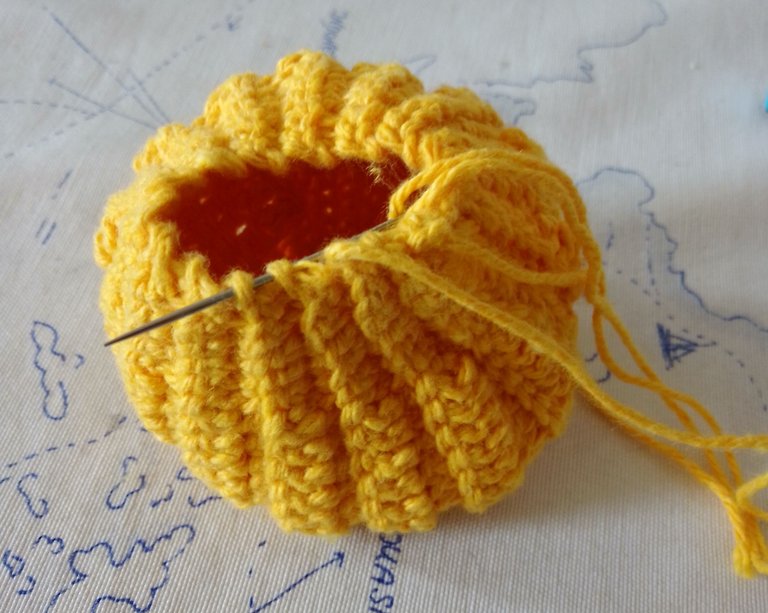
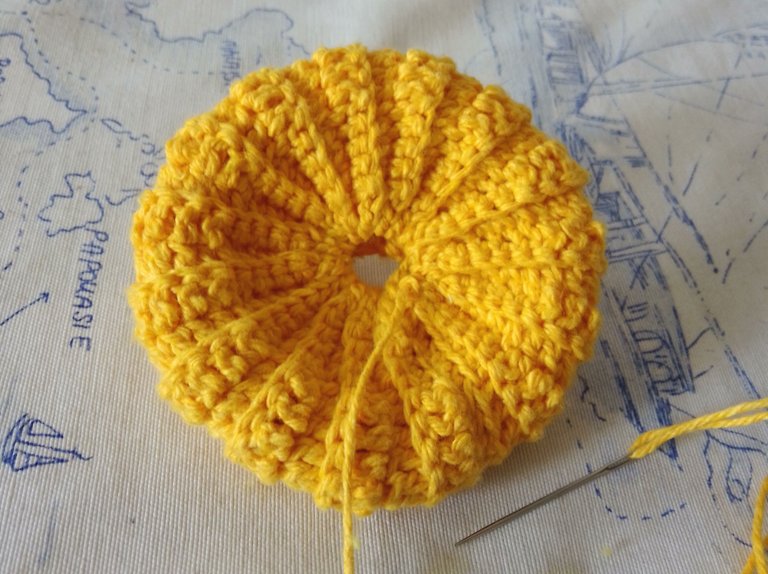
Step 5: Stuff well to make it firm and close the hole with thread and needle, tightening very well.
Paso 5: Rellenar bien para que quede firme y cerrar el hueco con hilo y aguja, apretando muy bien.
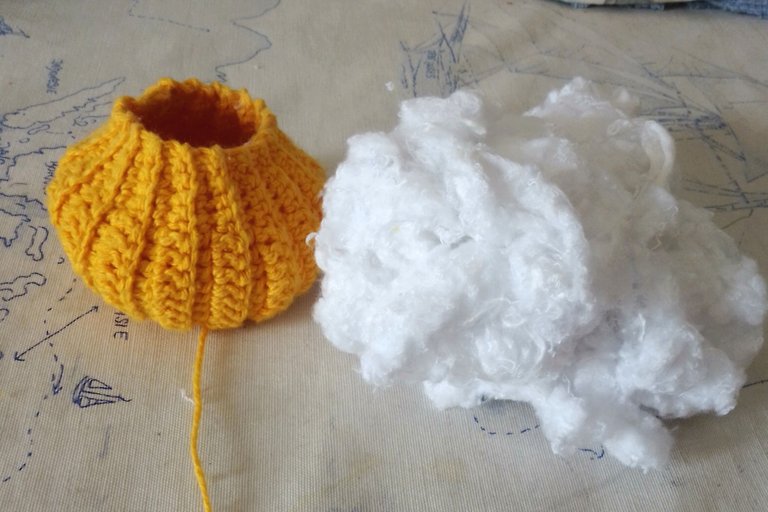
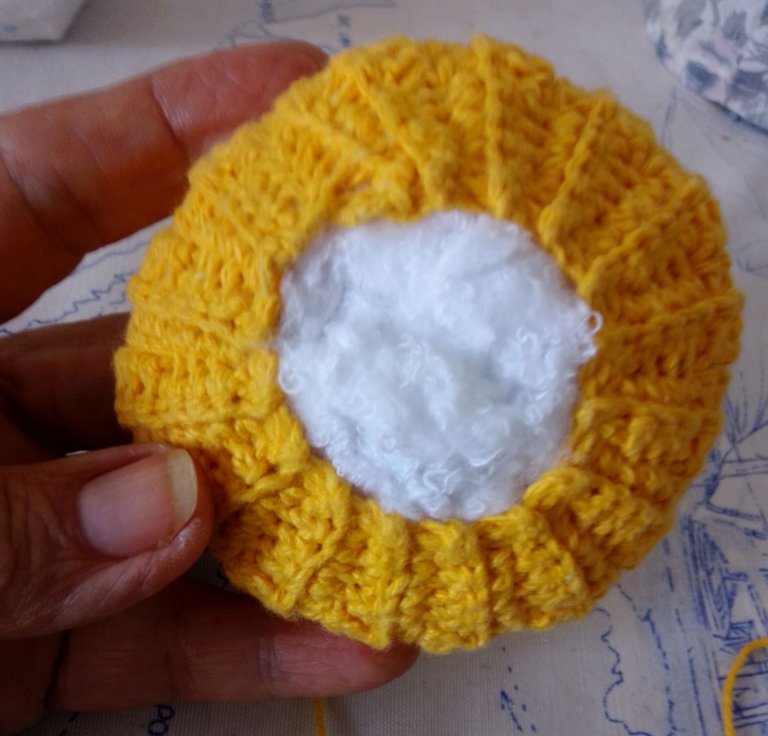
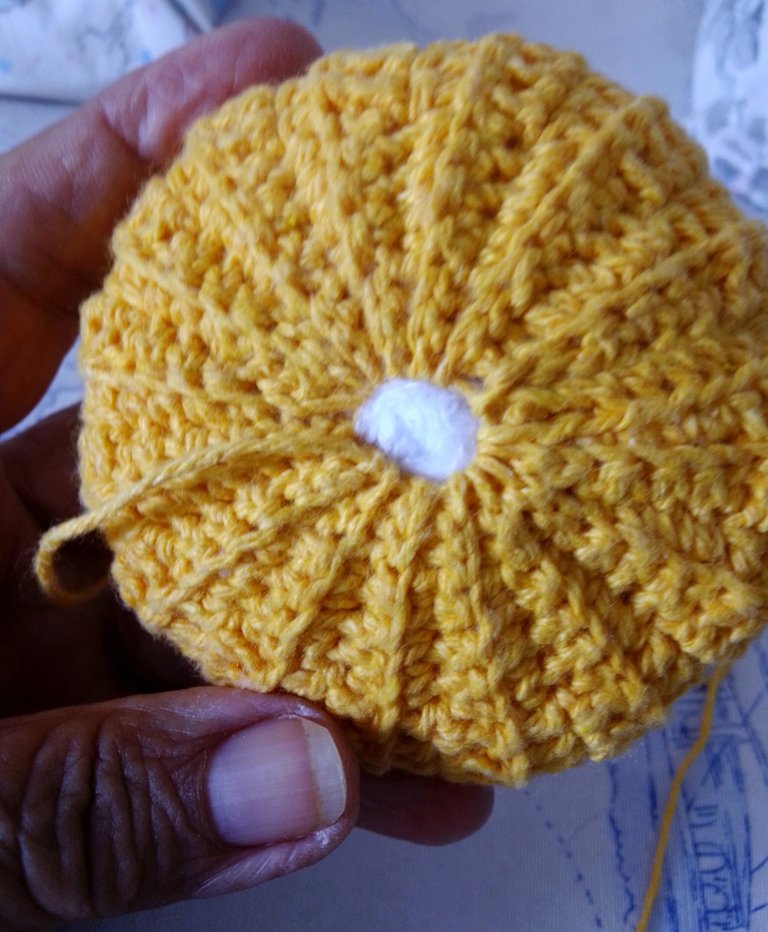
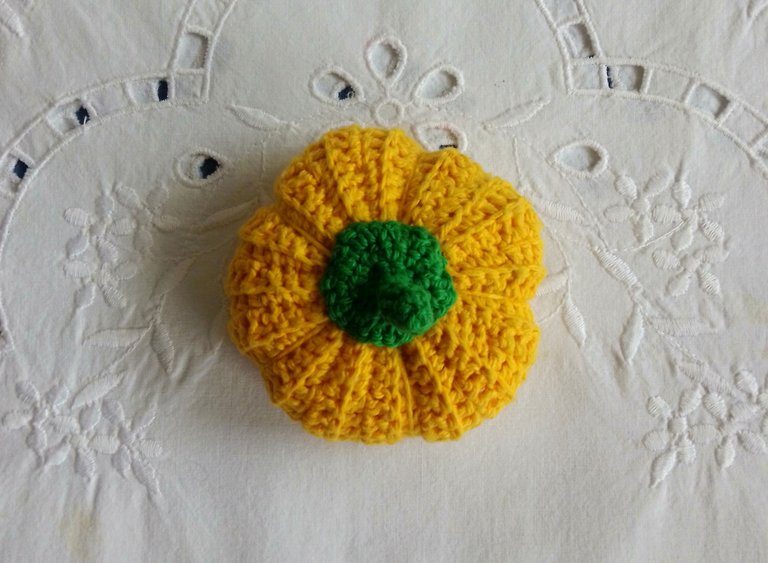
Step 6: In the two small holes at the top and bottom of the pumpkin, is where we are going to fix both the base and the stem, which we are going to knit with the green thread. For the base we are going to make a magic circle and there we make 6 low stitches, we pull the yarn to close and we cut leaving several centimeters to be able to fix it in the body of the pumpkin.
Paso 6: En los dos agujeritos de arriba y abajo de la calabaza, es donde vamos a fijar tanto la base como el tallo, las cuales vamos a tejer con el hilo verde. Para la base vamos a hacer un círculo mágico y allí hacemos 6 puntos bajos, jalamos el hilo para cerrar y cortamos dejando varios centímetros para poder fijarlo en el cuerpo de la calabaza.
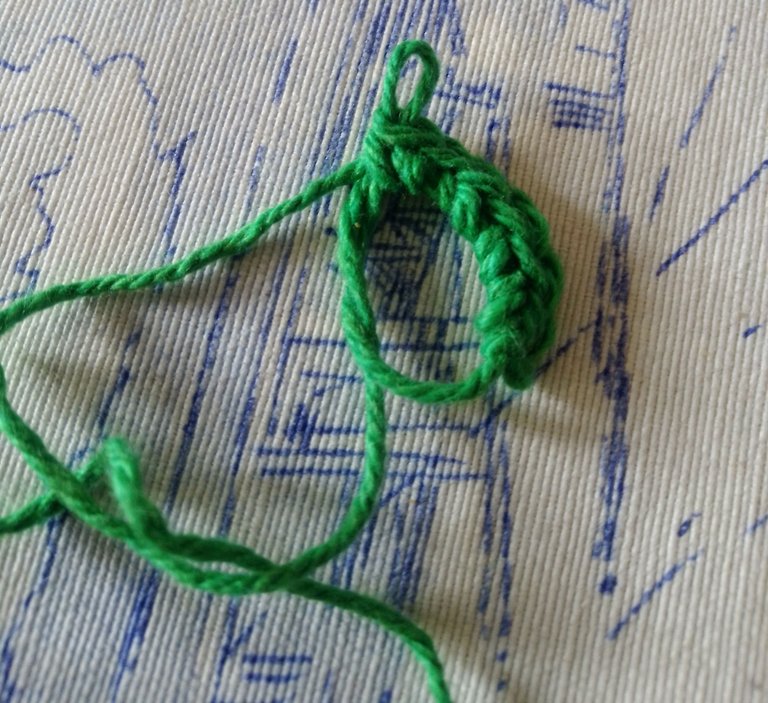
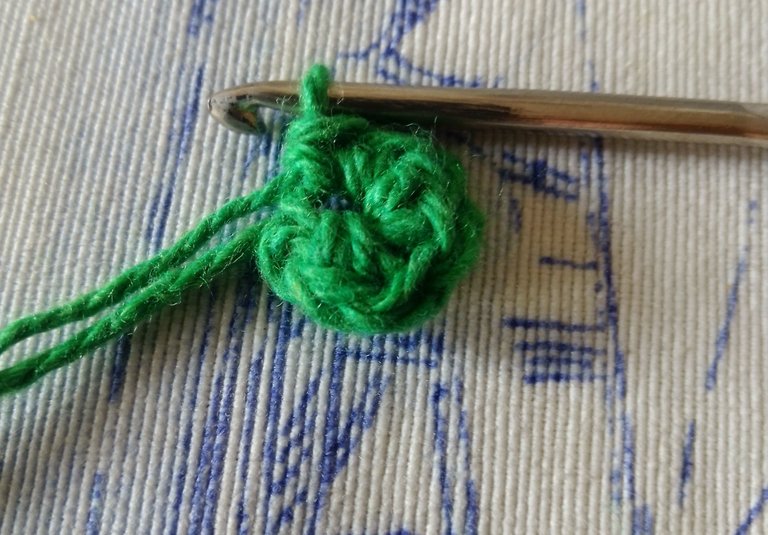
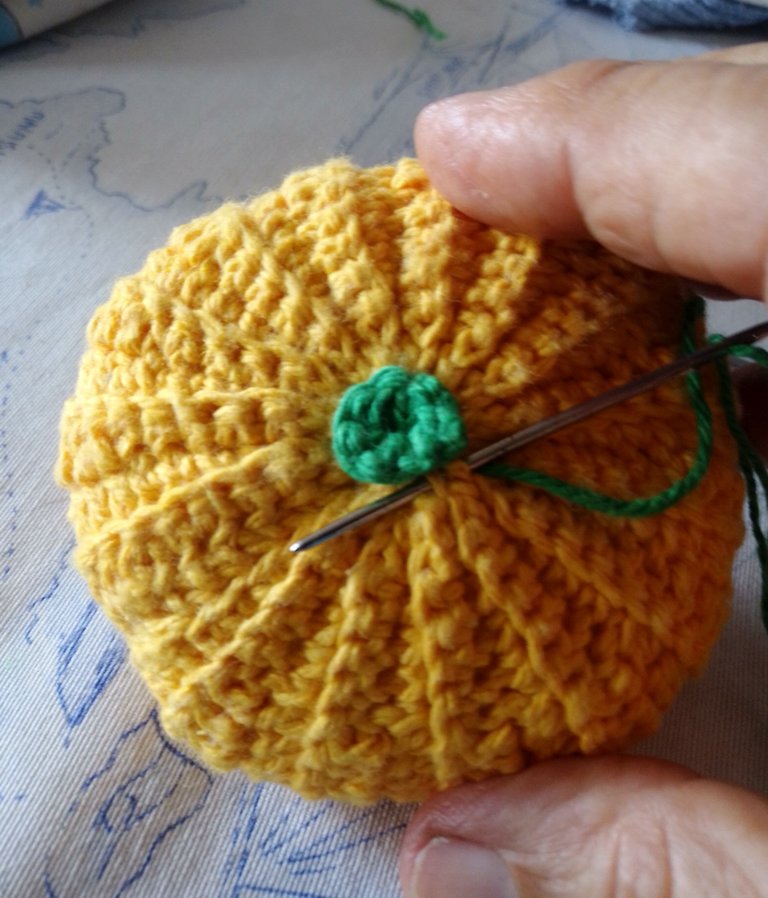
To knit the stem of the pumpkin we are going to make a magic circle and there we knit 6 single crochet stitches. We put a mark at the beginning to know where the row ends and then we continue knitting single crochet in each row until we complete three rows. In the fourth row, we knit a single crochet and in the next one we reduce two stitches, knit two more and in the next one we make an increase. In the 5th and 6th rows we do the same and in the next one we increase each stitch and so we will have 12, and so the base of the stem is formed. In the next round we continue increasing, and we knit rounds until we have 18 stitches.
Para tejer el tallo de la calabaza vamos a hacer un círculo mágico y allí tejemos 6 puntos bajos. Ponemos una marca al inicio para saber dónde termina la vuelta y luego continuamos tejiendo puntos bajos en cada línea hasta completar tres. En la cuarta, tejemos un punto bajo y en el siguiente reducimos dos, tejemos dos más y en el que sigue hacemos un aumento. La 5ta y 6ta vuelta hacemos lo mismo y en la siguiente hacemos aumento en cada punto y así tendremos 12, y así se va formando la base del tallo. En la siguiente vuelta seguimos aumentando, y tejemos vueltas hasta tener 18 puntos.
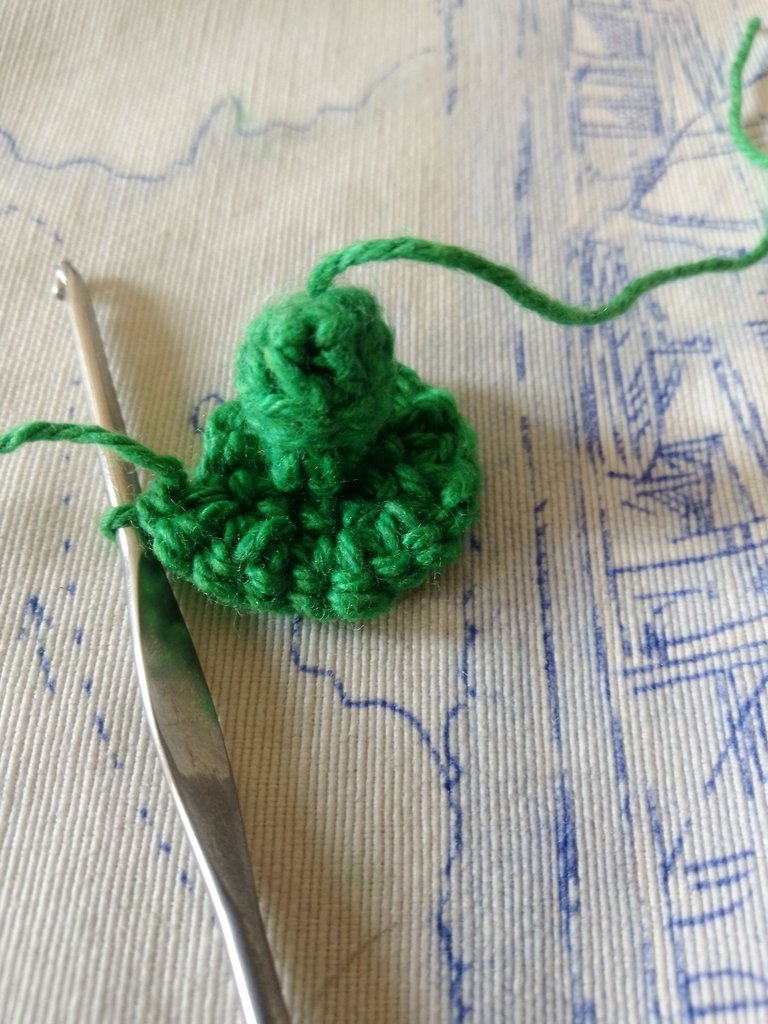
At the end we leave the long thread, so that with it and the needle we can glue the stem to the top of the pumpkin.
Al terminar dejamos el hilo largo, para con él y la aguja poder pegar el tallo en la parte de arriba de la calabaza.
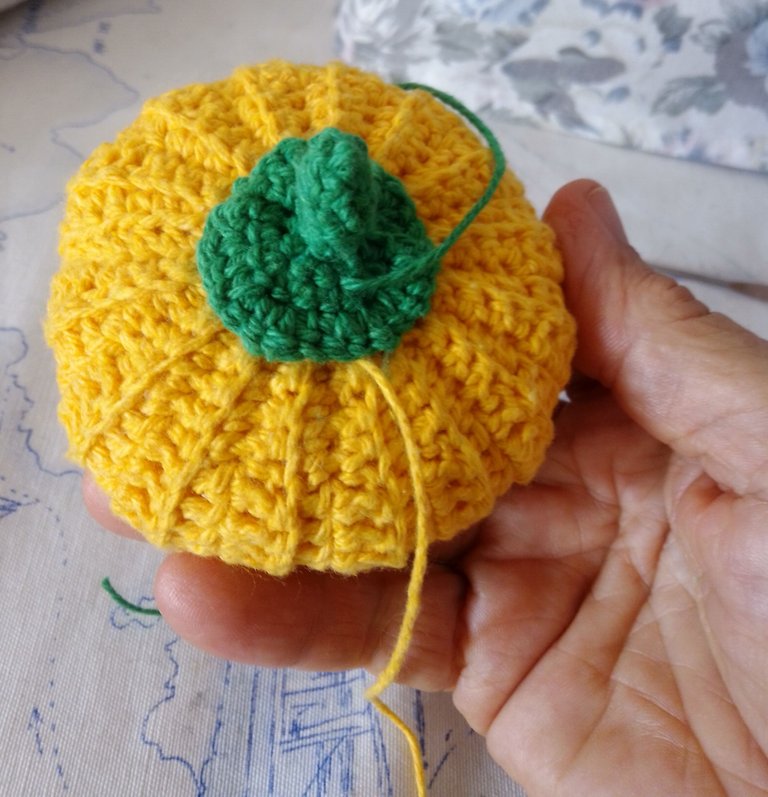
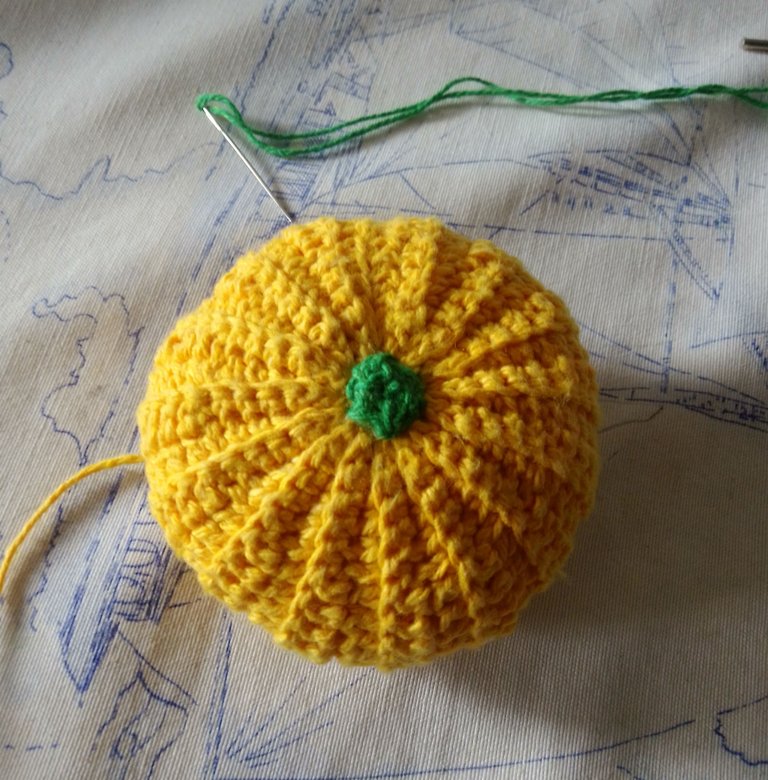
Step 7: The pumpkin has a total of 15 knitted lines, and to make it look more real, we take yellow thread and the needle and mark a separation every 3 lines, tightening the thread well, hide the leftovers and it's ready, look how it looks:
Paso 7: La calabaza tiene en total 15 líneas tejidas, y para lograr que se vea más real, tomamos hilo amarillo y la aguja y marcamos una separación cada 3 líneas, apretando bien el hilo, escondemos los sobrantes y está lista, miren cómo queda:
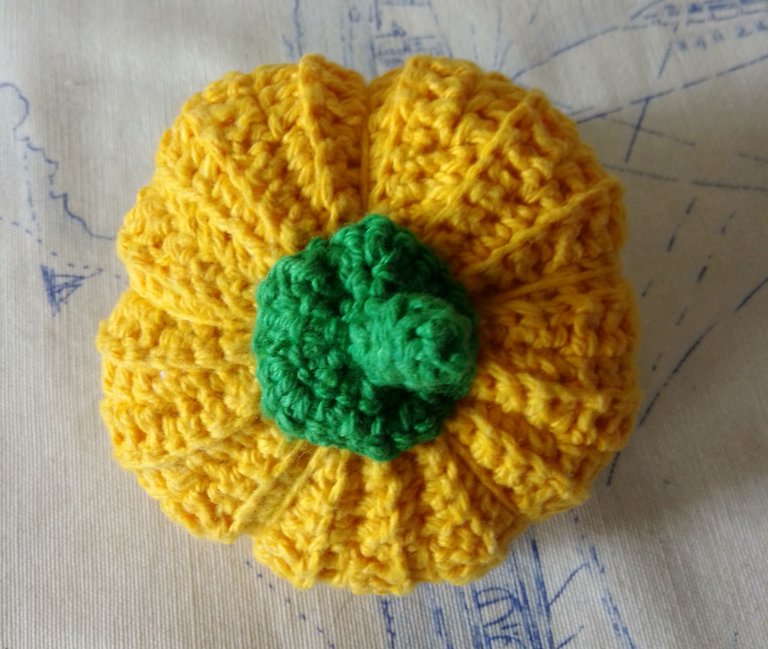
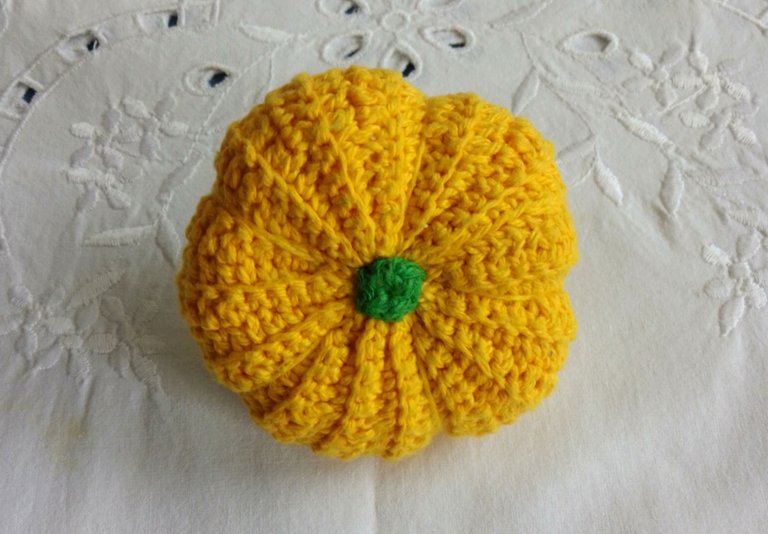
What do you think? I hope you liked it, I think this little pumpkin is very eye-catching, decorative at home and can also be a nice gift 😊. See you next time!
¿Qué les parece? Espero les haya gustado, creo que esta pequeña calabaza es muy llamativa, decorativa en el hogar y puede ser también un bonito regalo 😊. ¡Hasta la próxima!
All photos are my property / Todas las fotos son de mi propiedad