Hello everyone, how are you guys today? I hope you are always in good health, and I hope you are always enthusiastic about doing your respective routines.
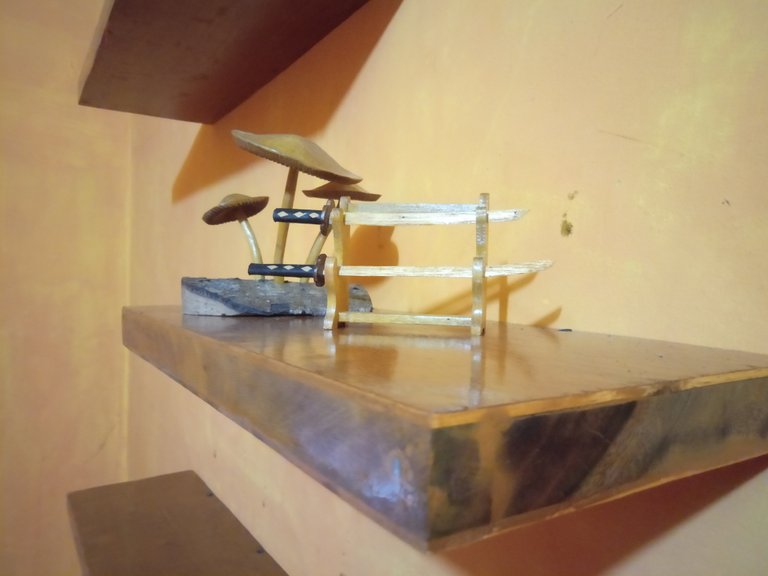
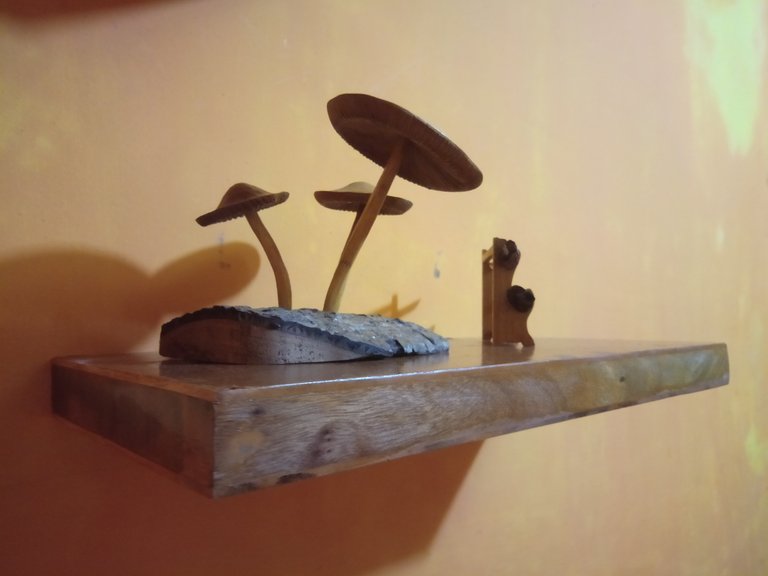
Back again with me @lancang a wood hobbyist from Indonesia, 2 weeks ago I made some miniatures from wood in my spare time, I plan to display these miniatures in my room to add beauty to my room.
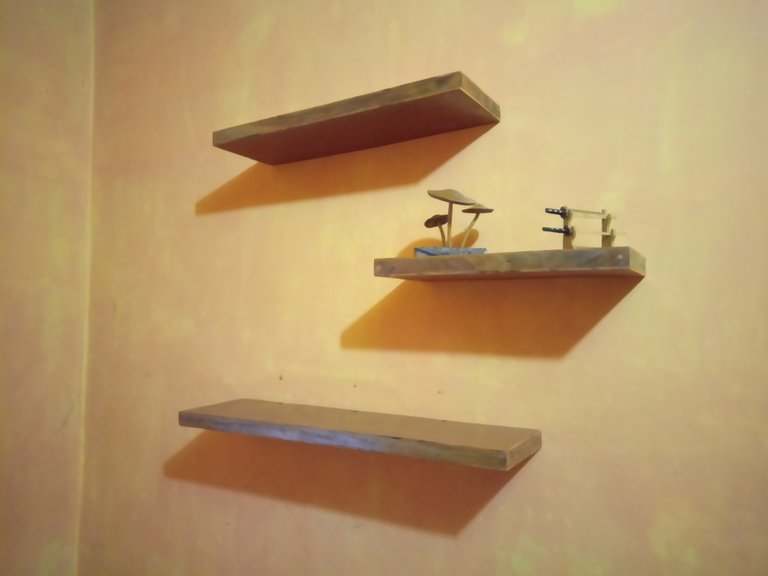
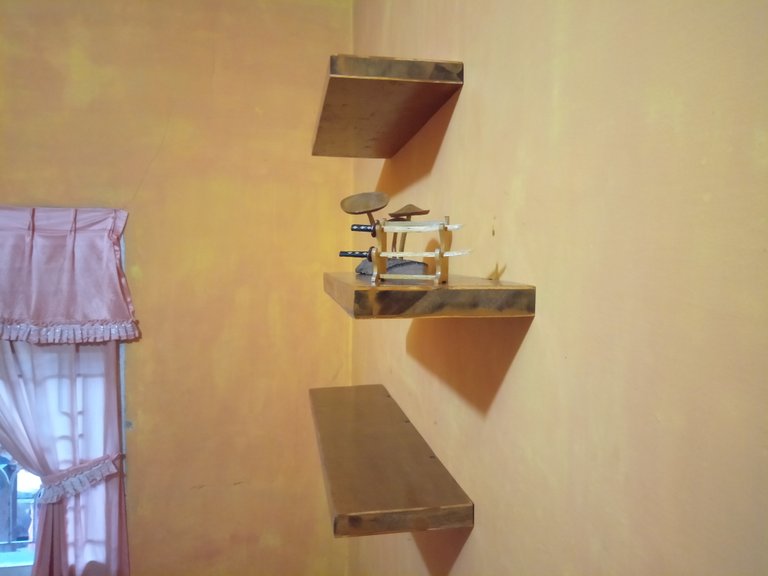
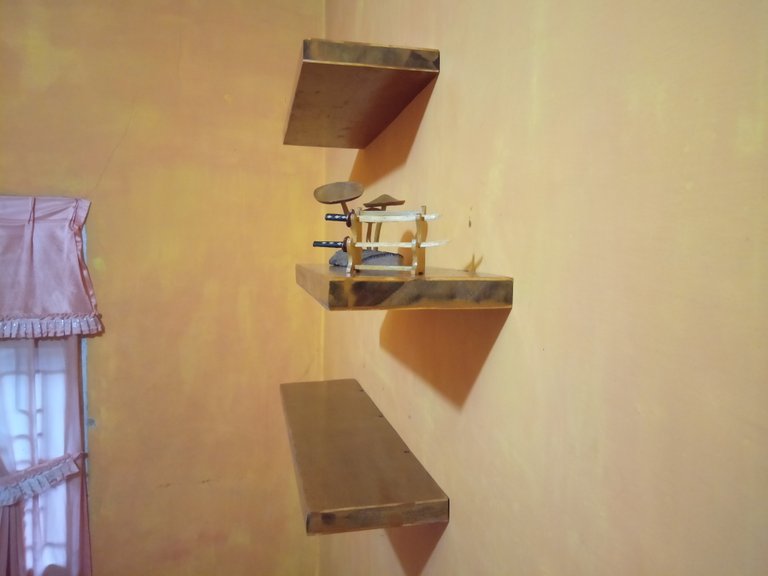
But after it was finished I was confused about which part to put it because there was no table in my room, so I intended to make a wooden shelf that would be attached to the wall, I did this so as not to take up too much room because this is only pasted on the wall.
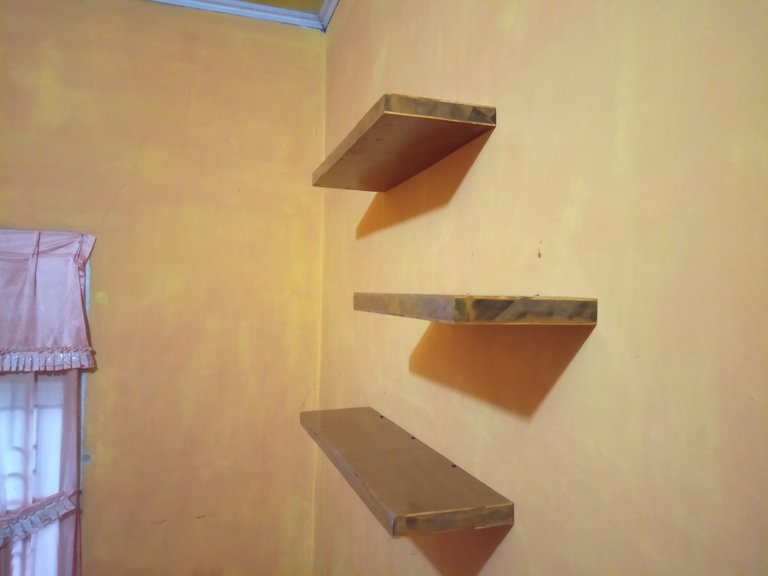
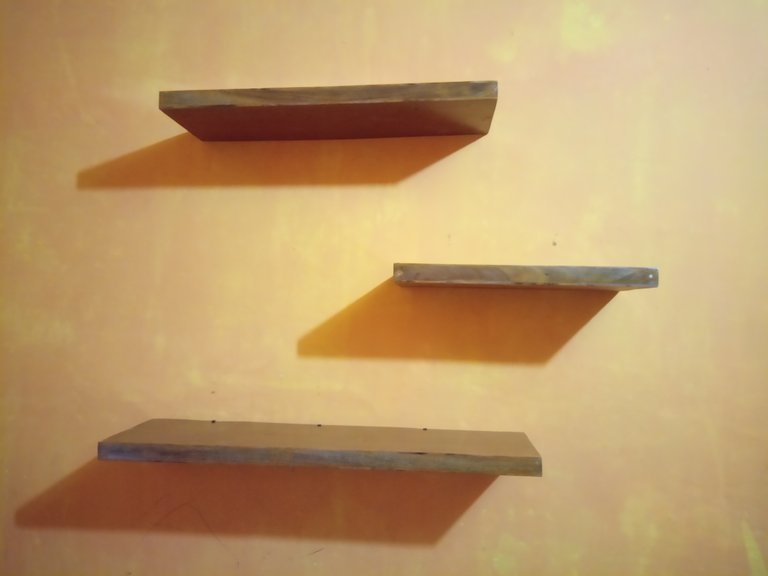
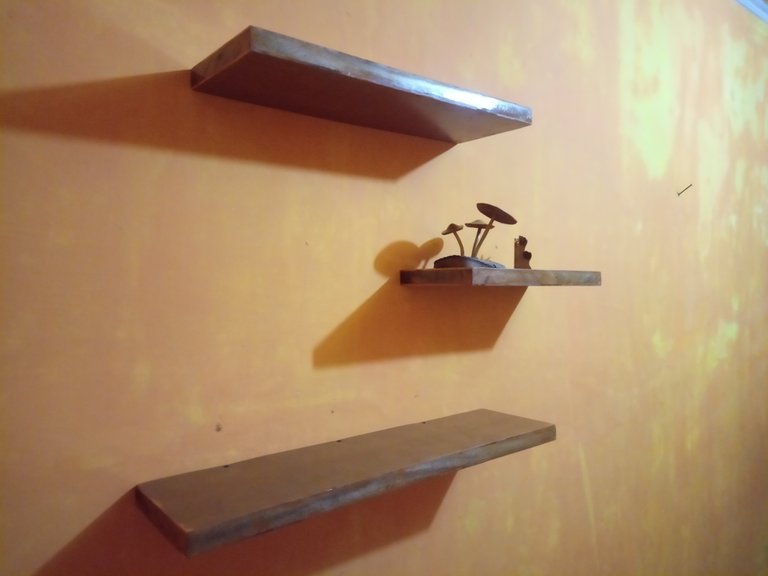
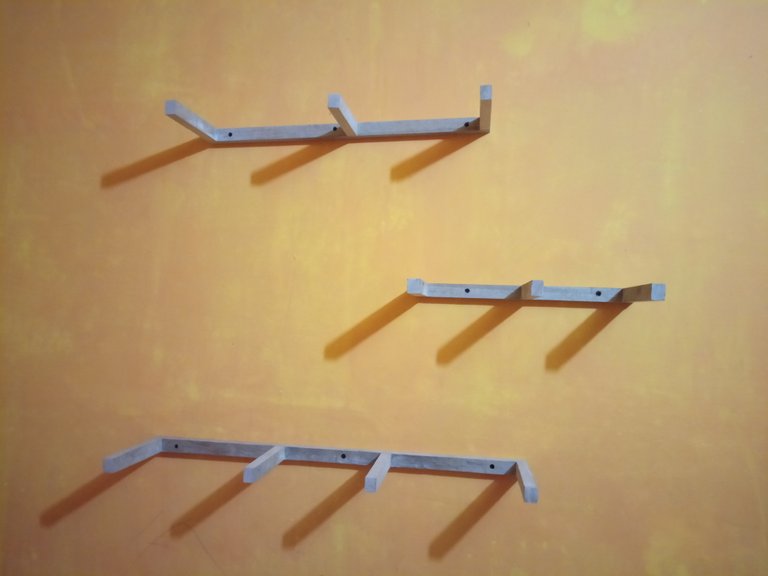
The room will look more attractive with this shelf, in addition to placing miniatures on it, you can also place books or framed photos and other things, I made this shelf with three levels with different sizes and also not parallel to make it look attractive.
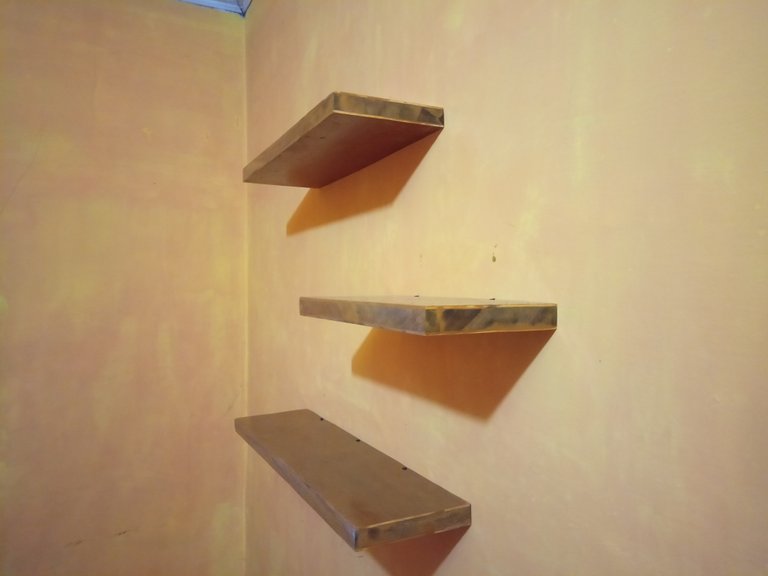
Shelves like this can also be attached to other rooms in a house such as in the living room and relaxing room so that it can make the room look more aesthetic, and adjust how many levels of shelves are needed according to needs.
And usually the color of this shelf will be adjusted to the color of the wall so it doesn't look flashy, I made this shelf in a simple and easy way but quality must be prioritized, the shelf that I made can accommodate a weight of 3 kg, of course it can accommodate several books and also photo frames.

Then how is it made and the process of attaching it to the wall, so let's get into the manufacturing process.
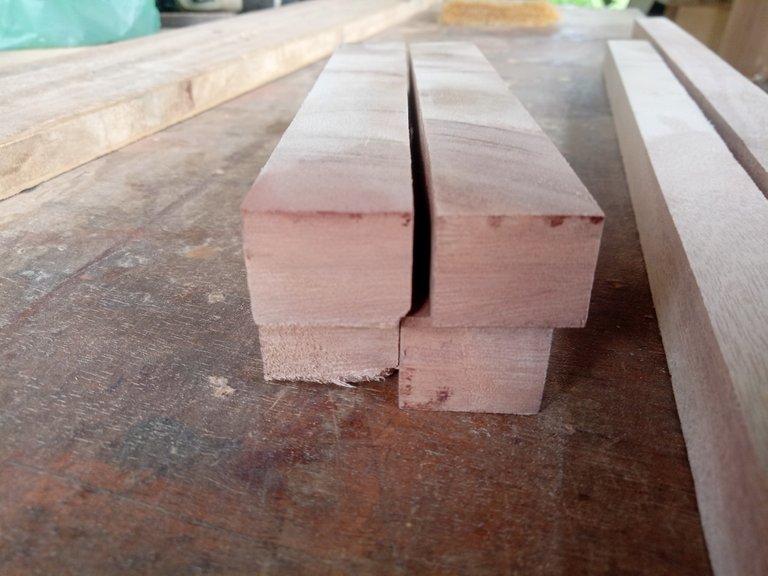
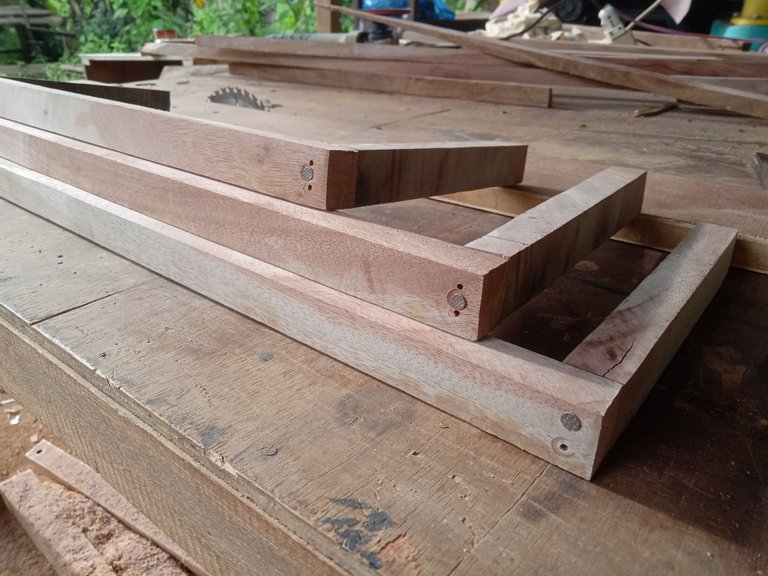
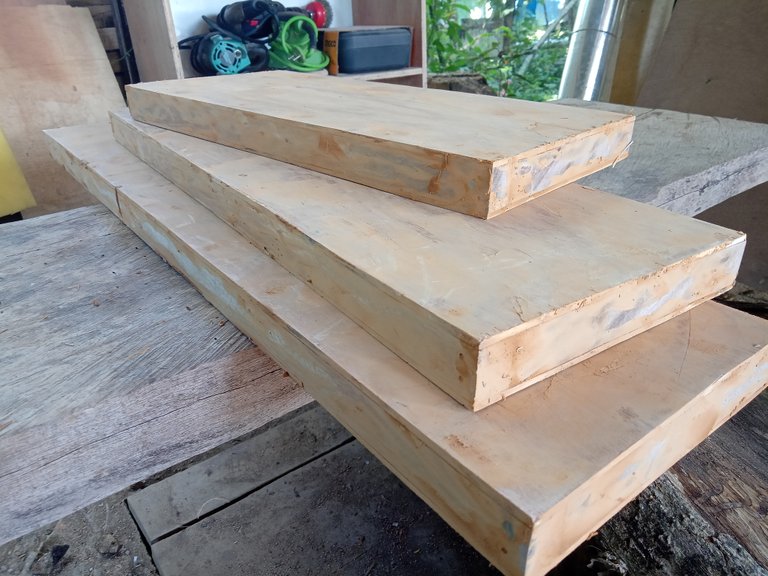
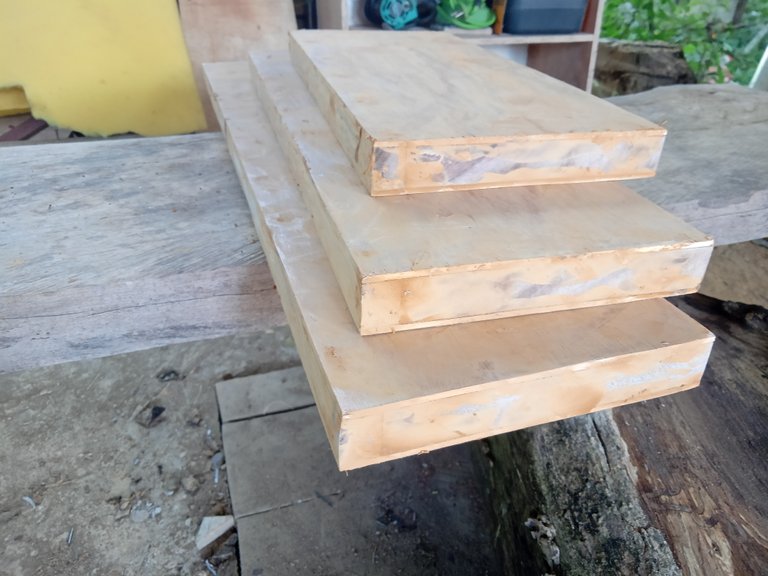
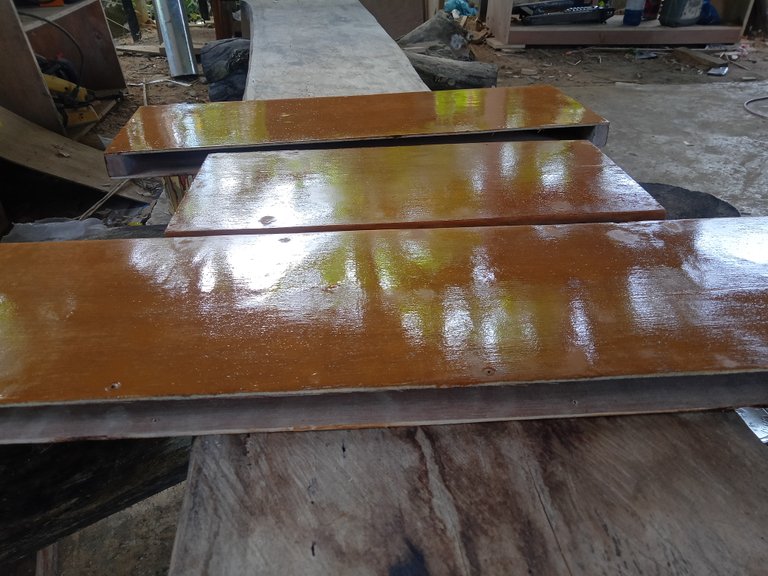
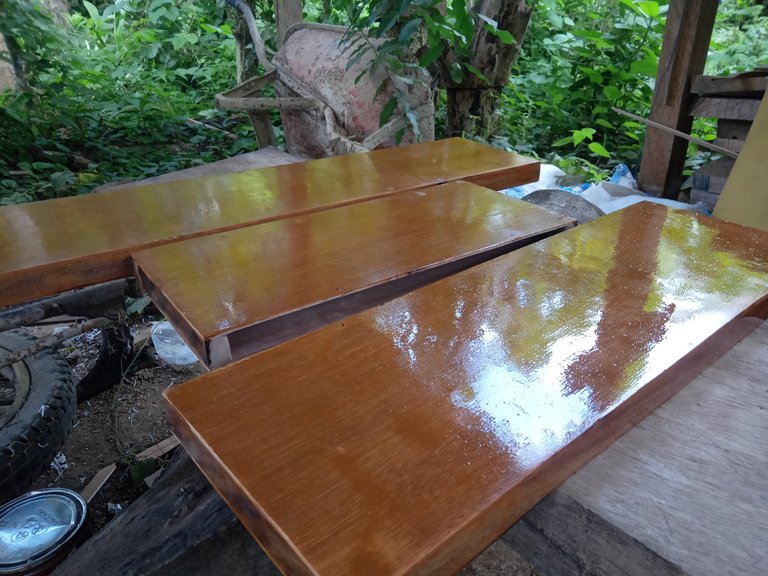
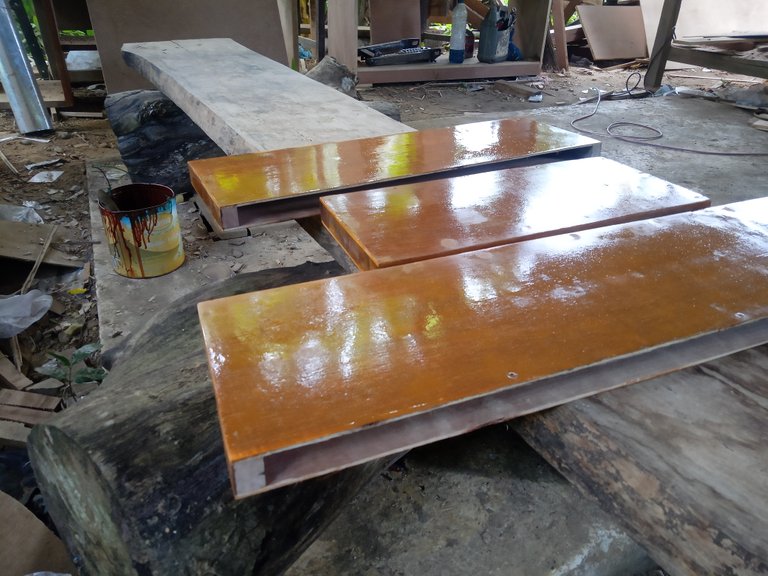
The lengths of these 3 shelves are different, but the thickness and width are the same;
The top one: 3cm x 18cm x 55cm.
The middle one: 3cm x 18cm x 40 cm
And the bottom: 3cm x 18cm x 70 cm.
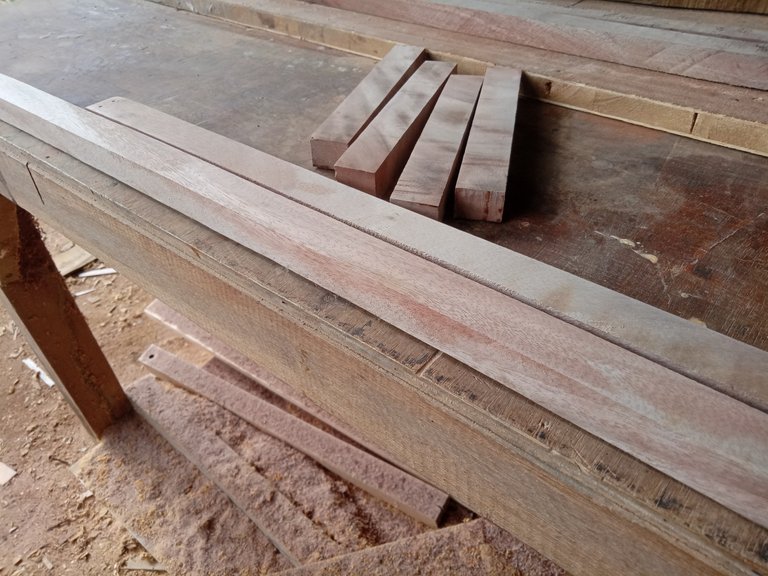
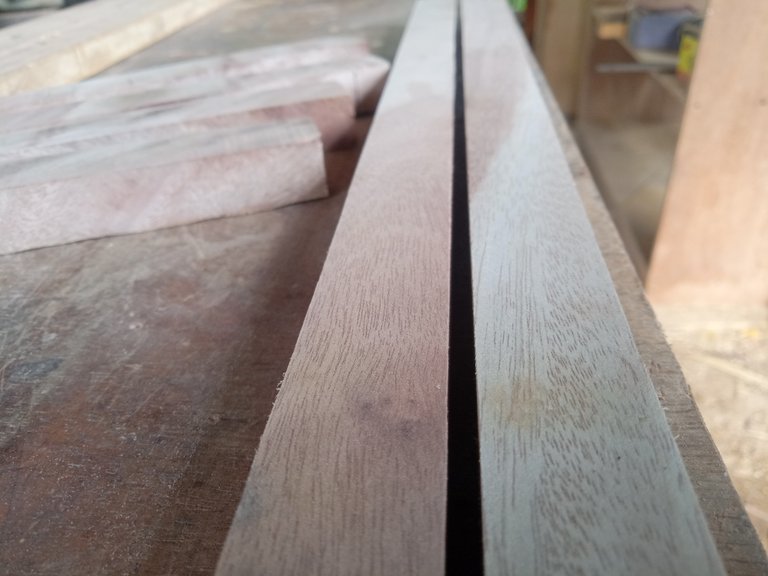
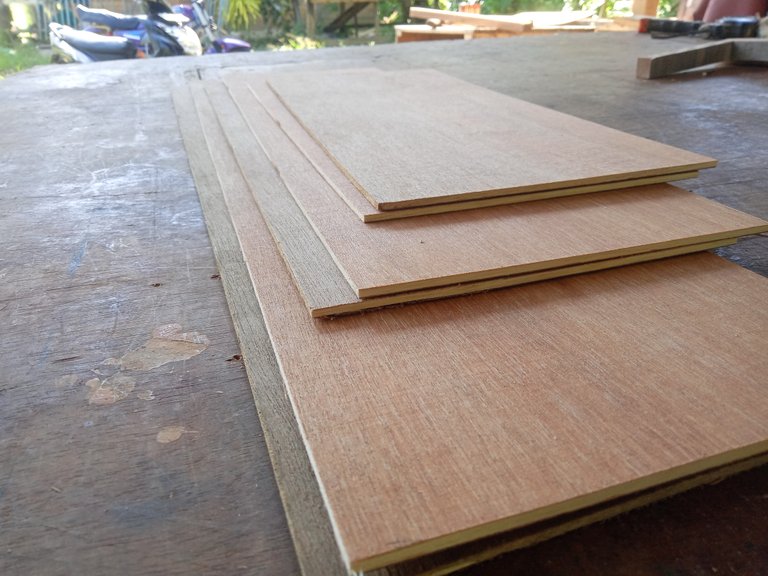
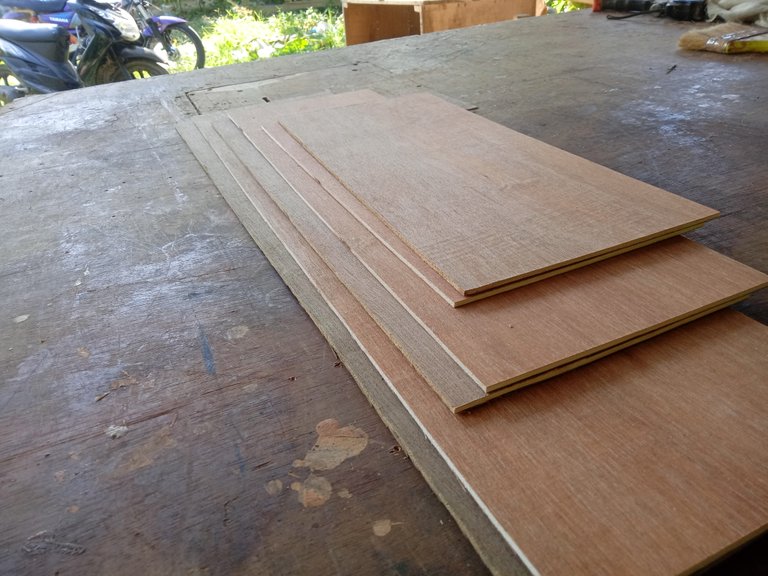
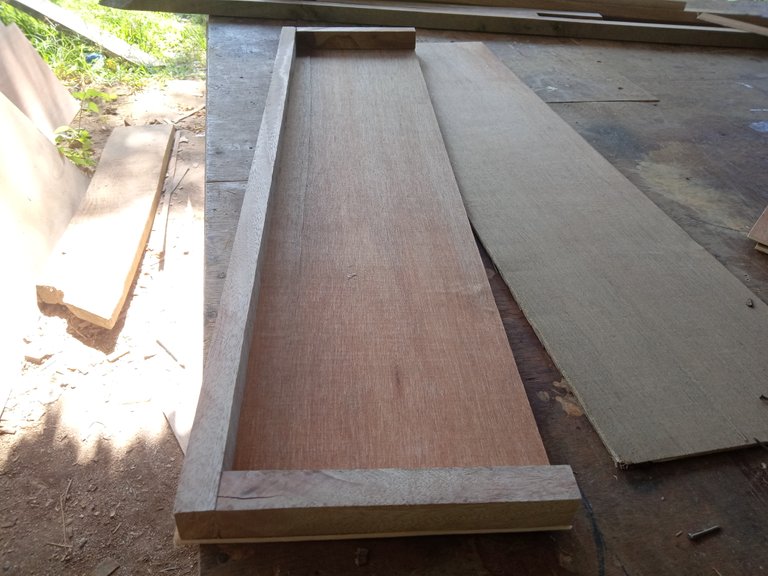
I use multiplex with a thickness of 4mm, so the wood that I will use is 2.2cm so that the final thickness is 3cm because the multiplex is above and below the wood.
The first step is to prepare the wood by splitting and shaving it so that it is all the same size then I cut it according to the size above for the length of the shelf, while for the width of the shelf I cut 15.8cm because it will be combined with the wood carving the length of the shelf.
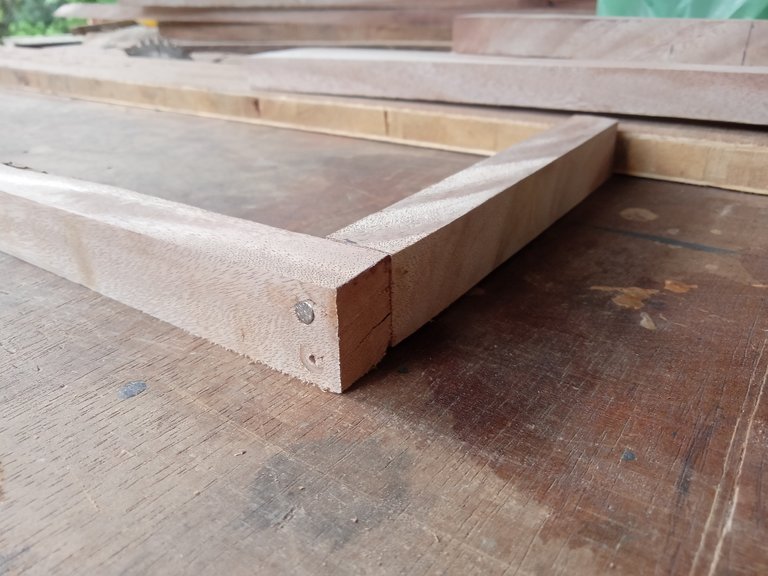
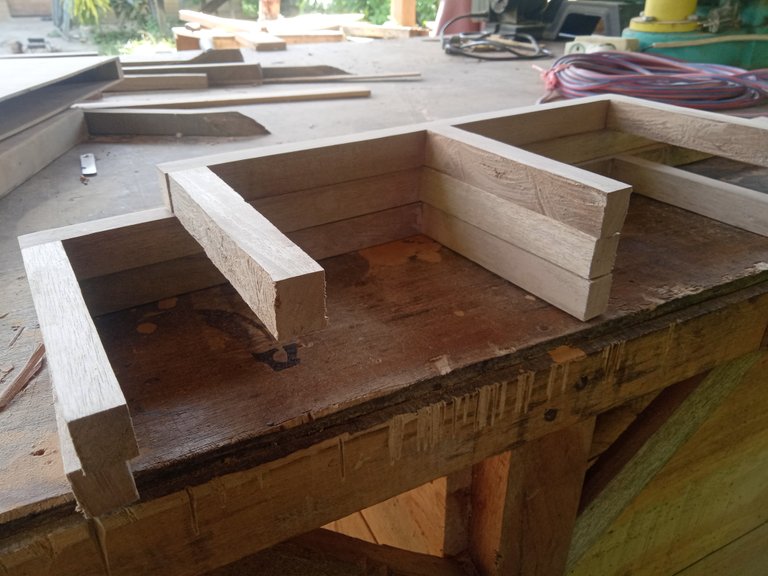
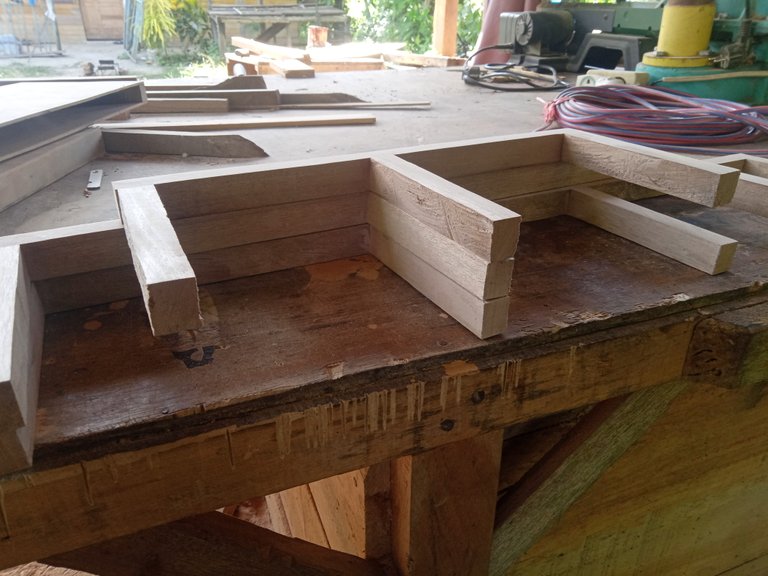
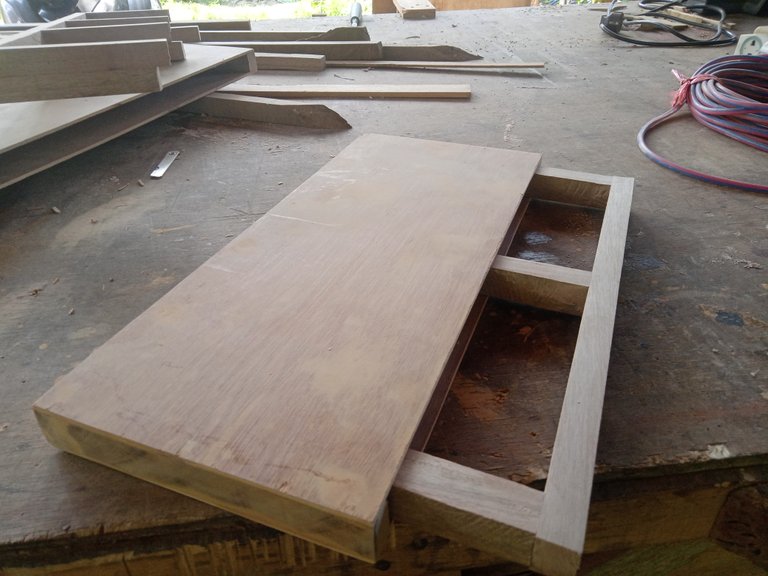
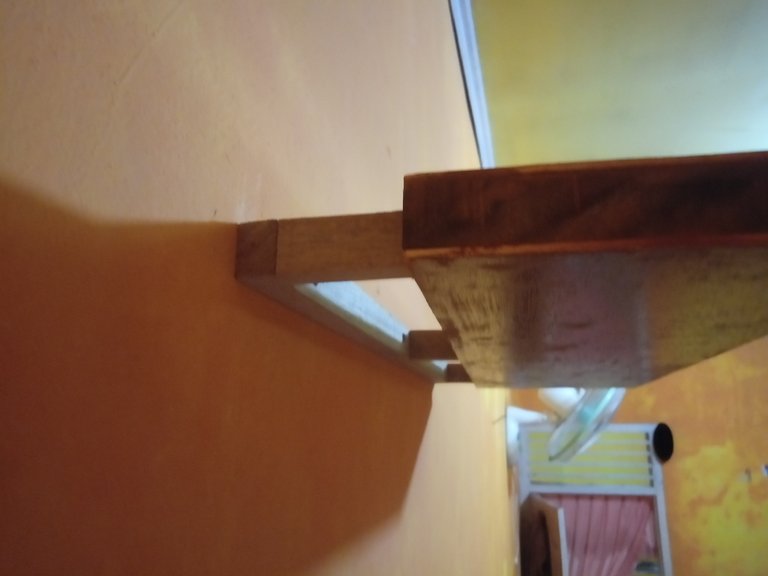
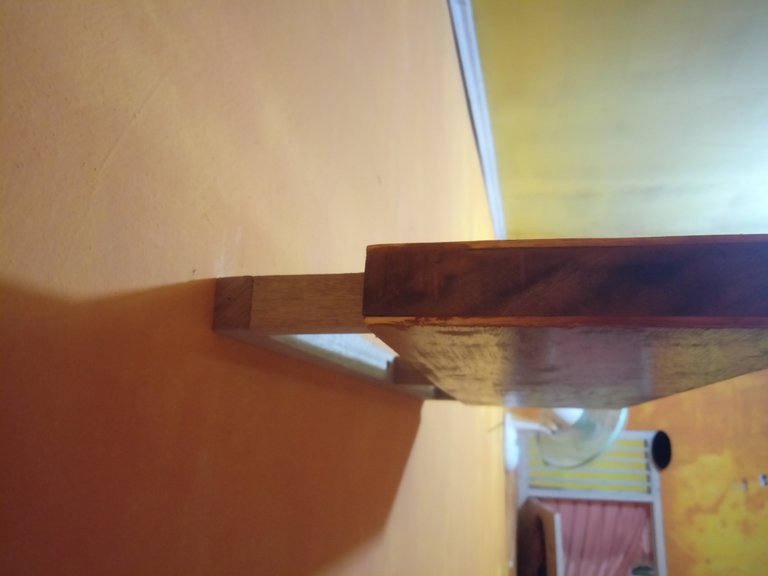
Then I arranged the wood in the form of a U letter using nails but I made holes in it first so that the wood would not break.


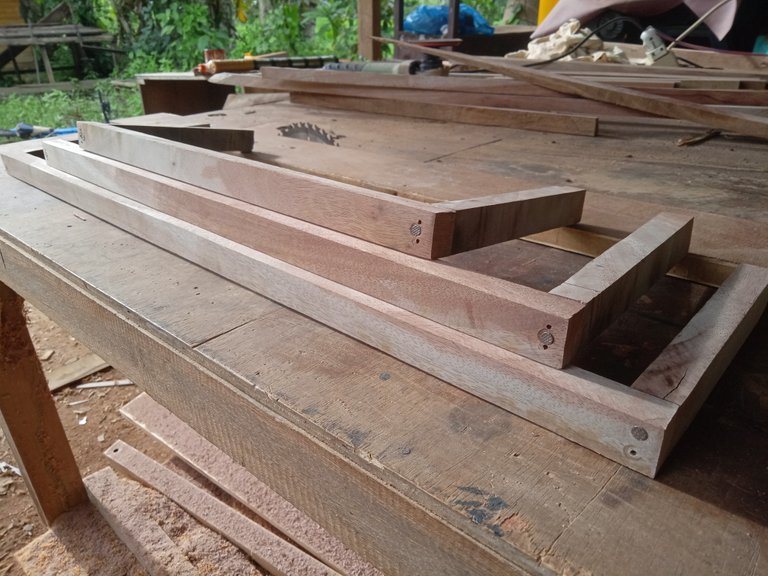
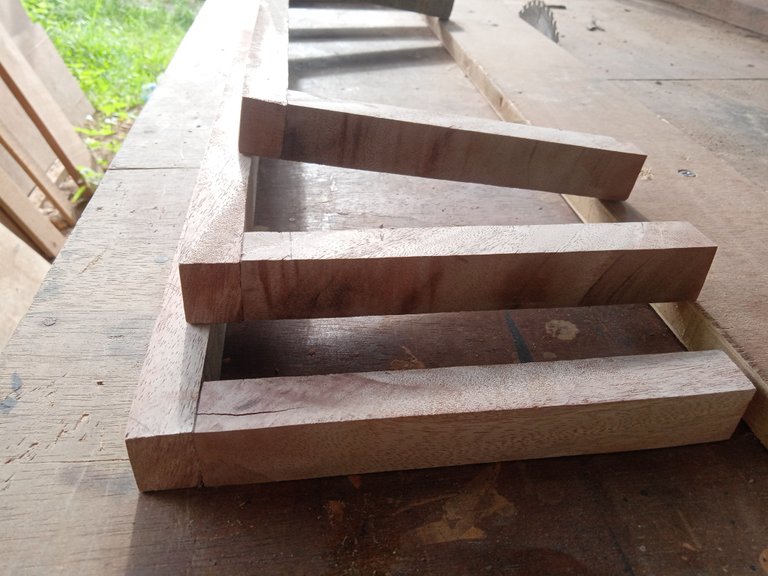
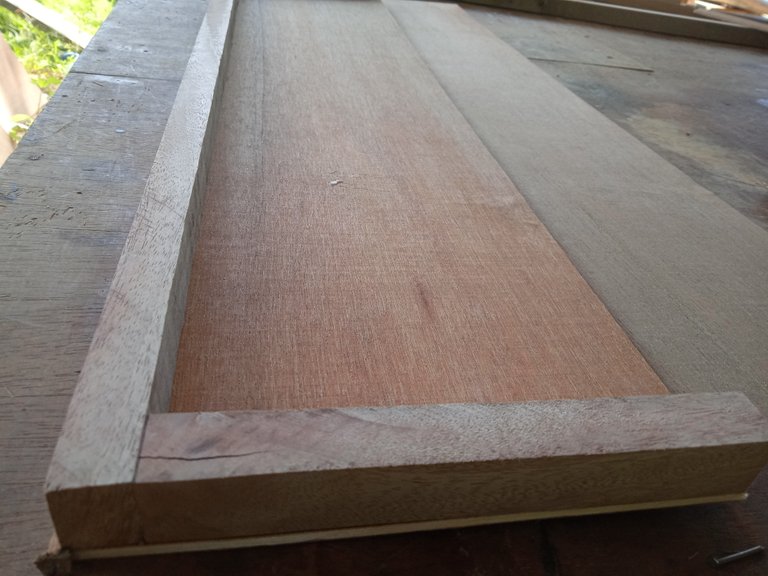
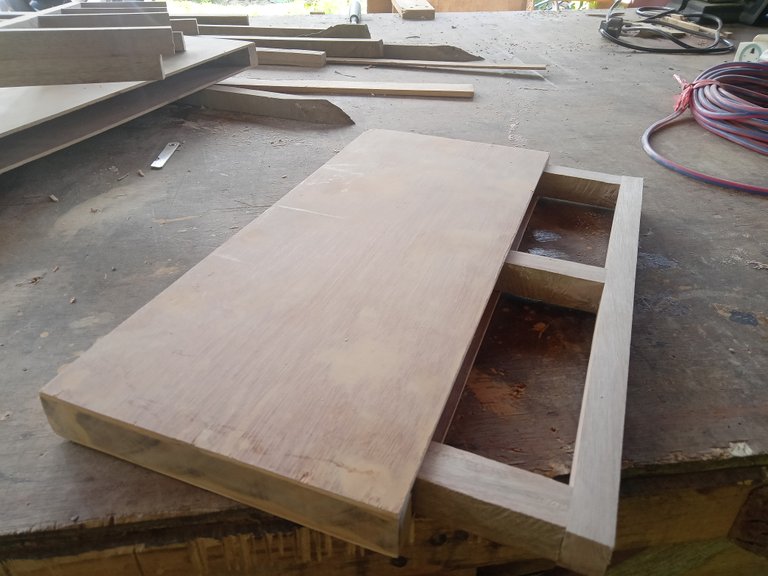
Then I cut the plywood with the size above as much as 6 pieces because each shelf requires 2 pieces, then I glued it on the wood that I have assembled using nails, the result will be that the front side is closed and the back side looks like a hole. will be pasted on the wall.
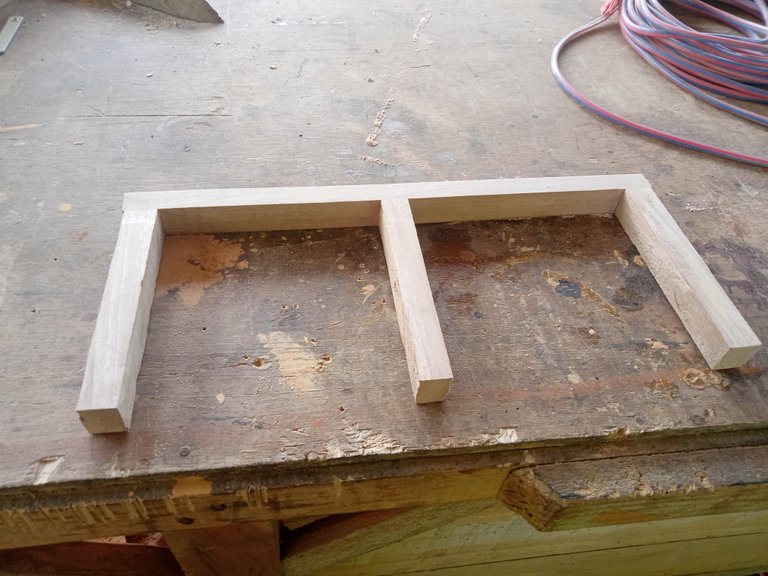
After that I prepared the wood that would be attached to the wall as a holder for the shelf with a U shape as well but I added more wood in the middle so that the shelf was more sturdy and strong, for all the lengths I reduced 4.4 cm to fit into the shelf I had I made this thread and reduced the width by 2.2cm according to the size of the wood.
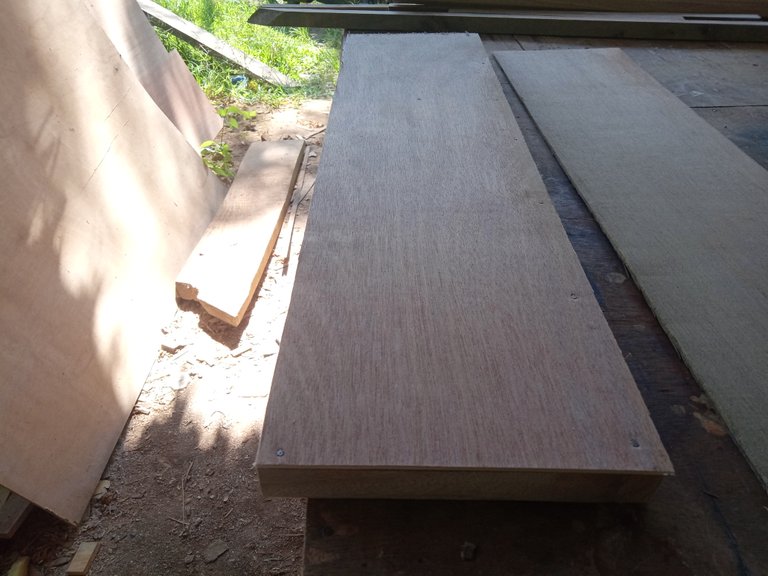
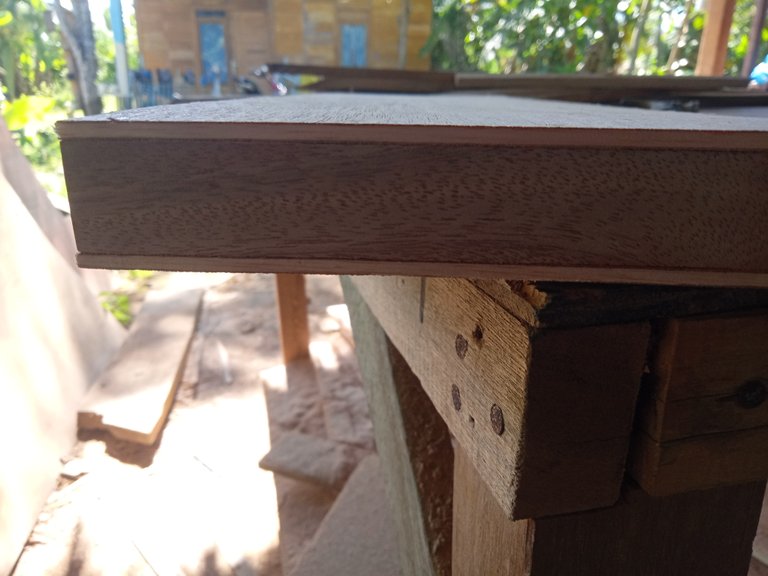

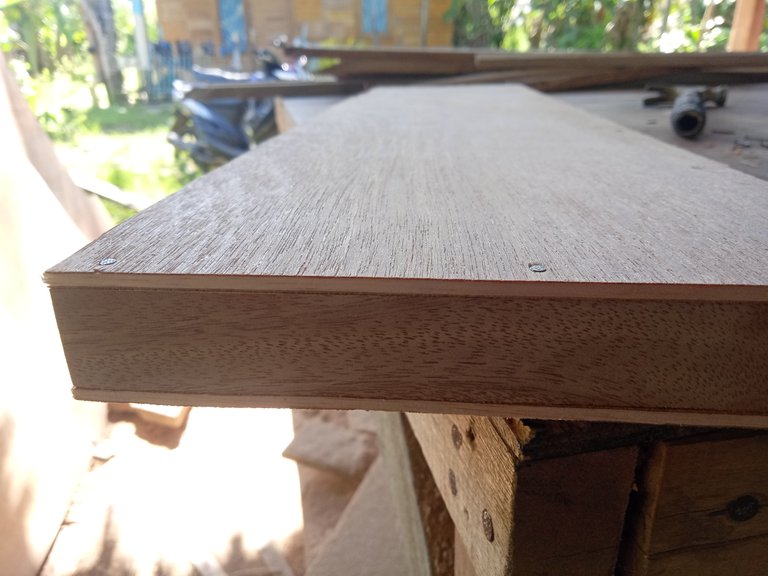
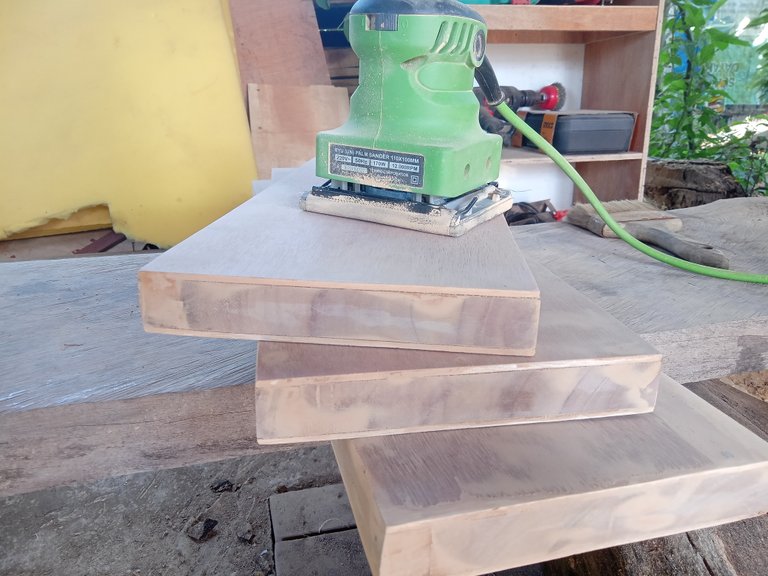
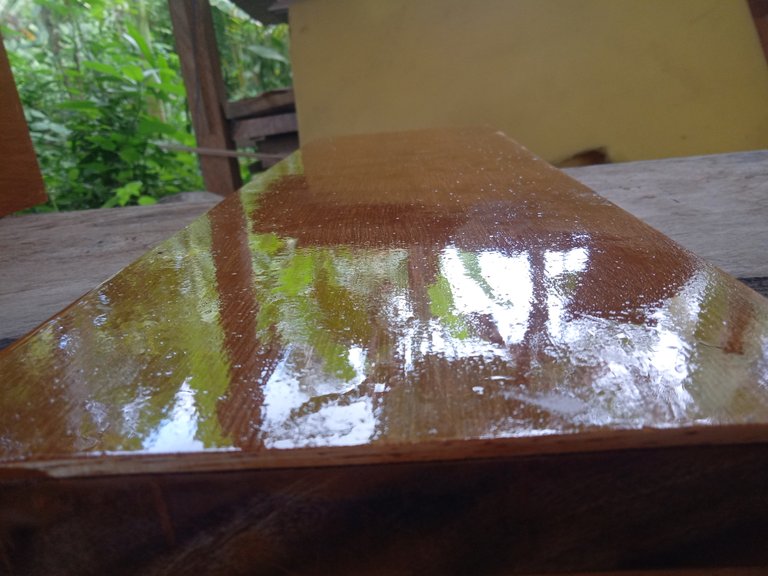
After that, I putty all the surfaces of the shelves and varnished them, I did this so that when the shelves were attached to the wall they were ready without having to varnish them when it was pasted.
I putty all the surfaces until they look even and then I sanded them with sandpaper size 400 so that all the surfaces look smooth and even, after that I varnished it, this can be done in several layers until it looks shiny then wait until it is dry and ready to be pasted on the wall.
After waiting for 3 hours for the varnish to dry completely, then I stick it to the wall.
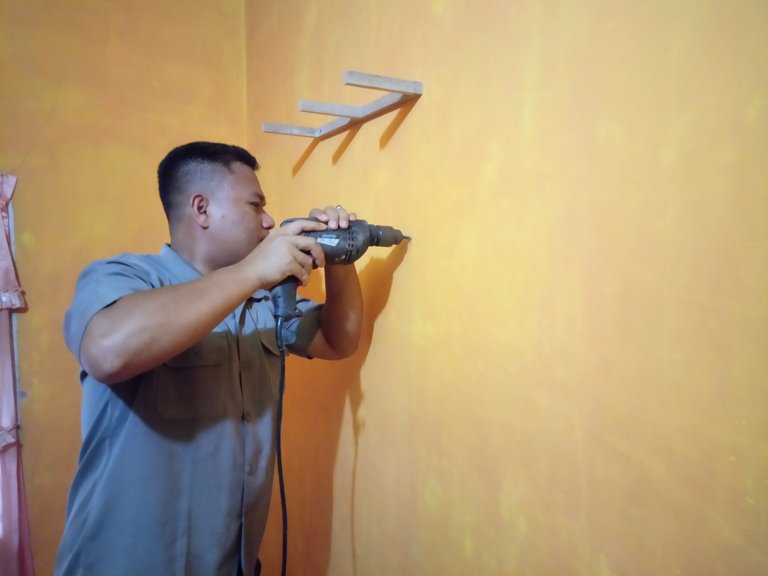
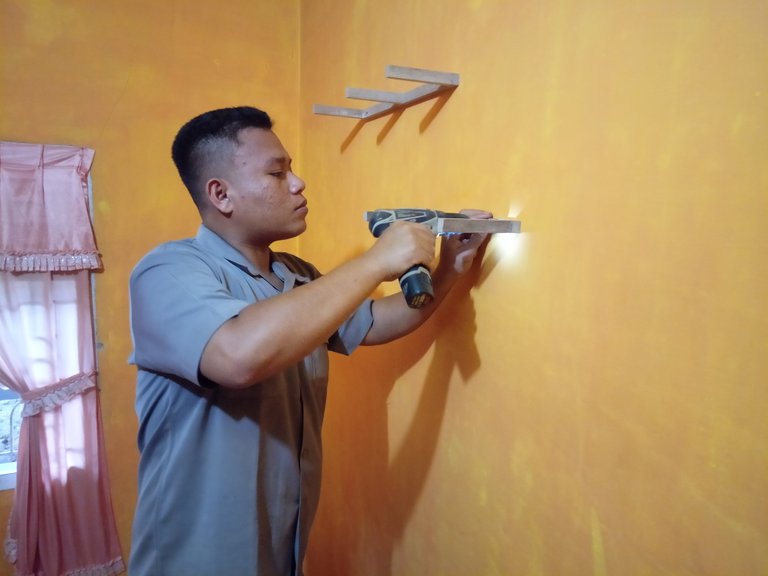
Now we go to the process of attaching the shelf to the wall.
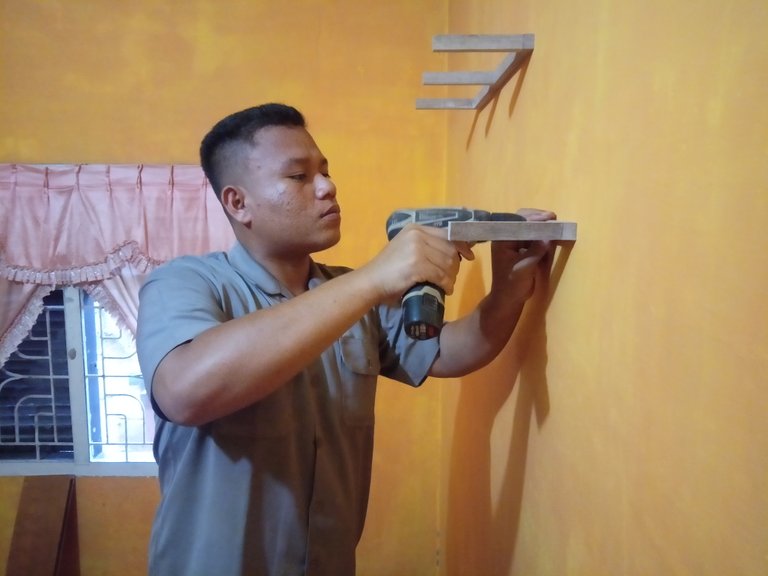
First I measured how high the shelf was that I adjusted so it wasn't too high and not too low, I made the distance between the first shelf and the others 40 cm, this size fits me very well.
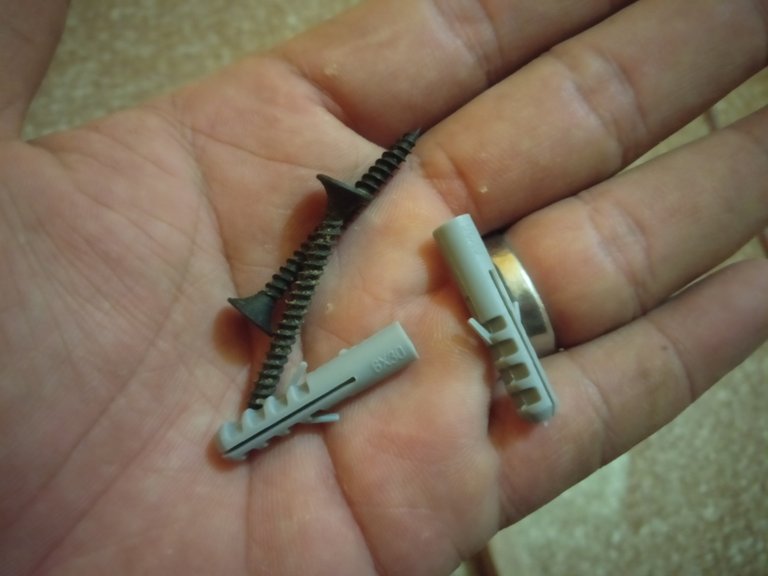
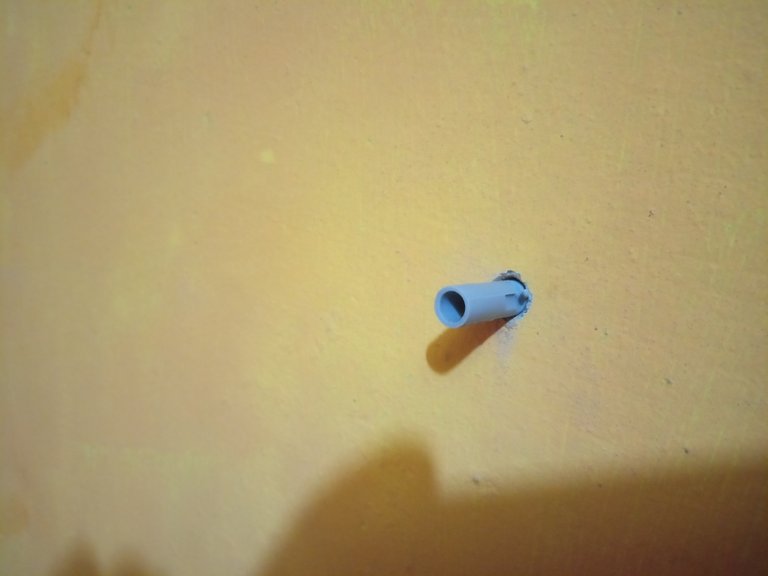
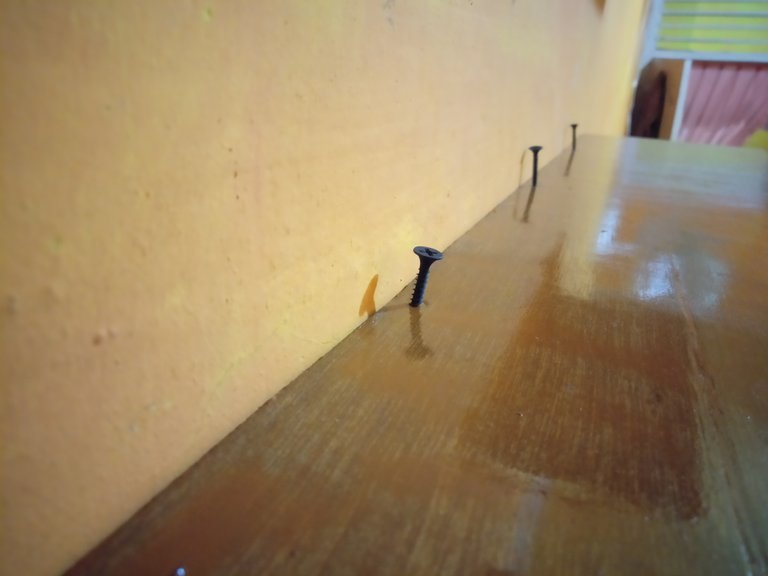
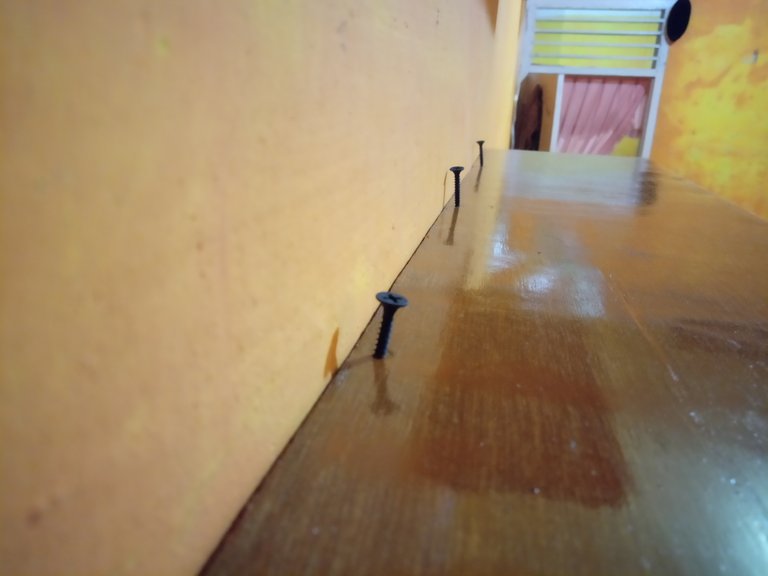
Then I drilled the wall using a 6mm drill bit for me to insert the viser into it, I drilled it according to the hole I had prepared in the retaining wood, the purpose of this viser is as a tool for attaching bolts.
After I made holes in everything, I inserted the viser and attached the retaining wood and screwed it in, then I installed the shelf according to its location, to make the shelf solid and sturdy I also screwed the top of the shelf into the retaining wood and also so that the shelf wouldn't fall off After that the rack is ready to use.

And that's the process of making and installing a wall shelf that I made of wood, I hope you enjoy my post, I apologize if there are errors in my writing and it may be difficult to understand, hopefully the photos I display can help you understand my explanation.
Thank you very much for taking the time to read my post, see you in the next post.