WELCOME TO MY BLOG
Hellooooo, hellooooooo! Greetings and my respects to the jewelry creators. The use of bracelets in series is causing a sensation among lovers of these accessories and pastel colors are one of the most used by girls and young people.
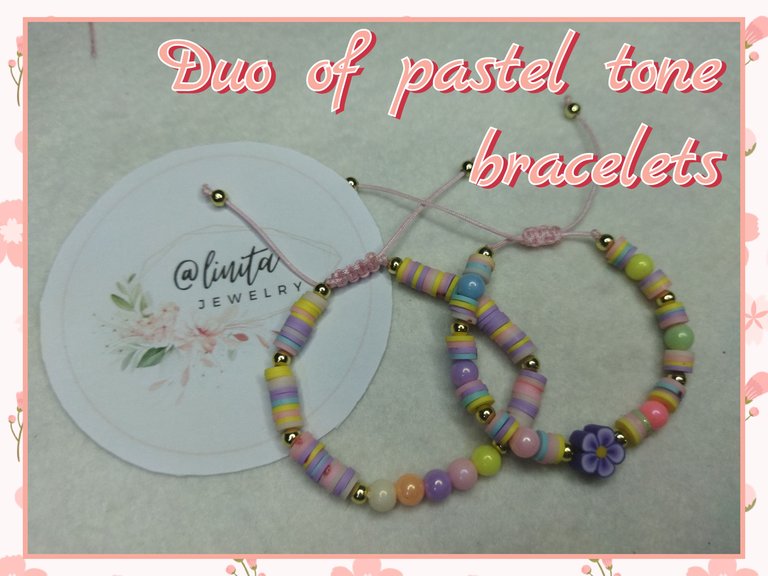
Today's tutorial is about making special duo bracelets in pastel tones for girls and not so girls who also like to be at the forefront of jewelry. A few days ago I was visiting the store where I often buy these materials and I fell in love with some beads in pastel tones and I said to myself "that's it, I'm not leaving here without these beads." And even though the price is not as cheap as I thought, I still brought them to make my duo bracelets.
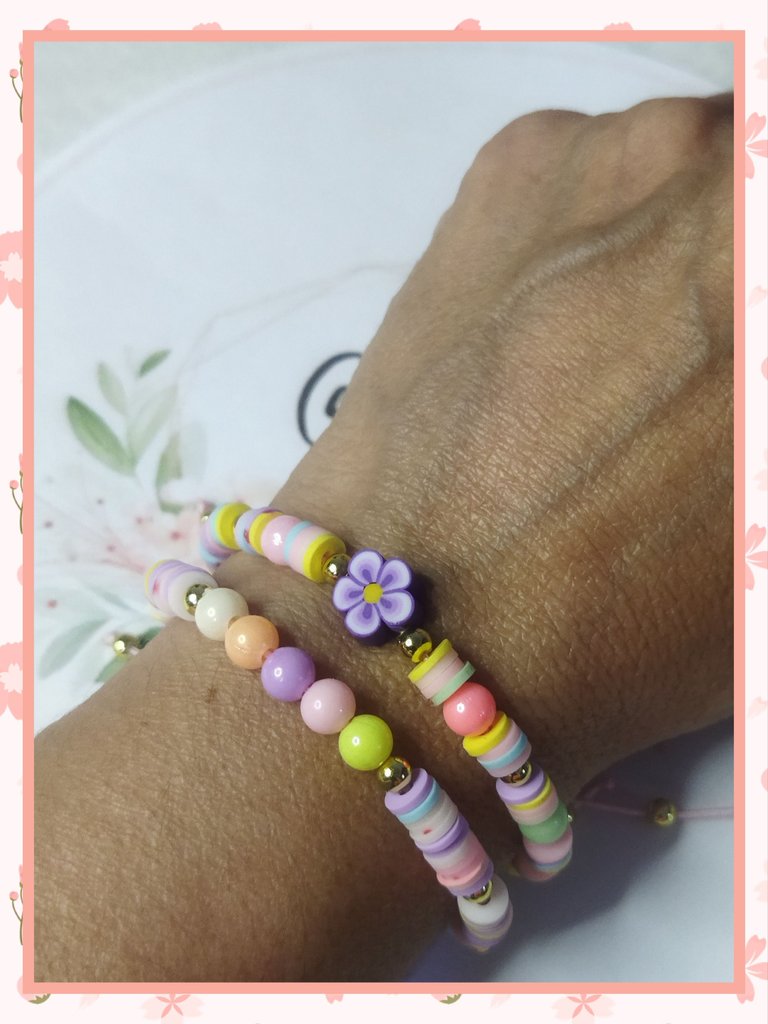
These bracelets look spectacular when your wardrobe is soft and muted colors. I will wear them with white because it is a way to highlight the accessory. So if you like this type of accessory and pastel colors, follow the tutorial, which is very easy to do. Let's get started.
BIENVENIDOS A MI BLOG
¡Holaaaa, holaaaaa! Saludos y mis respetos a los creadores de bisutería. El uso de pulseras en serie está causando furor en los amantes de estos accesorios y los colores pasteles en de los más usados en las niñas y jóvenes.
El tutorial de hoy se trata de la elaboración de pulseras dúo especial tonos pasteles para las chicas y las no tan chicas que también nos gusta estar a la vanguardia de la bisutería. Hace unos días estuve de visita en la tienda donde frecuento comprar estos materiales y quedé enamorada de unas cuentas en tonos pasteles y me dije ·"listo, no me voy de aquí sin estas cuentas". Y a pesar del que el precio no es tan económico como lo suponía, de igual manera me las traje para hacer mis pulseras dúo.
Estas pulseras lucen espectaculares cuando tu vestuario es de colores suaves y tenues. Yo las luciré con blanco porque es una forma de resaltar el accesorio. Así que si te gusta este tipo de accesorio y los colores pasteles, sigue el tutorial que es muy fácil de hacer. Comencemos.
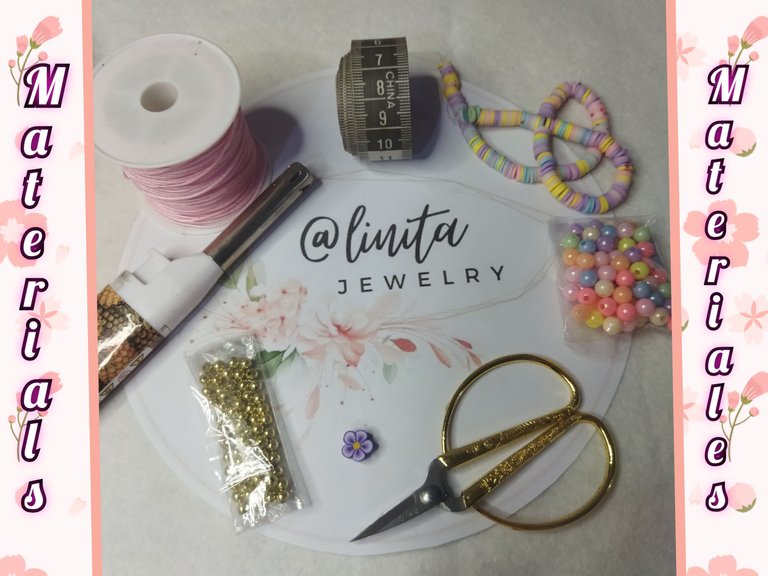
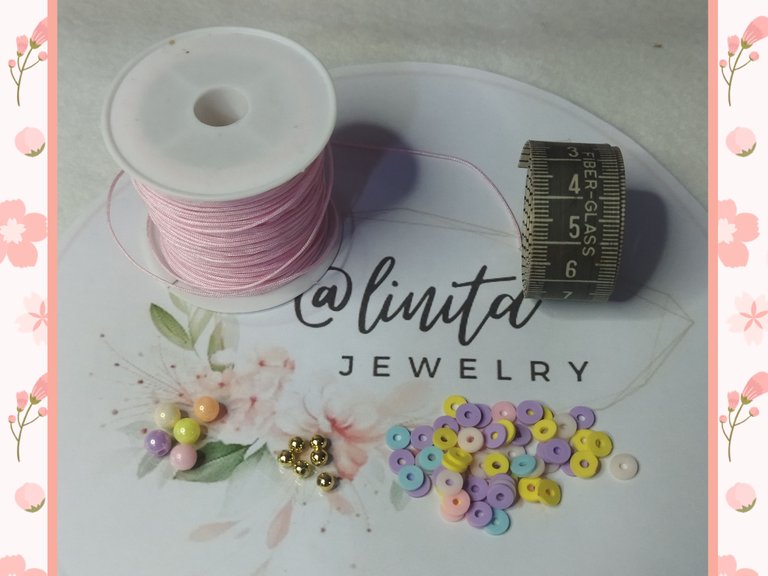
MATERIALS
- 1mm pink Chinese thread
- 6 mm pastel colored beads
- 6 mm pastel colored fimos
- 4 mm pellets
- 8 mm fimo flower
- Lighter
- Scissors
MATERIALES
- Hilo chino color rosado de 1mm
- Cuentas colores pasteles de 6 mm
- Fimos colores pasteles de 6 mm
- Balines 4 mm
- Flor fimo de 8 mm
- Encendedor
- Tijera
STEP BY STEP // PASO A PASO
BRACELET #1
To make the first bracelet we are going to use 30 cm of pink Chinese thread. With the lighter we make a needle point at one of the ends to begin inserting the beads.
PULSERA #1
Para realizar la primera pulsera vamos a utilizar 30 cm de hilo chino rosado. Con el encendedor realizamos punta de aguja en uno de los extremos para comenzar a introducir los abalorios.
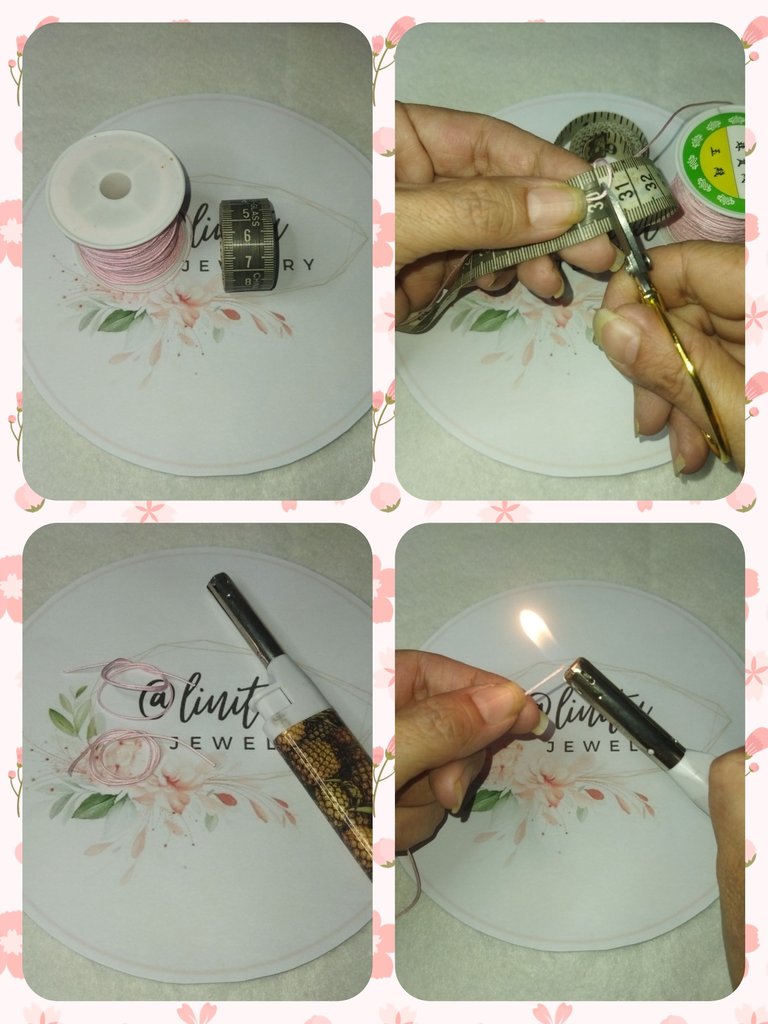
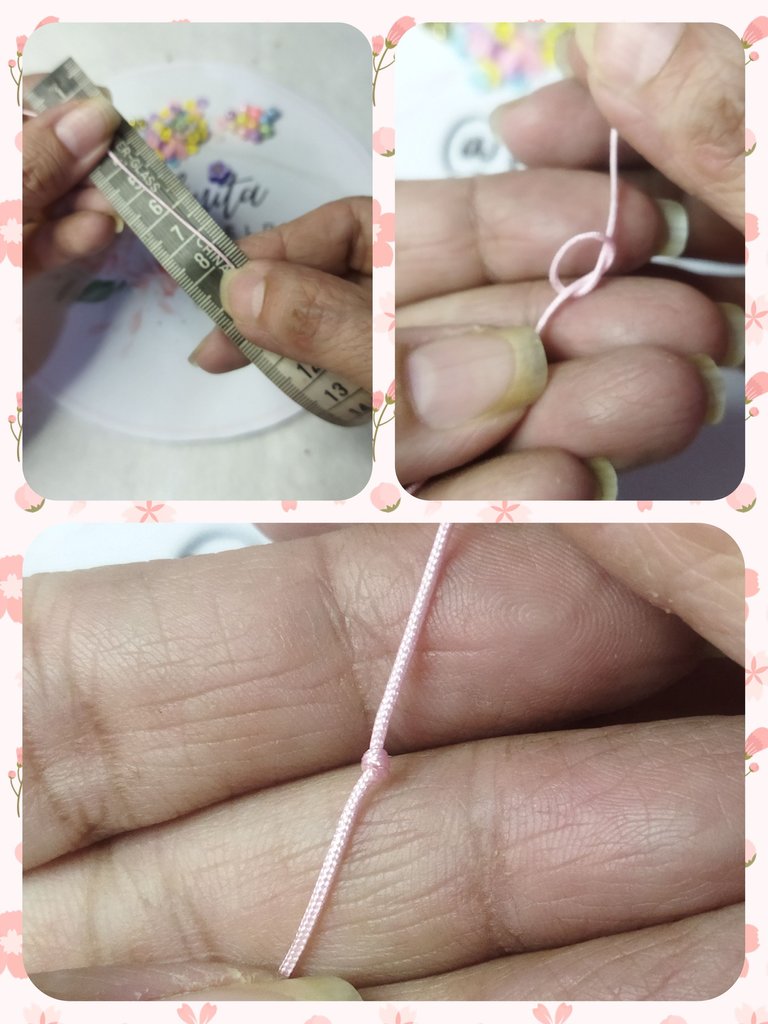
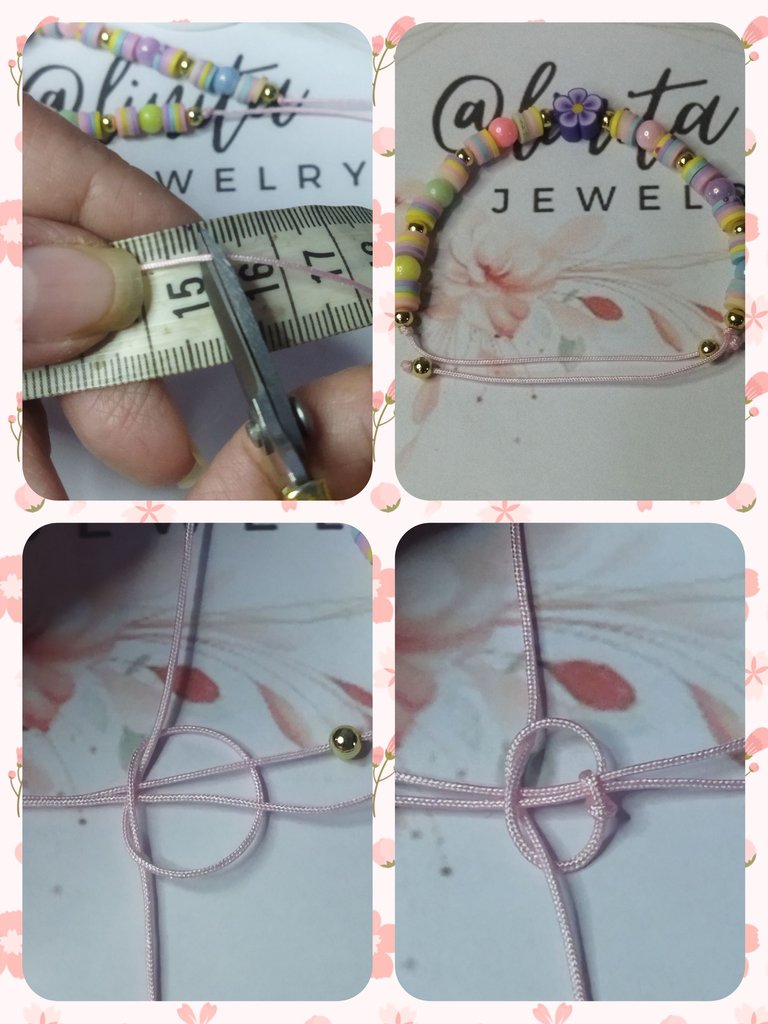
We take the thread and measure 8 cm and make a knot at that mark, to begin inserting the beads if there is a risk of them coming off.
Tomamos el hilo y medimos 8 cm y realizamos un nudo en esa marca, para comenzar a introducir los abalorio si riesgo a que se salgan.
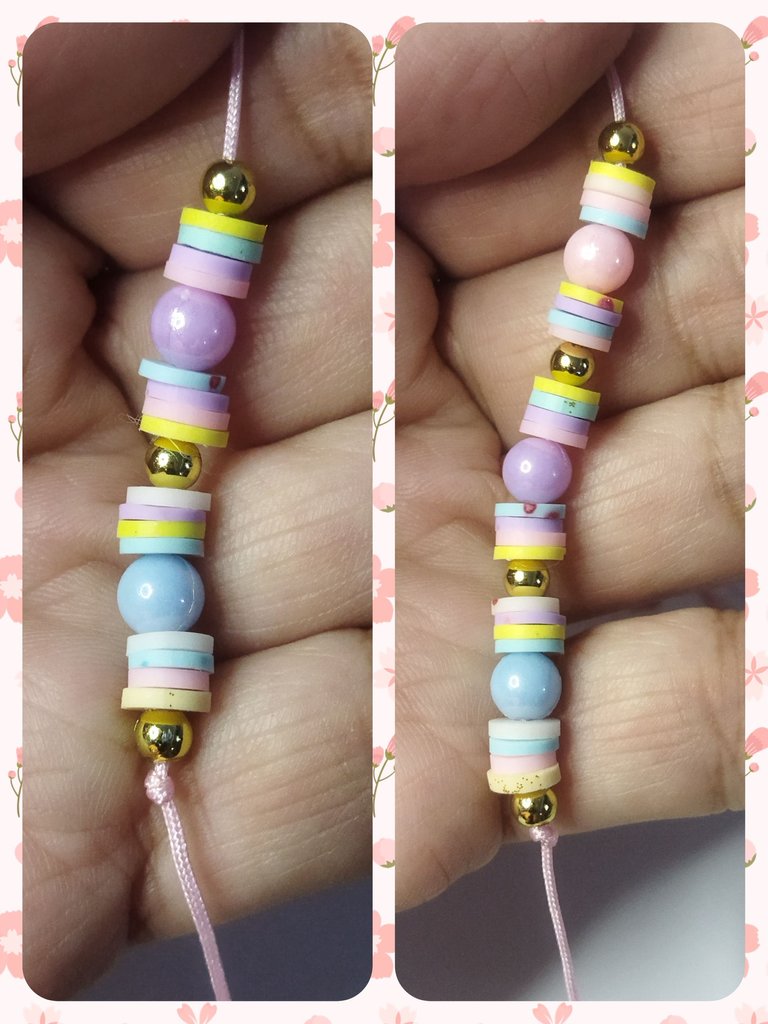
To form this bracelet we are going to make a series that we will repeat in the process. We start with a 4 mm pellet. Next we introduce 4 fimos of various colors if we want a multicolor bracelet. Then we put a 6 mm blue bead or whatever color you like, 6 more fimos and a pellet.
Para formar esta pulsera vamos a realizar una serie que repetiremos en el proceso. Empezamos con un balín de 4 mm. Seguidamente introducimos 4 fimos de varios colores si queremos una pulsera multicolor. Luego ponemos una cuenta de 6 mm color azul o del color que te guste, 6 fimos más y un balín.
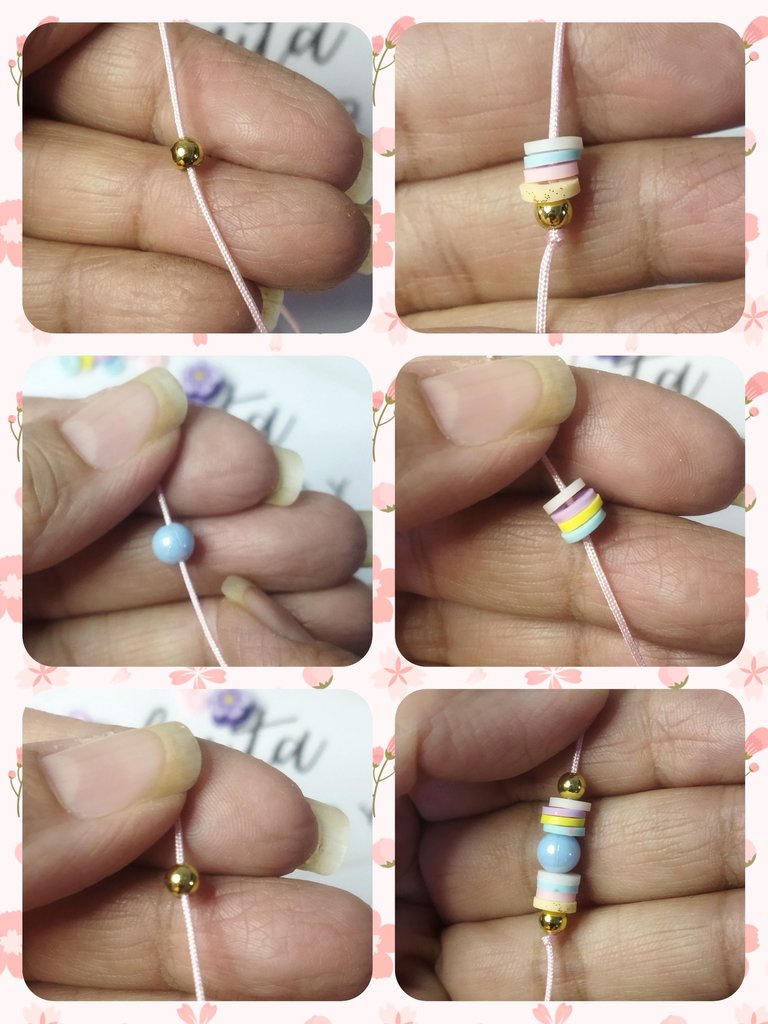
We make two identical series for a total of 3 series that we are going to vary the colors of the fimos and the beads so that a contrast in the colors can be seen. These 3 series measure 6 cm, which form half of the bracelet.
Realizamos dos series iguales para un total de 3 series que vamos a ir variando los colores de los fimos y las cuentas para que se vea un contraste en los colores. Estas 3 series miden 6 cm que forman la mitad de la pulsera.
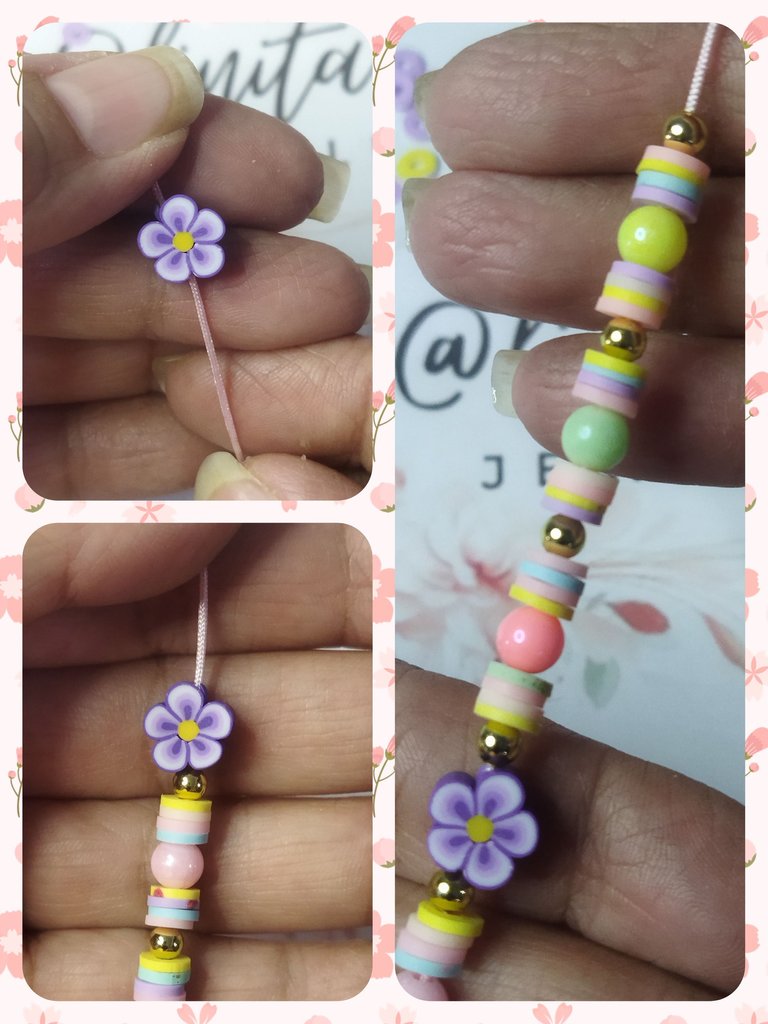
Now we are going to introduce the 8 mm flower fimo, I am using one in purple.
And we finished by making 3 more series of fimos, beads and pellets to complete the design of the bracelet. We tie a knot at the end to close the design. The measurement is 13 cm.
Ahora vamos a introducir el fimo de flor de 8 mm, yo estoy utilizando una en color morado.
Y finalizamos realizando 3 series más de fimos, cuentas y balines para culminar el diseño de la pulsera. Realizamos un nudo al final para cerrar el diseño. La medida es de 13 cm.
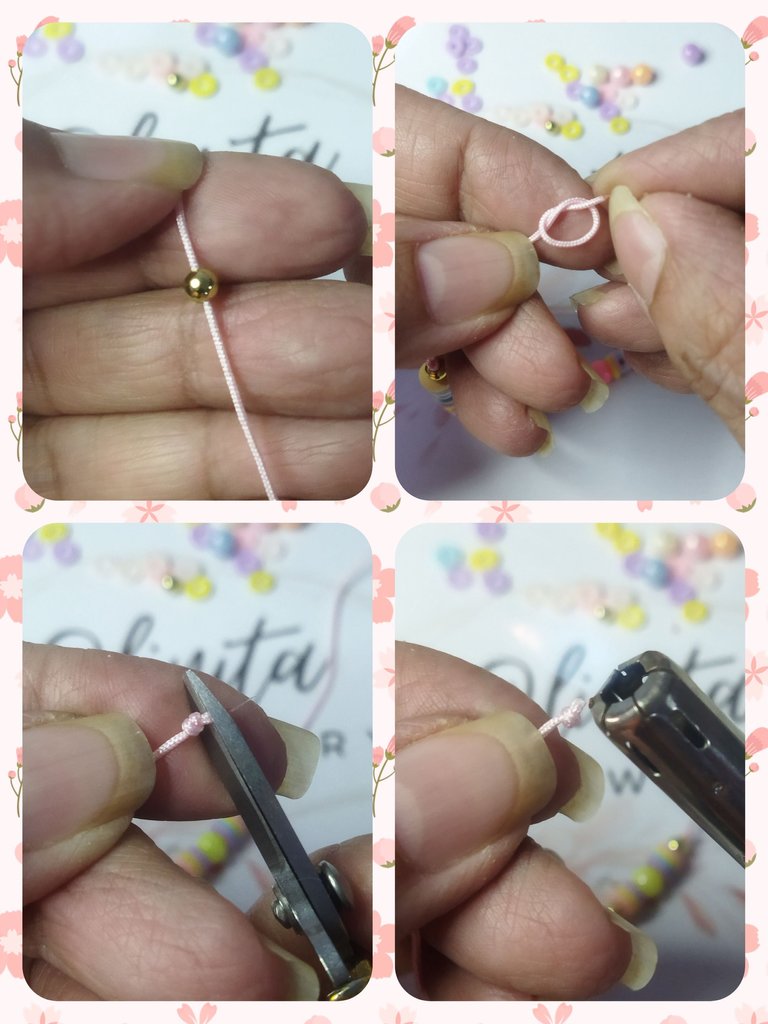
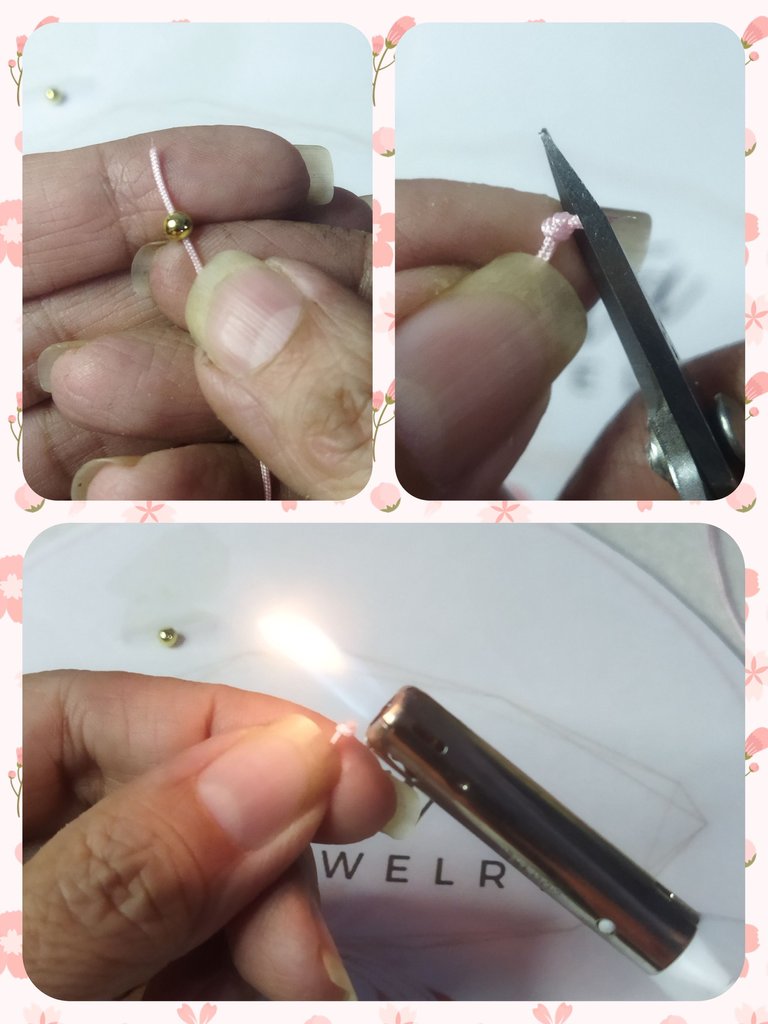
To finish the hanging threads, we insert a ball into each of the ends. We knot, cut the excess thread and seal with the lighter.
Para el acabado de los hilos colgantes, introducimos un balín en cada uno de los extremos. Anudamos, cortamos el hilo sobrante y sellamos con el encendedor.
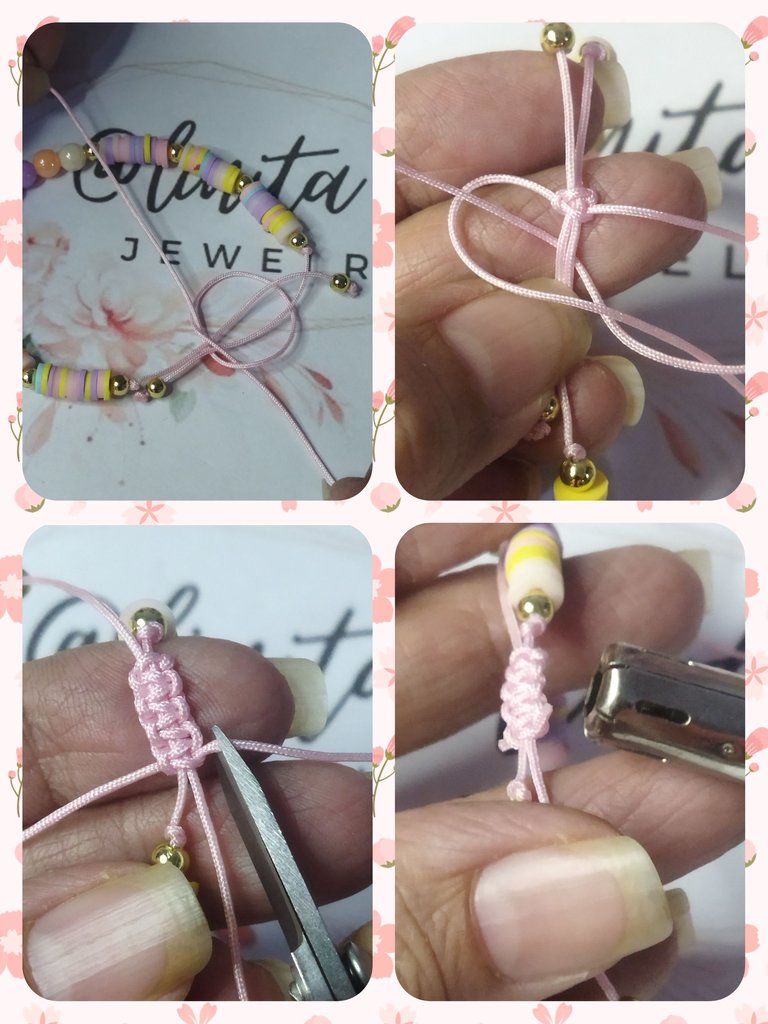
Now we close the bracelet. We will do this with Chinese thread of the same color with which we will make a sliding closure with flat knots so that the bracelet is adjustable. We make 6 to 8 flat knots.
Ahora realizamos el cierre de la pulsera. Esto lo haremos hilo chino del mismo color con el que haremos un cierre corredizo con nudos planos para que la pulsera sea ajustable. Realizamos de 6 a 8 nudos planos.
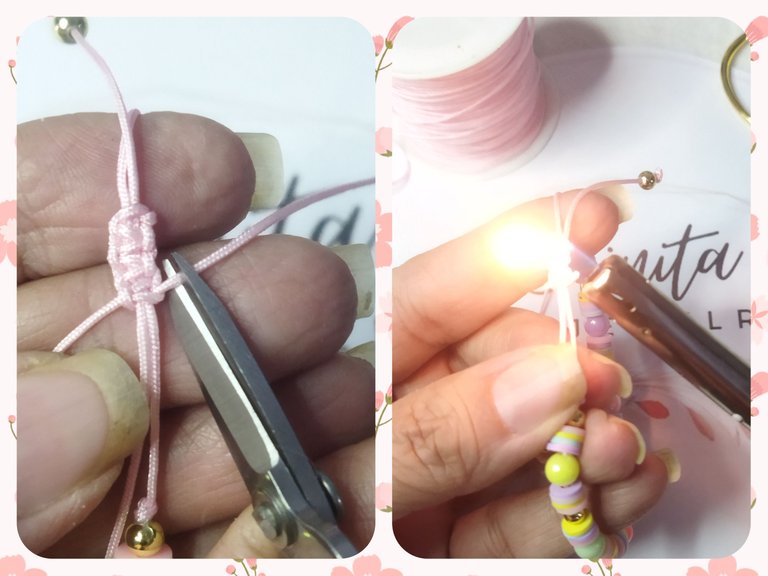
We cut the excess thread and seal with our lighter.
Cortamos el exceso de hilo y sellamos con nuestro encendedor.
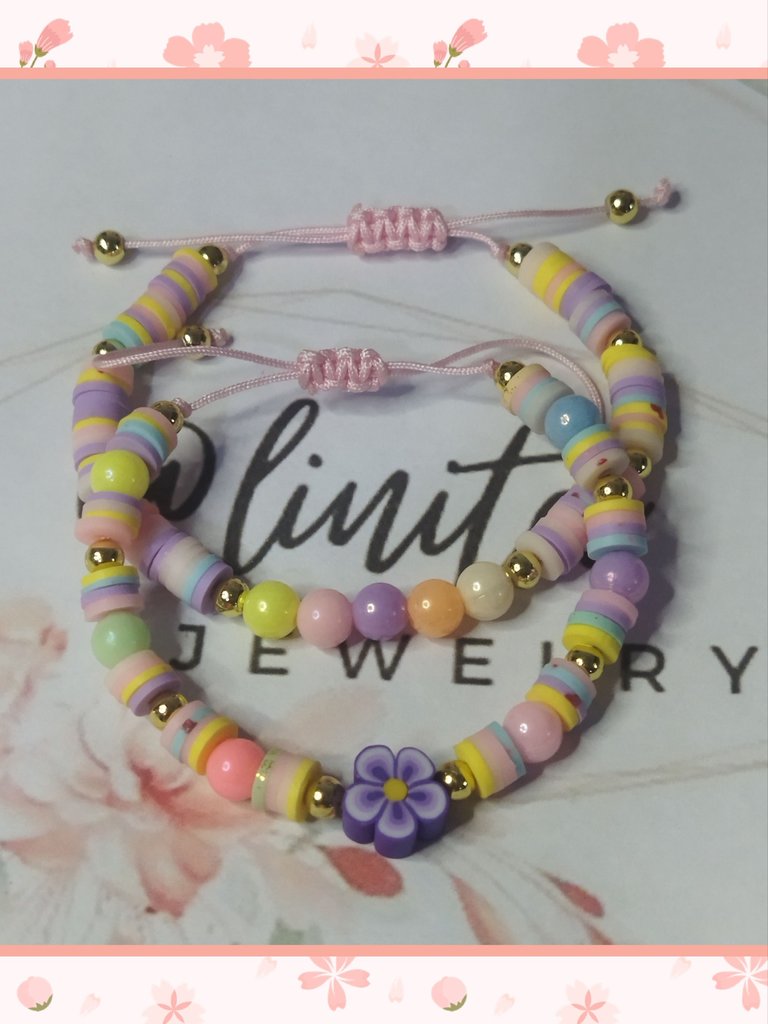
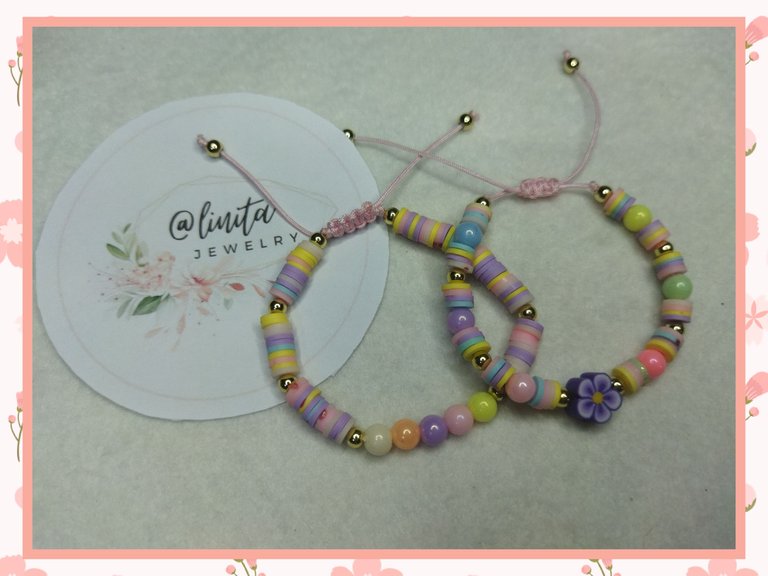
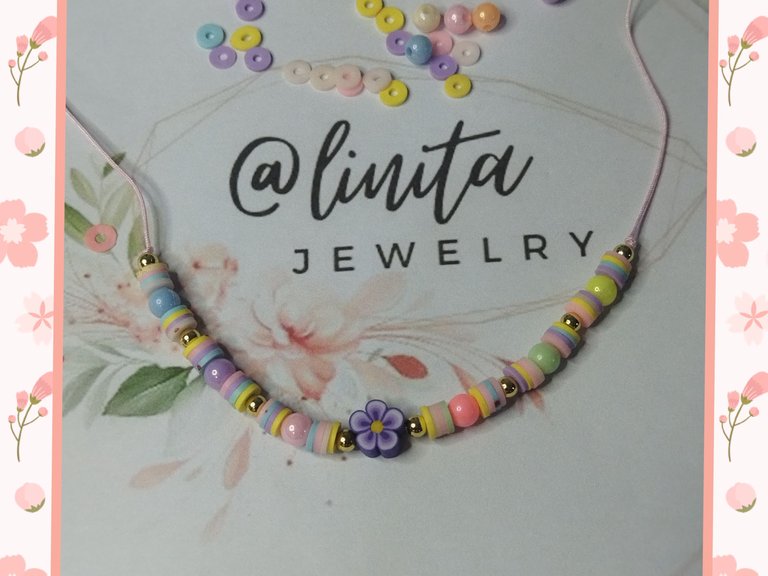
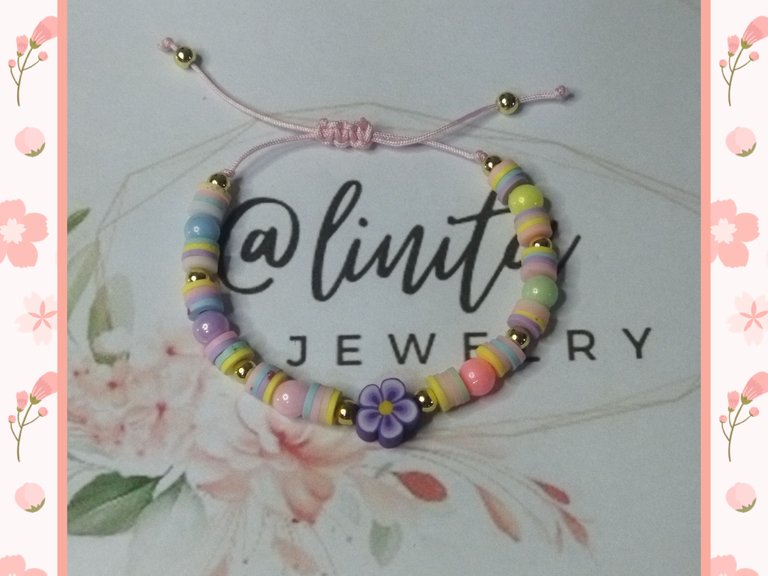
This is how our duo's first bracelet looks. Balinese, fimos and beads interspersed with a central flower that make a feast of very pretty pastel colors.
Así queda la primera pulsera de nuestro dúo. Balines, fimos y cuentas intercaladas con una flor central que hacen un festín de colores pasteles muy bonitos.
BRACELET #2
For the second bracelet we are going to use the same materials but we will order them in a different way so that it matches the first bracelet.
PULSERA #2
Para la segunda pulsera vamos a utilizar los mismos materiales pero los ordenaremos de diferente forma para que realice el juego con la primera pulsera.
We take 30 cm of pink Chinese thread. We measure 8 cm and tie a knot to begin inserting the beads. Starting with a 4mm pellet.
Tomamos 30 cm de hilo chino rosado. Medimos 8 cm y realizamos un nudo para comenzar a introducir los abalorios. Comenzando con un balín de 4 mm.
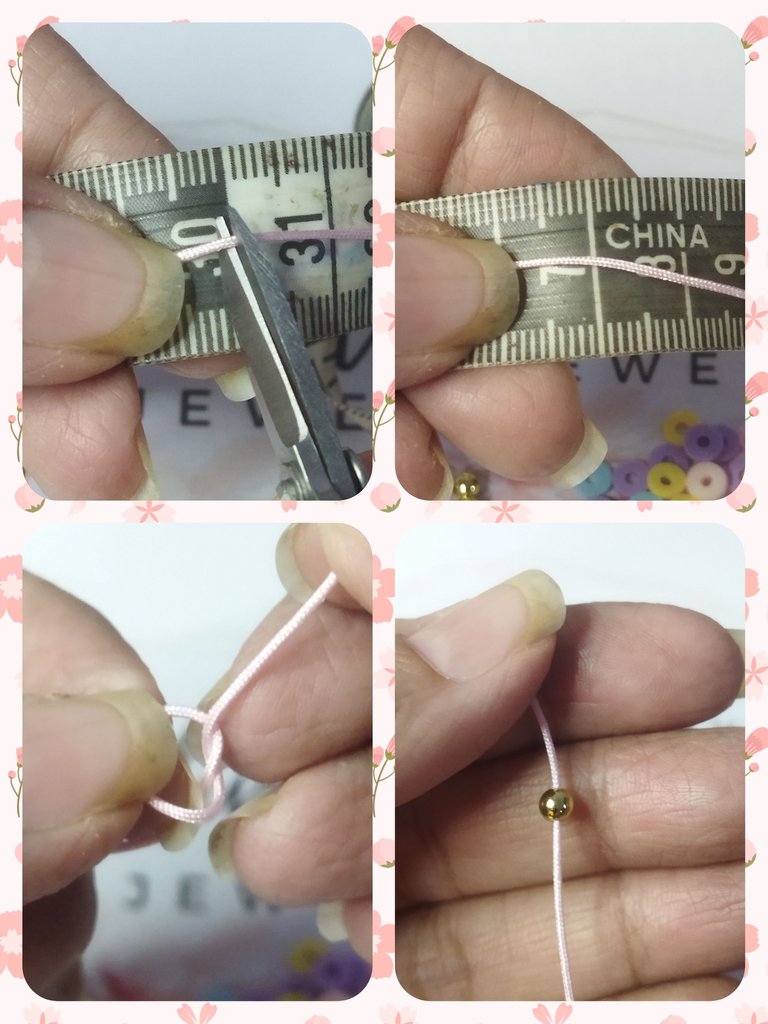
Now we will place 1.5 cm of fimos of various colors and another pellet to form our series. We will do 2 more sets for a total of 3 sets. This should have a measurement of 5.5 cm.
Ahora colocaremos 1,5 cm de fimos de colores variados y otro balín para formar nuestra serie. Haremos 2 series más para un total de 3 series. Esto debe tener una medida de 5,5 cm.
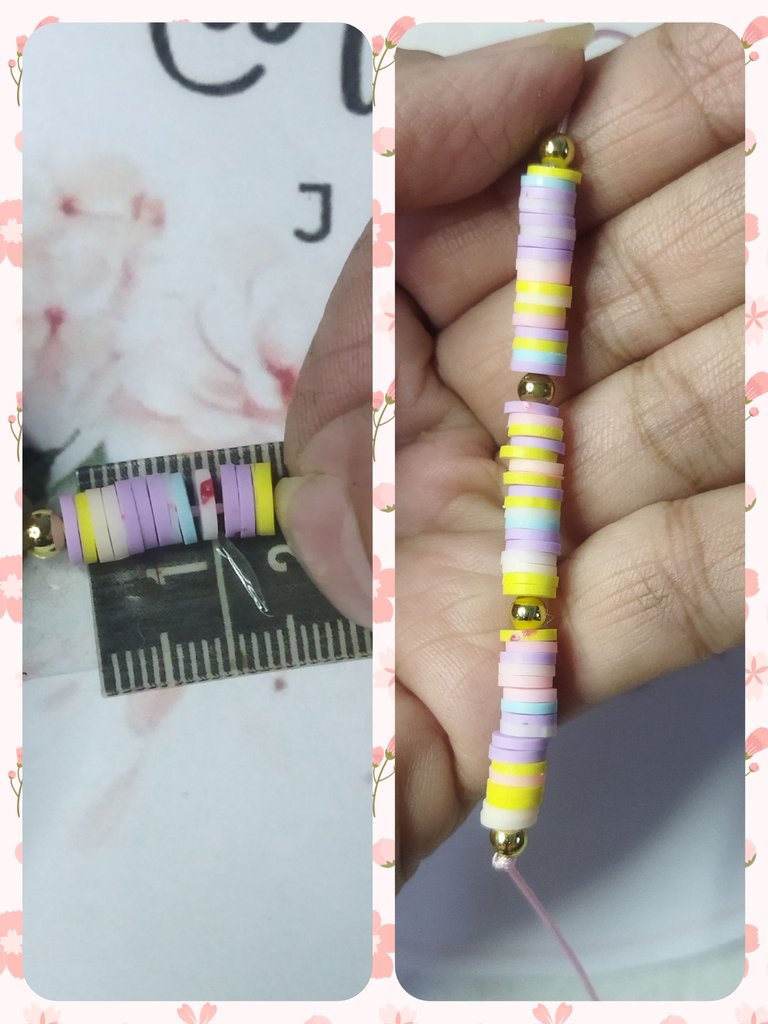
We introduce 5 6 mm beads of various colors and then we make 3 series identical to the previous ones of fimos and pellets.
Introducimos 5 cuentas de 6 mm de colores variados y seguidamente realizamos 3 series iguales a las anteriores de fimos y balines.
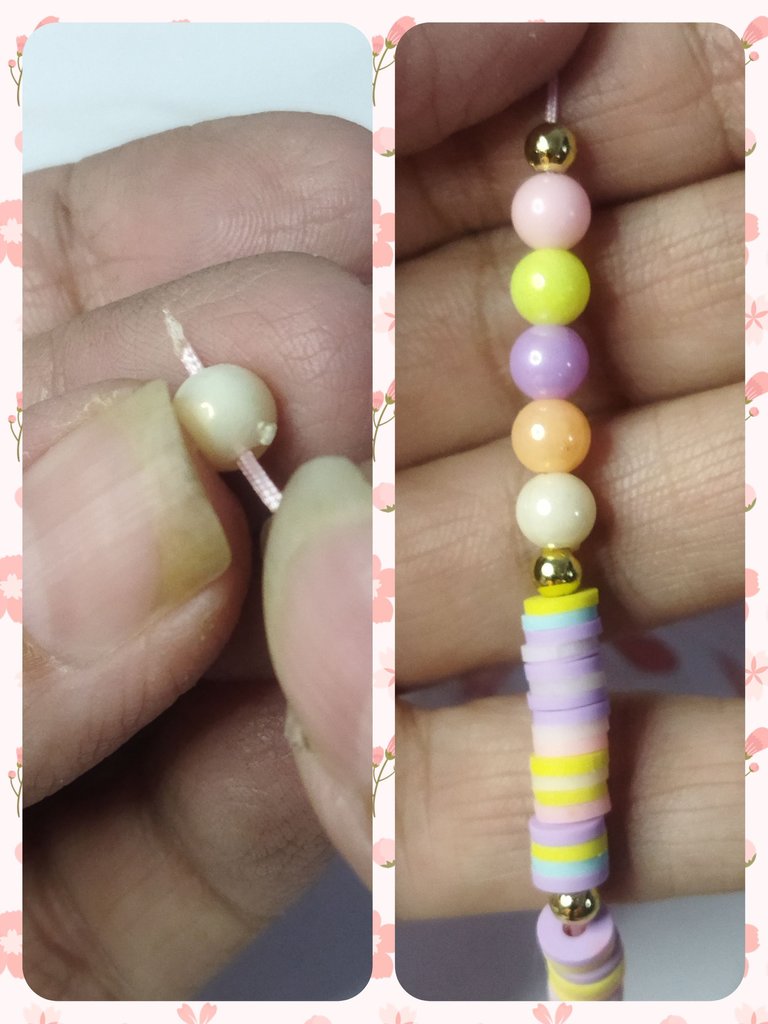
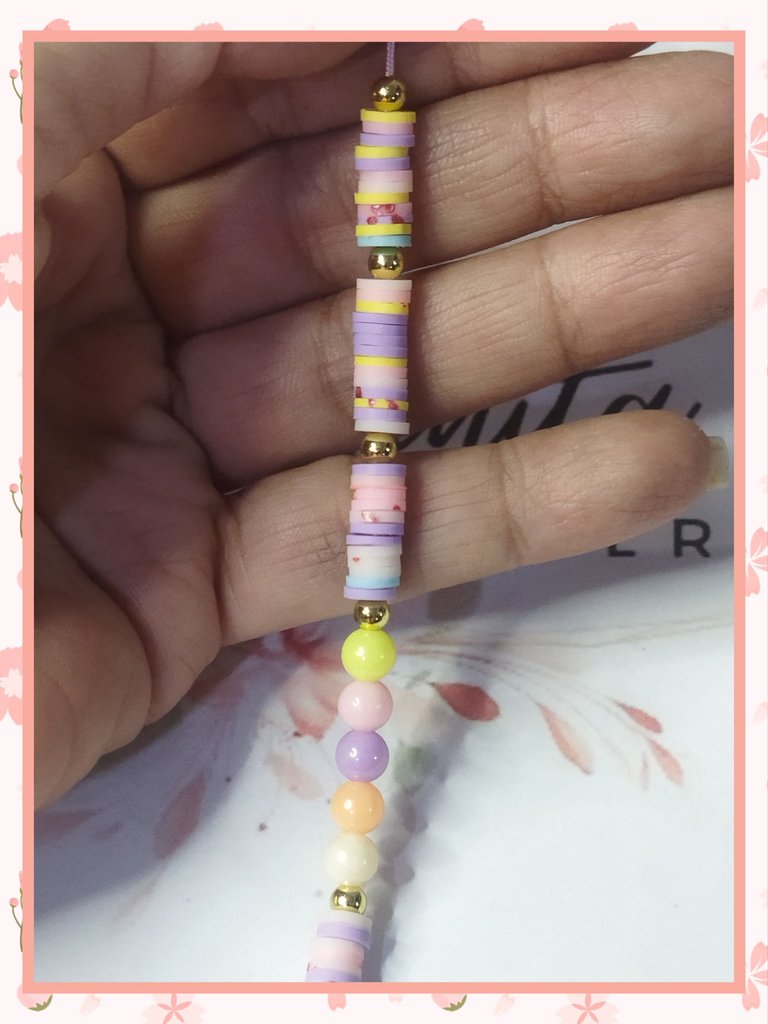
We finish the design by making a closing knot at the end of the last ball.
Terminamos el diseño realizando un nudo de cierre al final del último balín.
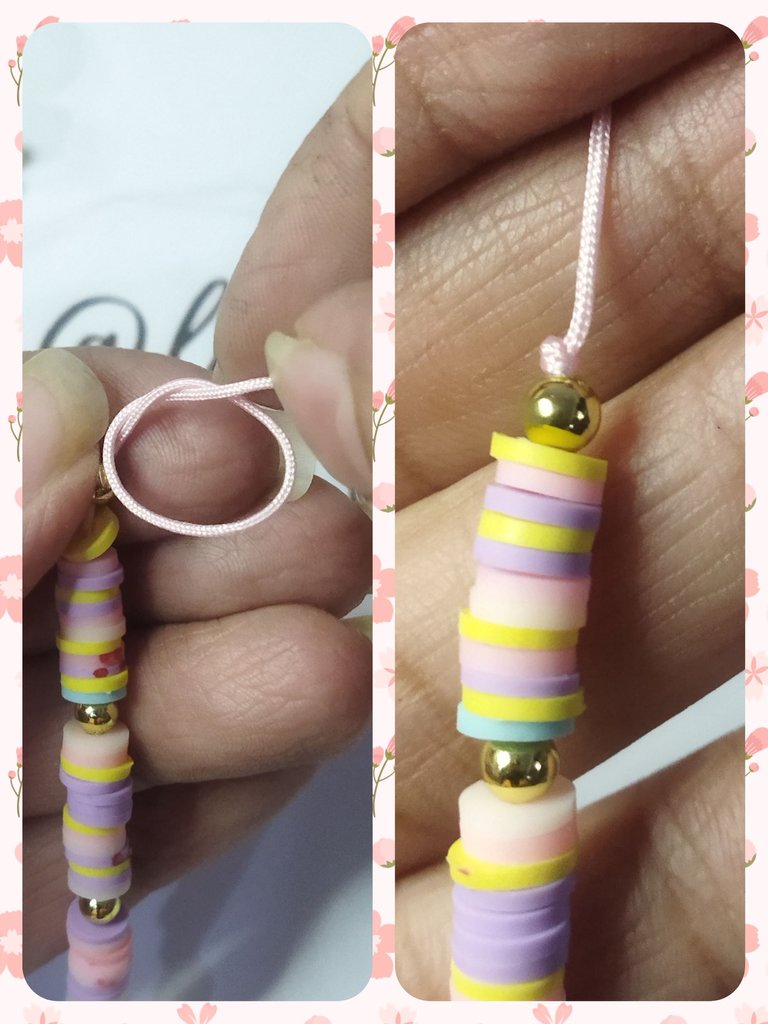
To finish the hanging threads, like the previous bracelet, we insert a ball into each of the ends. We knot, cut the excess thread and seal with the lighter.
Para el acabado de los hilos colgantes, al igual que la pulsera anterior, introducimos un balín en cada uno de los extremos. Anudamos, cortamos el hilo sobrante y sellamos con el encendedor.
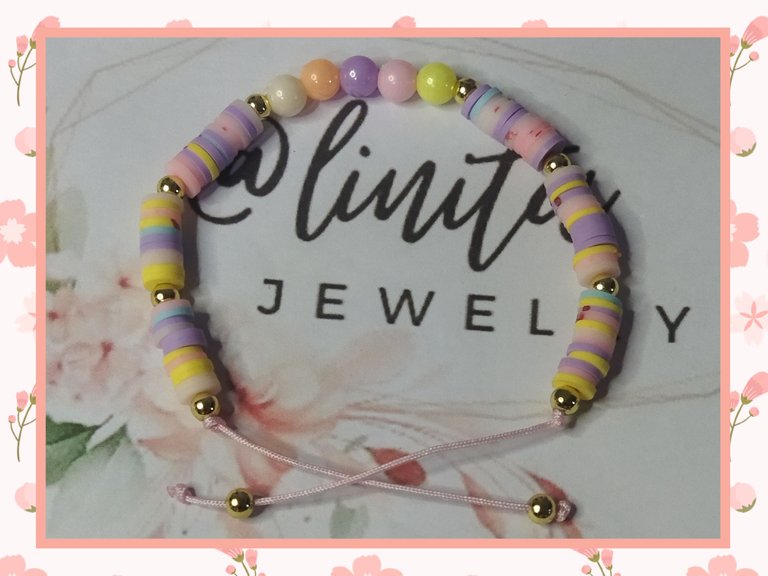
We make 8 flat knots in the two threads of the bracelet to make an adjustable sliding closure. We cut the excess thread and seal.
Realizamos 8 nudos planos en los dos hilos de la pulsera para hacer un cierre corredizo ajustable. Cortamos el hilo sobrante y sellamos.
And in this way we finish our second bracelet of the duo.
Y de esta forma terminamos nuestra segunda pulsera del dúo.
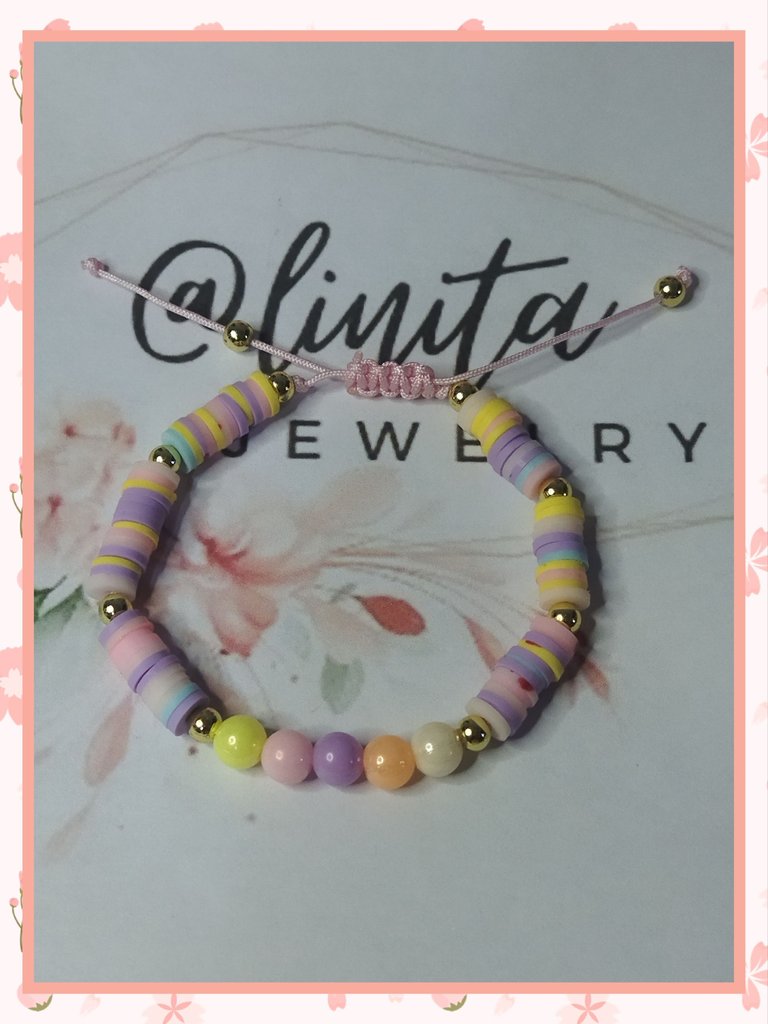
The best thing about these bracelets is how quickly we can make them. If we have the materials at home and we want to show off a new accessory, this is a fantastic idea and you can always look fashionable.
I hope you like it. See you next time.
Lo mejor de estas pulseras es lo rápido que podemos hacerlas. Si tenemos los materiales en casa y queremos lucir un nuevo accesorio, esta es una idea fantástica y además siempre puedes lucir a la moda.
Espero te guste. Nos vemos en la próxima.
