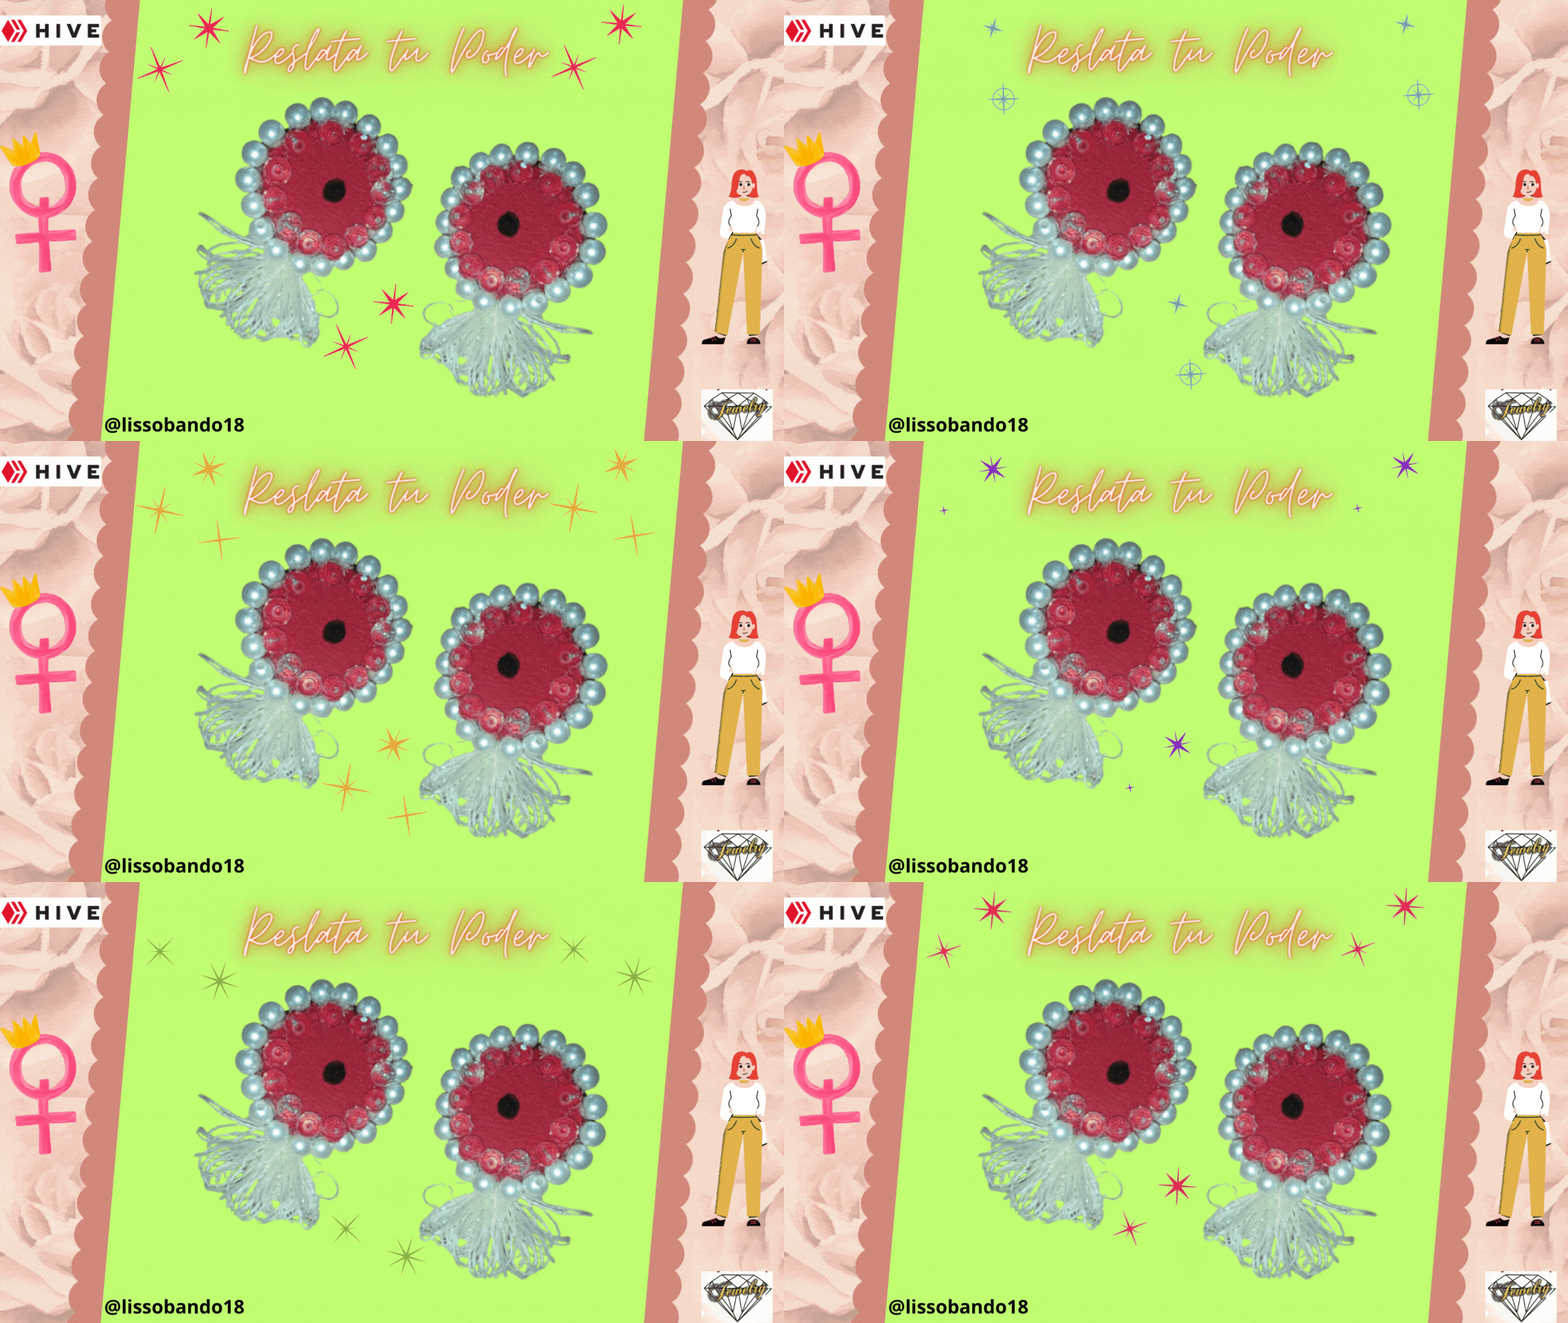
Hola amigos de Hive. Poder saludarles es un gusto. Espero tengan un Feliz domingo en compañia de sus seres queridos. Les deseo que la felicidad innunde su vida y que esté llena de exitos y bendiciones de parte de Dios.
El dia de hoy quiero presentarles la elaboracion de unos bellos aretes utilizando material de provecho,Son unos aretes que resaltan mucho al momento de lucirlos, asi que resaltará la belleza y el poder del amor propio con estos hermosos Aretes. Espero que les guste mucho y que puedan recrearlos con este paso a paso que les mostraré.
Espero les guste la propuesta.
Materiales
- Carton
- Retazos de tela roja
- Perlas blancas
- Cristales
- Enacaje
- Silicon caliente
- sujetador para zarcillos
- Tijera
Paso a Paso
1

Sobre el cartón se van a trazar dos formas circulares.
2

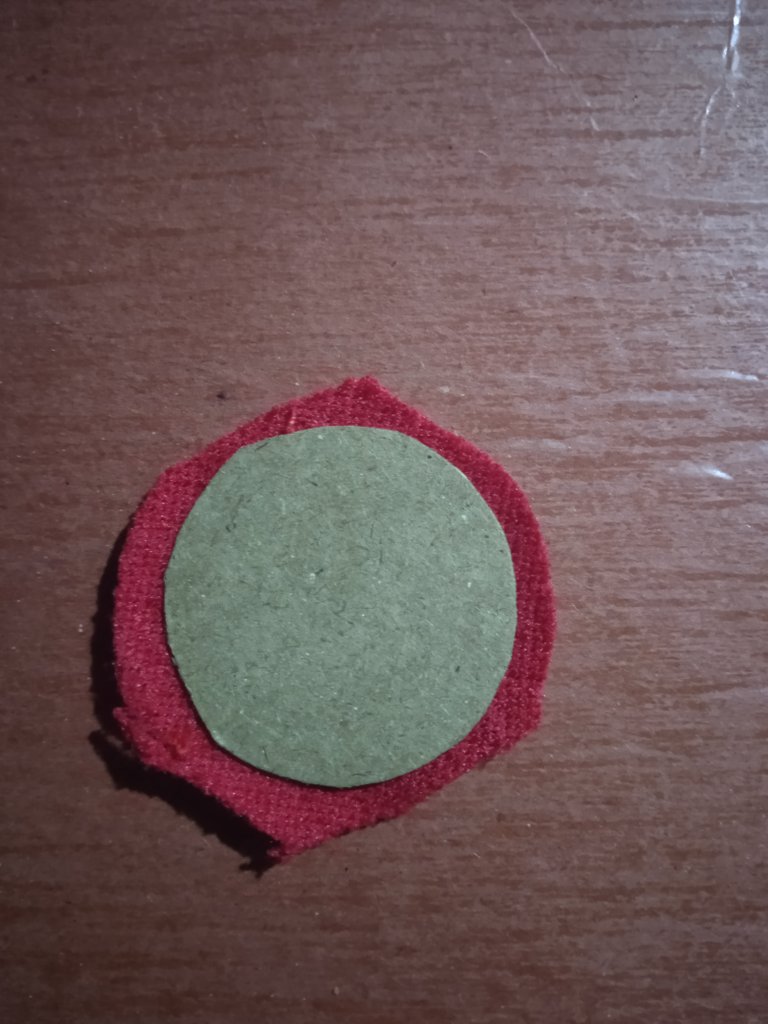
Luego se van a recortar la silueta de los circulos con la ayuda de la tijera.
Posteriormente se toma un pedazo de tela roja y se tapa una de las caras del circulo, fijandola con silicon caliente.
3

Tambien se tapa la otra cara del carton con la tela roja.
4
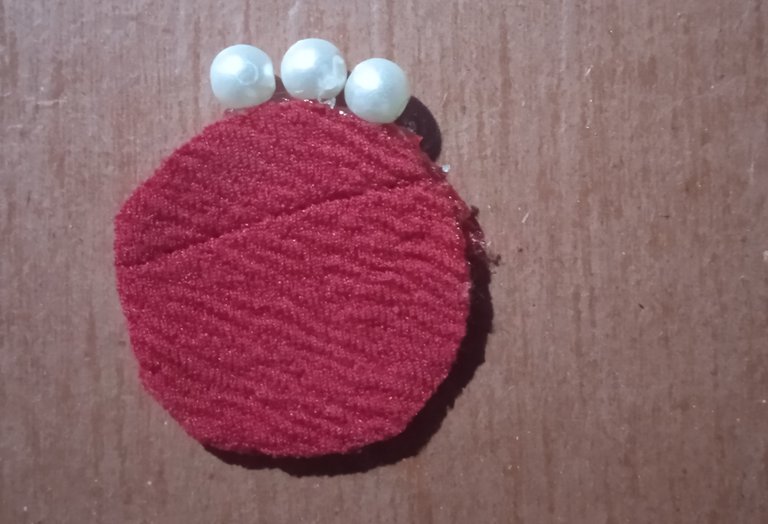
Luego se deben pegar las perlas en el borde circular que une a las dos tela que estas fijadas en el circulo. Para pegar las perlas se debe añadir un poco de silicon caliente, no se debe añadir mucho para evitar que este se corra en la tela y asi dañar la belleza de nuestro zarcillo.
De esta manera se va ir pagando alrdedor de todo el area del circulo.
5
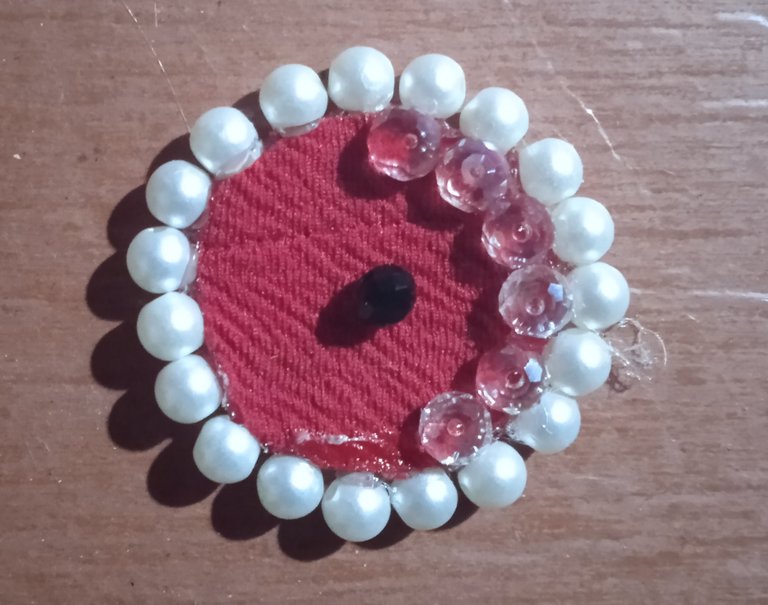
Luego se debe pegar una piedrita negra en la parte central del arete. Seguidamente se deben pegar los cristales aen la perte interna del circulo haciendolas coincidir con los bordes de las perlas que se han pegado previamente. Estos csirtales se van a ir pegando con el silicon calente, solo colocando pequeñas gotas de silicon con la ayuda de la pistola.
6
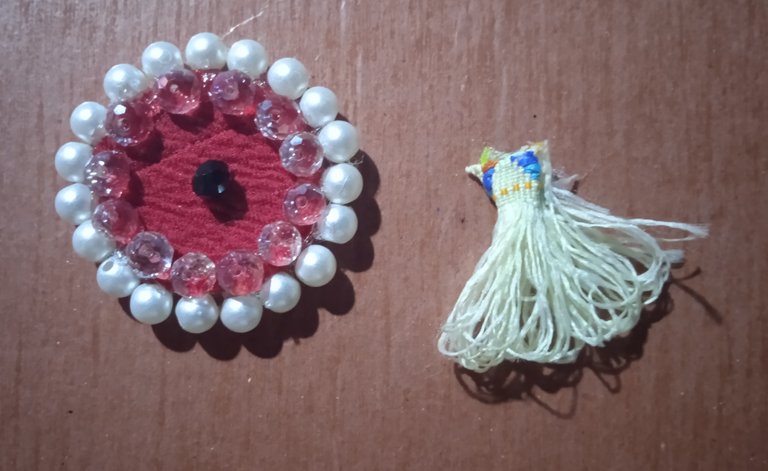
De esta manera se finaliza con el borde interno de los cristales. Luego se va a añadir a nuestro aretes un lindo encaje blanco. Este se ha doblado en la parte superior para hacer una especie de triangulo.
7
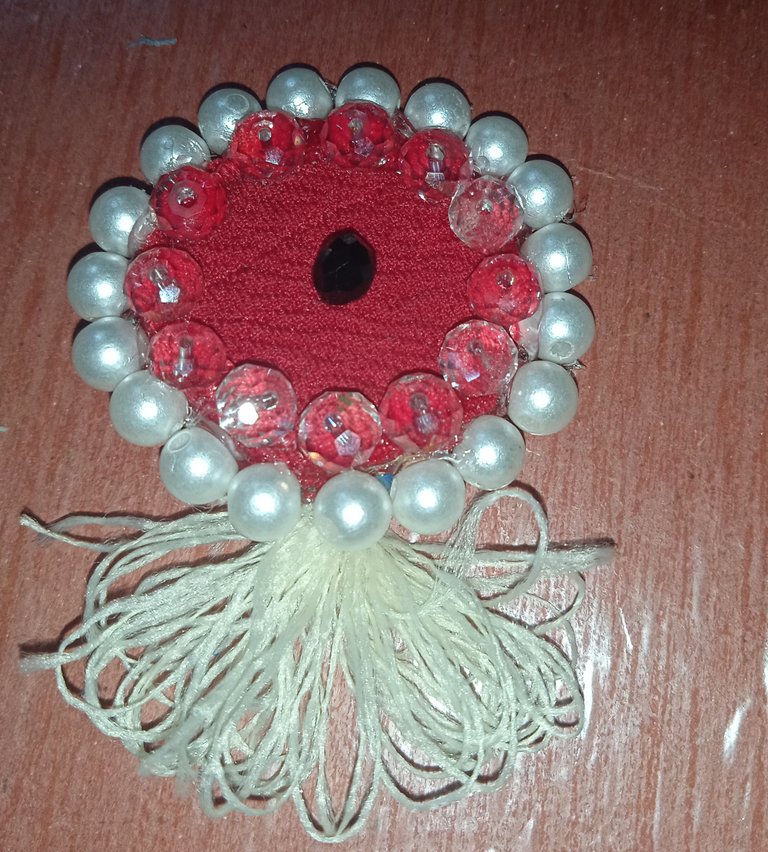
El encaje se debe pegar en la parte trasera del arete.
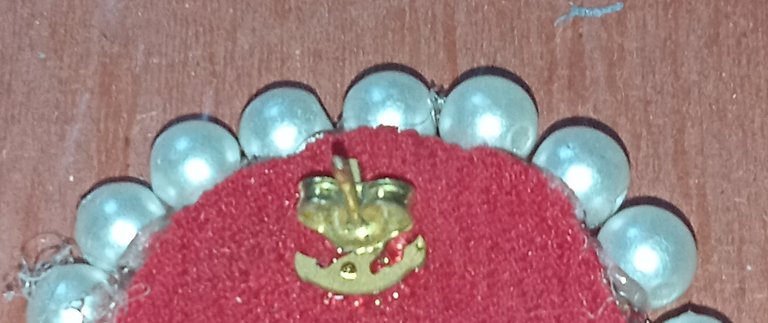
Finalmente se debe pegar los sujetadores de zarcillos en la parte trasera de este, exactam,ente en la parte centarl del circulo y dejando un epacio de 1 cm de distancia del borde superiror del zarcillo para pegar el sujetador de este.
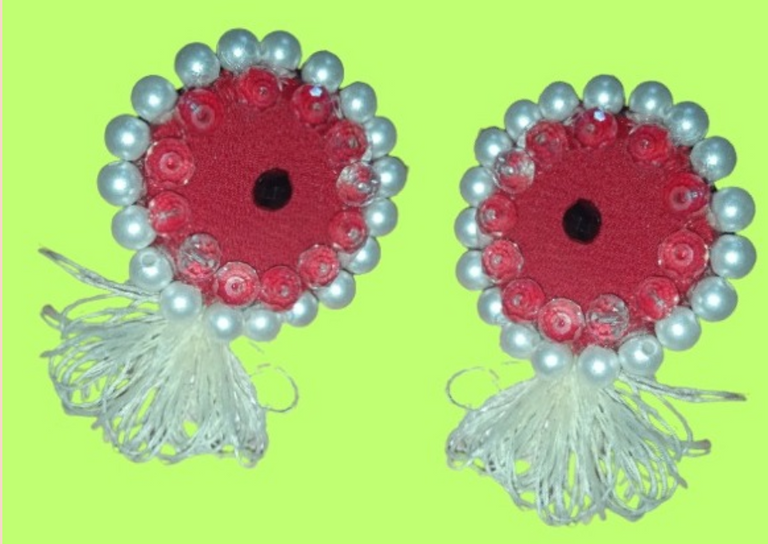
Espero que le guste la presentacion de estos lindos aretes. Este ha sido el resultado final de los zarcillos, tienen una apariencia muy diferente y lo mejor es que se puede hacer partiendo de materiales reciclables.
Saludos mis queridos amigos, muchas gracias por cada una de sus palabras y consejos, espero que tengan un feliz domingo y que esta nueva semana sea de mucho exito y felicidad para todos!
Las imagenes son de mi autoria y fueron Tomadas a traves de un Telefono ZTE BLADE.
Traductor utilizado: Deepl
La edicion de las fotos la realicé mediante canva.

Hello friends of Hive. It is a pleasure to be able to greet you. I hope you have a Happy Sunday in the company of your loved ones. I wish you happiness in your life and may it be full of success and blessings from God.
Today I want to present you the elaboration of some beautiful earrings using useful material, they are earrings that stand out a lot at the time of wearing them, so it will highlight the beauty and power of self-love with these beautiful earrings. I hope you like them very much and that you can recreate them with this step by step that I will show you.
I hope you like the proposal.
Materials
- Cardboard
- Red fabric scraps
- White beads
- Crystals
- Packaging
- Hot silicon
- tendril fastener
- Scissors
Step by Step
1

Draw two circular shapes on the cardboard.
2

Then cut out the silhouette of the circles with the help of the scissors.
Then take a piece of red fabric and cover one of the sides of the circle, fixing it with hot silicon.
3


Also cover the other side of the cardboard with the red cloth.
4

Then glue the beads on the circular edge that joins the two fabrics that are fixed on the circle. To glue the pearls you should add a little bit of hot silicon, do not add too much to avoid that it runs on the fabric and thus damage the beauty of our tendril.
In this way you will be paying around the whole area of the circle.
5

Then glue a little black stone in the central part of the earring. Then glue the crystals on the inner part of the circle, matching them with the edges of the pearls that have been previously glued. These crystals will be glued with the hot silicone, just placing small drops of silicone with the help of the gun.
6

In this way we finish with the inner edge of the crystals. Then we are going to add to our earrings a nice white lace. This has been folded at the top to make a sort of triangle.
7

The lace should be glued to the back of the earring.

Finally glue the earring clips on the back of the earring, exactly on the center part of the circle and leaving a space of 1 cm away from the top edge of the earring to glue the earring clip.
I hope you like the presentation of these beautiful earrings. This has been the final result of the earrings, they have a very different look and the best thing is that they can be made from recyclable materials.

Greetings my dear friends, thank you very much for each of your words and advice, I hope you have a happy Sunday and that this new week will be very successful and happy for everyone!
The images are my own and were taken with a ZTE BLADE phone.
Translator used: Deepl
I edited the pictures using canva.
