Xurrito technique
ENGLISH
I don't know how to translate this into English, maybe "roll" or "coiling" I still haven't found it on the net.
I think it is better if I show you a picture.
SPANISH
No se como traducirlo al inglés, quizás "rollo" o "enrollado" todavía no lo he encontrado en la red. (gracioso traducir que no sé traducir)
Creo que es mejor cuando les muestro con una imagen.
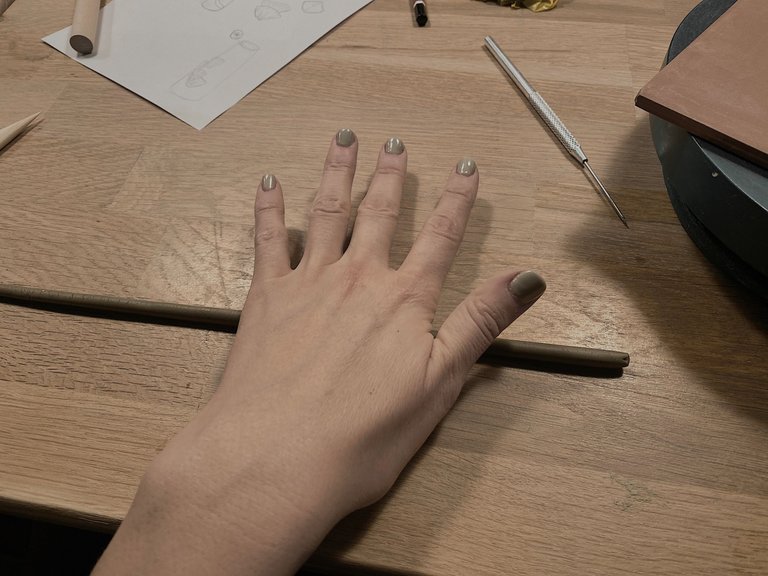
We are making a small figurine this week, I've decided to do a super tinny pot to put some little dry flowers inside.
To be honest, I don't remember what my mum decided to do, because this technique is very slow and we didn't finish the piece.
By the way, last Thursday was my birthday this is why I am catching up on my ceramic posts 😝
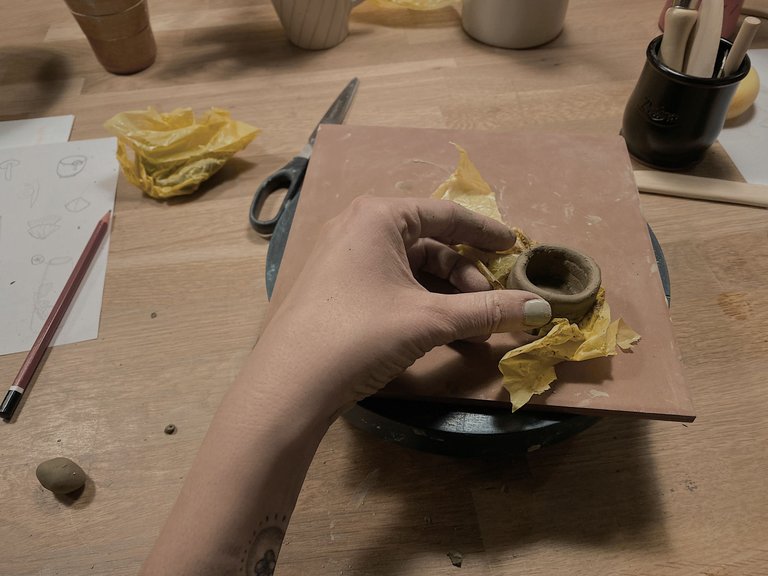
We start the piece with the base, as mine is round, I took something with a round shape to transfer the shape.
Esta semana estamos haciendo una figurita, he decidido hacer un jarro super pequeñito para poner unas florecitas secas dentro.
Para ser sincera, no recuerdo que decidió hacer mi mamá, porque esta técnica es muy lenta y no terminamos la pieza.
Por cierto, el jueves pasado fue mi cumpleaños por eso me estoy poniendo al día con mis posts de cerámica 😝
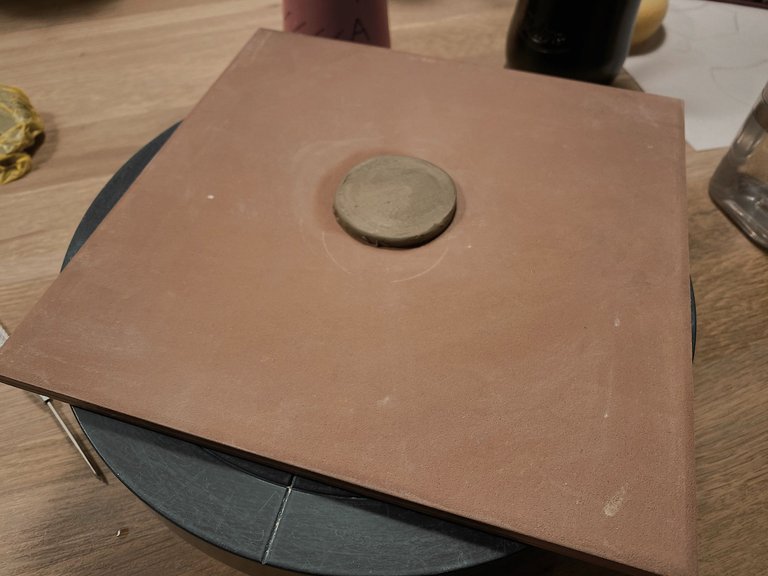
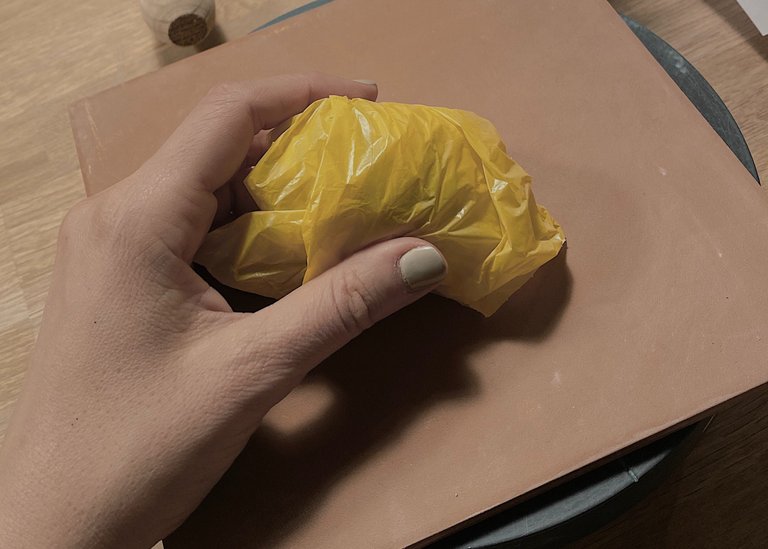
This time, I could experience that the terracotta was drying very fast, so I kept the rest of it covered with plastic, as well as the bottom of the piece while working.
Esta vez, pude experimentar que la terracota se estaba secando muy rápido, así que mantuve el resto cubierto con plástico, así como la parte inferior de la pieza mientras trabajaba.
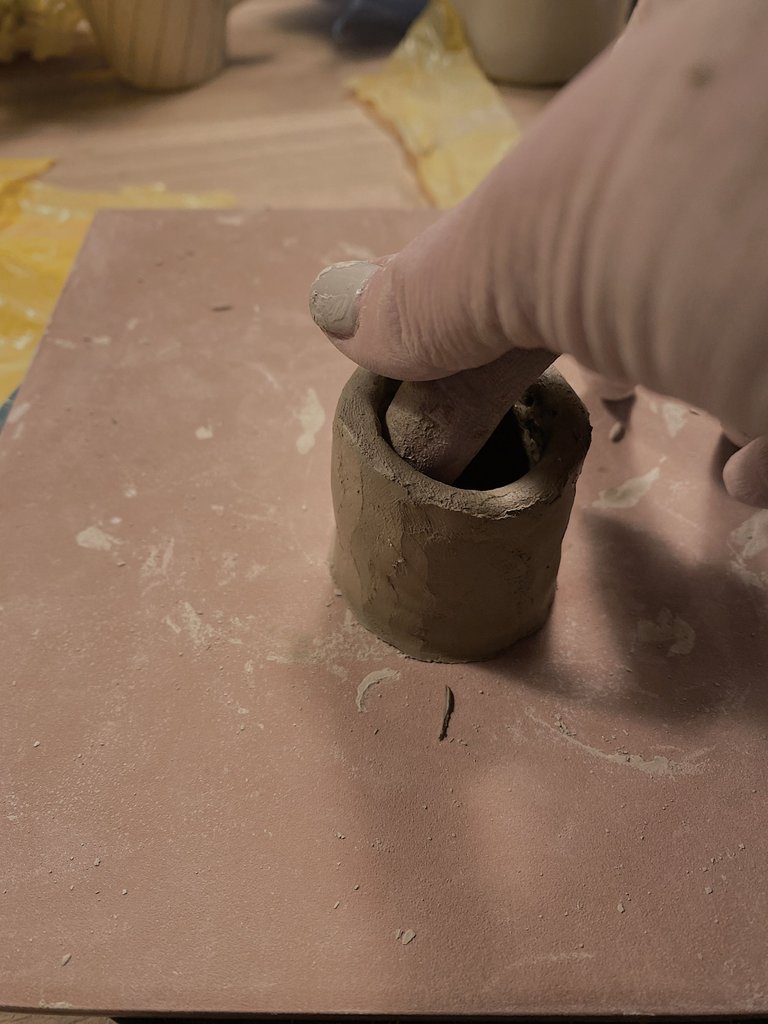
Once we had the base, we had to create small "churritos" and stick to one another.
I just realized I didn't take photos of this, but when you stick every "churrito" you have to make some marks in both sides and put "ceramic glue" which is basically the clay you are using (in this case terracotta) with a lot of water. This paste would bond the two pieces together. Afterward, you have to gently "mount" from side to side and then soften the shape.
Una vez que teníamos la base, teníamos que crear pequeños "churritos" y pegarlos unos a otros.
Acabo de darme cuenta de que no hice fotos de esto, pero cuando pegas cada "churrito" tienes que hacer unas marcas en ambos lados y poner "pegamento cerámico" que es básicamente la arcilla que estás usando (en este caso terracota) con mucha agua. Esta pasta uniría las dos piezas. Después hay que "montar" suavemente de lado a lado y luego suavizar la forma.
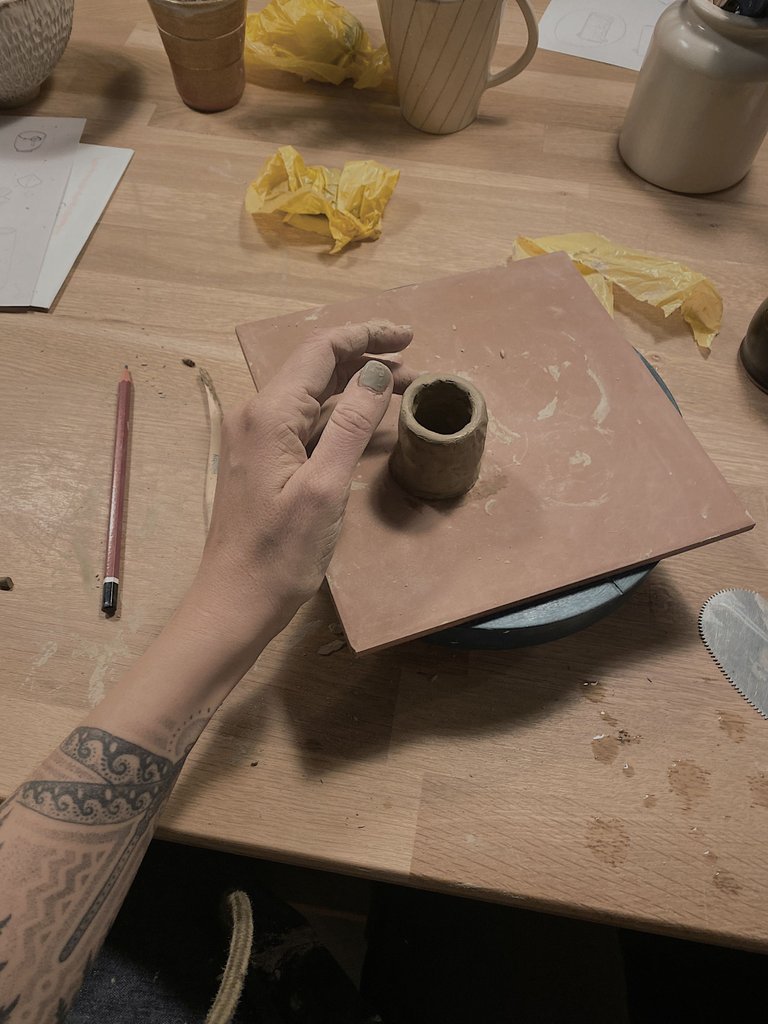
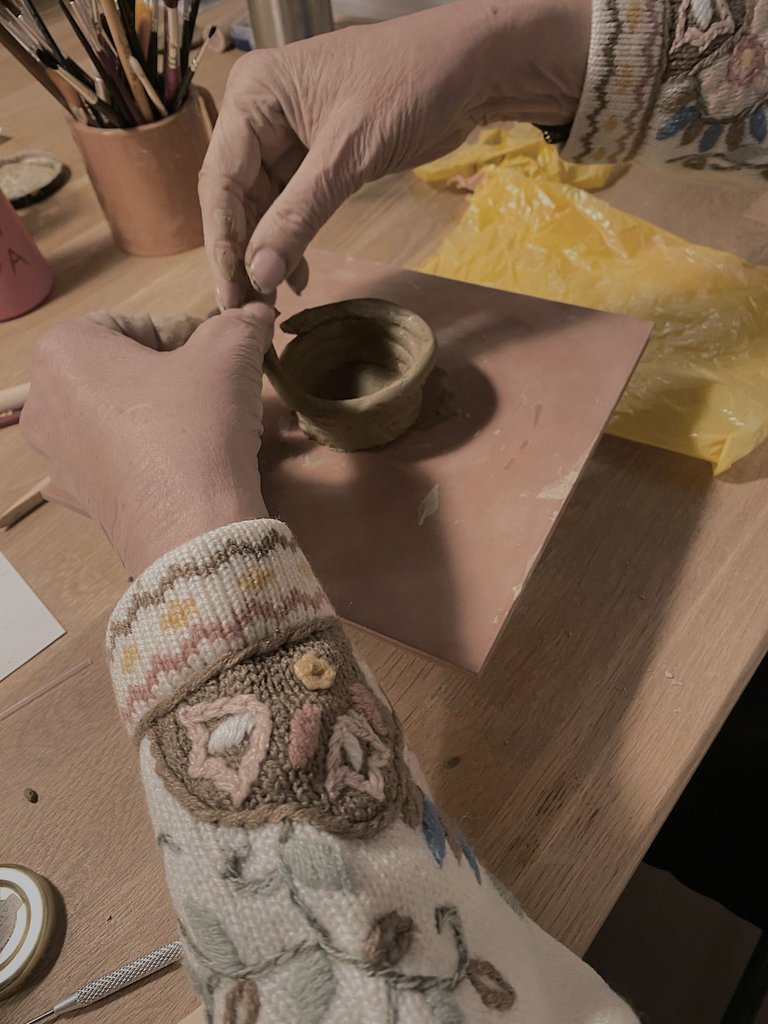
My mama's piece.
La pieza de mi mama.
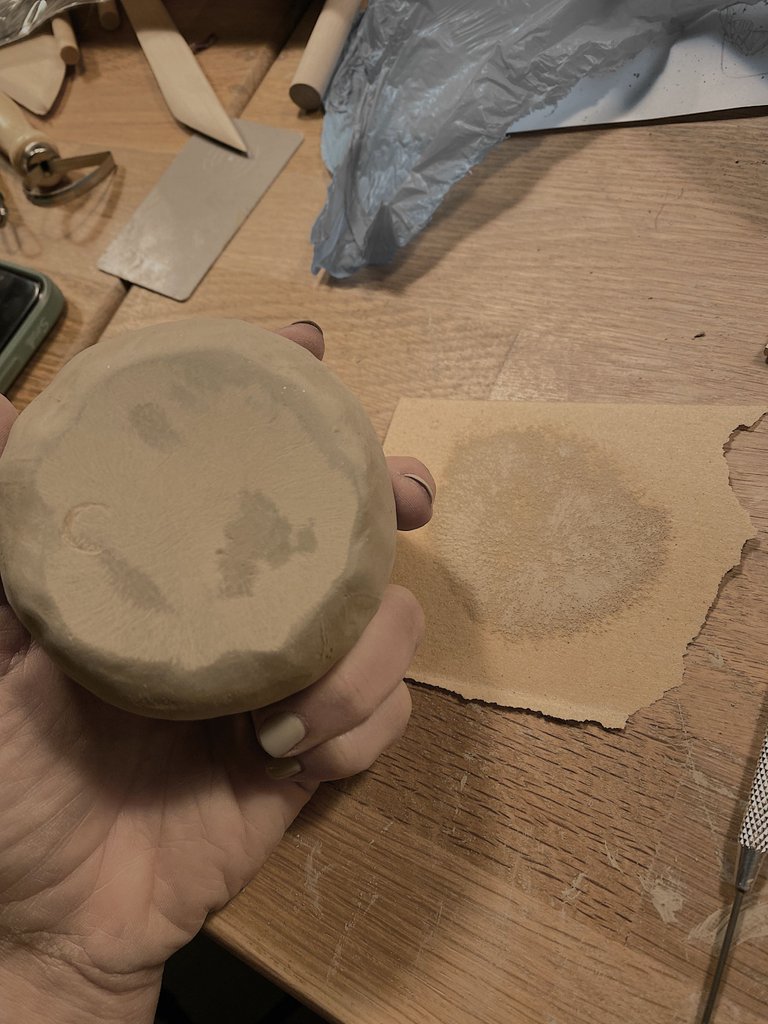
These guys are ready to go to the oven because they are already dry.
On the right, I have sanded the bottom to make it stable.
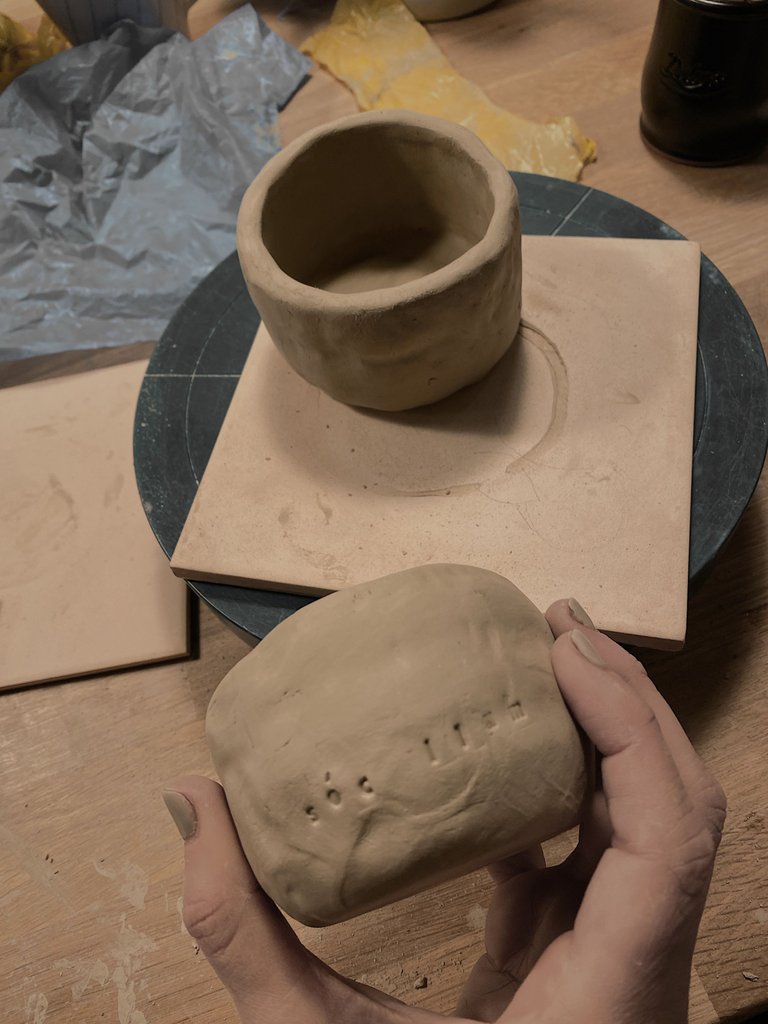
Estas piezas están listas para ir al horno porque ya están secas.
En la derecha, he lijado la parte de abajo para que sea stable.
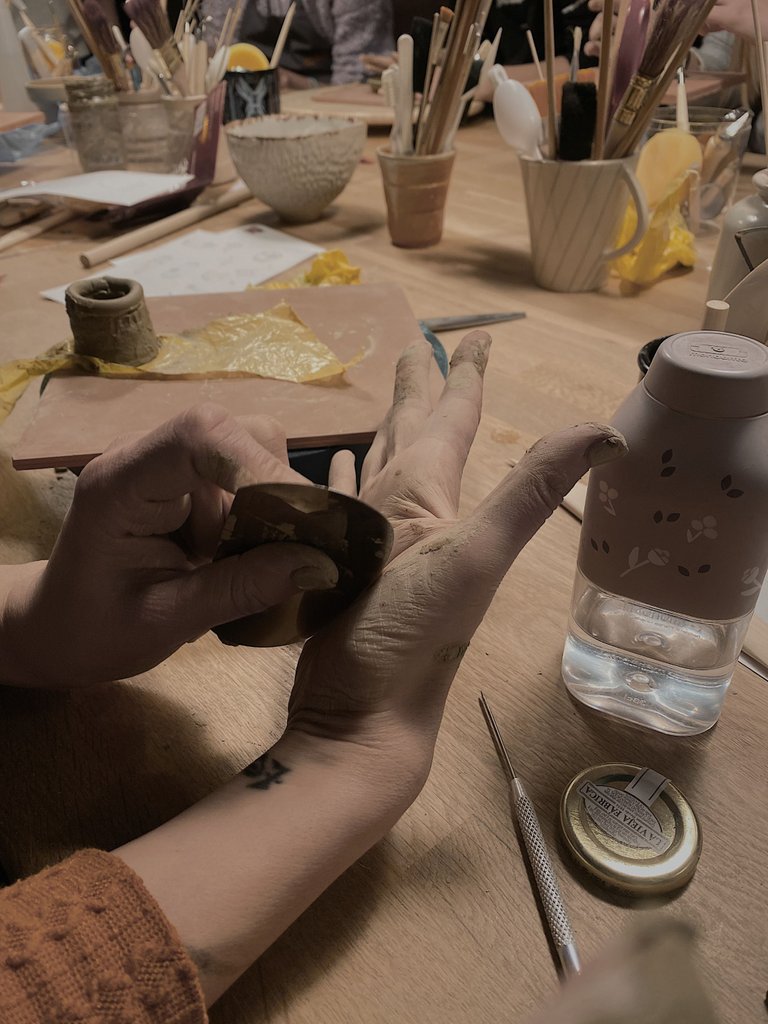
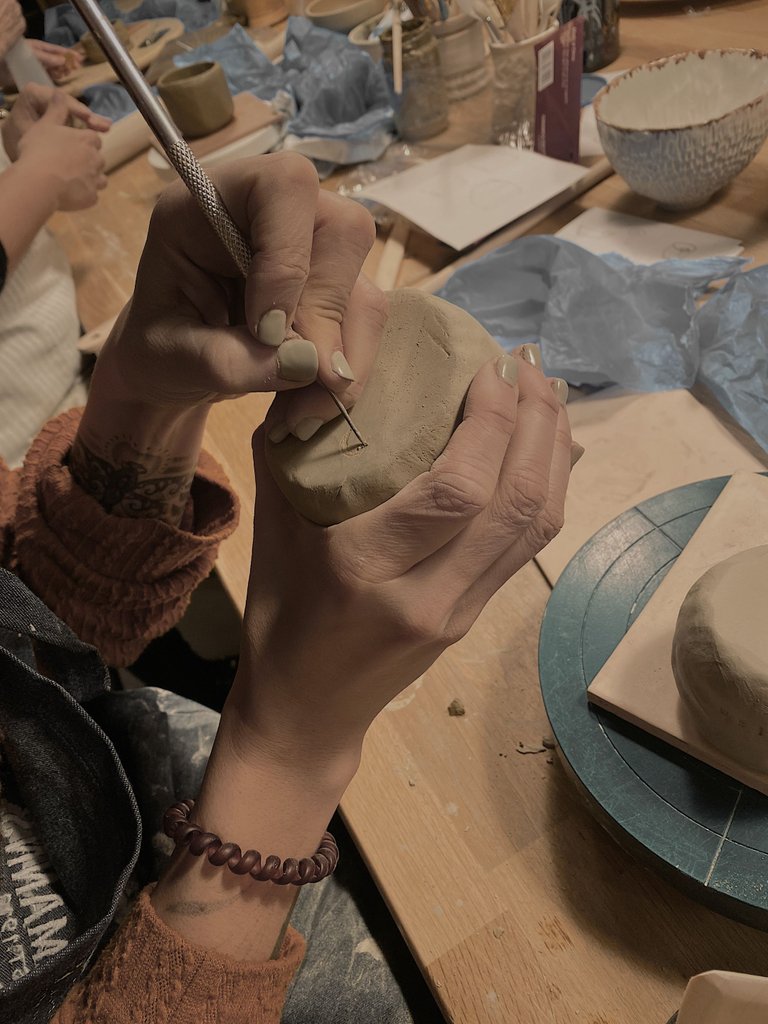
Here I'm signing the pieces to know which one is mine once it is taken out from the oven.
In some days I will post the work from last Thursday (yesterday), that one I loved! My favorite so far.
Aquí estoy firmando las piezas para saber cual es la mía una vez sacada del horno.
En unos días colgaré el trabajo del jueves pasado (ayer), ¡ese sí que me encantó! Mi favorito hasta ahora.
Let me know if you would like to read more specific descriptions or if you have any questions.
Díganme si desean leer descripciones más específicas o si tienen alguna pregunta.
Most of the posts were translated with Deepl and personally corrected.


