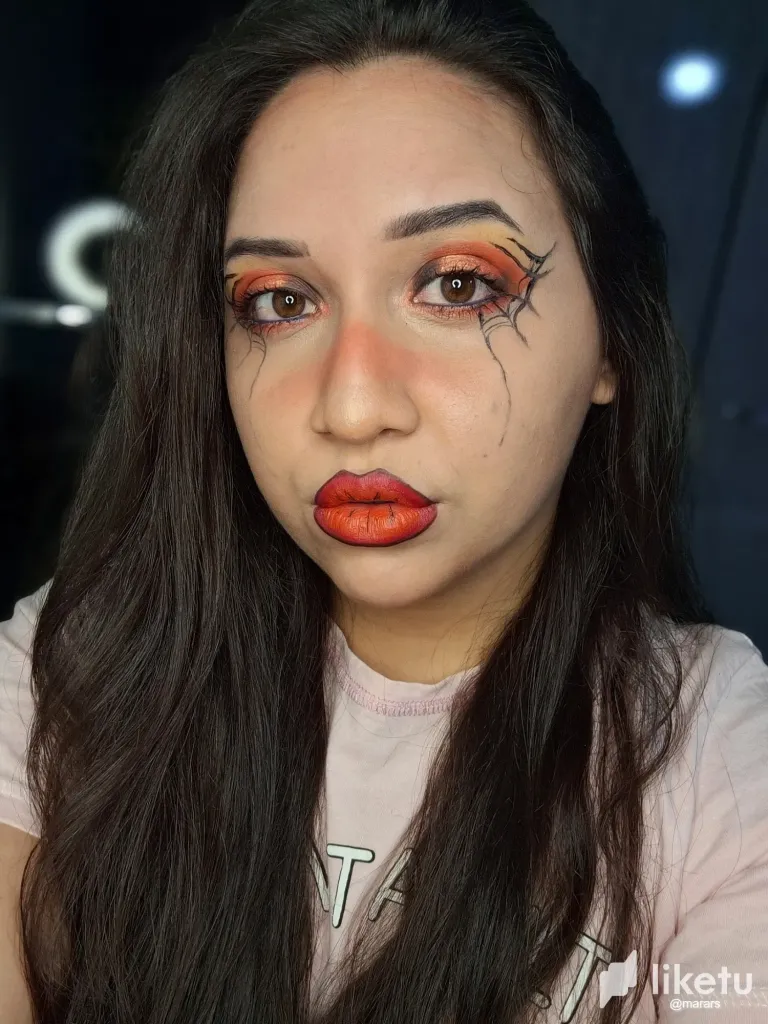

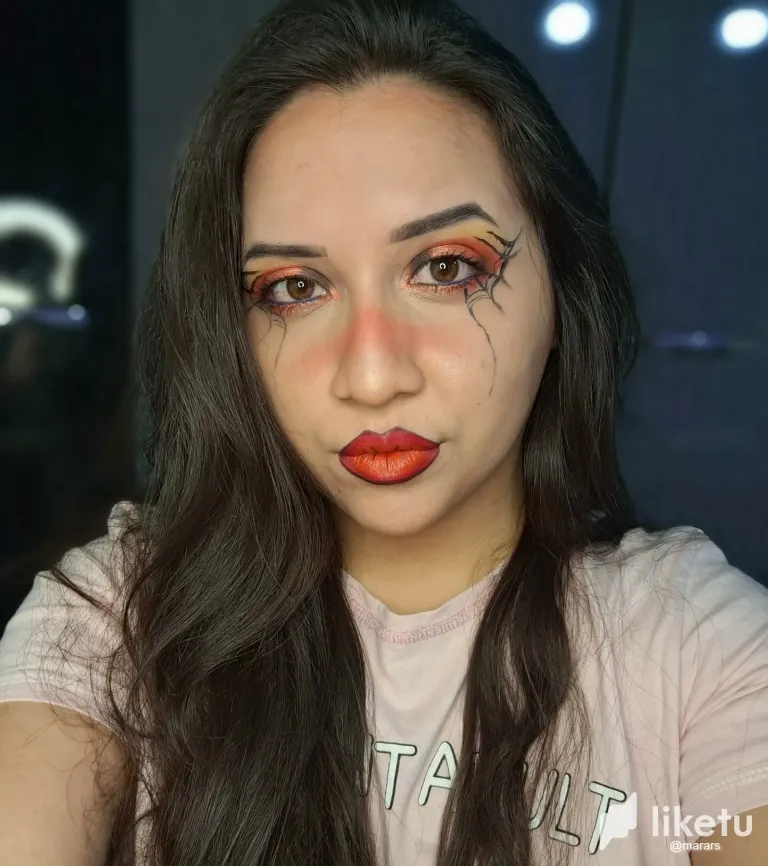
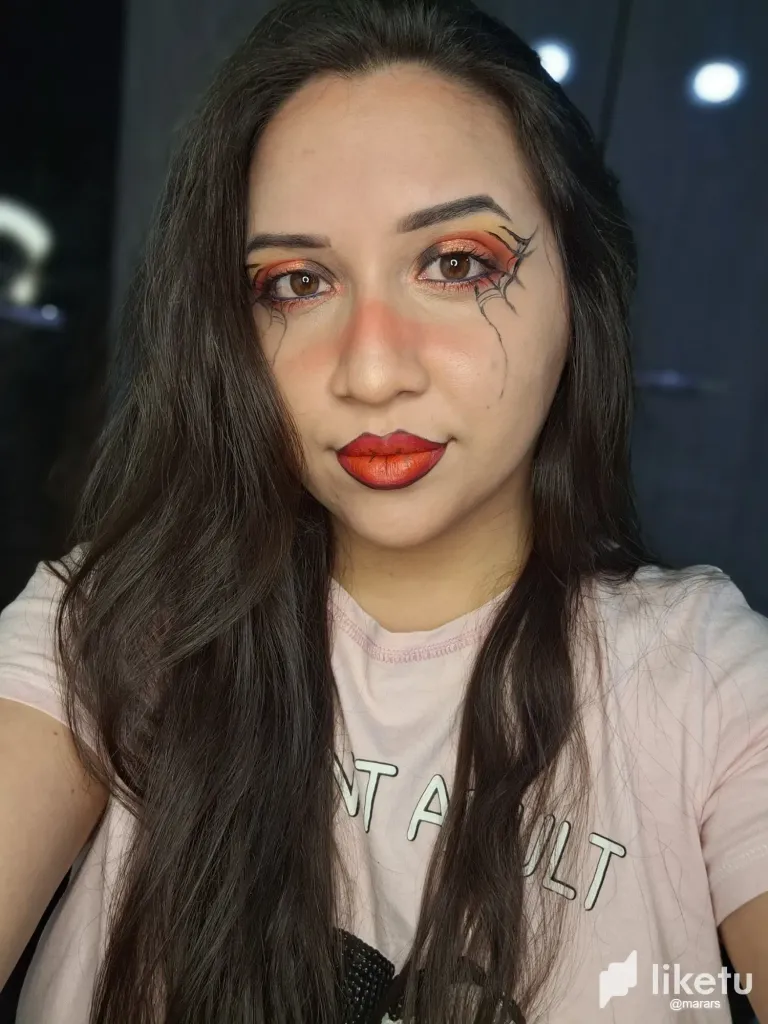
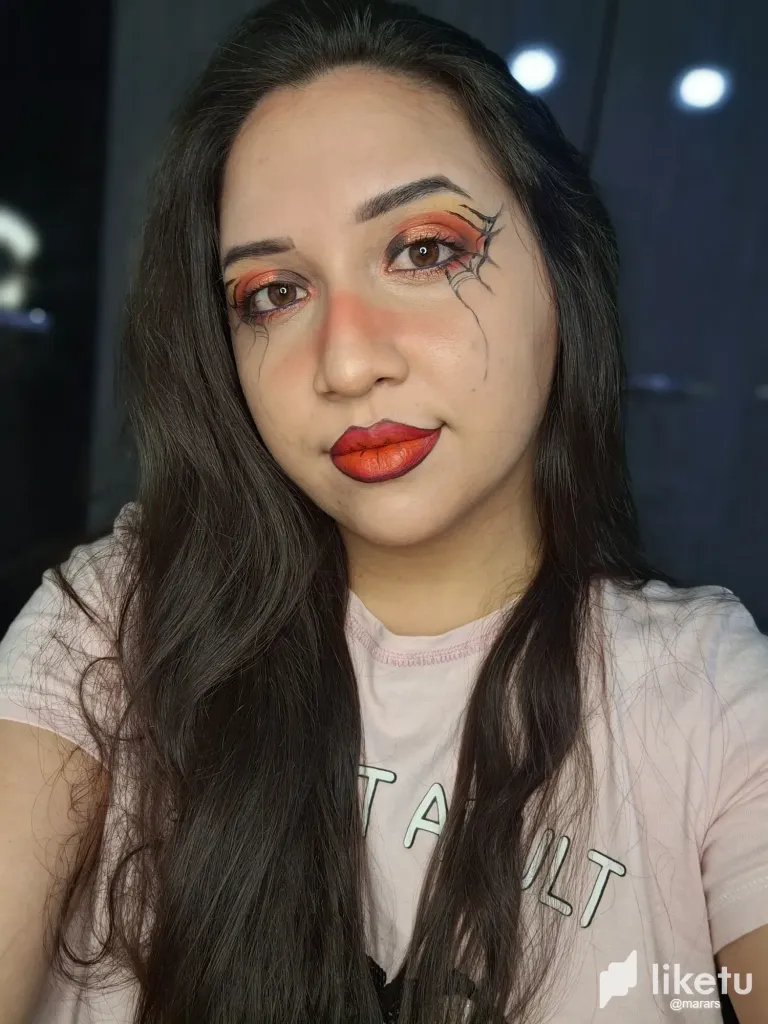
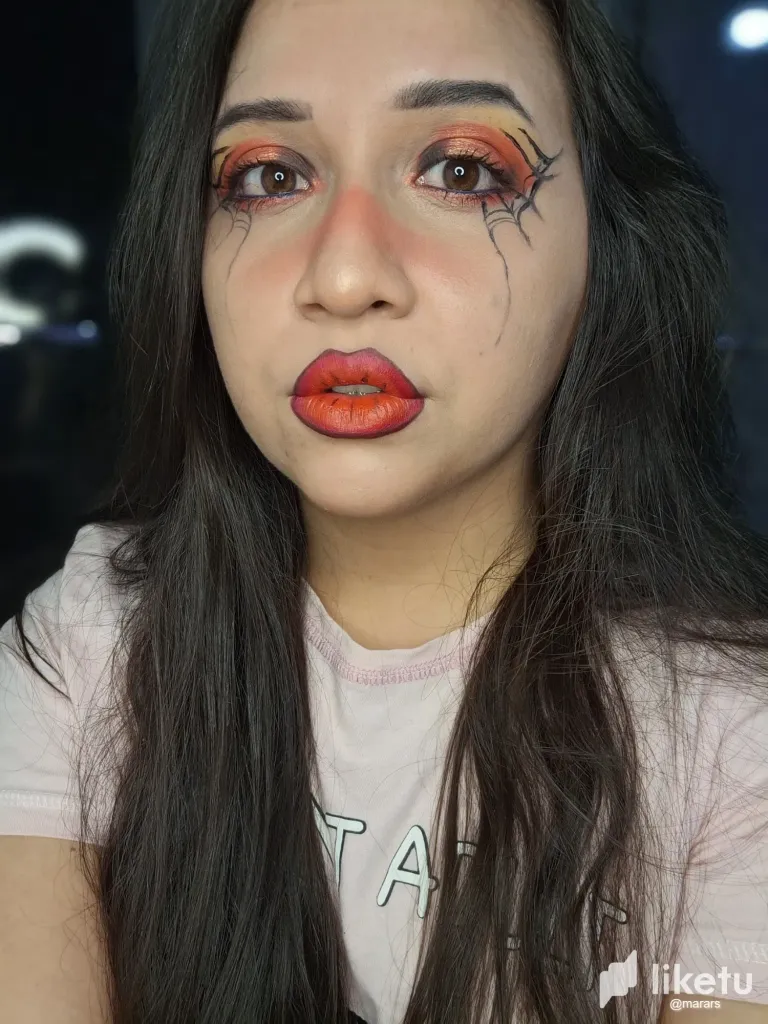
Hi friends of this beauty community, I'm enthusiastic about the Halloween theme and today I bring you a simple spiderweb makeup, for this look I focused on the eyes which are the point of attention, to achieve most of this makeup you only need black and orange eyeshadow and eyeliner, so let's go with the step by step:
Hola amigos de esta comunidad de belleza, estoy entusiasta con la temática de Halloween y para hoy traigo un maquillaje sencillo de telaraña, para este look me enfoqué en los ojos los cuales son el punto de atención, para lograr la mayor parte de este maquillaje solo se necesita de sombra negra, naranja y delineador, así que vamos con el paso a paso:
- First I applied my concealer and foundation by patting with a sponge.
- Primero apliqué mi corrector y base a toquecitos con una esponja.
- Then, with a black pencil, I painted my eyebrows, trying to blend them well with the mini brush.
- Después con lápiz negro pinté mis cejas procurando difuminar bien con el mini cepillo.
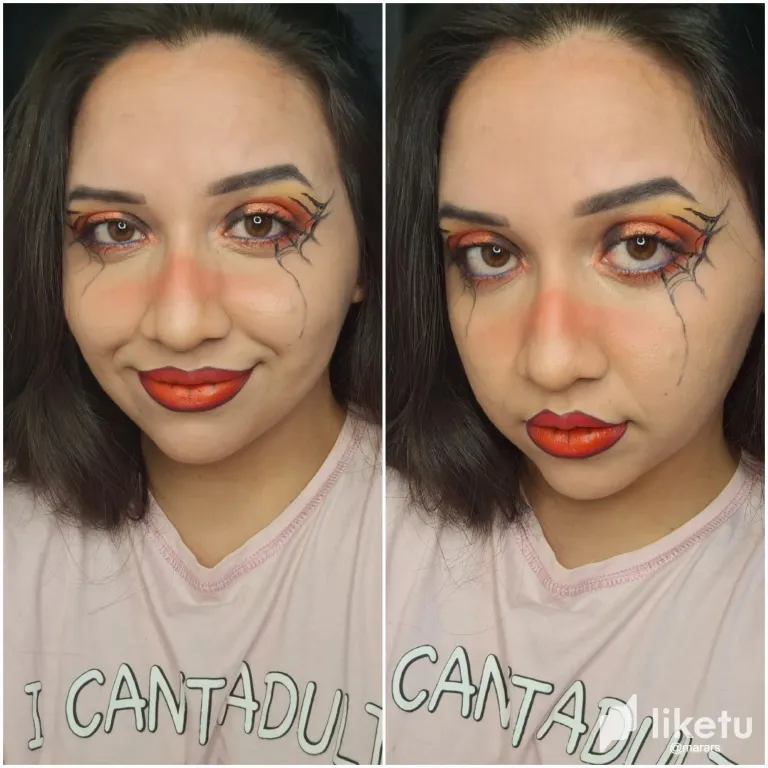
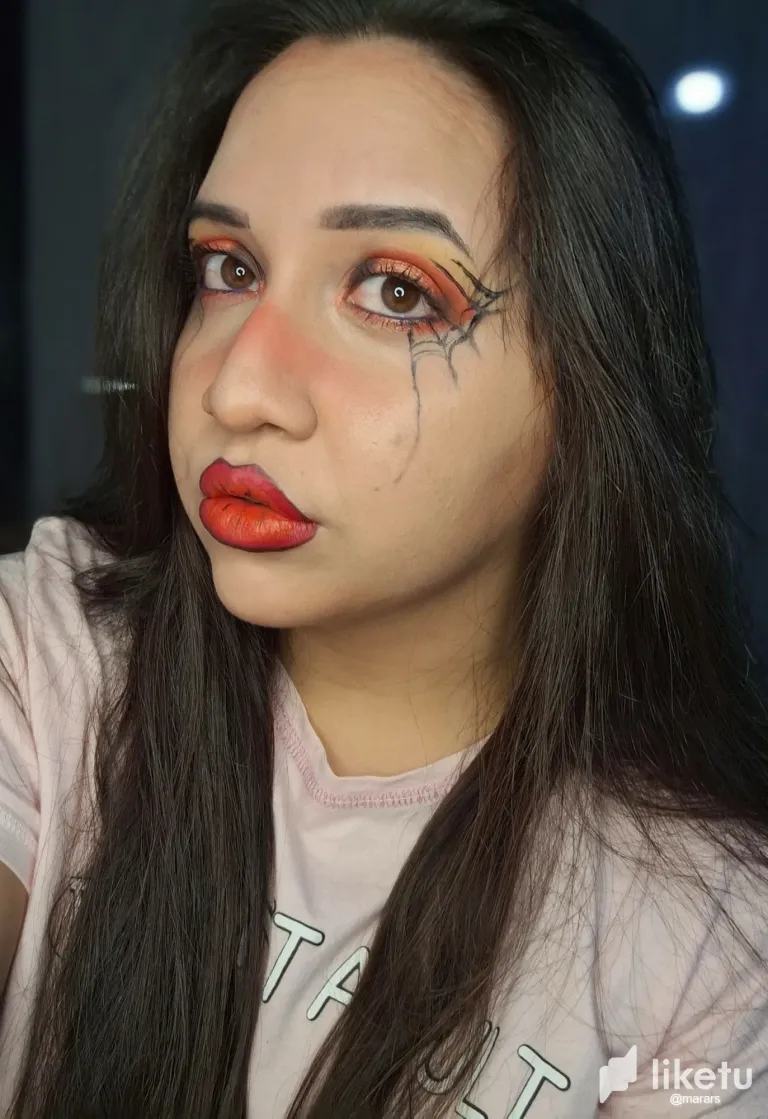
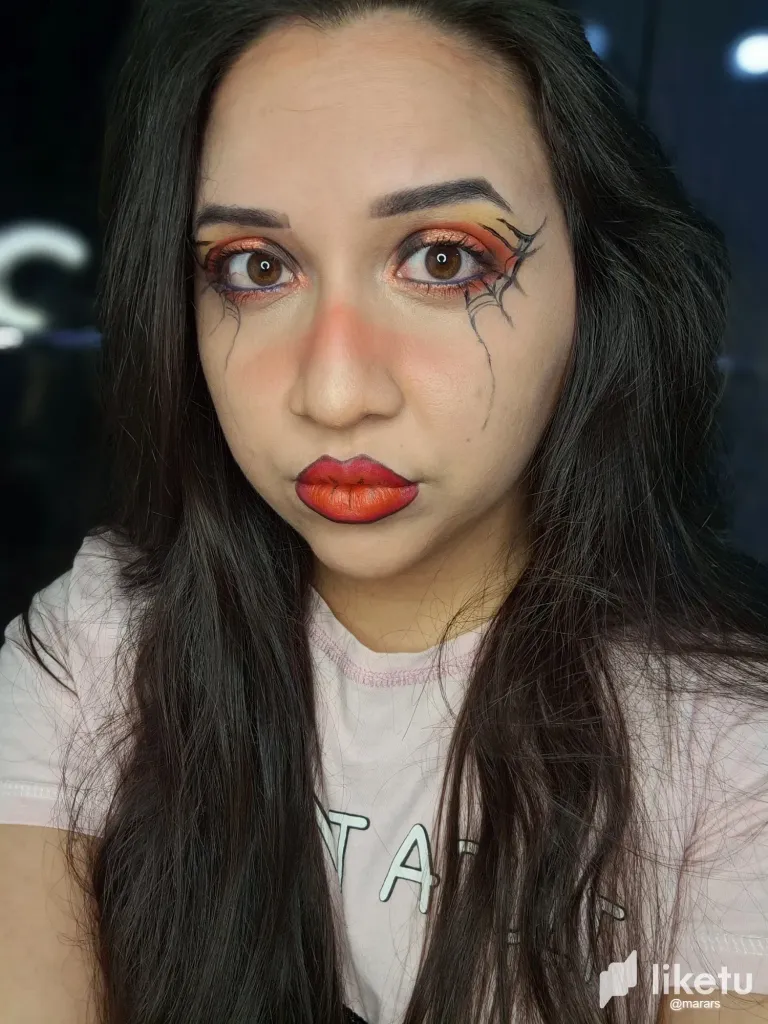
- To start with the eyeshadow, I took a flat brush and applied orange shadow on the mobile eyelid, taking it a little over the socket with a defined line, thus with the eyelid filled in and with a little orange tail left over from the eye, I also shaded the lower eyelid just drawing a line, then I went on to apply yellow shadow on the fixed eyelid, I applied black shadow at the beginning of the mobile eyelid and at the end of it, blending carefully and leaving the middle of the mobile eyelid with orange shadow, also applied orange shadow with a shiny finish in the middle of the mobile eyelid. Once the shadow part was finished, I did the eyeliner. This part was a bit tangled for me. In the picture you can see that first I did an eyeliner on the fixed eyelid that extended and met with a line that I drew at the end of the mobile eyelid and this has a fallen appearance. Then I drew three inclined lines and connected them with half-moon eyeliners that crossed the long lines already made. After this, I applied mascara and blue pencil on the waterline.
- Para empezar haciendo el sombreado de ojos tomé una brocha plana y apliqué sombra naranja sobre el párpado móvil llevándolo un poco sobre la cuenca con una línea definida, así con el párpado relleno y sobrando del ojo una colita naranja, sombree también el párpado inferior solo trazando una línea, después pasé a aplicar sombra amarilla sobre el párpado fijo, apliqué sombra negra en principio del párpado móvil y al final del mismo difuminando con cuidado y dejando el medio del párpado móvil con sombra naranja, además aplique sombra naranja de acabado brilloso en medio del párpado móvil. Terminado la parte de las sombras hice el delineado, esta parte fue un poco enredada para mí, en la imagen pueden observar que primero hice un delineado en el párpado fijo que se extendió y se topó con una línea que trace al final del párpado móvil y esta tiene aspecto caído, luego trace tres líneas de forma inclinadas y las fui conectado con delineados de media luna que atravesaran las líneas largas ya hechas, después de esto, apliqué mascara de pestañas y lápiz azul en la línea de agua.
- For the lips I outlined them with a red pencil, over this outline I made a thinner black one with a black pencil and finally I filled it in with orange lipstick.
- Para los labios los delineé con lápiz rojo, sobre este delineado hice uno más delgado de color negro con un lápiz negro y por último rellené de labial naranja.
- I made details with the highlighter on the tip of the nose, applied underliner only on the septum of the nose and applied compact powder.
- Hice detalles con el iluminador sobre la punta de la nariz, apliqué subror solo sobre el tabique de la nariz y apliqué polvo compacto.
This was the result, as you can see it doesn't require too many materials so it's fine and easy to do 😆 except for the spider webs I think, I hope you liked it.
Este fue el resultado como pueden ver no se requiere de demasiados materiales así que está bien y es sencillo de hacer 😆 a excepción de las telarañas creo, espero les haya gustado.
.
.
.
• Photos taken of a galaxy A54.
• Traductor/translator: DeepL.
• Collage Editor: Samsung Galaxy editor and Canva.
Thank you for reading

Best wishes to you
❤️
For the best experience view this post on Liketu


