Me encanta la torta de auyama. Mi papá hace varias semanas me envió nuevamente una pequeña auyama, la cual tenia reservada para preparar una pequeña torta. Y, por fin llegó el día. Mi reto era prepararla en la freidora eléctrica, pues no sabía como sería el resultado. Ya mi mamá me había contado su experiencia y me daba un poco de miedo intentarlo. Y, es que como en este tipo de aparatos los alimentos suelen recibir mayor cantidad de calor en la parte superior que en la parte inferior puede ocurrir que la cocción demore un poco más de lo normal. No se si me equivoco. Sin embargo, decidí prepararla. El resultado no estuvo para nada mal.
Te invito a que me acompañes en el proceso. Para su preparación me guíe por la receta de una torta de auyama tipo quesillo que preparé hace un tiempo, solo que esta vez en lugar del caramelo utilicé harina y mantequilla para el molde. La verdad me dio miedo intentar con el caramelo. Y, decidí no agregar las pasas.
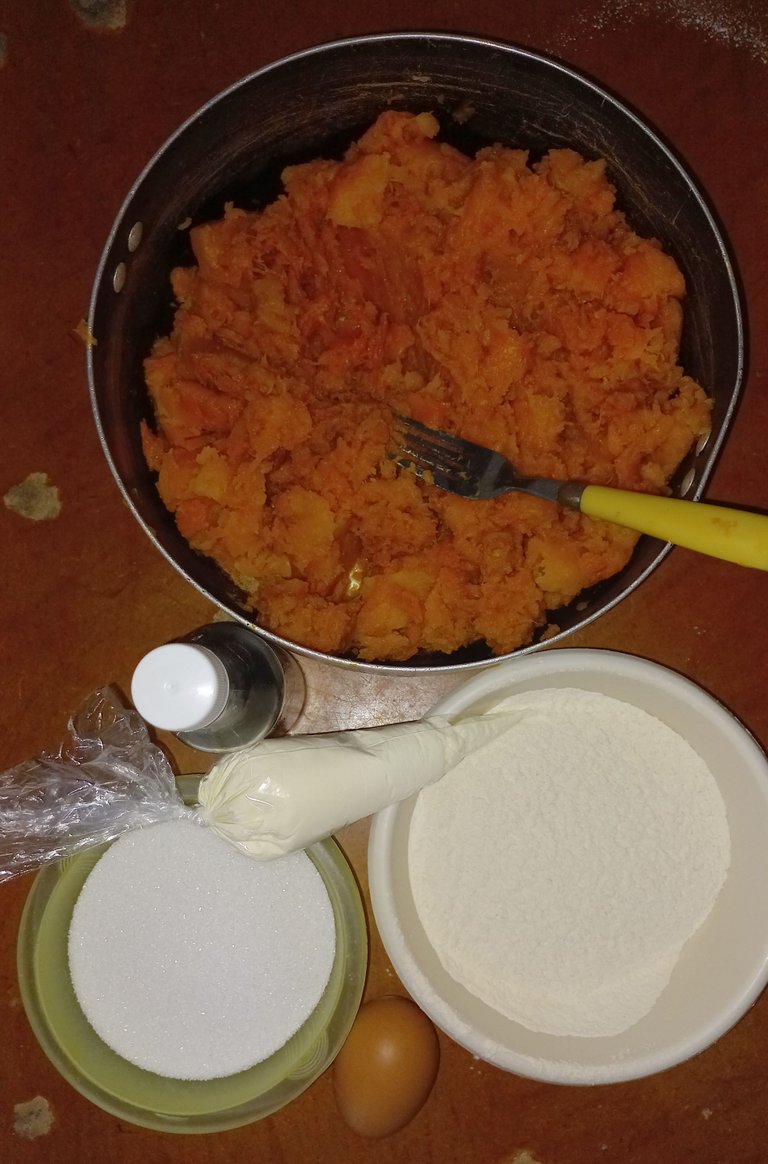
Ingredientes:
• 100 grs. de azúcar
• 100 grs. de harina de trigo leudante (contiene polvo para hornear)
• 50 grs. de leche en polvo
• 1/2 kg de auyama cocida
• 2 huevos
Preparación:
1.- Para iniciar coloqué en un recipiente la mantequilla con el azúcar y mezclé bien hasta lograr una crema homogénea, de color claro.
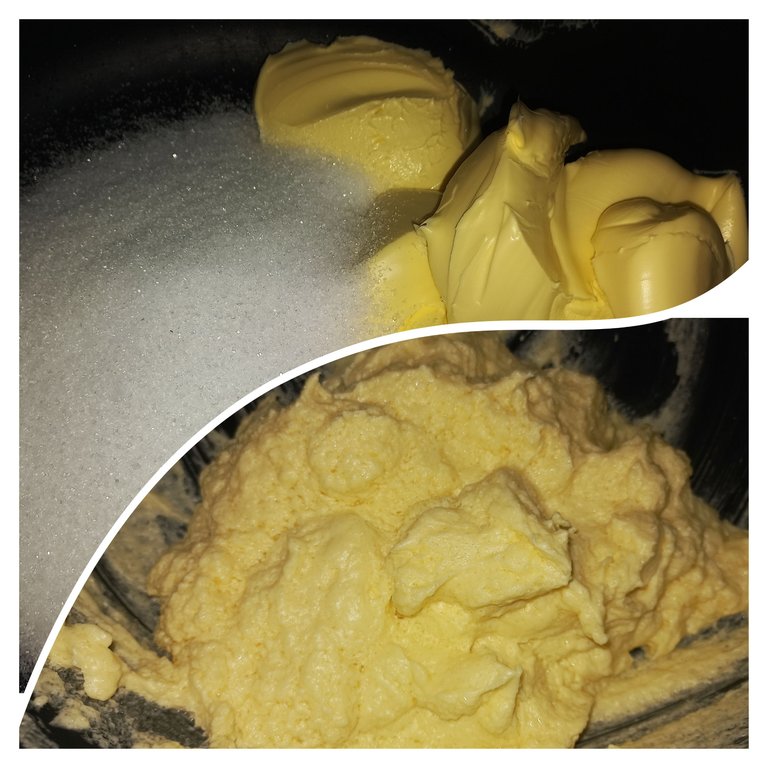
2.- Agregué dos huevos. Continué batiendo y, poco a poco, fui incorporando la harina de trigo previamente tamizada.
3.- Licué la leche en polvo con la auyama y agregué a la mezcla anterior. Por último, agregué una cucharadita de vainilla.
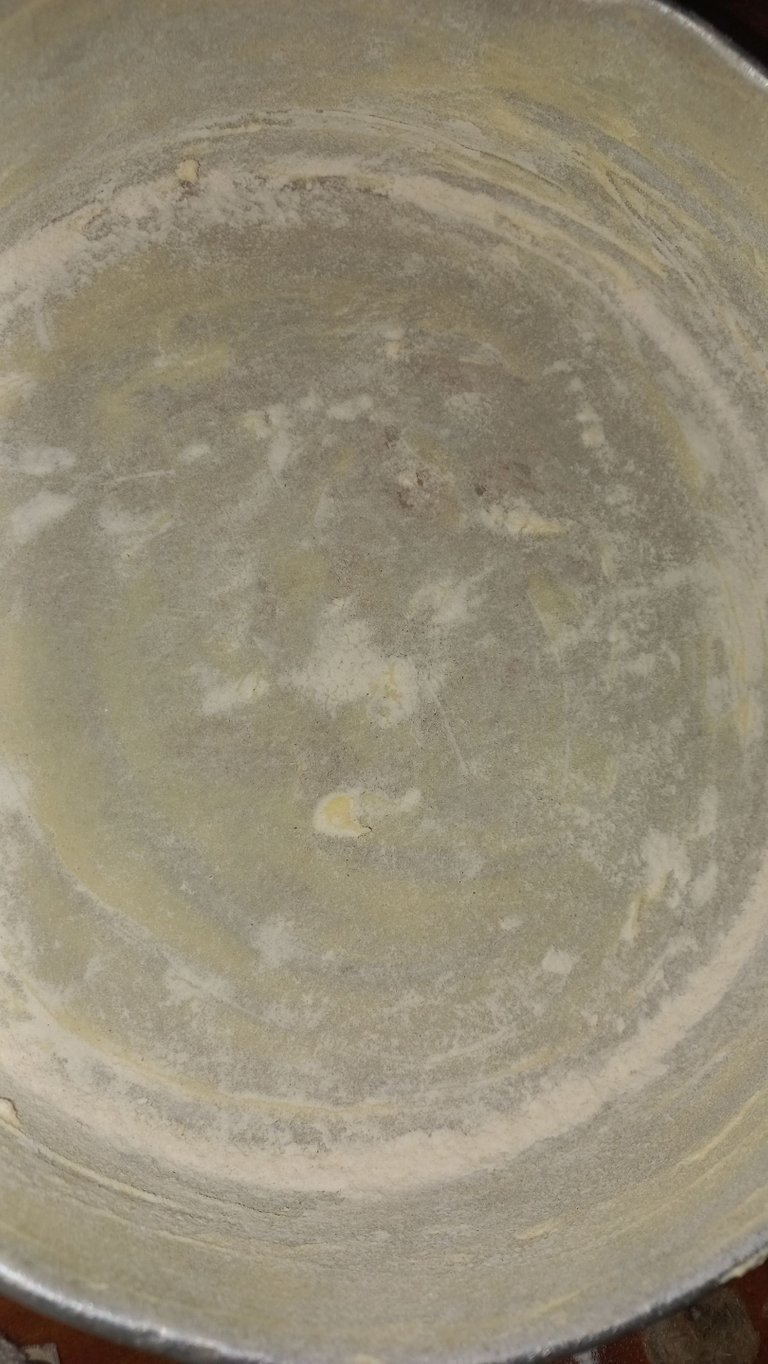
4.- Unté mantequilla al molde y le esparcí un poco de harina.
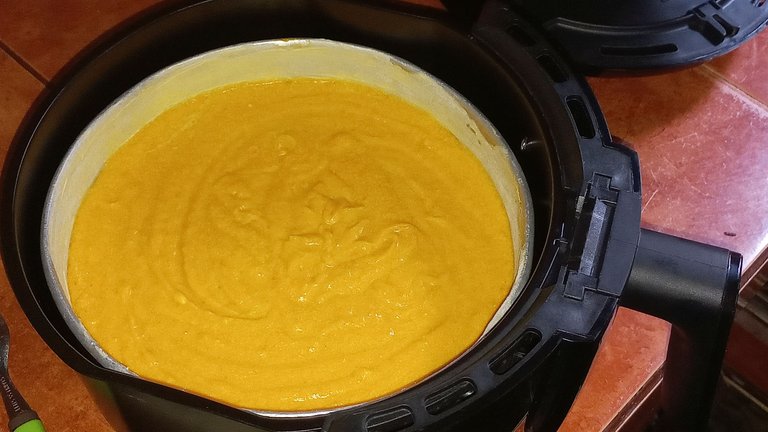
5.- Vertí la mezcla y llevé a la freidora de aire durante 45 minutos a 180 grados centigrados. Al transcurrir media hora (tiempo máximo de programación en la freidora de aire que tengo) revisé e hice la "prueba del cuchillo" con un palillo... aún le faltaba cocción, pues salía con un poco de mezcla. Así que programé los otros 15 minutos de cocción.
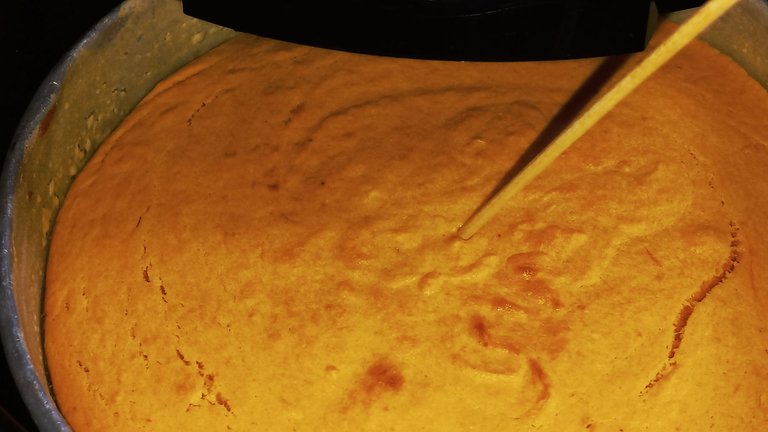
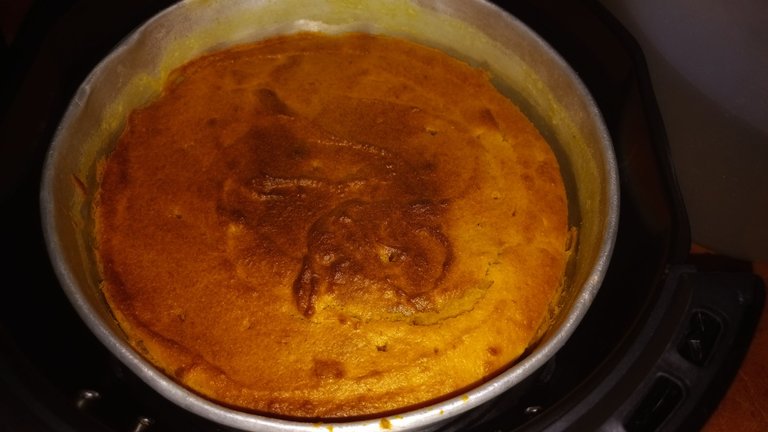
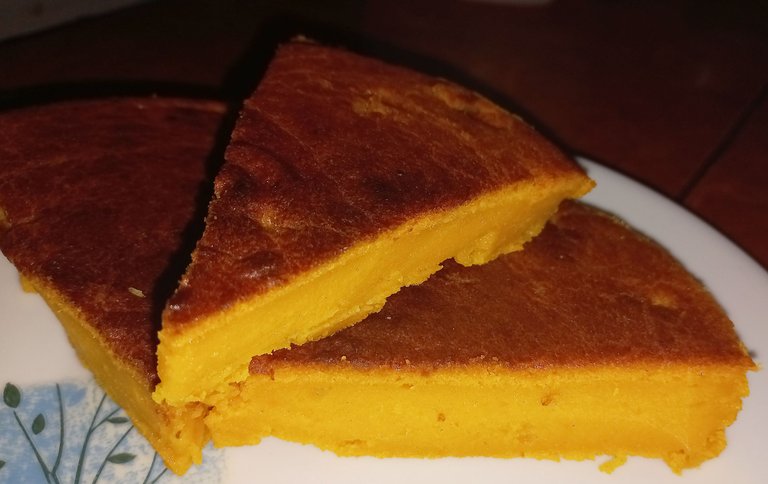
6.- Al finalizar desmoldé en caliente, dejé reposar y llevé a la nevera durante un par de horas. ¡Y listo! Toda una delicia hecha de manera fácil y económica.
Les confieso que el horno de la cocina de gas no funciona correctamente y, además, donde vivo comprar este combustible doméstico no es tan sencillo. Así que, poder disponer de la freidora de aire me da la ventaja e independencia de poder preparar un delicioso postre cada vez que me lo proponga.
Un saludo para todos. Gracias por su lectura y apoyo. Si aún no han probado este delicioso postre les invito a prepararlo en casa. ¡Les encantará!
English
I love pumpkin cake. Several weeks ago my dad sent me again a small pumpkin, which I had reserved to prepare a small cake. And finally the day came. My challenge was to prepare it in the electric fryer, because I didn't know how it would turn out. My mom had already told me about her experience and I was a little afraid to try it. And, as in this type of appliance the food usually receives more heat at the top than at the bottom, it can happen that the cooking takes a little longer than normal. I do not know if I am wrong. However, I decided to prepare it. The result was not bad at all.

)
I invite you to join me in the process. For its preparation I was guided by the [recipe of a quesillo type pumpkin cake]](
https://peakd.com/hive-100067/@mariavargas/como-preparar-un-deliciosa-torta-de-auyama-tipo-quesillo) that I prepared some time ago, only this time instead of caramel I used flour and butter for the mold. The truth is that I was afraid to try with caramel. And, I decided not to add the raisins.
Ingredients:
- 100 grs. sugar
- 100 grs. leavening wheat flour (contains baking powder)
- 50 grs. of powdered milk
- 1/2 kg of cooked pumpkin
- 2 eggs

Preparation:
1.- To start I put the butter in a bowl with the sugar and mix well until I get a homogeneous, light-colored cream.

2.-
I added two eggs. I continued beating and, little by little, I added the wheat flour previously sifted.
3.- I blended the powdered milk with the pumpkin and added it to the previous mixture. Finally, I added a teaspoon of vanilla.
4.- I buttered the mold and sprinkled a little flour on it.

5.- I poured the mixture and took it to the air fryer for 45 minutes at 180 degrees Celsius. After half an hour (maximum programming time in the air fryer I have) I checked and did the "knife test" with a toothpick ... it was still undercooked, because it came out with a little mixture. So I programmed the other 15 minutes of cooking.

6.- At the end I unmolded it while hot, let it rest and put it in the fridge for a couple of hours. And that's it! A real treat made in an easy and economical way.

I confess that the oven of the gas stove does not work properly and, in addition, where I live to buy this domestic fuel is not so easy. So, being able to have the air fryer gives me the advantage and independence of being able to prepare a delicious dessert whenever I want.
Greetings to all. Thank you for your reading and support. If you have not yet tried this delicious dessert I invite you to prepare it at home, you will love it!
<n
Texto original en español // Original text in Spanish
Traducido al inglés con Deepl // Translated to English with Deepl
Fotografías: fuente propia // Photography: source own
Edición de fotografías: Snapseed y GridArt // Photo editing: Snapseed and GridArt



 )
)


