English
Warm greetings, dear inhabitants of this beautiful community #NewdleWorkMonday.
This week, just before the end of the year 2022, I finally finished a sewing project that I had left half finished for a couple of months. The successful outcome was thanks to my mother-in-law, who early one morning told me: "if you want to finish the whole outfit there is the machine, use it", proceeding to help me put everything I needed to work.
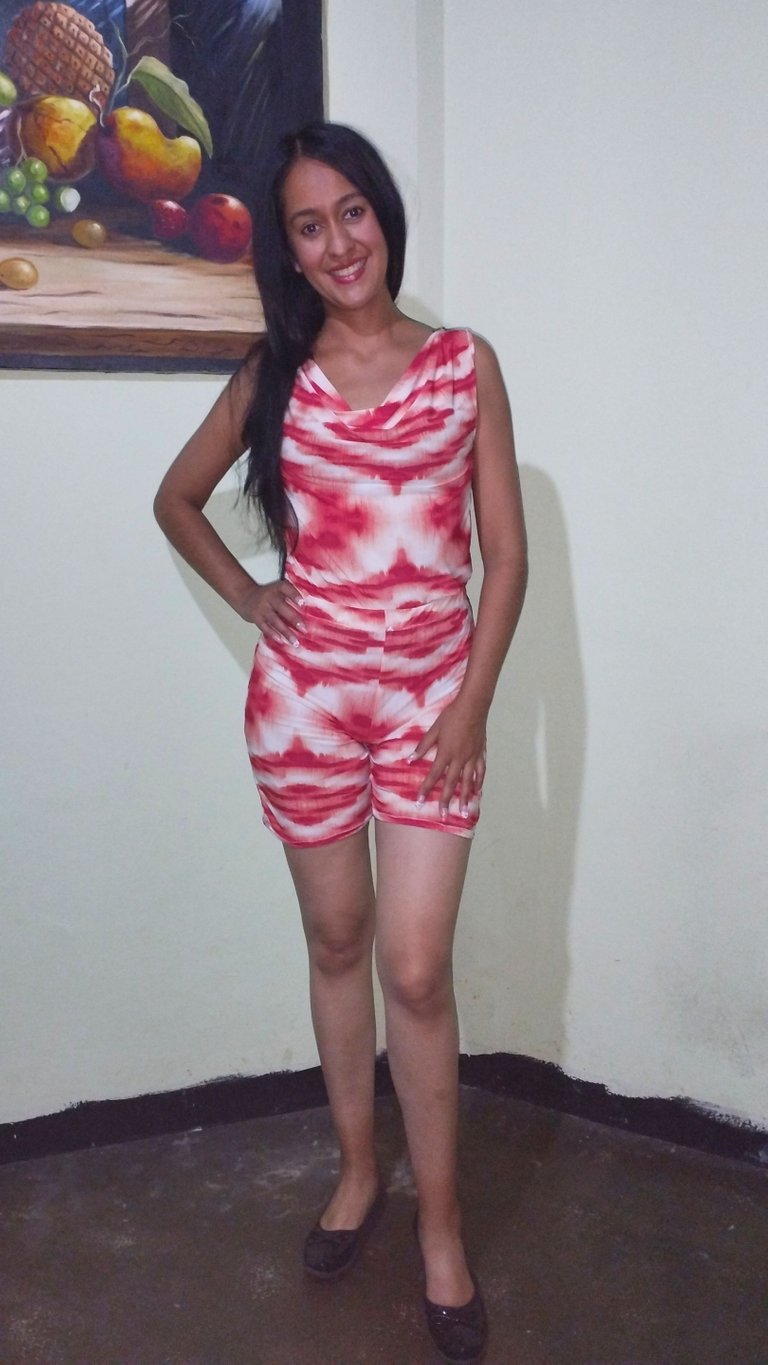
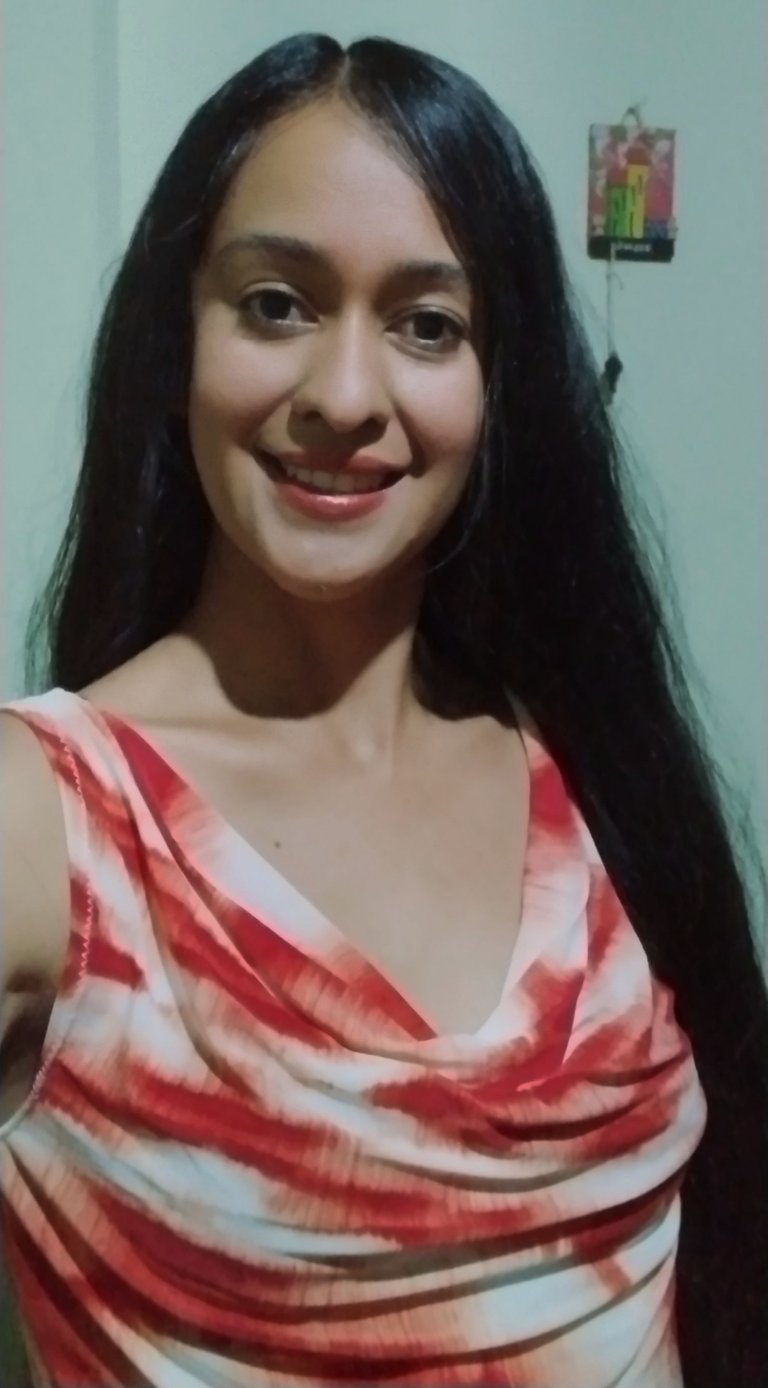
Months ago, in one of the last sewing classes I was able to attend, I had asked my teacher to explain to me how to make a bodysuit just the way I wanted it. My model was to have a draped neckline, with armhole sleeves and the bottom was to be a tight-fitting, high-waisted short. In particular, I considered that the fabric I chose for it was ideal. Lycra type, colorful and with a good drape for the neck design. The shape of the collar and the elasticity of the fabric would make it possible to do without an opening to allow the garment to fit.
With her help I made the corresponding pattern, we cut the fabric and she took the pieces to run them through the filleting machine. A few days later she brought me the pieces ready. I only had to sew to assemble my desired garment. But there was a problem: my sewing machine was malfunctioning, it was tangling the seam at the bottom. Even though I took it to the technician twice, the problem persisted. What's worse, soft fabrics like the one I used for this project make the situation worse.
The school vacations passed and with it I returned to work and academic activities, situations that made me put aside my project. I need a sewing machine, I am passionate about sewing. I hope soon to be able to acquire one to have it in the place where I live.
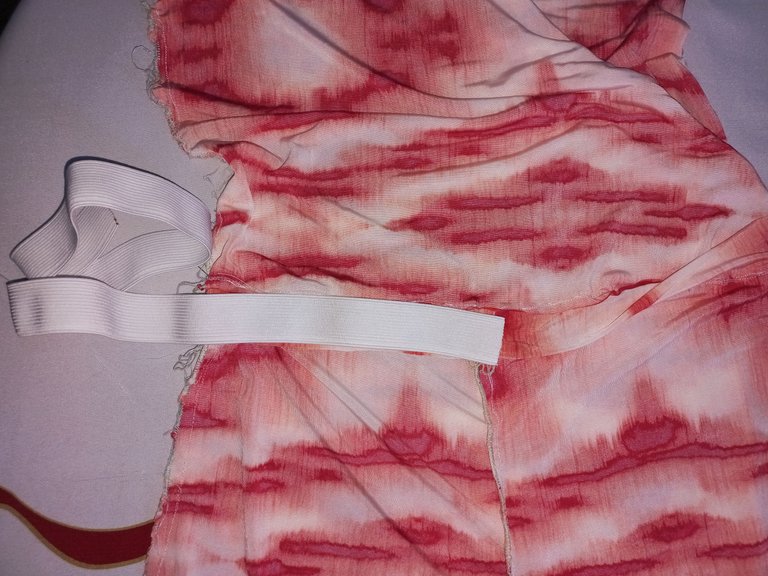
And well, this week I finally achieved my goal. I had left three extra centimeters to the mold of the shorts above waist level for the placement of the elastic. So, once the blouse and the shorts were assembled separately, I proceeded to join both pieces. To do this, I left the three-centimeter strip free where I glued the rubber. All this was clear to me and it turned out just as I imagined it.

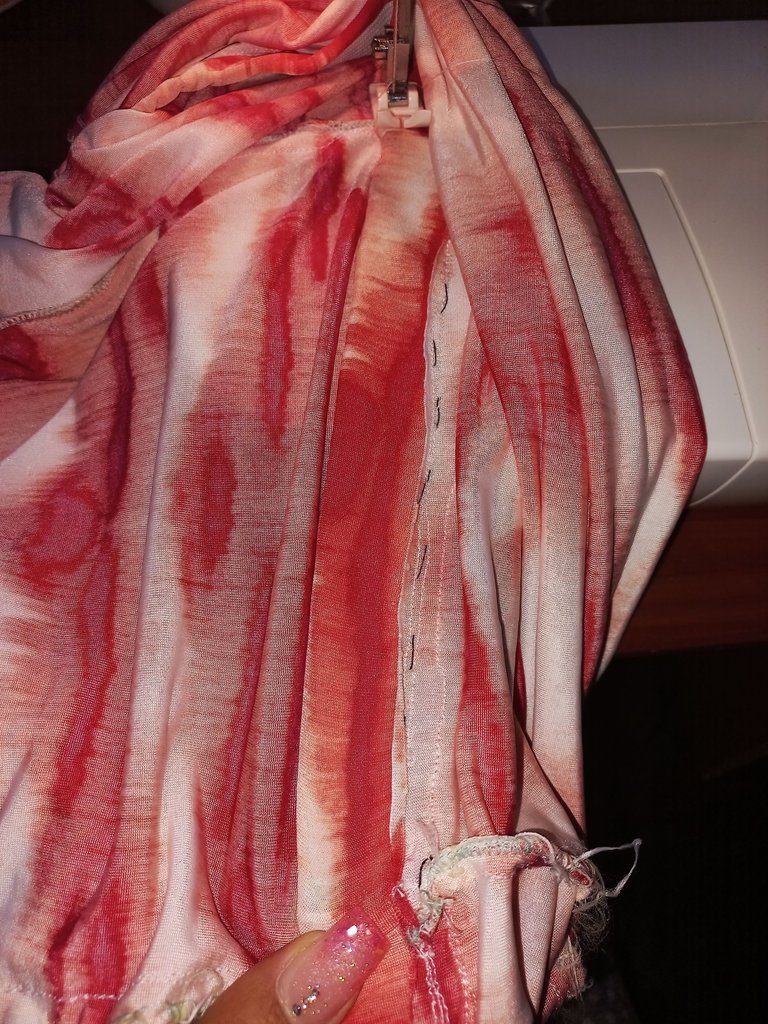
However, I had doubts about the finish of the collar in the back and front, as well as for the armhole part. Finally, I decided to make a simple double fold and to make a zigzag stitch. Something similar, but with a double fold, I did for the edges of the sleeves of the shorts. While for the edge of the draped collar I used a seam made with the so called "roll foot".
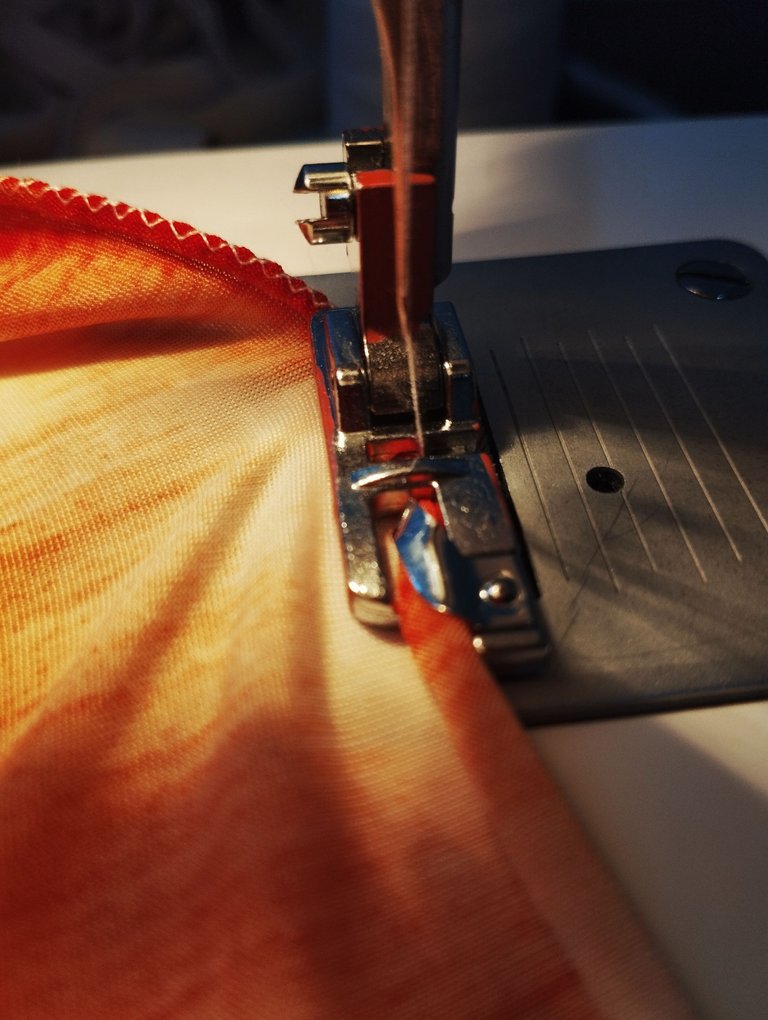
I really enjoyed the process, I didn't face any major difficulties. In order to guarantee a proper seam, I almost always used a "Teflon foot" which allowed good fluidity to the seam progress. Sewing this type of fabrics is a bit dedicated.
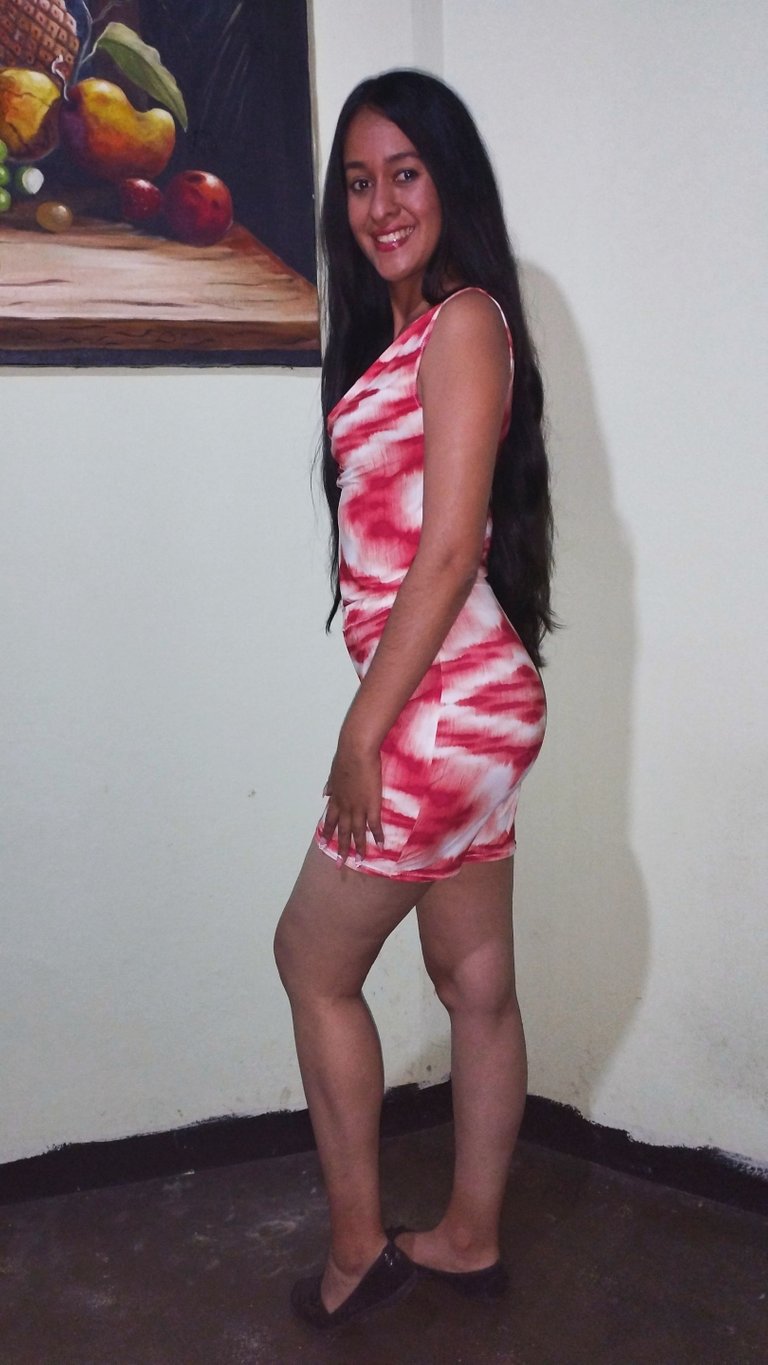
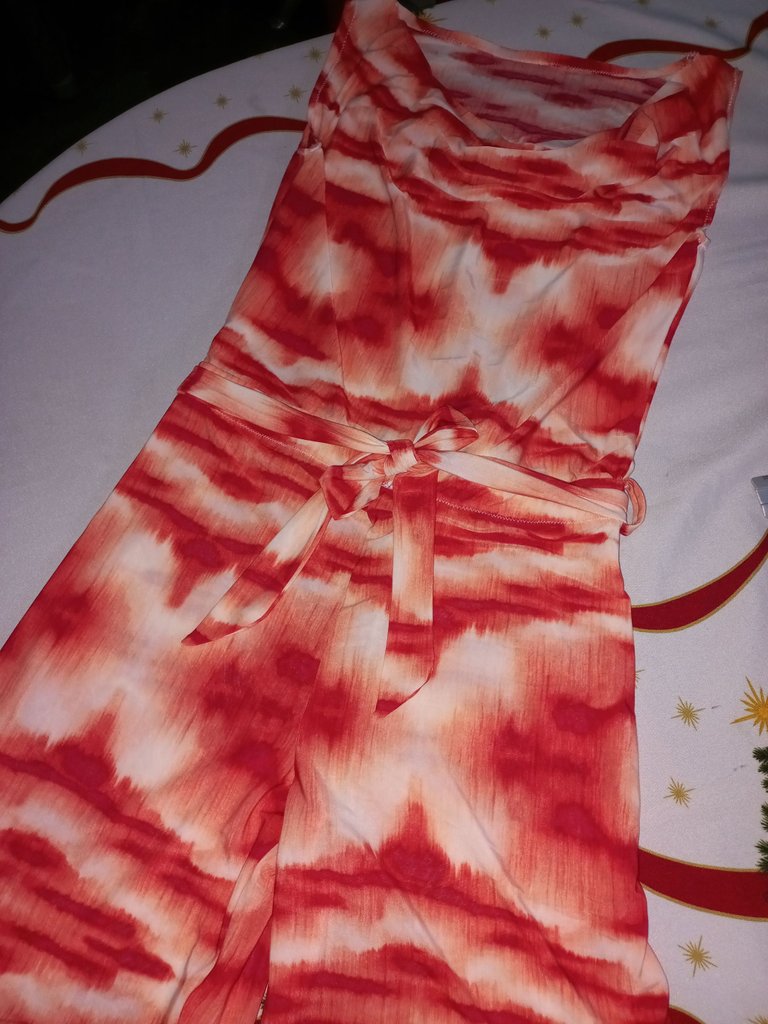
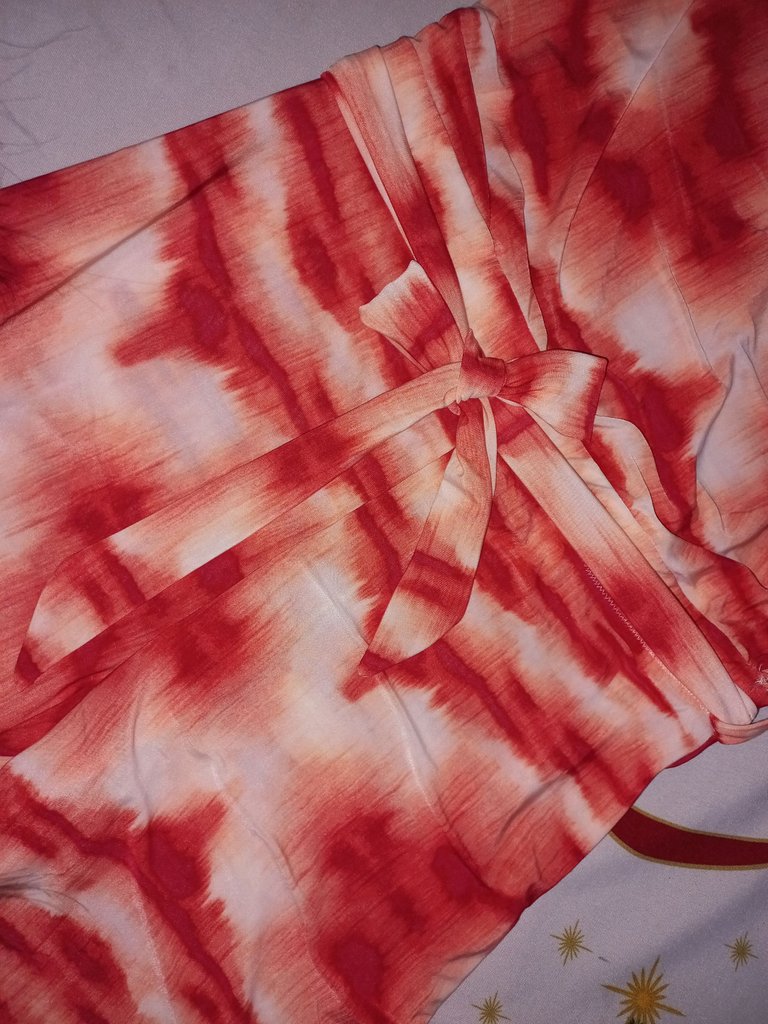
Once the process was finished I tried on the garment. I loved the result. Although for the next time I could leave the blouse a little longer so that it would drape over the shorts. That's what I had envisioned months ago. Finally, I decided to make a belt.
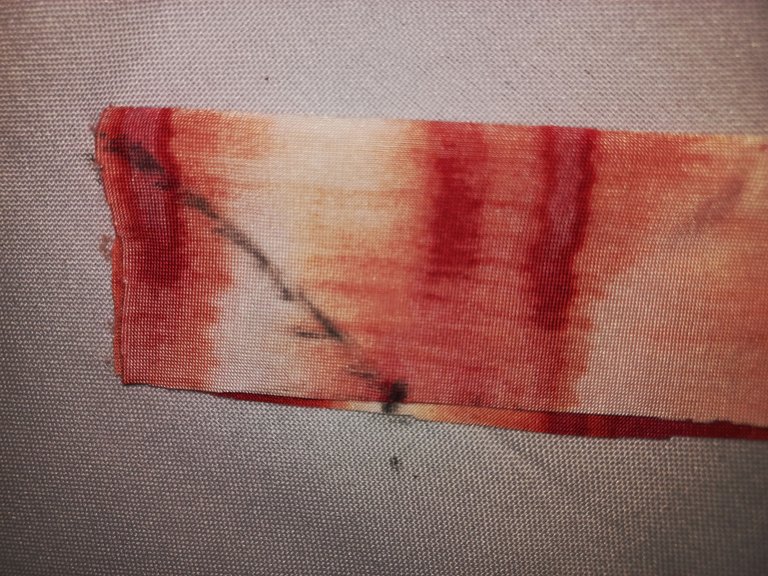
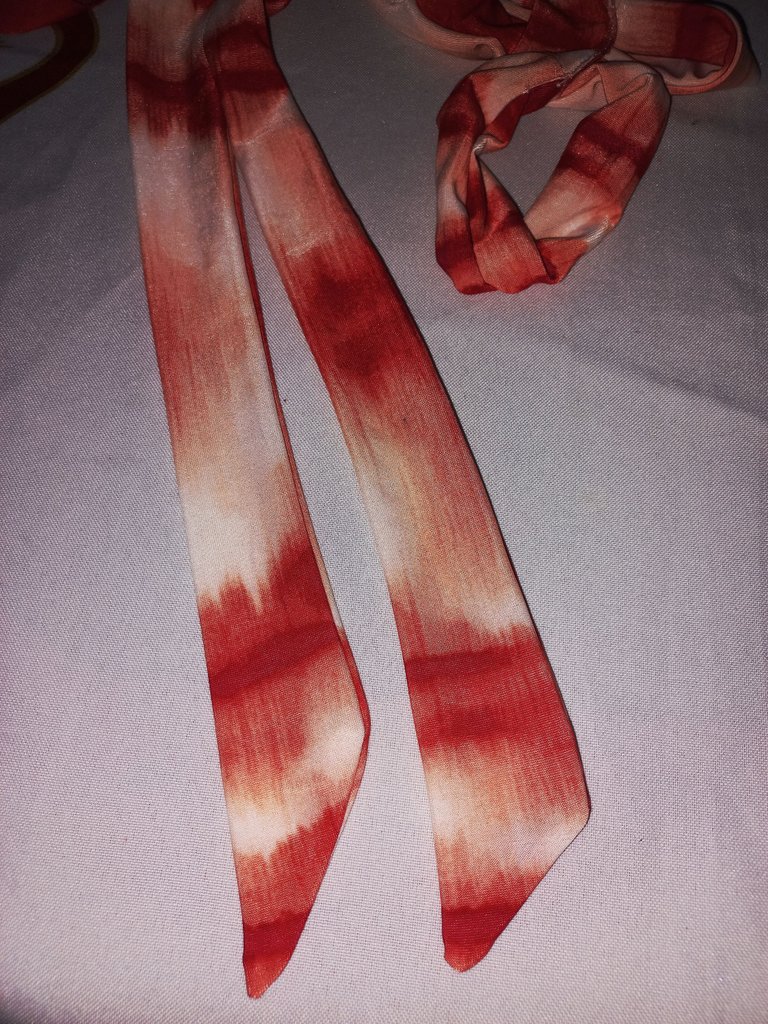
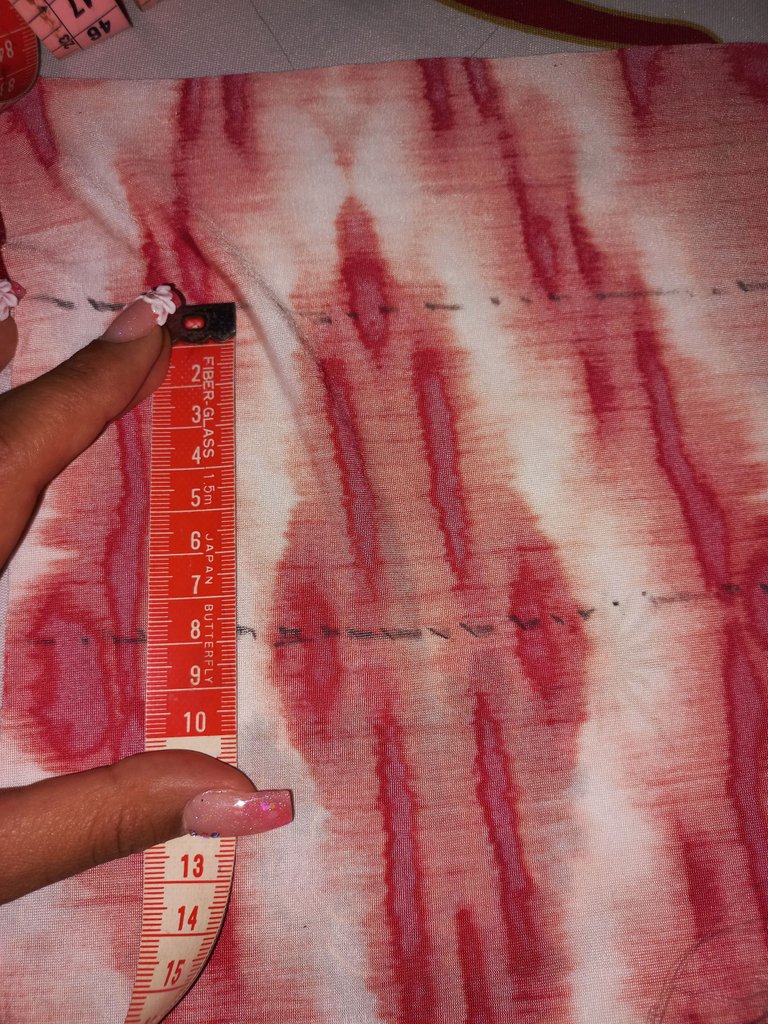
For the belt I cut a strip of 8 * 120 centimeters. At the ends I made a diagonal cut and continued the stitching to the middle of the belt, leaving a small opening to turn right side out. In addition, I made two small pins and sewed them to the sides, just above the elastic line.
Here is a picture of the result. I hope you like it.
Best regards and my thanks for your reading and suggestions, Happy Holidays!
Español
Un caluroso saludo, queridos habitantes de esta bella comunidad #NeedleWorkMonday
Esta semana, justo antes de que finalice el año 2022, terminé por fin un proyecto de costura que había dejado a medias desde hace un par de meses. El exitoso desenlace fue gracias a mi suegra, quien una mañana muy temprano me dijo: "si quiere terminar el enterizo ahí está la máquina,úsela", procediendo a ayudarme a poner todo lo necesario para trabajar.
Y es que, meses atrás, en una de las últimas clases de costura a las que pude acudir pedí a nuestra profesora que me explicara como confeccionar un enterizo tal y como yo lo quería. Mi modelo debía ser con cuello drapeado, con manga sisa y la parte de abajo un short con corte alto a la cintura, ajustado. En lo particular, consideraba que la tela que destiné para ello era la ideal. De tipo licrada, colorida y con buena caída para el diseño del cuello. La forma del cuello y la elasticidad de la tela lograría que se pudiera prescindir de abertura para permitir la colocación de la prenda.
Con su ayuda realicé el patron correspondiente, cortamos la tela y ella se llevó las piezas para pasarlas por la fileteadora. Días después me trajo las piezas listas. Solo me quedaba coser para armar mi anhelada prenda. Pero, había un problema: mi máquina de coser estaba presentando fallas, enredaba la costura por la parte inferior. Pese a que llevé al técnico en dos oportunidades la avería persiste. Y lo peor, telas suaves como la que usé para este proyecto empeoran la situación.
El tiempo de vacaciones escolares transcurrió y con ello volví a retomar las actividades laborales y académicas, situaciones que me hicieron hacer a un lado mi proyecto. La máquina de coser me hace falta, me apasiona la costura. Espero pronto poder adquirir una para tenerla en el lugar donde resido.
Y bueno, esta semana por fin logré mi cometido. Al molde del short sobre el nivel de la cintura le había dejado tres centímetros extra para la colocación del elástico. Así que, una vez armadas por separado la blusa y el short procedí a unir ambas piezas. Para ello dejé libre la franja de tres centímetros donde pegué el caucho. Todo esto lo tenía claro y me resultó tal como lo imaginé.
Sin embargo, tenía dudas sobre el acabado del cuello en la parte trasera y delantera, así como para la parte de la sisa. Finalmente, decidí hacer un doblez sencillo y pasar una costura en zigzag. Algo similar, pero con doblez doble, hice para los bordes de las mangas del short. Mientras que para el borde del cuello drapeado utilicé una costura hecha con el llamado "pie de rollito".
Disfruté mucho el proceso, no enfrenté mayor dificultad. Para garantizar una costura adecuada utilicé casi siempre un "pie de teflon" que permitió buena fluidez al avance de la costura. Pues, coser este tipo de telas es un tanto dedicado.
Una vez terminado el proceso me probé la prenda. Me encantó el resultado. Aunque para la próxima podría dejar un poco más larga la blusa para que proyecte caída sobre el short. Eso había visualizado meses atrás. Finalmente, decidí confeccionar un cinturón.
Para el cinturón corté una tira de 8 * 120 centímetros. En los extremos hice un corte en diagonal y continué la costura hasta la mitad del cinturón, dejando una pequeña abertura para voltear al derecho. Adicional, hice dos pequeños pasadores y los cosí a los laterales, justo sobre la linea del elástico.
Aquí les dejo fotografía del resultado. Espero que les guste.
Un saludo cordial y mi agradecimiento por tu lectura y sugerencias. ¡Felices fiestas!
Traducido al inglés con Deepl // Translated to English with Deepl
Fotografías: fuente propia // Photography: source own
Edición de fotografías: Snapseed // Photo editing: Snapseed