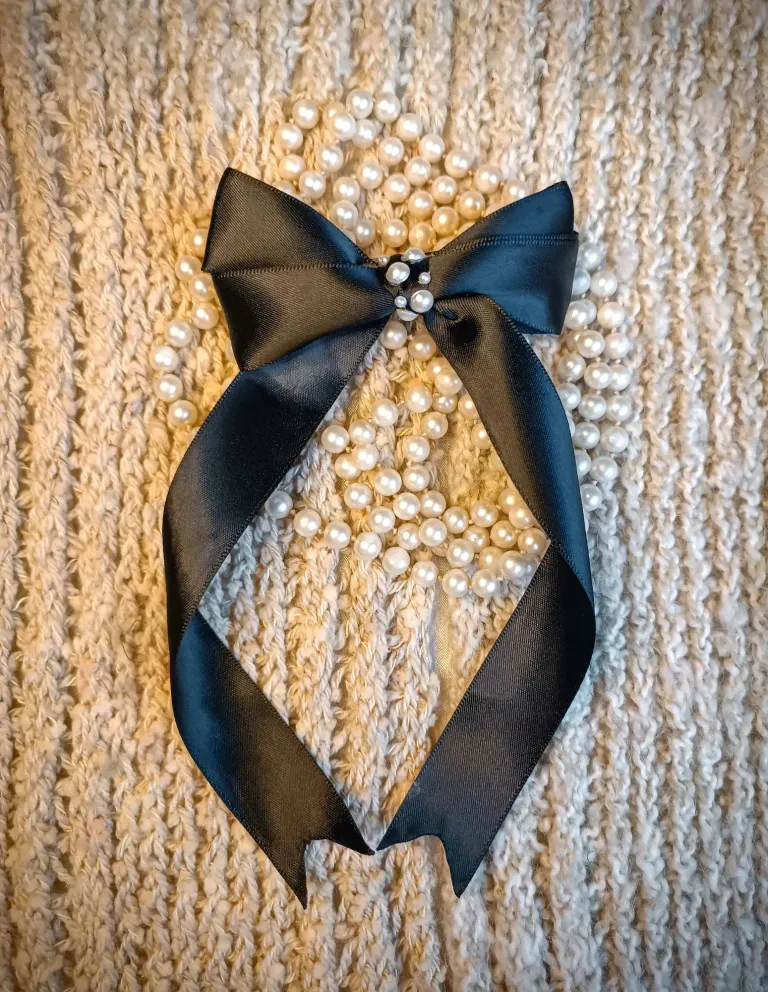
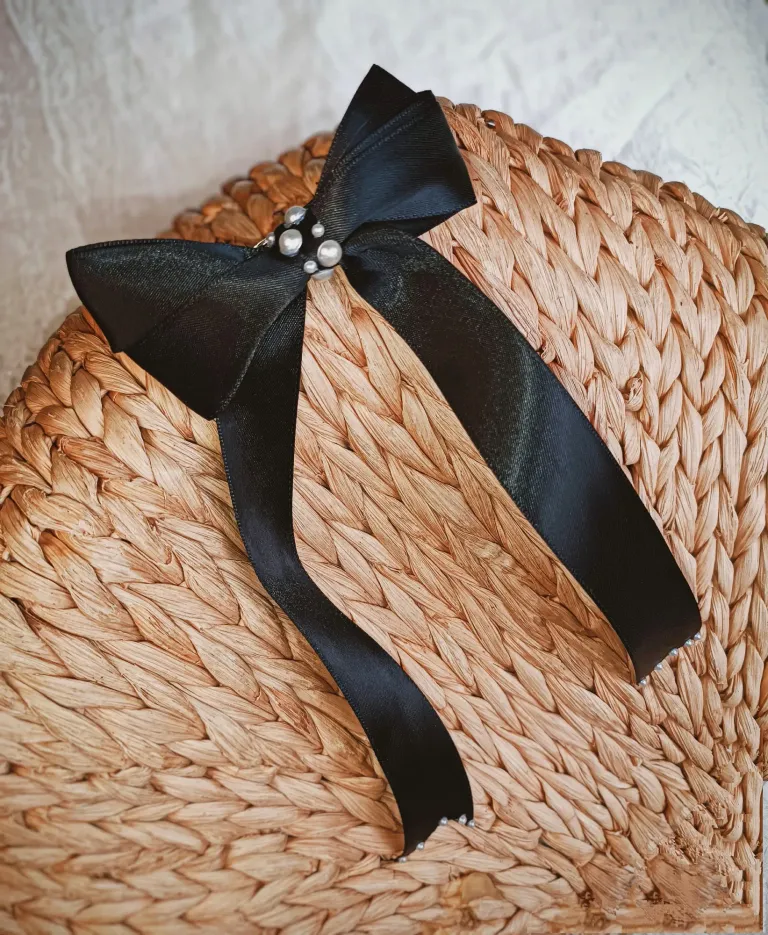
En post anteriores he hablado un poco de la obsesión de accesorios Coreanos que tiene mi hija últimamente...
Todos en su mayoría negros, con lazos y perlas... Delicados y aesthetic al mismo tiempo.
Muy bien podria comprarlos pero... No los encontraría como los visualizo en mi cabeza así que, nada mas satisfactorio que dar rienda suelta al Don de la creatividad que además de relajarme me hace sentir autosuficiente 😁.
Además también de ver también como mi hija los lleva con orgullo 🥹 y cuando le dicen algo bonito de sus accesorios dice muy contenta: "¡Me los hace mi mamá!" 🥰🫶🏻
Entonces es una motivación más!
Hacer estos lazos es muy muy sencillo, además necesitas muy pocos materiales y en minutos puedes hacer un hermoso y delicado trabajo.
Aquí les cuento el proceso!
In previous posts I have talked a bit about my daughter's obsession with Korean accessories lately....
All mostly black, with ribbons and pearls.... Delicate and aesthetic at the same time.
I could very well buy them but.... I wouldn't find them as I visualize them in my head so, nothing more satisfying than giving free rein to the Gift of creativity that besides relaxing me makes me feel self-sufficient 😁.
Besides also seeing how my daughter wears them with pride 🥹 and when they tell her something nice about her accessories she says very happy: "My mom makes them for me!" 🥰🫶🏻
So that's one more motivation!
Making these bows is very very simple, plus you need very few materials and in minutes you can make a beautiful and delicate work.
Here I tell you the process!
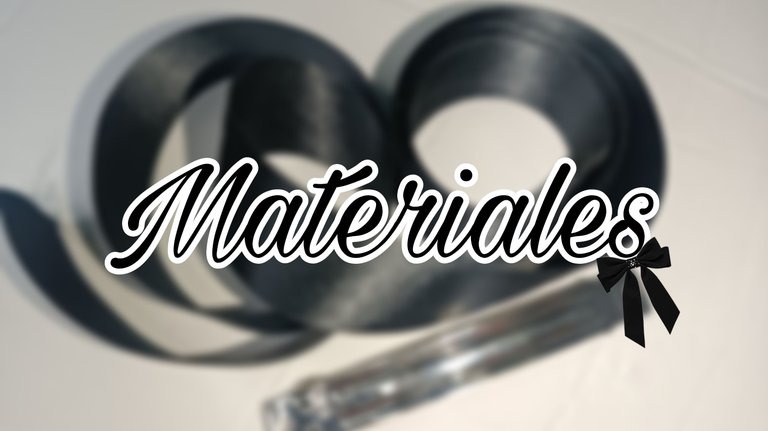
🎀 Cinta de seda.
🎀 Broche de Cabello.
🎀 Silicón Caliente.
PROCESO
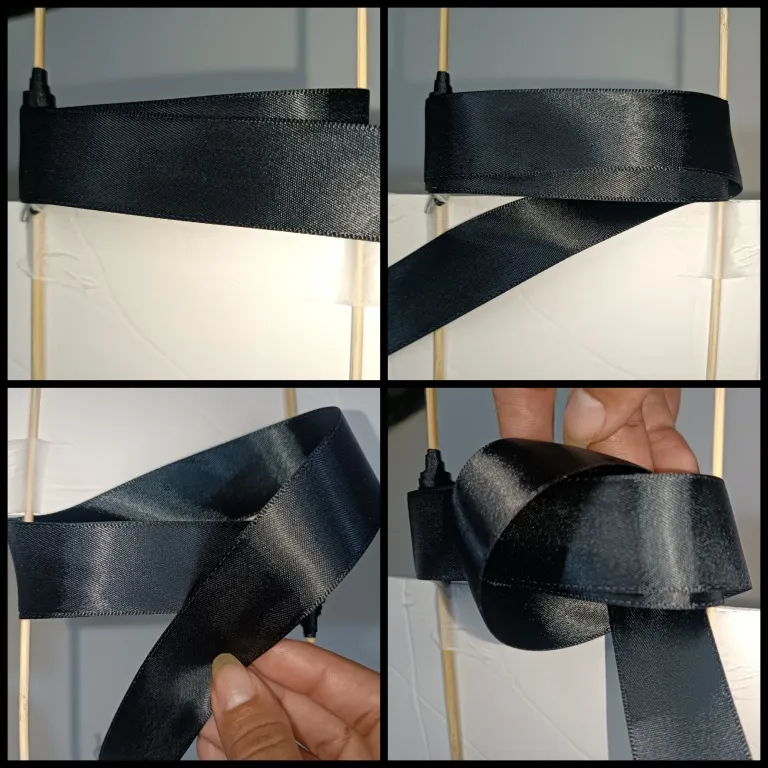
Quise probar una técnica diferente a usar los dedos de las manos, así que utilicé 2 palillos. Los cuales fijé en una superficie plana con cinta adhesiva, dejándolos a la distancia que quería para tener el ancho que quería para las orejitas del lazo. (Que se me olvidó medir 🥹)
Medí 20 centímetros de Cinta y marqué, esta sería la cola del lazo. La quería larga para hacerlo más elegante.
Una vez medido lo enrollé en uno de los palillos, hasta completar los 20 centímetros.
🎀 Silk ribbon.
🎀 Hair clip.
🎀 Hot Silicone.
PROCESS
I wanted to try a different technique than using my fingers, so I used 2 toothpicks. Which I fixed on a flat surface with tape, leaving them at the distance I wanted to have the width I wanted for the little ears of the bow (Which I forgot to measure 🥹).
I measured 20 centimeters of Ribbon and marked, this would be the tail of the bow. I wanted it long to make it more elegant.
Once measured I wrapped it around one of the toothpicks, until I completed the 20 centimeters.
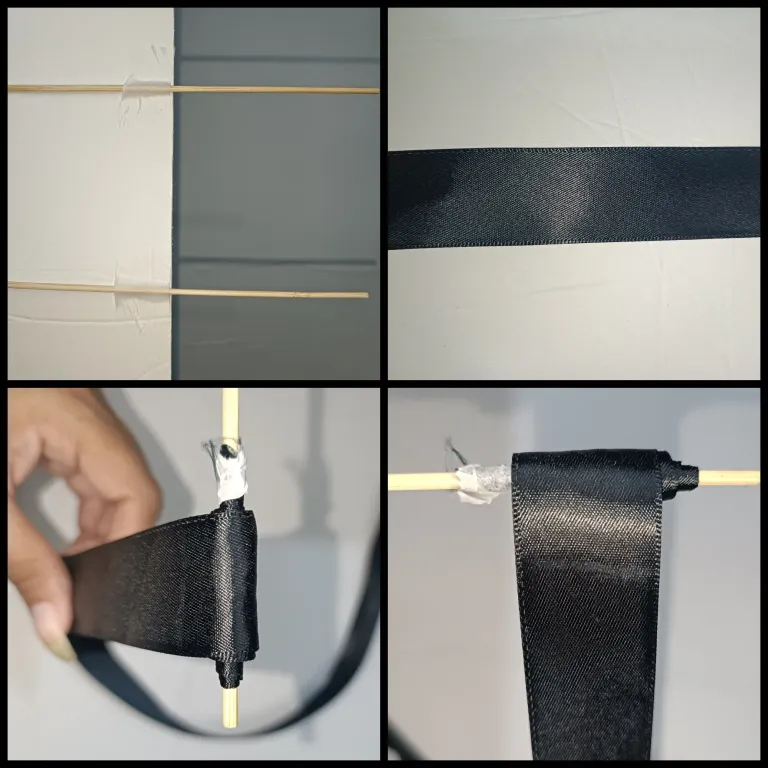
Con el restante de la cinta, que hacían 80 centímetros, vamos a dar 2 vueltas alrededor de los 2 palillos, justo a mitad de una tercera vuelta, pasaremos el extremo de esa Cinta por debajo de las tiras que bordeamos, luego por encima y finalmente la metemos por el Medio de las tiras bordeadas... (Se lee enredado pero es que así es el proceso 🙈)
With the remaining ribbon, which made 80 centimeters, we will make 2 turns around the 2 sticks, just halfway through a third turn, we will pass the end of that Ribbon under the strips we bordered, then above and finally we put it in the middle of the bordered strips.... (It reads tangled but that's how the process is 🙈)
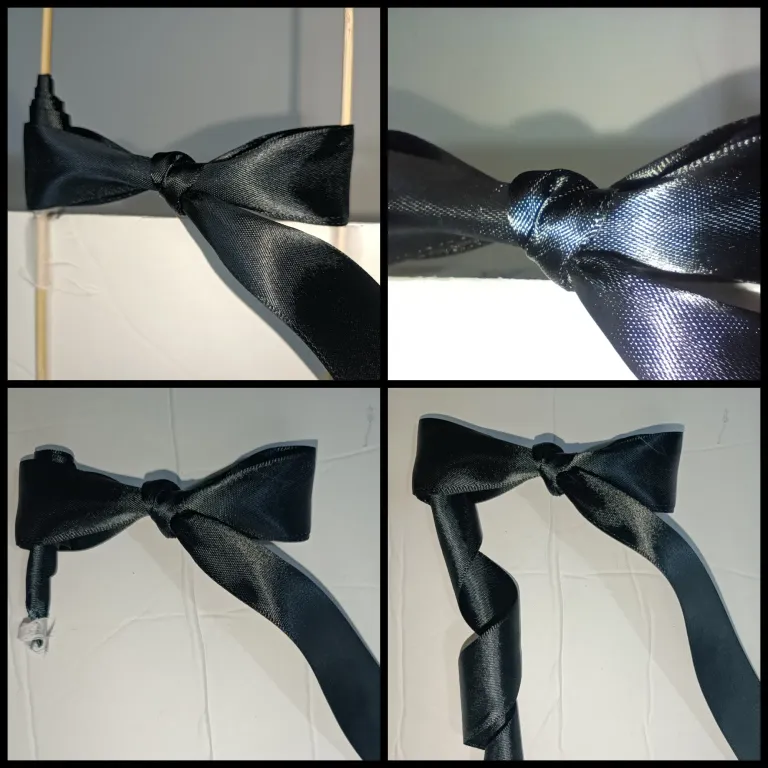
El siguiente paso es templar o halar la cinta hasta que se forme el nudo, una vez lo veamos firme, vamos a sacar el lazo de los palillos.
El extremo que habíamos fijado a uno de los palitos lo vamos a soltar y allí ya se nota la forma real del lazo.
The next step is to temper or pull the ribbon until the knot is formed, once we see it firm, we are going to remove the ribbon from the sticks.
The end that we had fixed to one of the sticks we are going to release it and there we can already see the real shape of the ribbon.
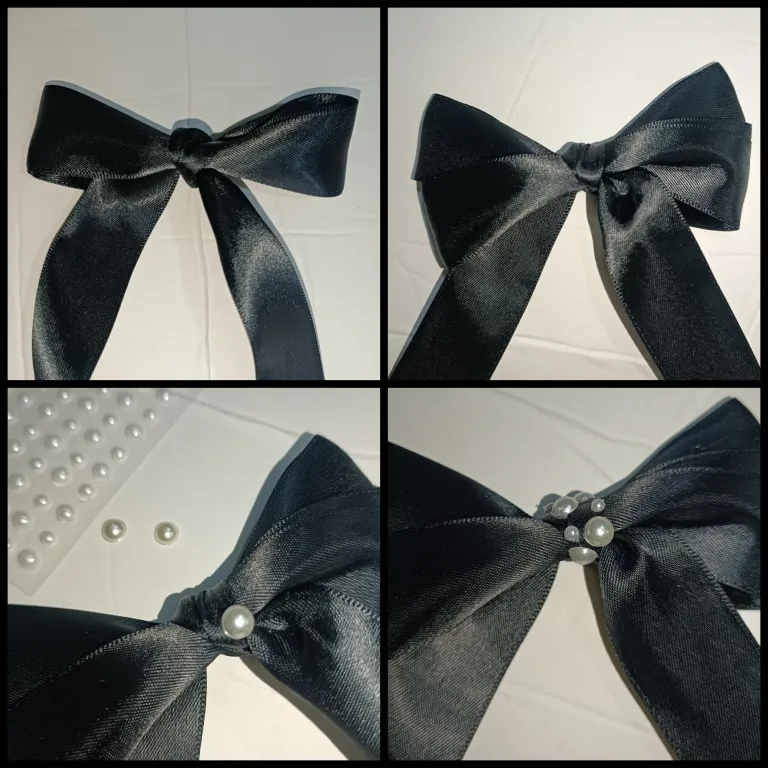
Luego vamos a separar las orejitas para dejar el lazo de oreja doble...
Cómo queríamos agregarle un toque de elegancia al lazo pero sin recargarlo, le pegué algunas perlitas en el nudo del medio.
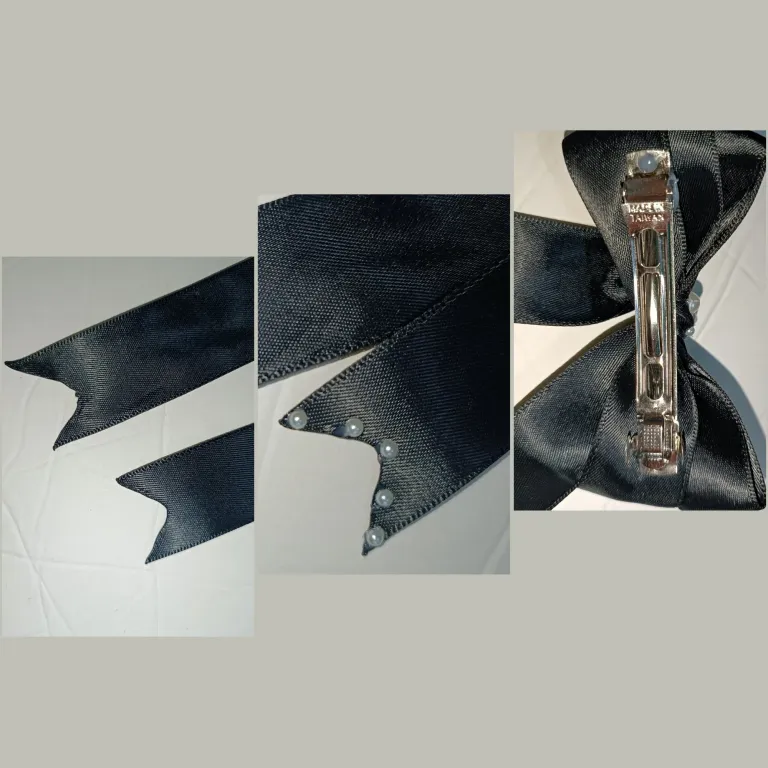
En las tiras colgantes realicé un corte en V y también le agregué algunas Perlitas...
Por último sólo fijé el gancho con silicón caliente y el lazo quedó listo ✨✨✨.
Then we are going to separate the little ears to leave the double ear bow...
As we wanted to add a touch of elegance to the bow but without overloading it, I glued some pearls in the middle knot.
On the hanging strips I made a V cut and I also added some pearls...
Finally I just fixed the hook with hot silicone and the bow was ready ✨✨✨.
RESULTS // RESULTADO
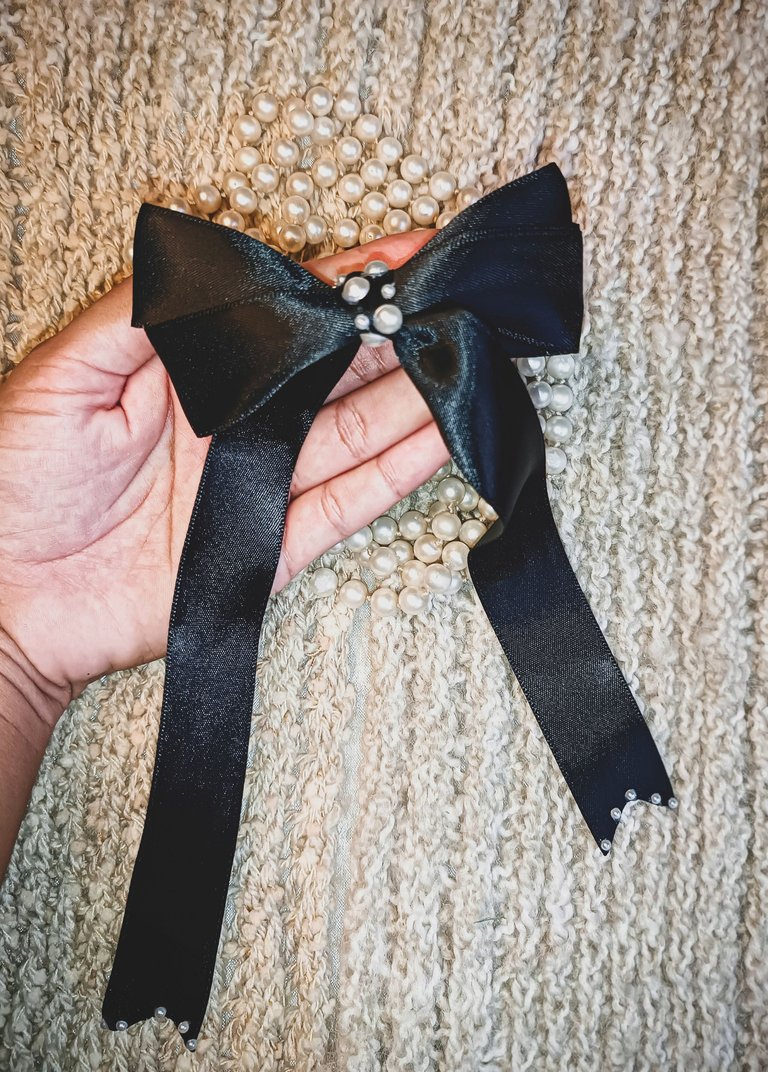
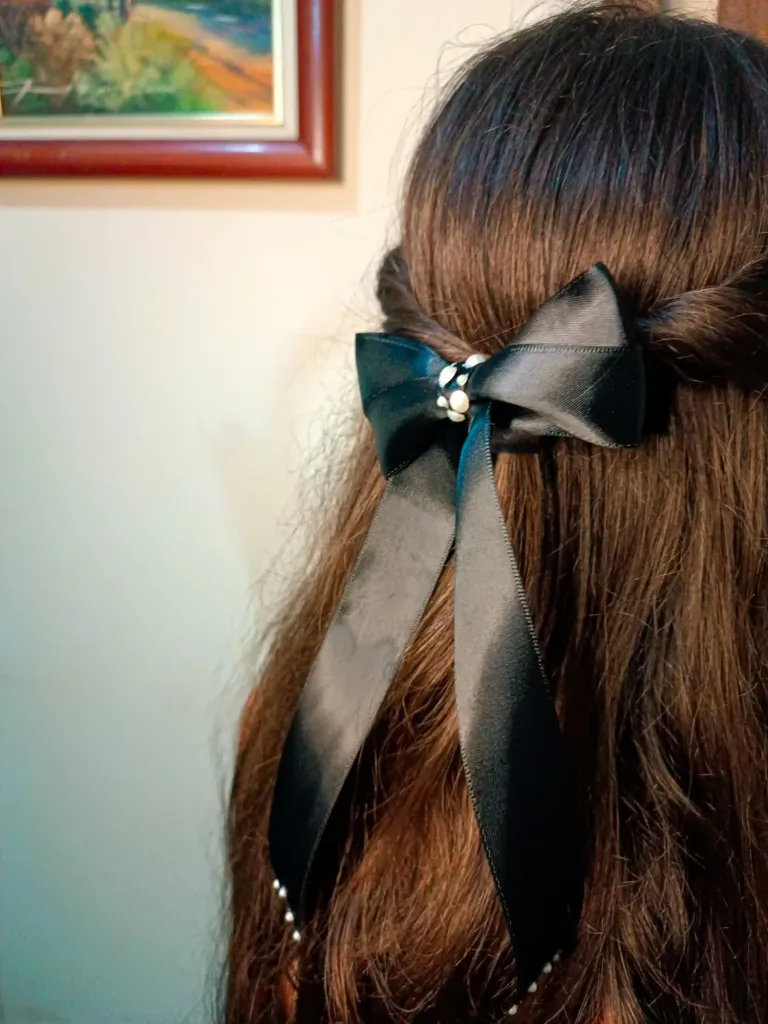
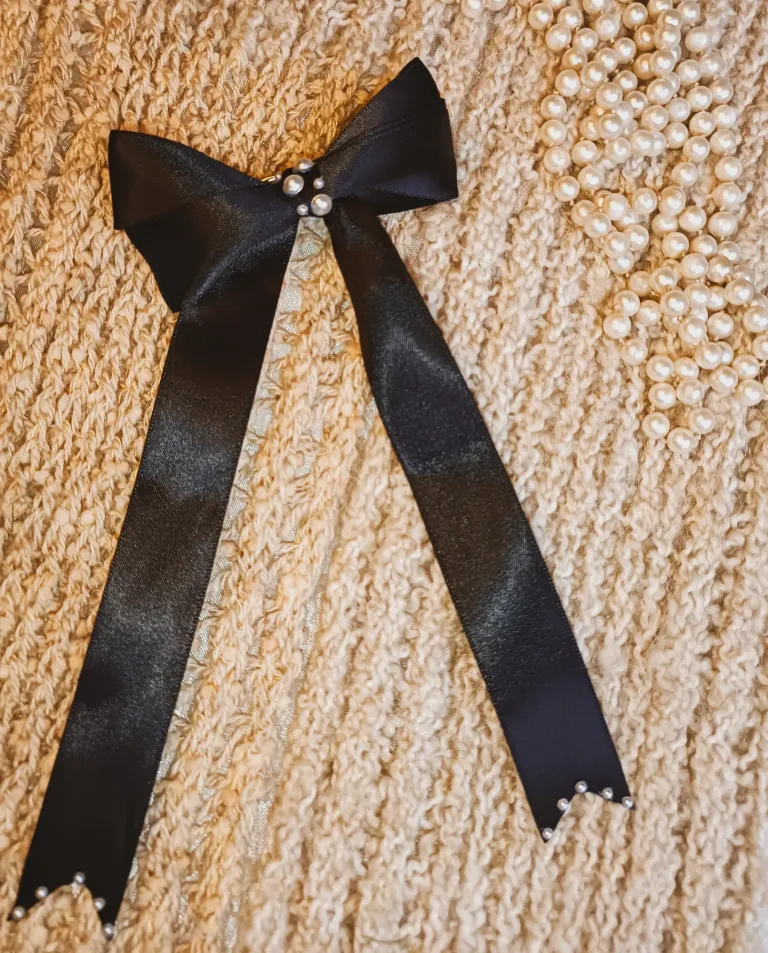
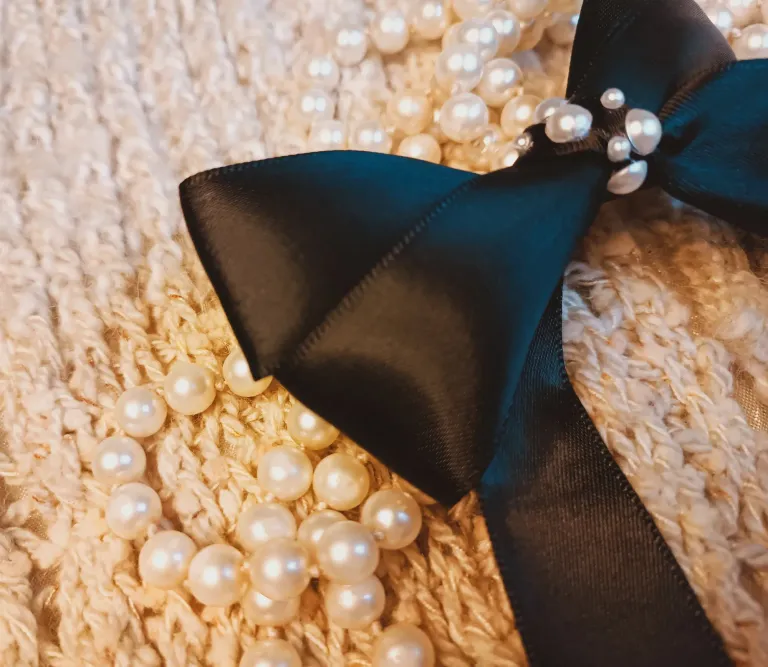
Amé lo delicado que quedó este accesorio que nos eleva aún más el outfit a la hora de combinarnos y aunque claramente lo hice para mí hija, sé que en cualquier descuido lo estaré usando yo 😁.
Las perlitas le aportan elegancia, además al ser de color negro le agrega más hermosura.
Estoy pensando seriamente en la posibilidad de meterme al mundo de los lacitos y generar algún ingreso extra que Jamás de los Jamases estará de más! 🤩✨
Me despido con cariño hasta un próximo post, esperando que esté pequeño tutorial les haya Sido útil. 🎀
I loved how delicate this accessory was, it elevates our outfit even more when it comes to combining it with our outfits and although I clearly made it for my daughter, I know that I will be wearing it myself 😁.
The pearls add elegance, plus being black adds more beauty.
I'm seriously thinking about the possibility of getting into the world of bows and generate some extra income that never ever will be superfluous! 🤩✨
I bid you a fond farewell until a next post, hoping that this little tutorial has been useful. 🎀
For the best experience view this post on Liketu

