Hi, creative foodies in the Hive!
Do you like experimenting in the kitchen? I do.
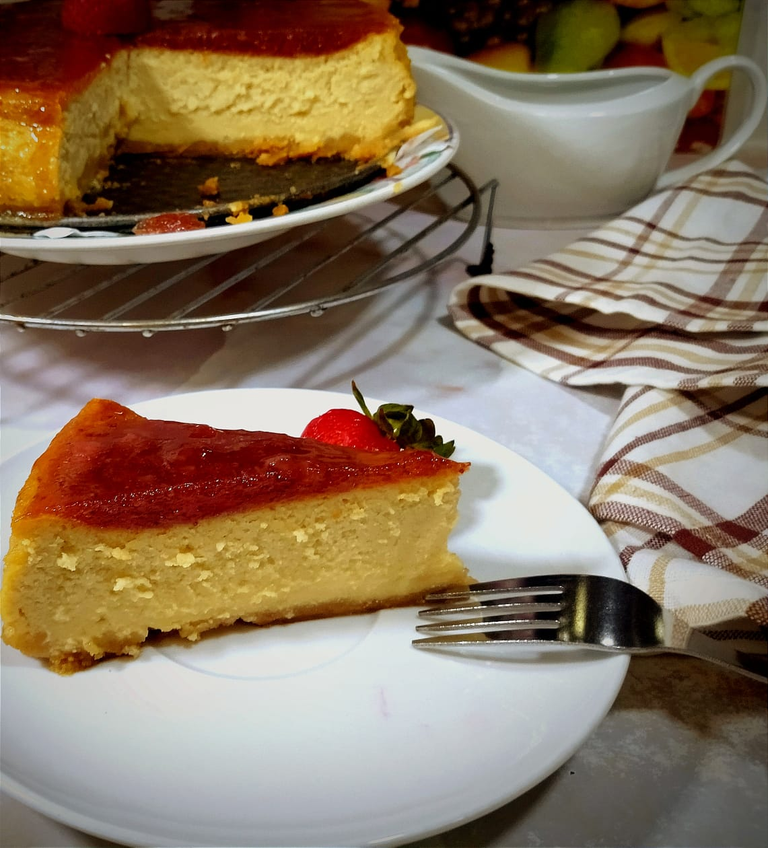
This time I wanted to make a few but significant changes to a cheesecake recipe a friend gave me some years ago: I substituted the traditional cream cheese for two types of local fresh cheese and adjusted the rest of the recipe to fit the new formula, fingers crossed.
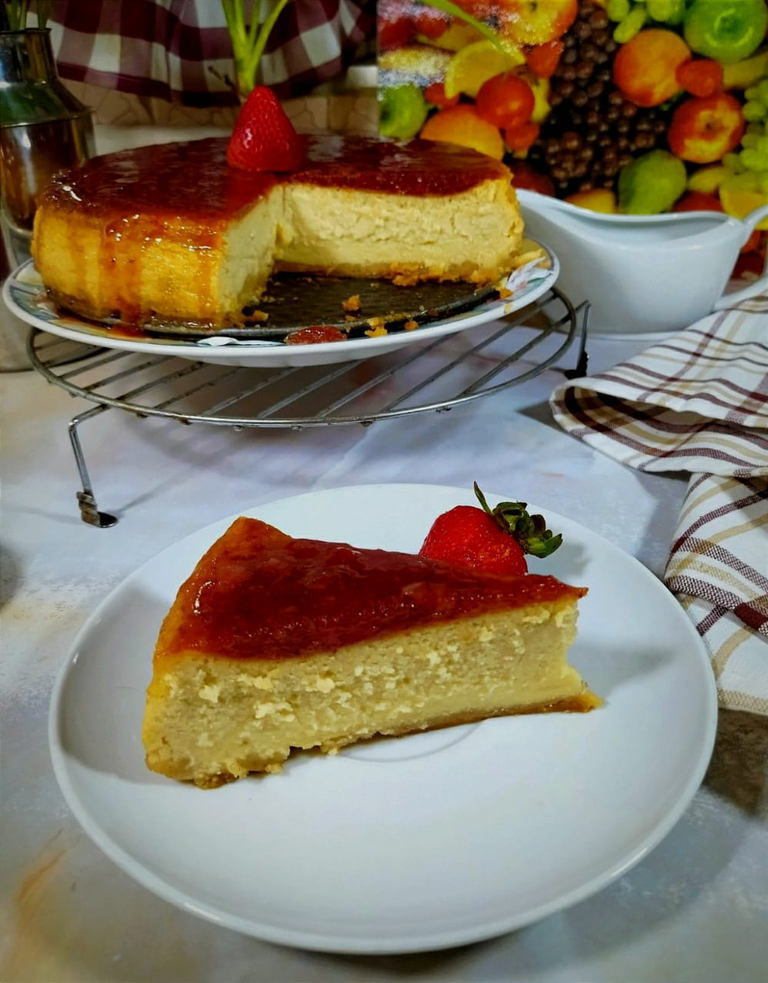

The result was amazing, so much better than expected. It was delicious and cost me a lot less money than when I used the original recipe with cream cheese ($1.7 for queso fresco versus $7 for cream cheese, not to mention that I used almost half as much cream). I'm always expecting a mess when I'm trying tricks for the first time, hehe, but everything was fine 😋
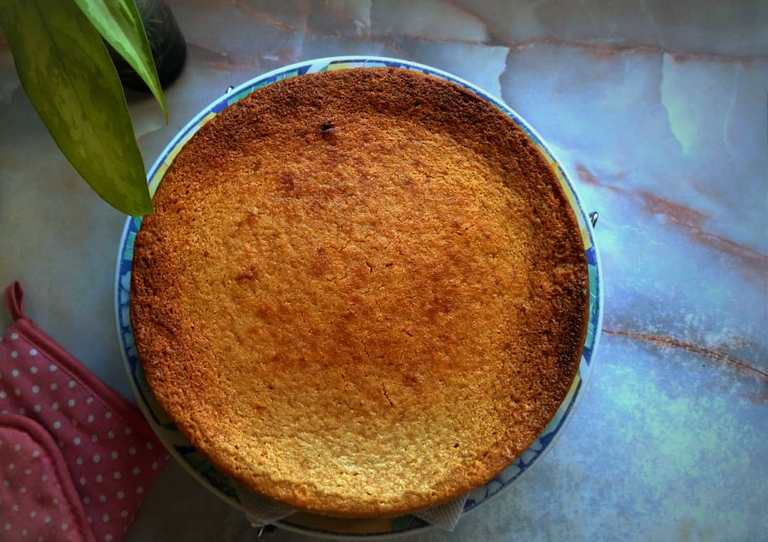
I don't make baked cheesecake often...
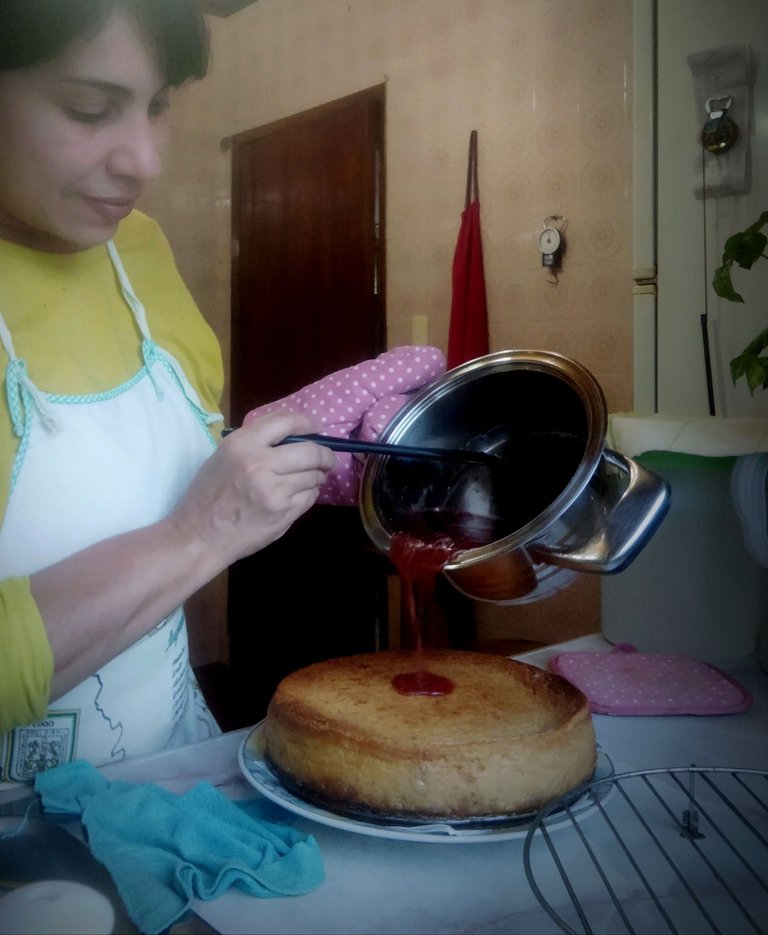
...But just a couple of months ago, I learned that my husband, who is always proud of his “absolute”--tongue in cheek--independence from the world of sweets and desserts, loves it. So I've started to make my little experiments in the kitchen...
Cheesecake is ancient. I have read that in ancient Greece they used fresh cheese and honey. I have read that it was popular as “fuel” for athletes and also at special get-togethers and weddings.
In modern times, the recipe seems to never be missing Philadelphia cheese, mascarpone, or other cheese that is creamy--and, in my case, expensive--.
Although this time the result was pretty good, there's always room for improvement; if you keep reading, you'll find some notes, just in case you're interested.
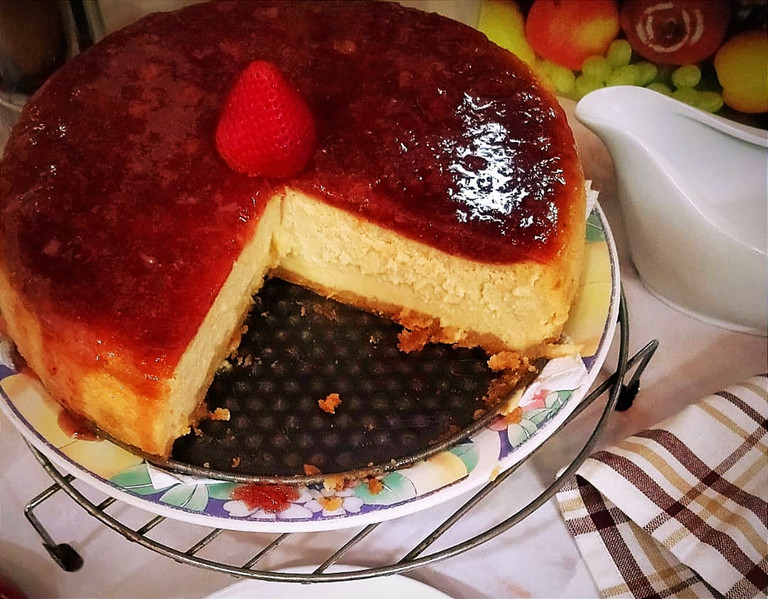

INGREDIENTS
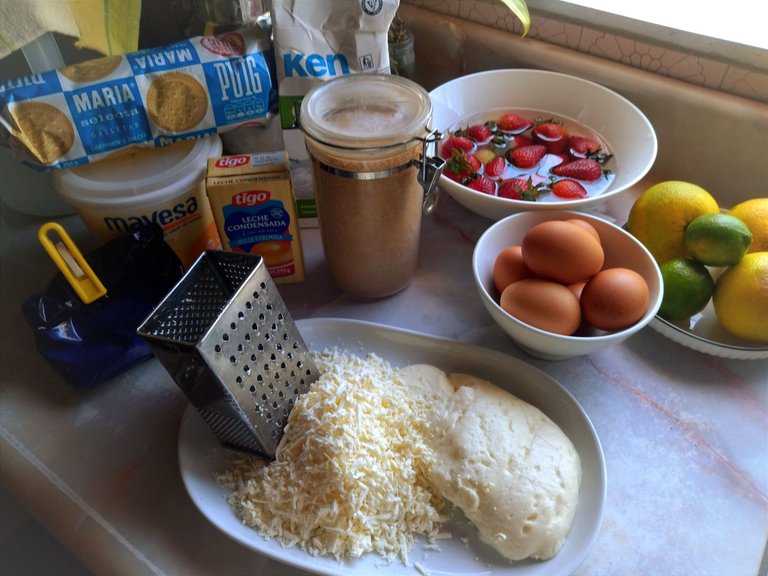
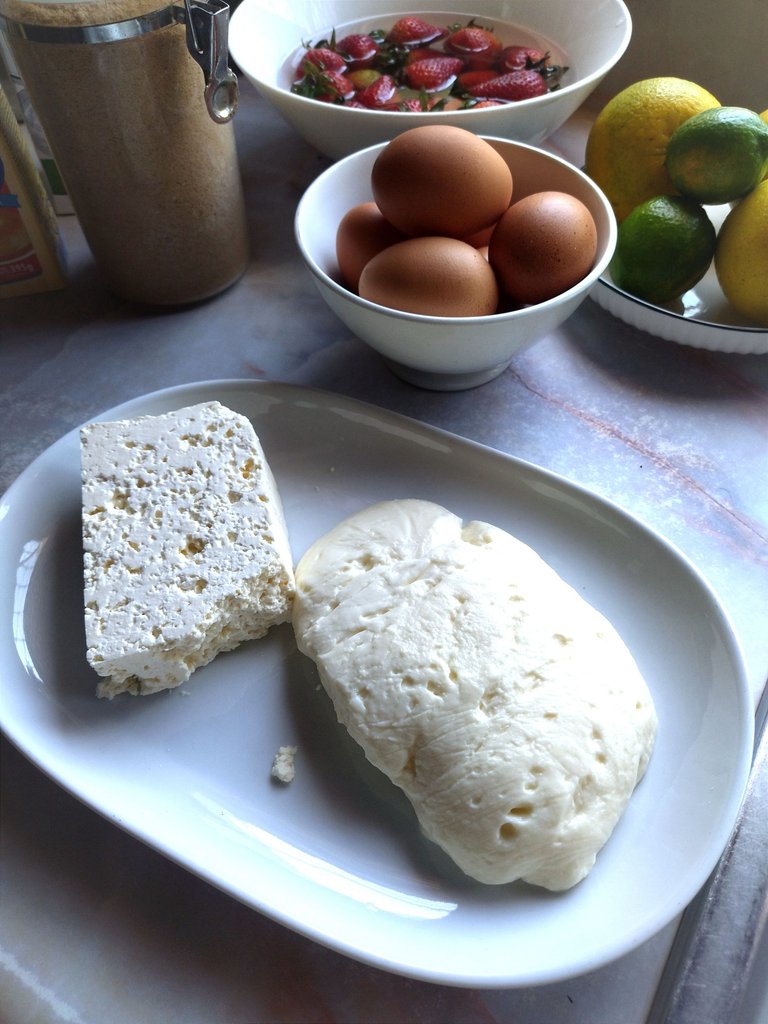
A couple of details to keep in mind: first, the aftertaste of the cake will be from the cheese you choose, so choose one that you really like. Second, it should not be too salty. I used llanero (left) and guayanés (right)👇🏻👇🏻
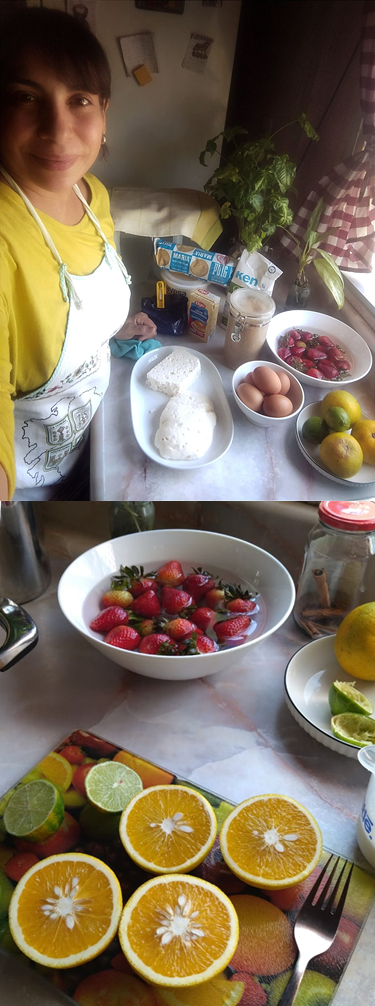
Cake:
- 500gr fresh cheese
- 4 eggs (M)
- 1 can condensed milk
- 300 ml cream
- 2 heaping tablespoons cornstarch
- 1 cup powdered sugar
- 20 ml freshly squeezed lemon juice
- 4 teaspoons vanilla essence
Crust:
- 140 gr crushed María Biscuits + 4 tablespoons brown sugar + 70gr Margarine to cover the bottom of the baking pan (optional)
Firm jam:
- 150 gr fresh ripe strawberries
- 1 cup freshly squeezed orange juice
- the juice of a lemon
- 1 cup brown sugar
- 1 teaspoon vanilla essence
- half a cinnamon stick
- pinch of salt
- 24 gr unflavored gelatin
(I'd use 10-12 gr instead of 24 gr of gelatin next time 🙃)

THE PROCESS

Cake
I grated the cheese as necessary and put all the ingredients in the blender.
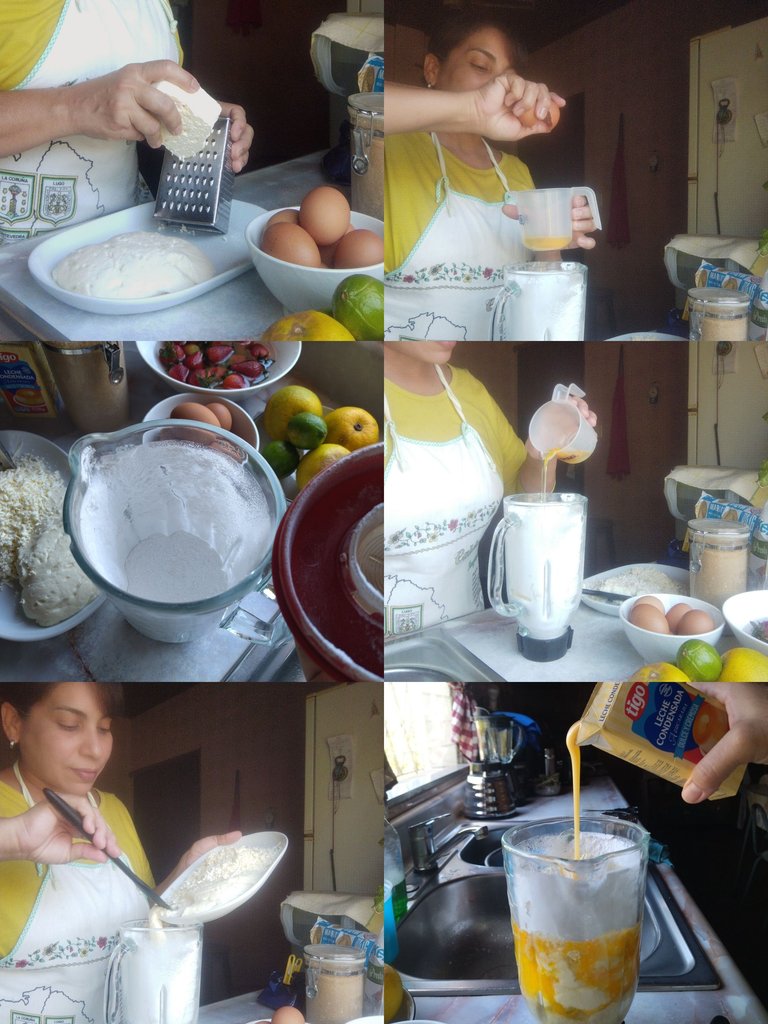
The amount of mixture was too much for my blender, so I blended it in two parts and finished blending in a bowl.
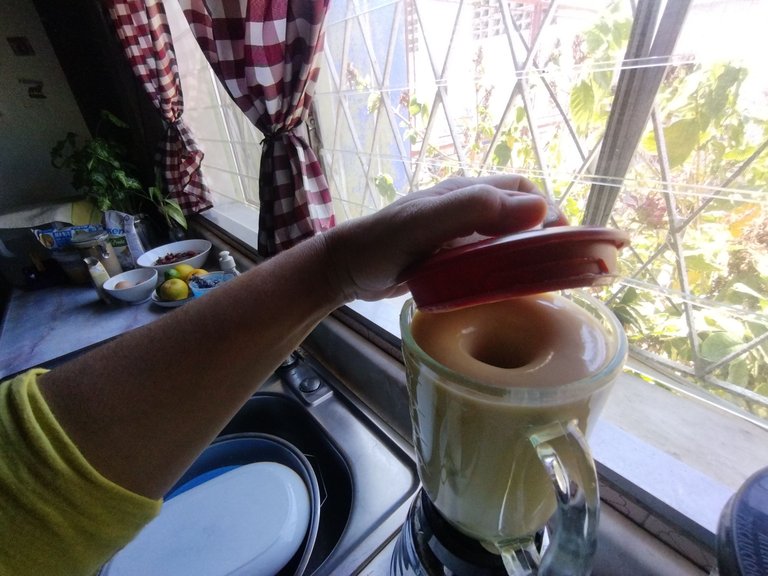
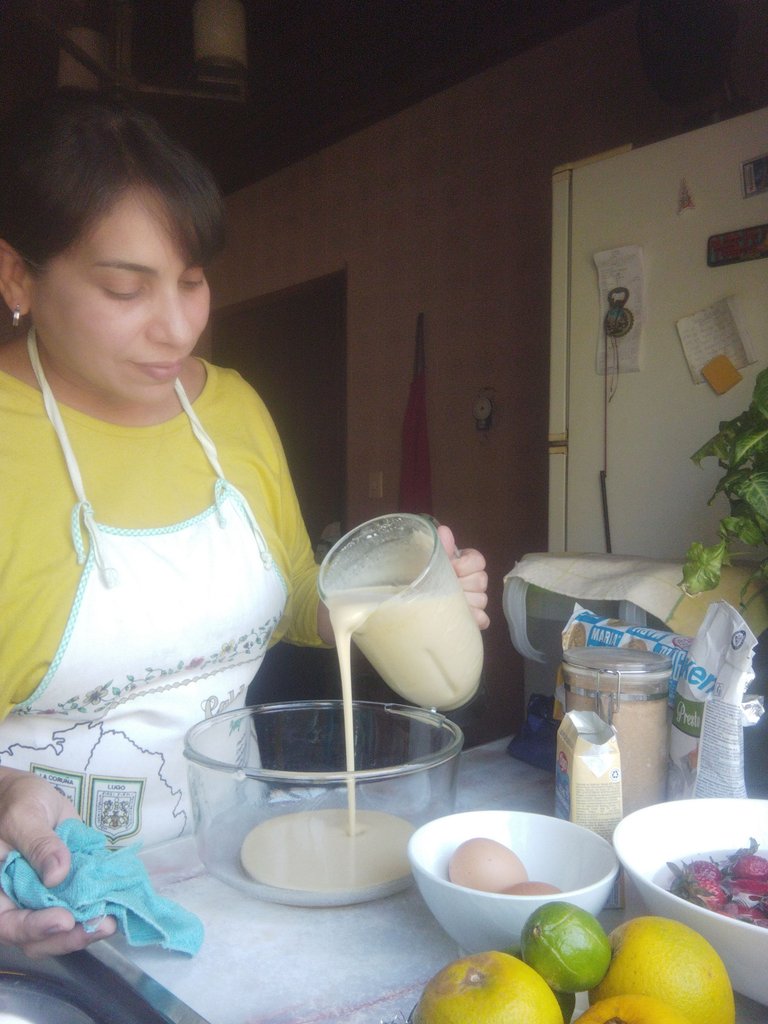
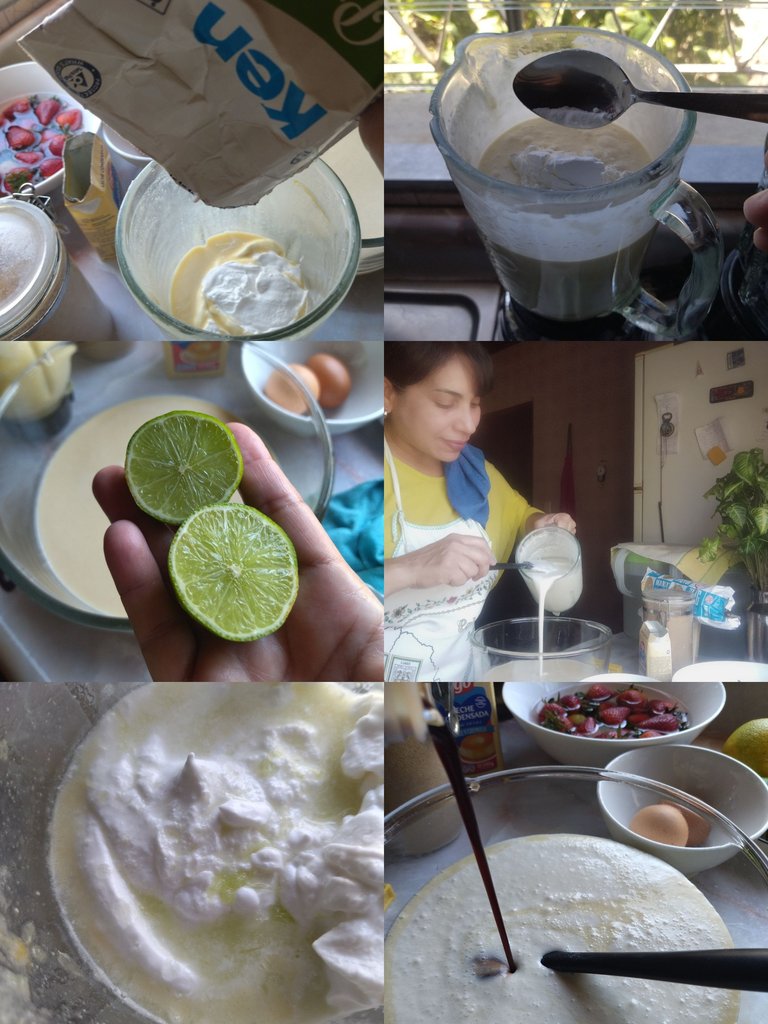
After the mix was done, I crushed the María Biscuits in the blender, then dry mixed them with the sugar in a bowl, and finally added the melted margarine.
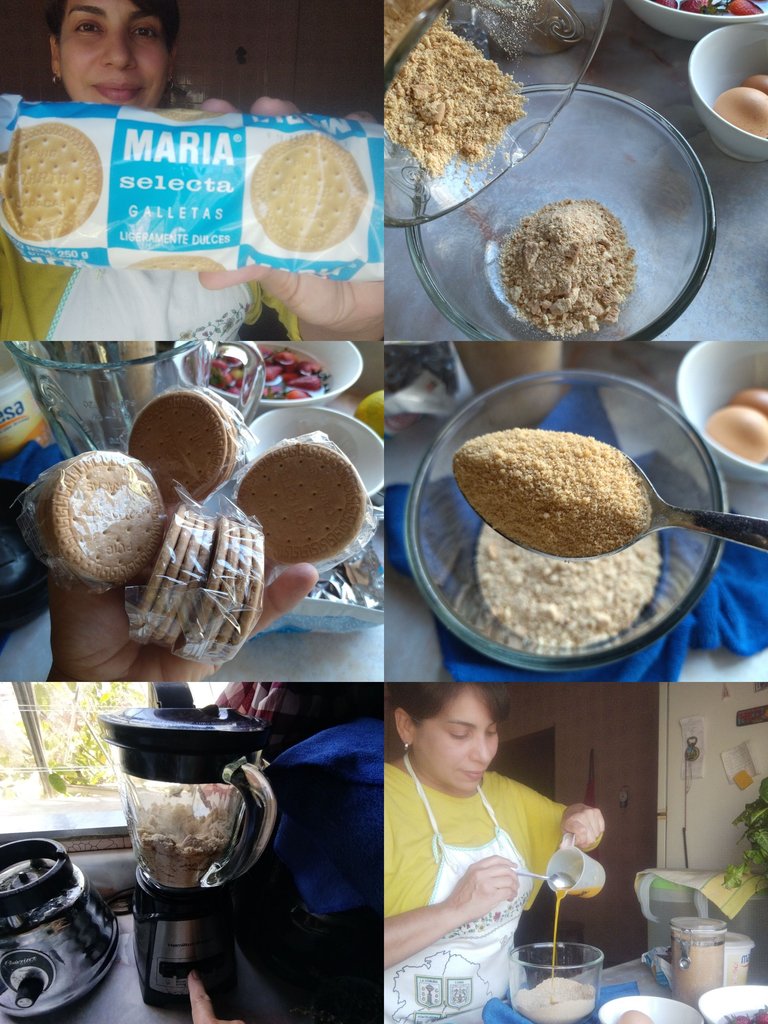
I mixed it until it looked like wet sand.

I pressed the biscuit mixture against the bottom of the baking pan to make the base of the cake.
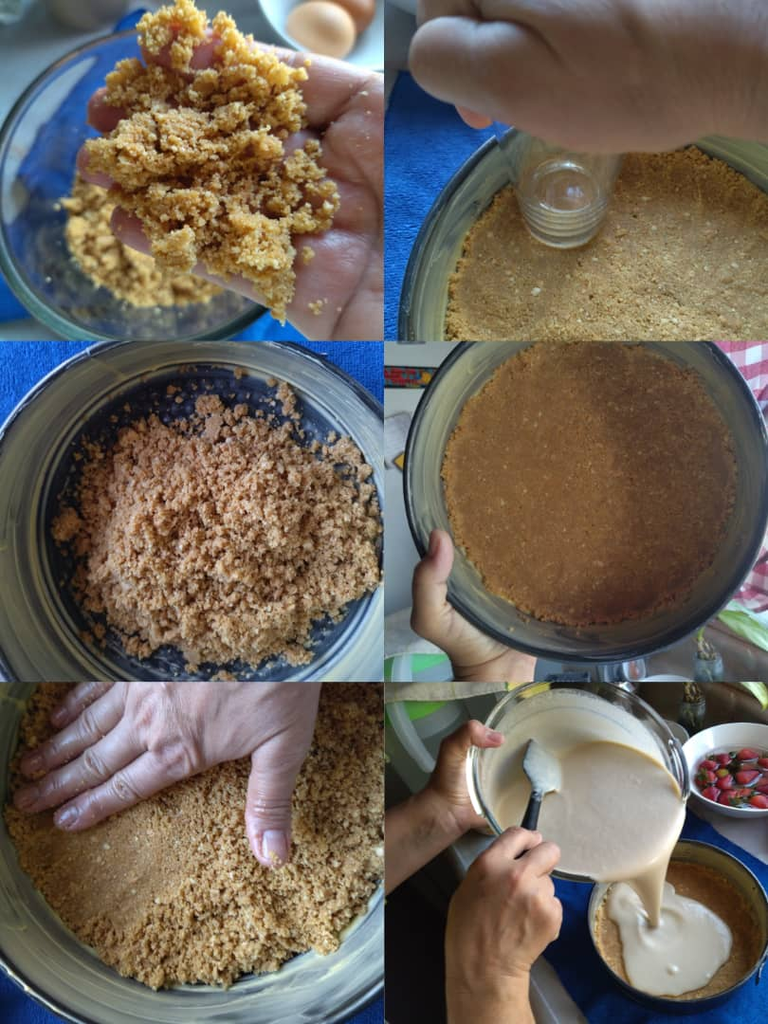
Note: I usually use the cookies only (double what I used this time) and toast them a little in the oven before pouring the mixture over them, no sugar or butter or margarine; and I will definitely keep this original recipe next time 💯
THIRD
Now it was time to pour the mixture into the baking pan, which I had lined with margarine.
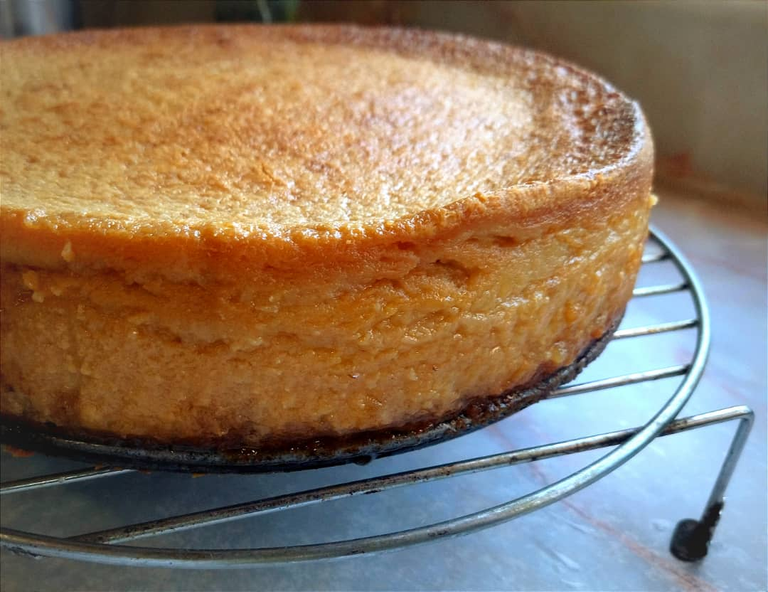
The baking time was longer than expected: 75 min at 300°F in my little electric oven. I guess it was a lot of mixture. Next time, I will make this cake less tall, so as not to force my trusty little oven so much. Anyway, the result was good 😁👇
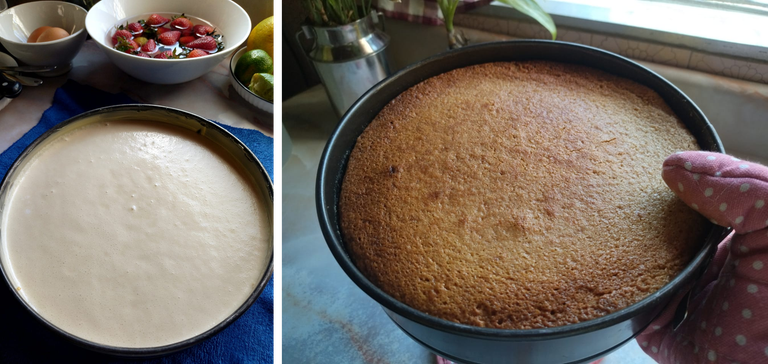
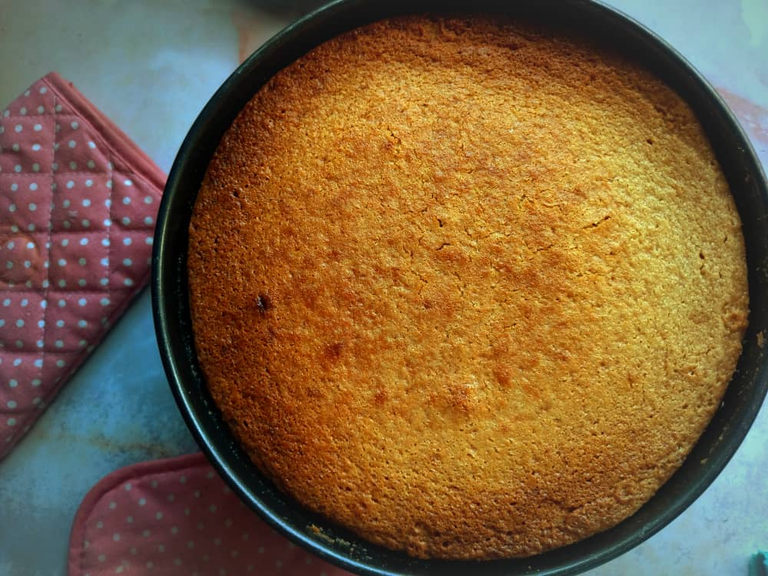
I let it cool for about half an hour and it unmolded easily.
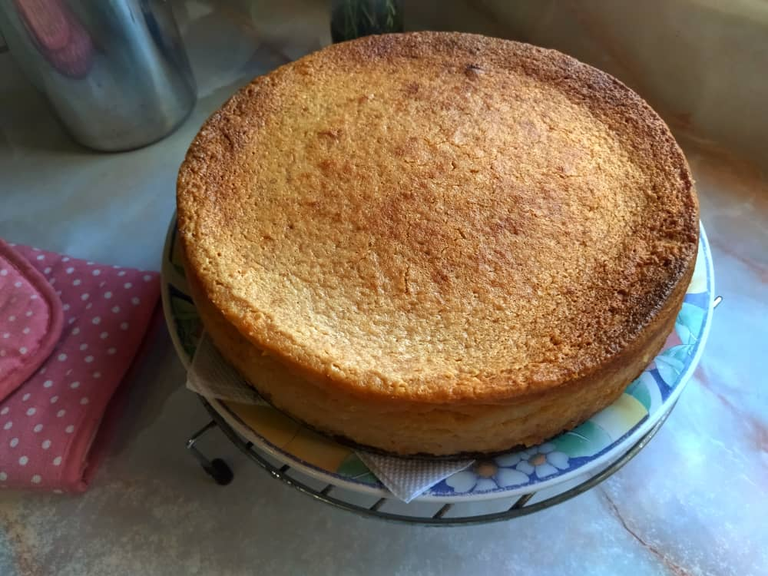
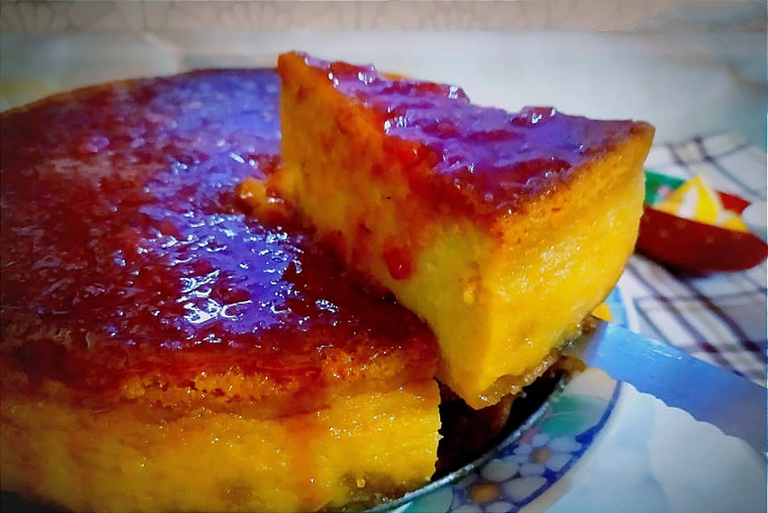
You could see the cake was moist and firm. Nice.
FOURTH. Jam, jello, sauce? 🍓🍊🍋😋

For me, there are three things that make the sweet part of this cake special: fresh fruit, fresh citrus with pectin, and my jam trio: pinch of salt/cinnamon stick/cane honey.
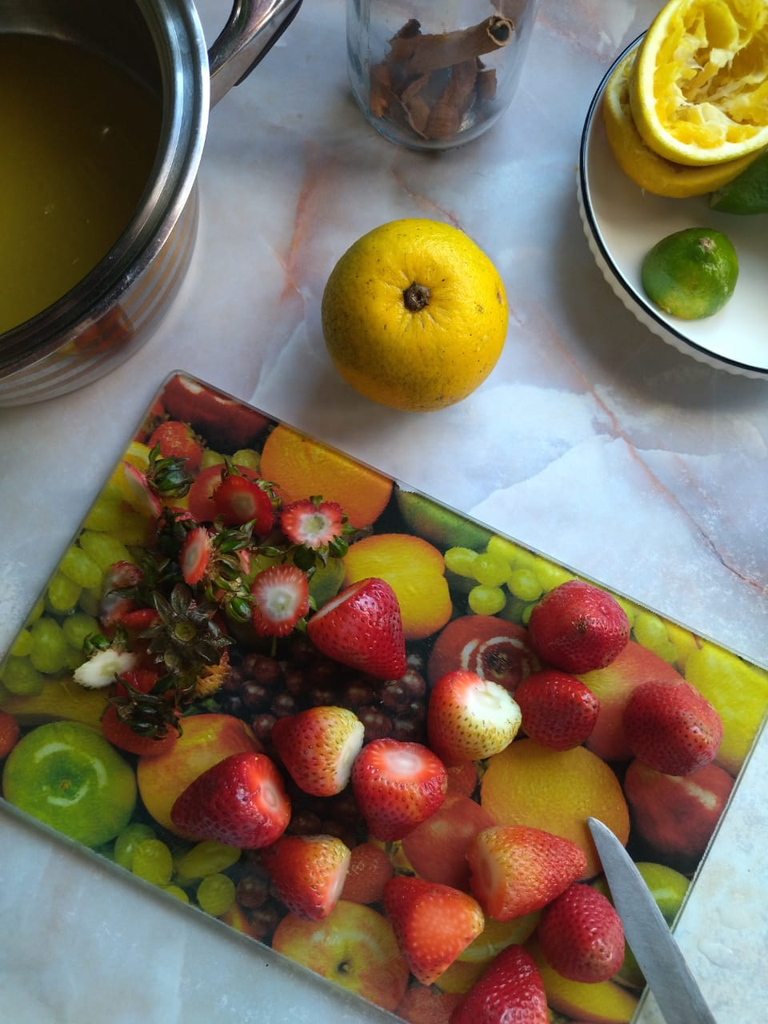
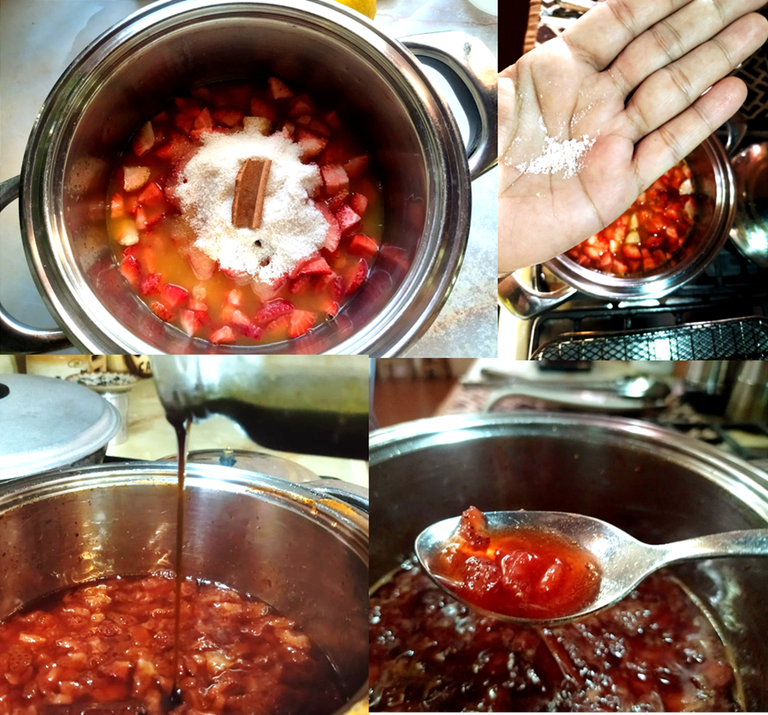
First of all, I squeezed the ornages and lemon. I poured the juice in a pot and added the strawberries that I had washed and cut in little pieces of about 2 cm.
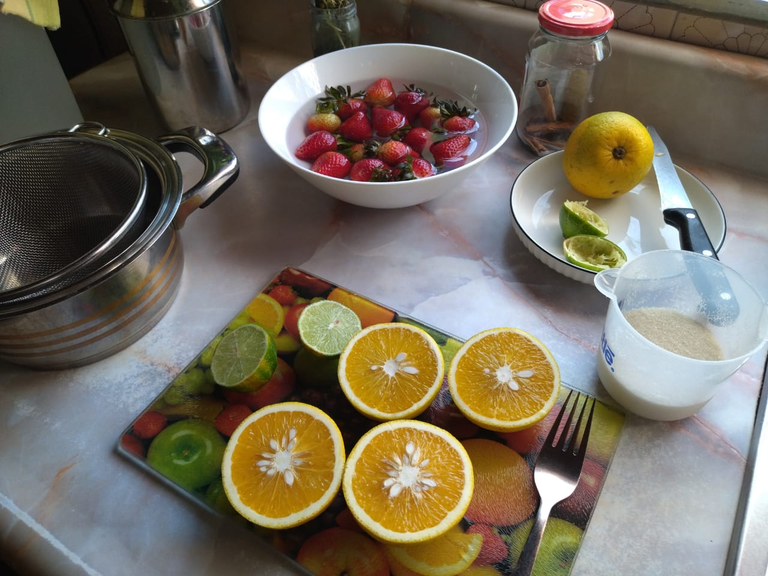
I added the sugar...
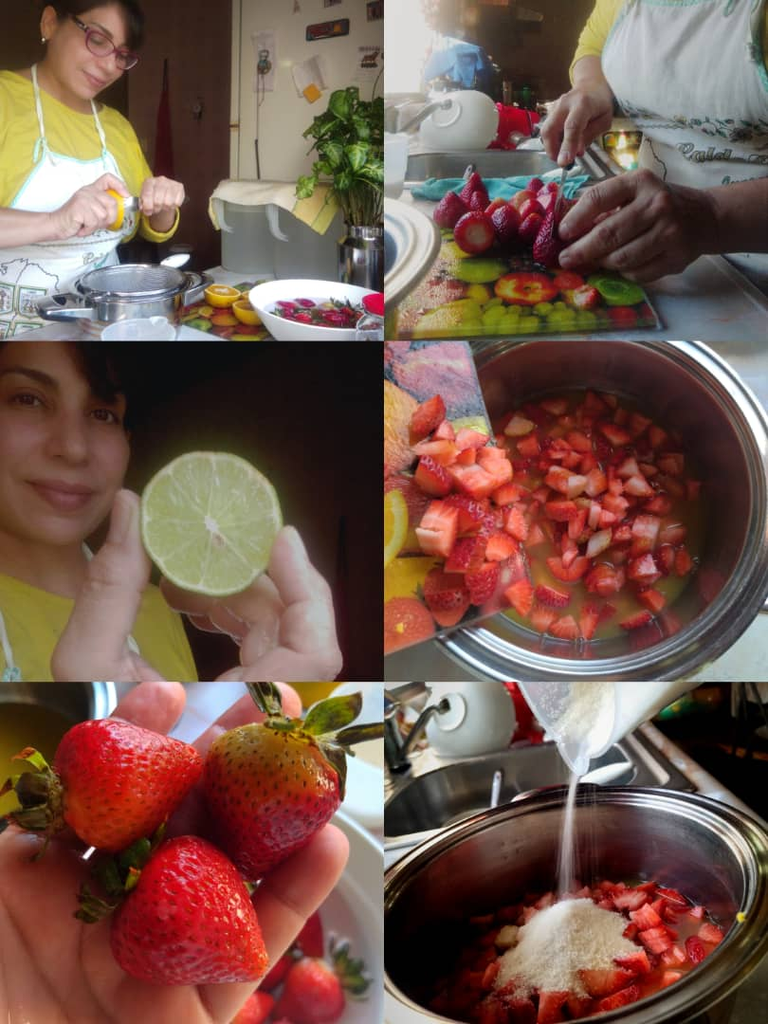
Half a cinnamon stick, a pinch of salt, and about 1/3 cup of homemade cane honey. At this point, it looked like a strawberry sauce. Next time, this consistency will be the one I'll choose.
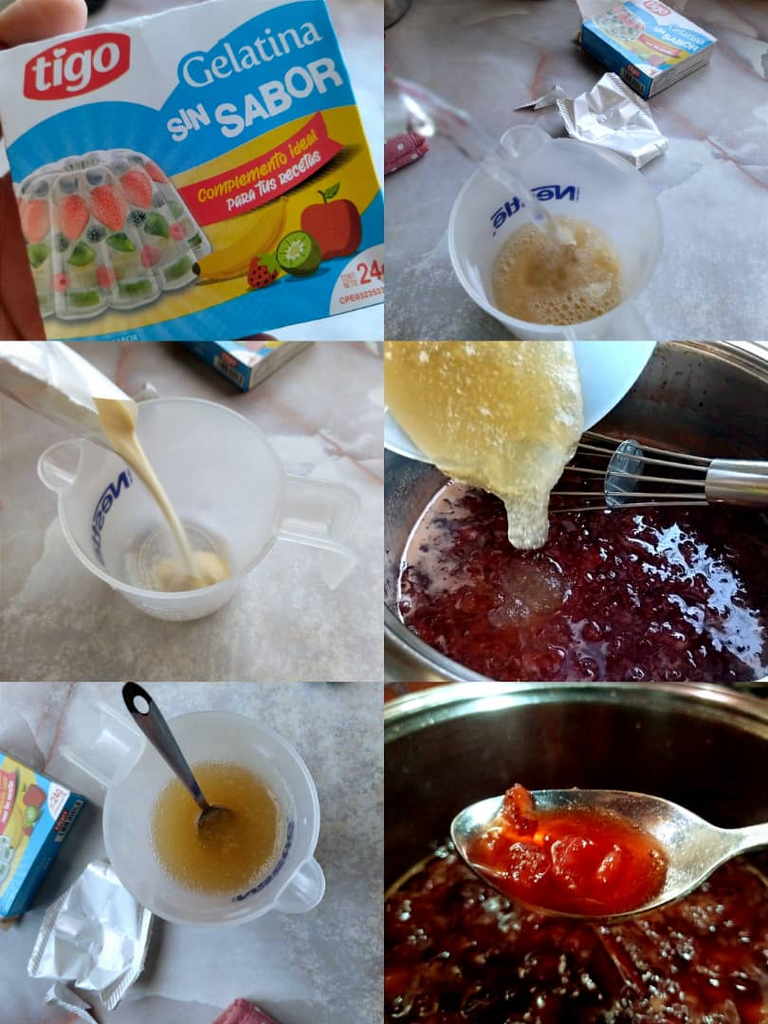
But I did add some unflavored gelatine to make it thicker. I let the gelatin powder hydrate in water according to instructions and then added it into the cooking pot. I removed the pot from the fire immediately and let it cool a little before pouring it on top of the cake.
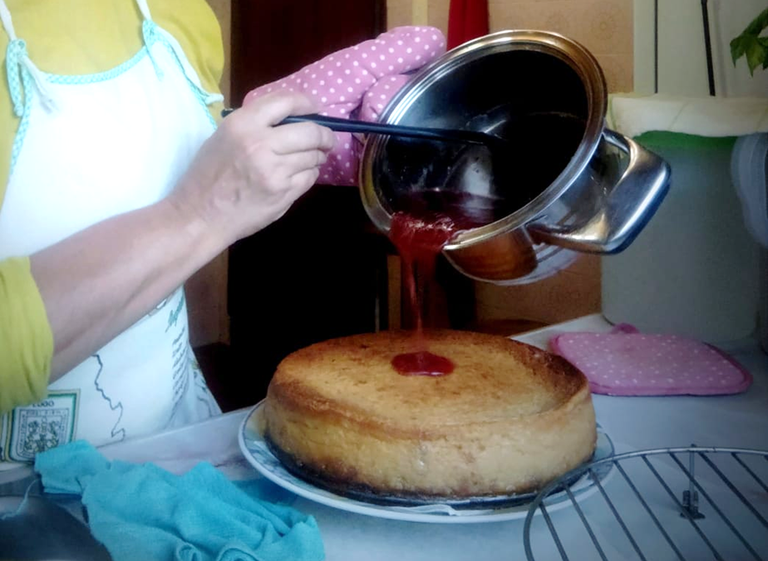

Note: Although the result was good and it is more practical, for example in case you want to take this cake to a birthday party, I prefer to make a fruit sauce, with some good chunks of cooked and fresh fruit, and pour it over the cake at the moment of serving.

All in all, it was a successful experiment and a gratifying experience. We couldn't help ourselves and tried it after it had only been in the fridge for a couple of hours. But as you can imagine, it was much yummier the next day.
As usual, I hope you've found this post helpful 😁❤️
Have you ever tried making your own cheescake?
Any tricks you want to share?

Enjoy!

All text and images are my own. I have taken the pictures with my Redmi 9T cell phone. And if any GIFs here, I've used GIPHY for all them.

Thank you so much for your visit :)

Banner by @andresromero 🖤
Any tricks you want to share?

Enjoy!


All text and images are my own. I have taken the pictures with my Redmi 9T cell phone. And if any GIFs here, I've used GIPHY for all them.

Thank you so much for your visit :)


