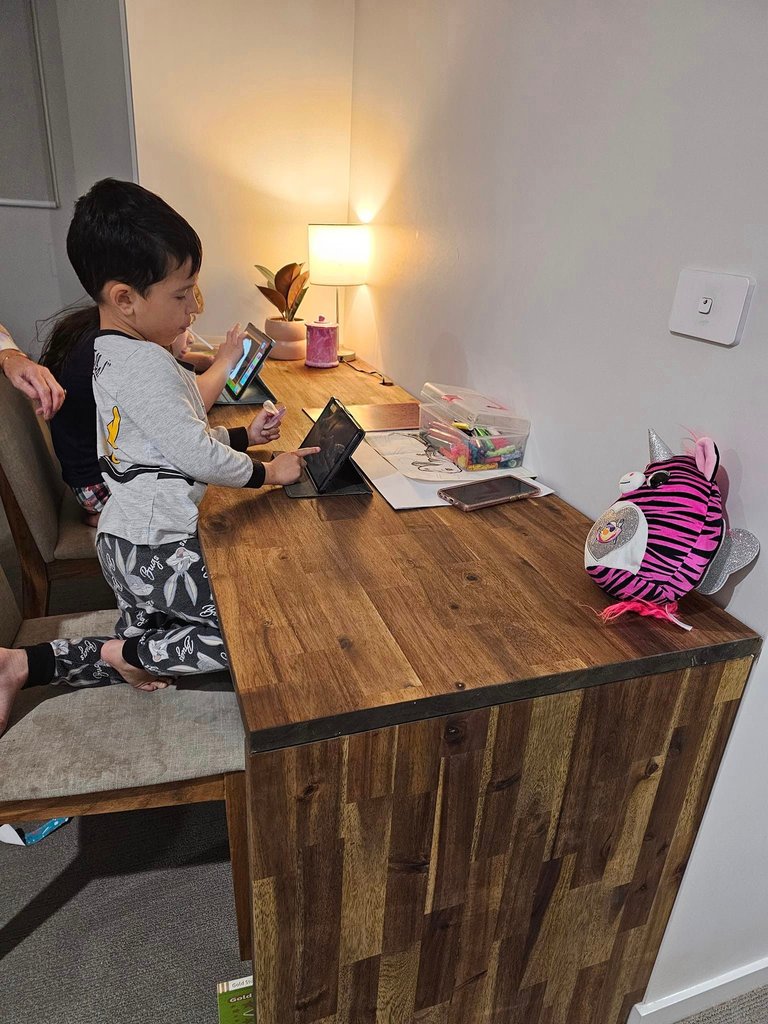
On The Tools Building a New Home Office
Goooood evening everyone I trust you have been safe and well for many of you it is summer but for us on the eastern side of the globe it is winter so it is a good time to turn all those home DYI project into action!
For us, one of the things we wanted to do was transform a small nook we had into a home office/study as my partner has her office downstairs and I have been working from home more often I needed somewhere more permanent to work from. I also needed something where we could escape the hustle and bustle in other parts of the home when trying to work as kids often run behind and sometimes become a bit of a distraction.
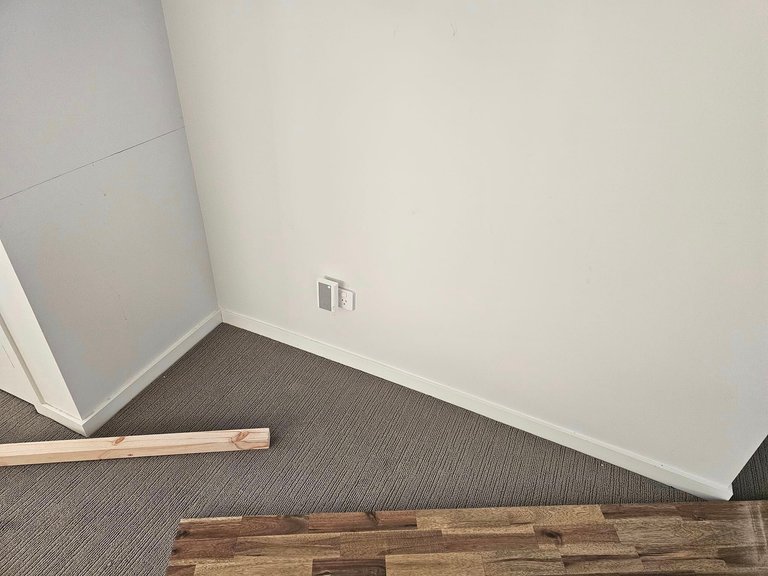
The Nook
I initially had a trades person (Tradie as we call them in Australia) come and quote me for the job as I couldn't be bothered doing it myself. But once I learned they were going to charge between 2100 - 2500 I decided it was probably better if the kids and I got together and did it ourselves. especially with the current cost of living crisis and high inflation it is a way better option. Although, cost of materials are huge currently.
The pieces of wood were 110 bucks each I used 2 of them I can't help but feel that is over priced considering I believe this is just MDF or off cuts that have been combined to create this look. Although it does like nicer, I guess that's where they get you.
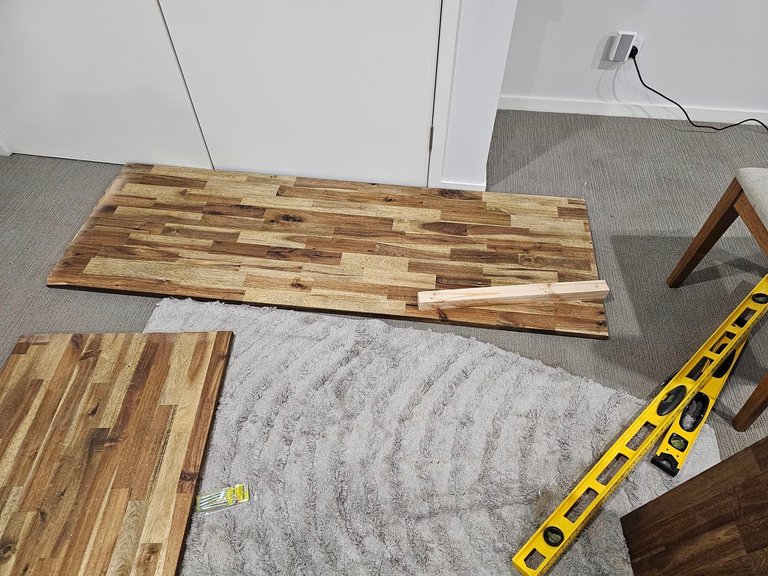
Measure twice cut once
So first up we measured all our cuts we needed to do, this one wasn't too hard as the studs for the wardrobe were easily accessible and for the left side we just screwed a piece of timber diagonally which acts as a ledge for our timber to sit on.
As you can see from our first image above, to secure it we used another piece that we cut to act as the leg. I wanted it enclosed rather than opened as this provides some privacy for legs and I can also put my clothes basket under the table when I am doing washing.
I have always had a thing I didn't like about open desks where you can see people's legs, I prefer them enclosed so they look neater and more flush.
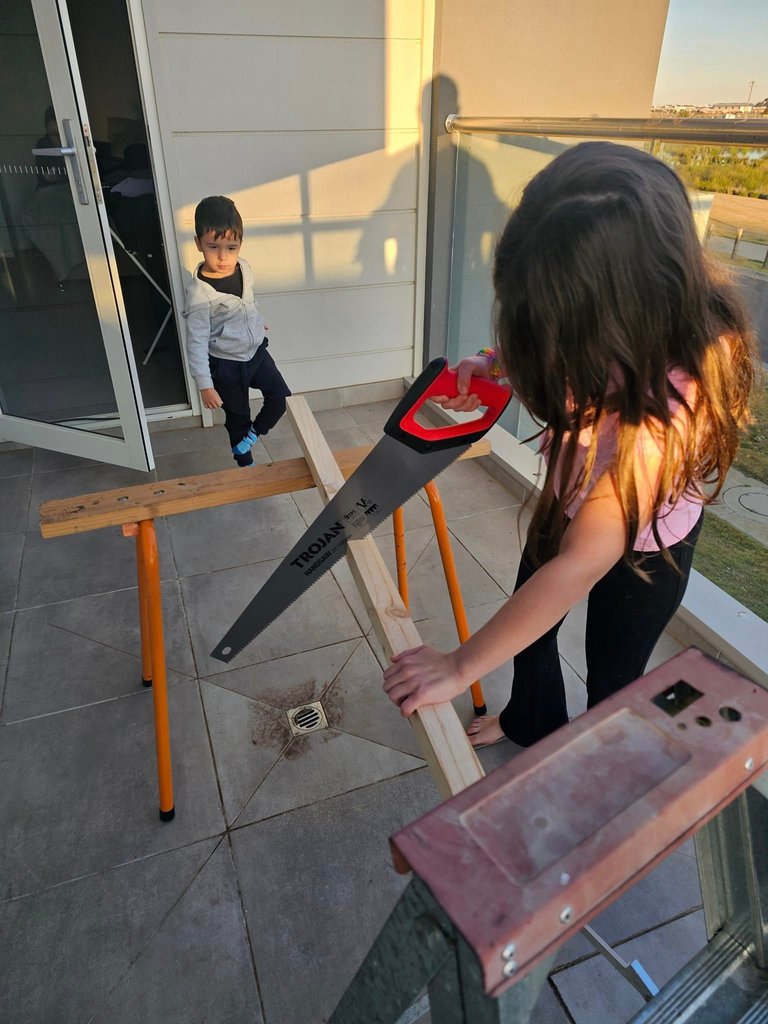
On The Tools
As a kid there was nothing I enjoyed more than helping my grandfather who was a builder back before you needed tickets or licenses in the garage. Apprenticeships often started at home in the backyard. If you have followed my blog you'd see a lot of different thing's we have done over the years.
My oldest has always been in on the tools and loves to get in on the action, I marked where she needed to cut and handed it over for her to get to work. Little bloke is still growing but we did get him in on the tools too.

Power Tools
For him though, he needed to use the powertools as he isn't strong enough to use handsaws and they're a lot more dangerous. Obviously I supported him with the drill so he did it safely and it wouldn't slip.
Predrilling all our parts really helped us make sure things slid right into where they needed to be and less fuss when putting it together also.
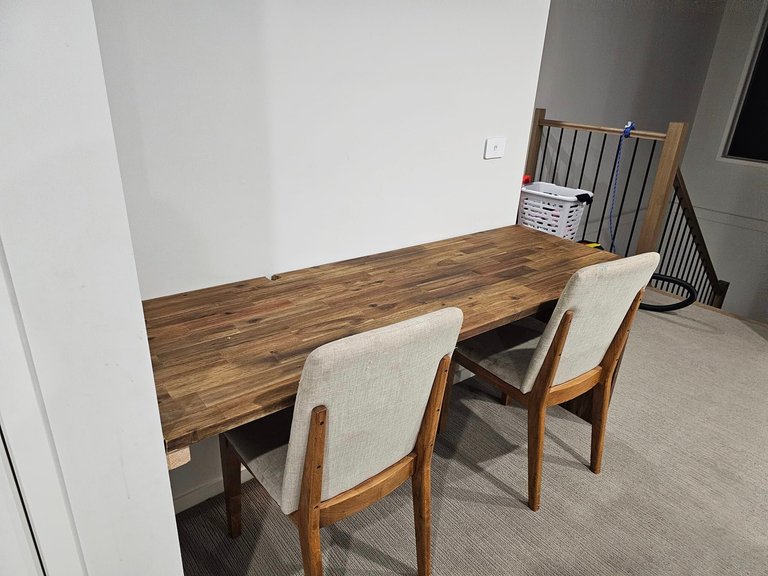
Fit's like a glove
So there we have it! We ended up drilling a hole in the back in order to get power cords through and keep things neat. But overall we managed to have a very nice clean product that matches out stair rails.
A brand new office desk to sit and work as well as study and a whopping saving of 2000!
All in all it took about 3 hours which we could have done it faster but we did it with the kids to teach them how to build things and get them involved in it. Hopefully teaching them new skills along the way.
Posted Using InLeo Alpha


