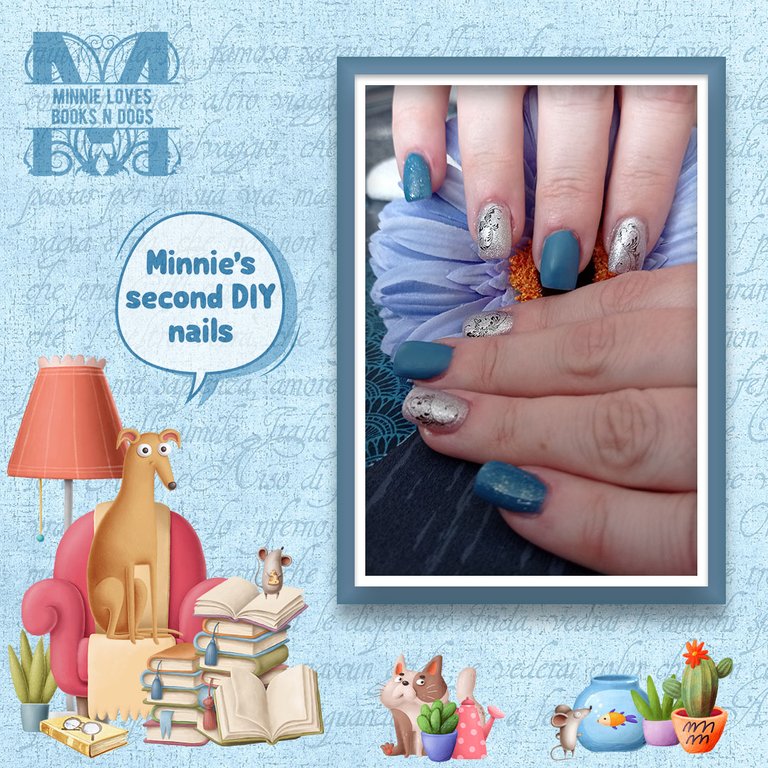
Hi everyone,
after my little disaster from the first time doing my nails, this time got better 😊
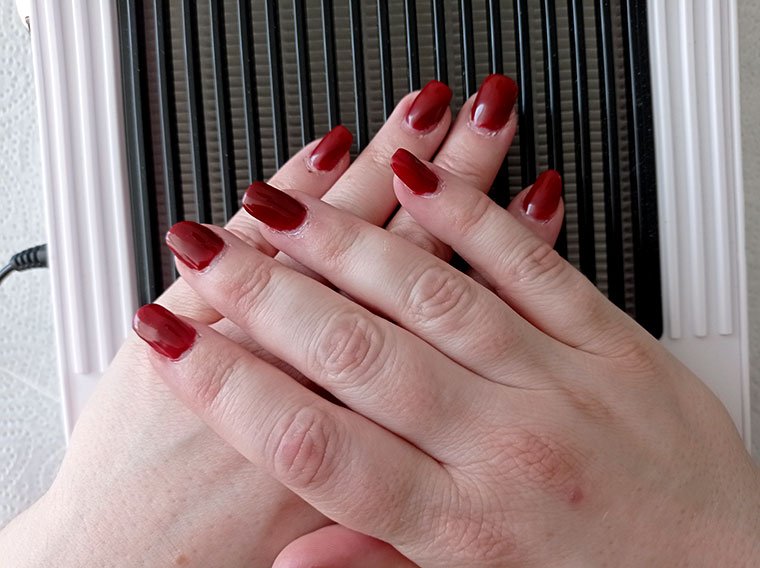
These are my nails after one week.
Two nails had a little crack, so they "lost" a "little" corner, but the rest were still strong.

So here is how I did my second DIY nails
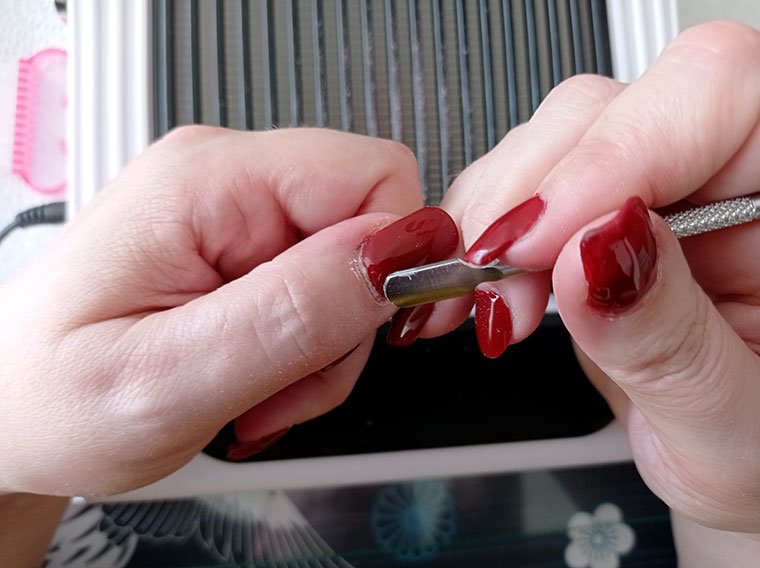
First of all, push back the cuticle. It's so important.
If you have leftovers of skin, it can cause liftings.
In general, a clean cuticle is important. Also that the gel (or acrylic or whatever) isn't at the cuticle.
Then I filed all the gel down off my nails. I didn't want to file it all off, but I wanted to have a better base because I tried this time the paper forms.
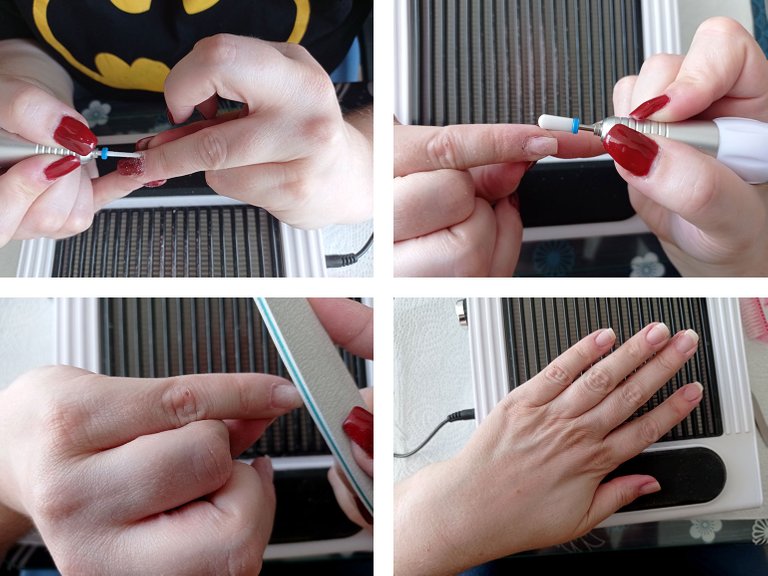
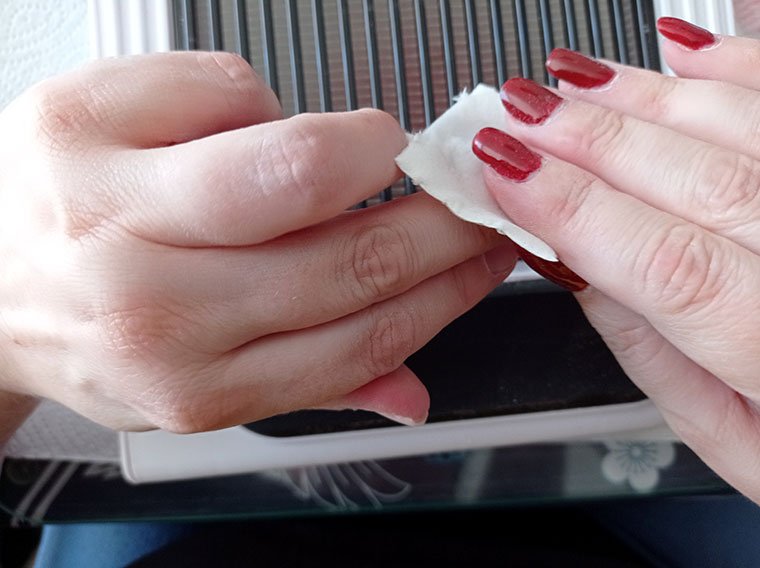
Don't forget to wipe the dust off before you go on...
I use isopropanol for everything I do
(around 80-90%).
As I said, this time I tried paper forms. I saw several videos on how to put them in the right place. One of my nail techs also used paper forms, so I already knew a few things, but never had used them by myself.
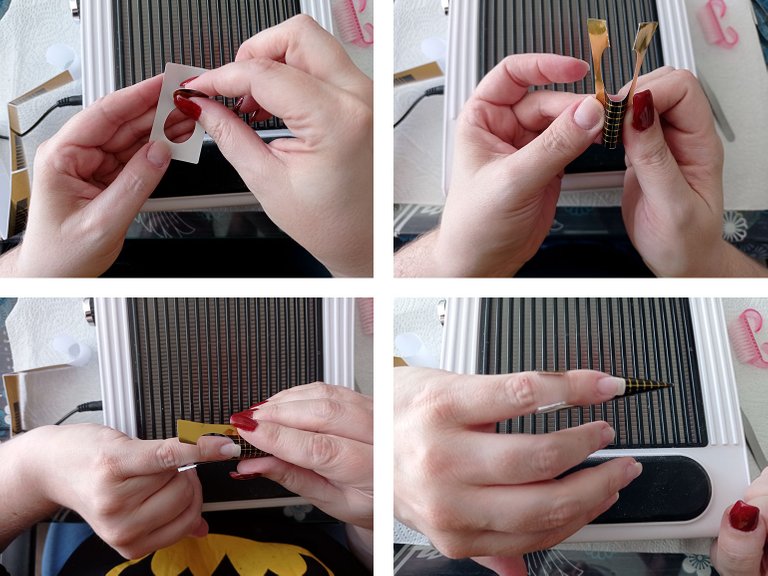
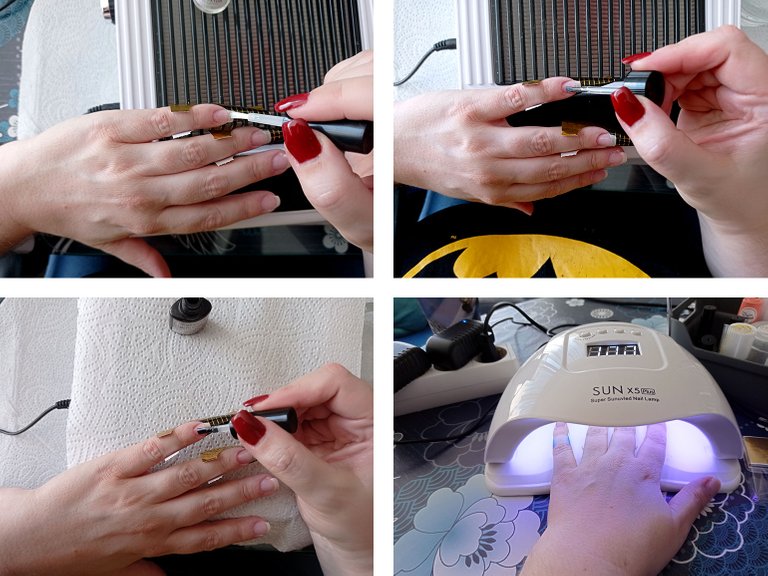
Then I used a dehydrator, primer, and then base coat and cured them in my lamp.
Important: Don't wipe the nails after that. The base coat works as a Double-sided tape for the nail and the gel.
Now is the time for the gel... Finding the right amount of gel isn't that easy. But you always can put more on or put it off. Use the spatula from the brush (a hybrid gel brush has a brush side and a spatula on the other side).
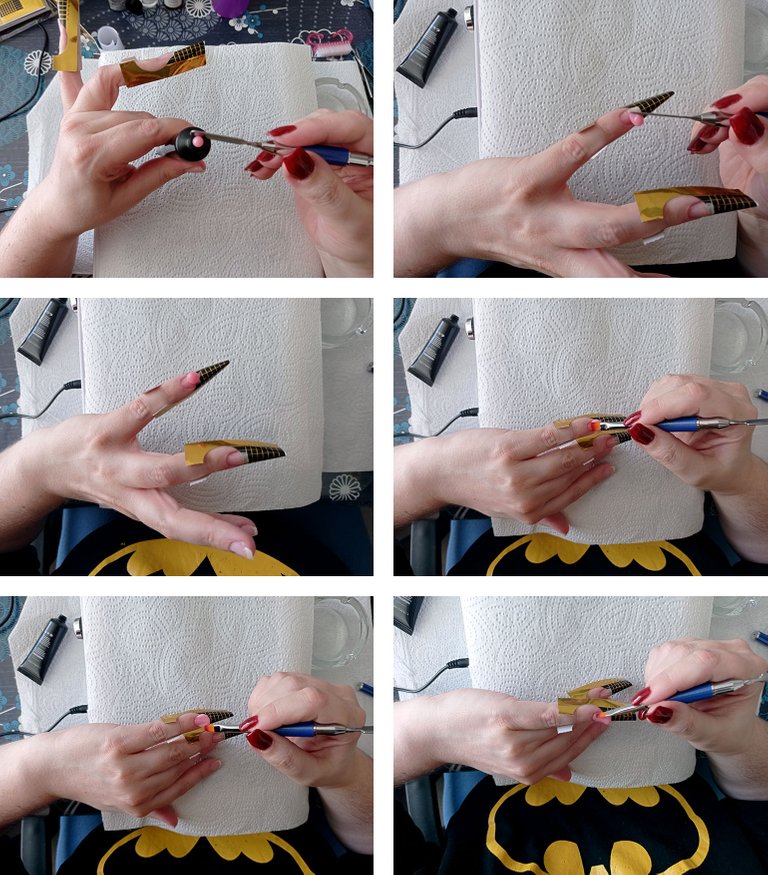
Cure it and then you can take off the paper forms. Yes, they looked spooky but I filed them and everything went fine. I have to learn to form them better, but it was the first time with paper forms, and I think having too much gel and filing it away is better than to have too little 😎
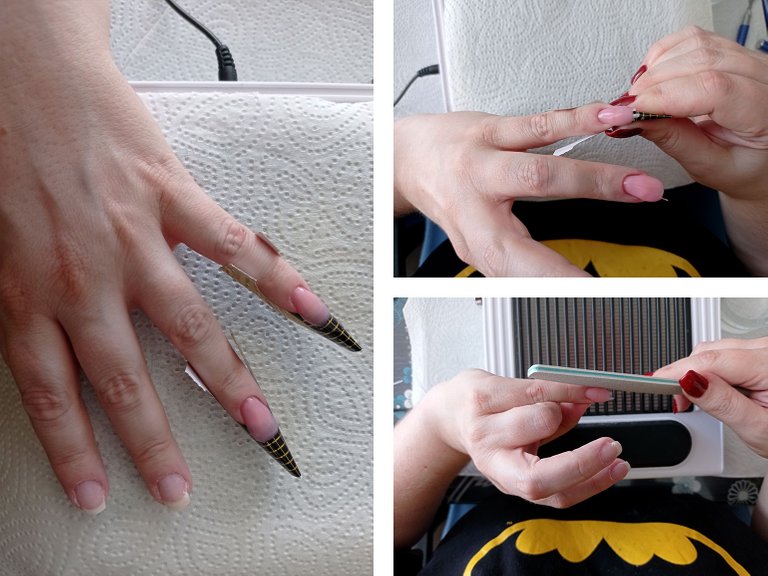
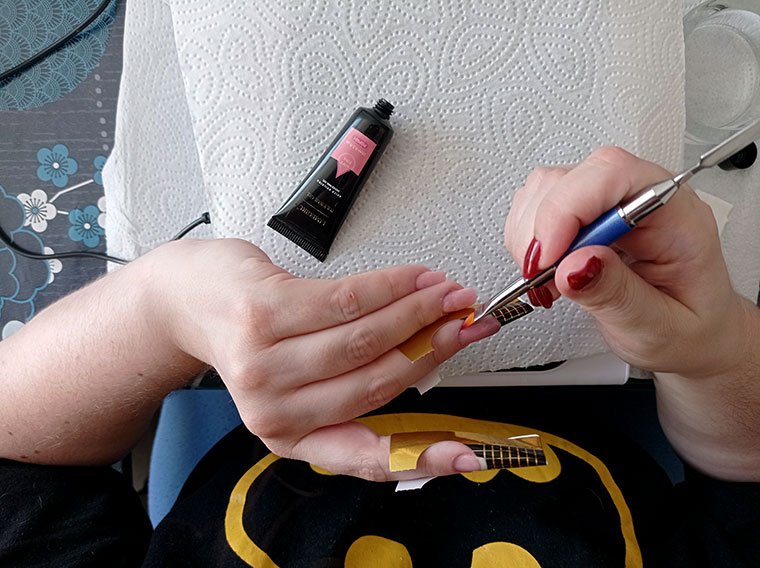
I started with two fingers and made the next two. As I've made my right hand, I decided to make one finger after the other BUT I only cured every finger for only 30 seconds, so the gel was hard enough to don't run away and after I did all 5 fingers, I cured them again for 2 minutes.
I don't have any instructions for the curing time for this gel, so I cured it for 2 minutes, better too long than too short 😉
After curing and filing, I used three different colors of gel polish.
The pinky, the middle finger, and the thumb got two layers of blue. The pinky and the thumb got a third layer of a transparent blue glitter.
The other two fingers got two layers of a half-transparent silver glitter. So the pink from the gel is shining through.
Then I put a sticker on each "silver" finger.
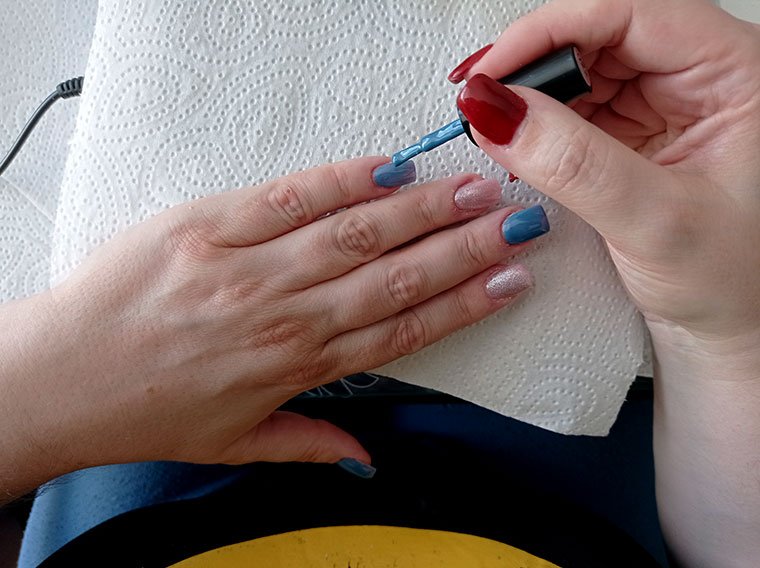
I finished everything with a top coat. The middle finger got a matt top coat.
I think they are better than my first time.
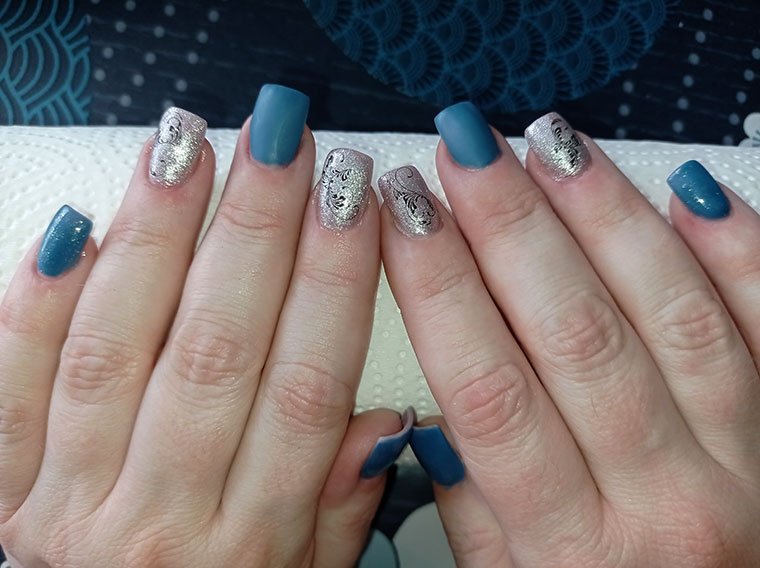

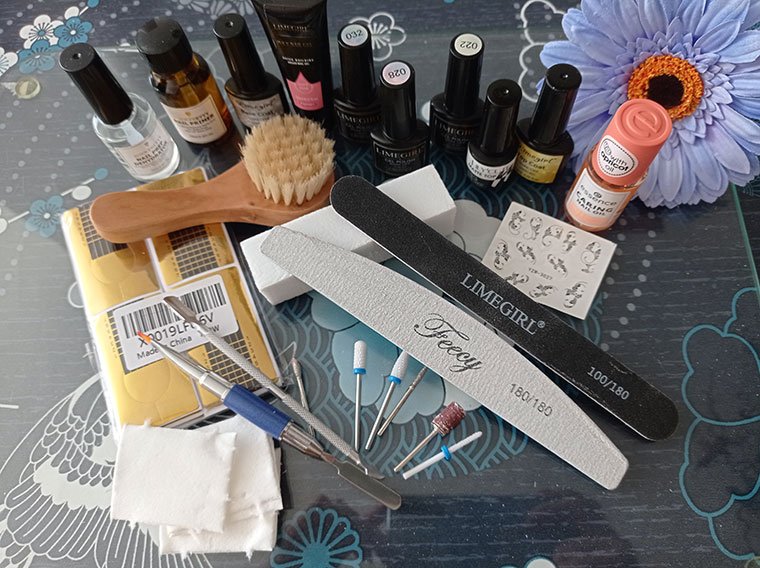
The things I used to do my nails:
- Born Pretty Nail Dehydrator
- Born Pretty Nail Primer
- Limegirl Base Coat
- Limegirl Poly Nail Gel #PGP001 (Soft Pink)
- Limegirl Gel Polish #22 (petrol blue)
- Limegirl Gel Polish #28 (silver glitter)
- Limegirl Gel Polish #32 (blue glitter)
- Limegirl Top Coat
- Lilycute Matt Top Coat
- Sticker
- Cuticle tool
- Buffer
- Files
- different drill bits
- Brush
- Gel brush
- Cellettes (nail napkins)
- Paper forms
- Cuticle oil
- Dust absorber
- UV/LED lamp
- Nail drill
- Isopropanol

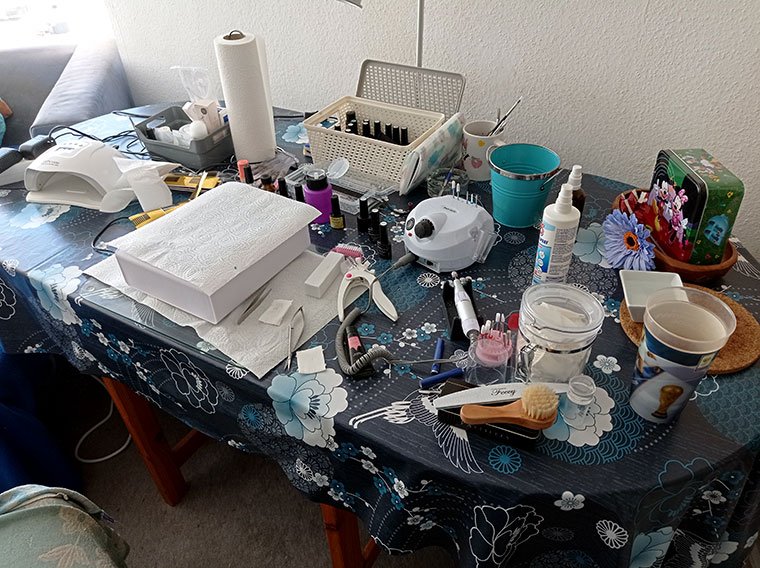
Here is my chaos while I'm doing my nails 🙈
All together I needed 5.5 hours this time.
30 minutes less than last time 😁

A few things I've ordered arrived this week...
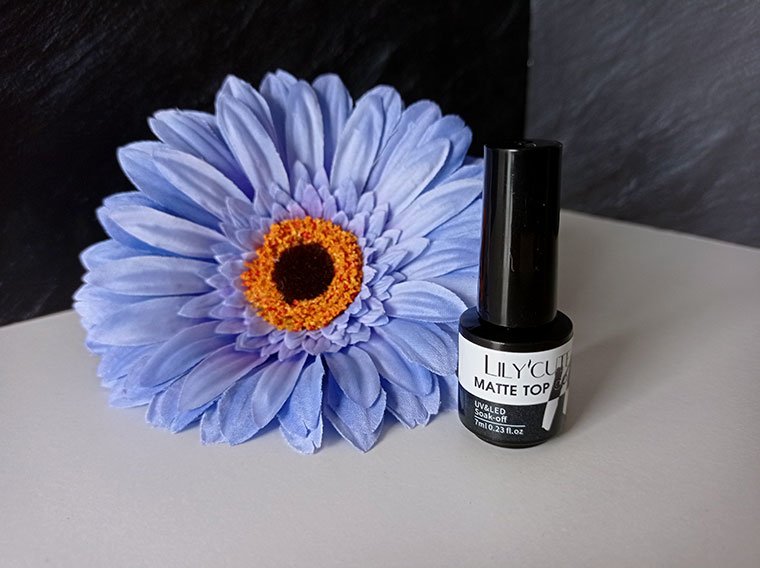 Lilycute Matt Top Coat (I used it this time)
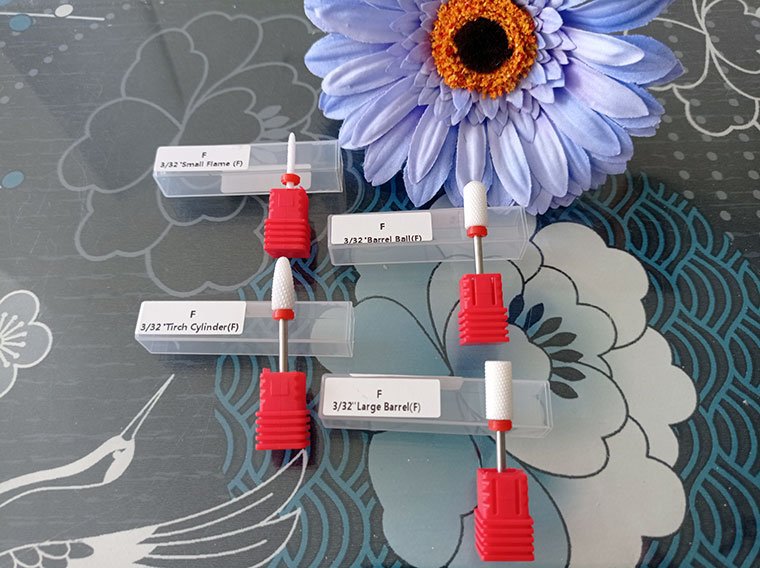 Different drill bits with fine grit
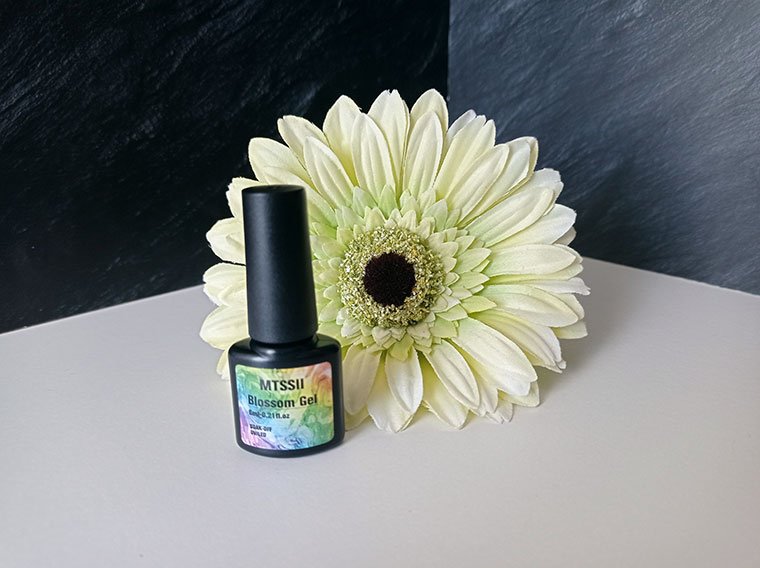 Blossom gel
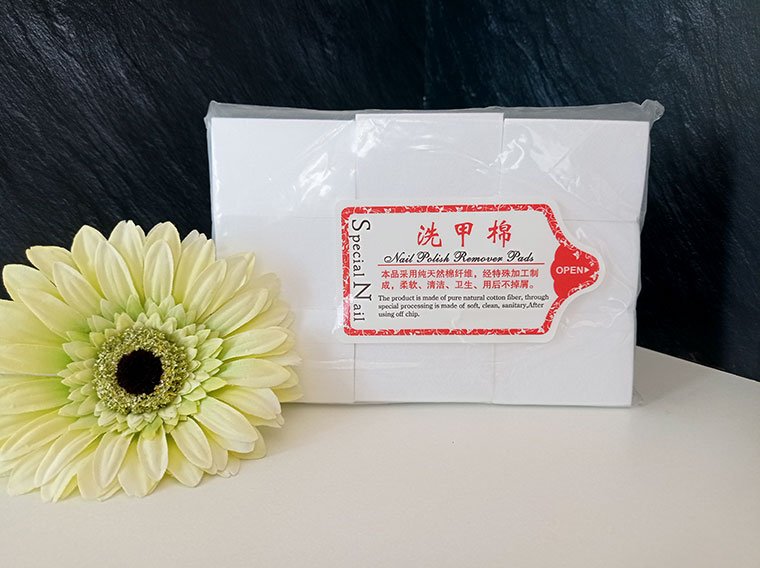 Nail polish remover pads
The cellettes I currently use aren't good. For every wiping, I need one or two and then they are damaged. I saw so many people using these kinds of pads and they last longer. And they are cheaper too 😁
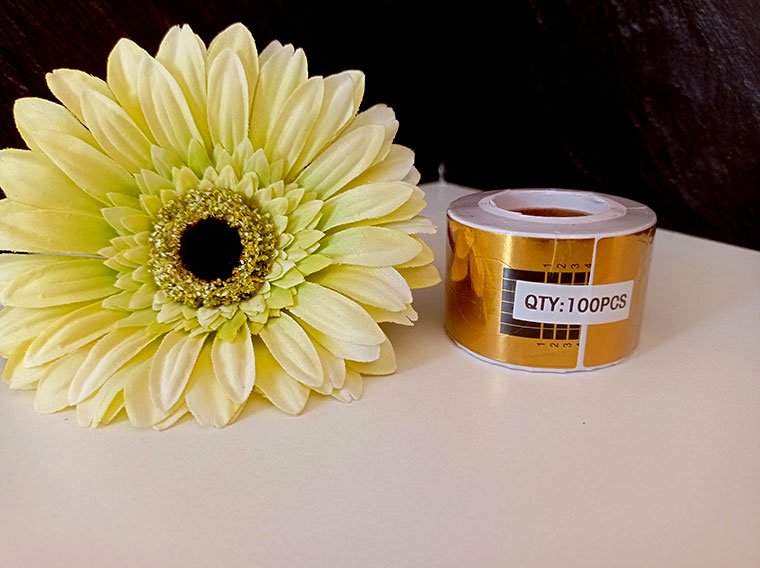
And more paper forms.
The first I ordered and used this time were from Amazon because I needed them quick, but I ordered these one day later on AliExpress and they arrived on Wednesday, so they only needed 9 days (as well as the nail pads).
❓❓❓ Question ❓❓❓
What's your favorite material? Gel, acrylic, hybrid gel, or fiberglass?
 That's all for now, enjoy your day and thanks for reading 😘
