Greetings everyone here in this community
How are you all doing this weekend? I hope you all are doing pretty good, and if you ask of mind is going well. I am very happy to share a DIY post today with you guys, which is all about step-by-step how to sew a dining chair successfully, as shown below.
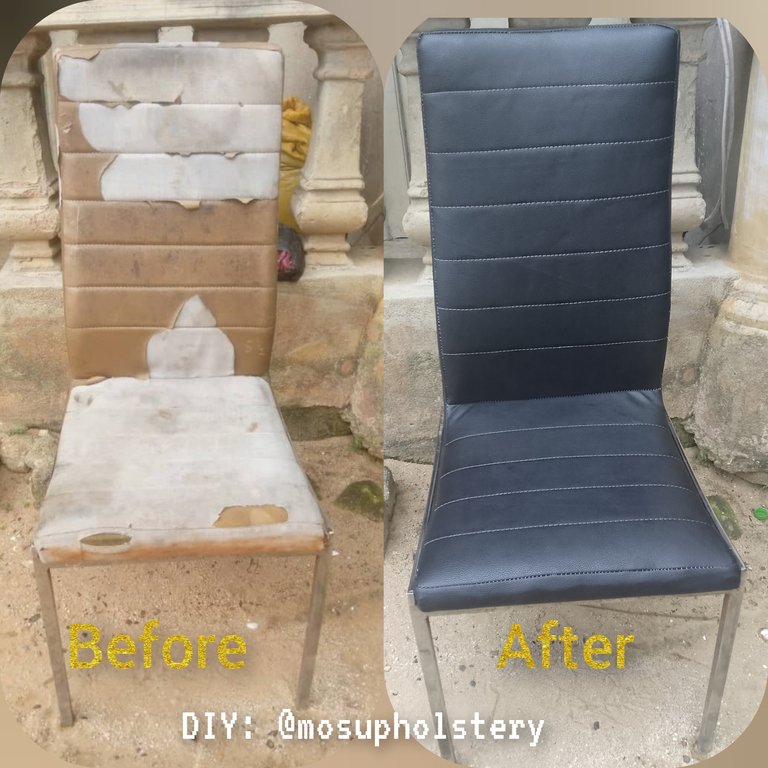
This seat belongs to my neighbor, he has been disturbing me to sew his dining chair for almost 4 months, but I did not find it easy because I was not free to do the work. He brought the seat to my house 2 months ago, and I have been giving him excuses, but I chose to do it for him this weekend since I don't go to work on Saturday.
Here was the seat

Here is the seat after sewing it

He advised me to change the color of the seat to black, so I went to the market to get some material I am going to use for the work since I have another machine I hope I choose to work it at home.
Tool/material used
- 1 yard of black leather
- ½ yard of roof material
- stapler
- pliar
- scissors
- chalk
- gum
- sewing tape
- sewing machine.
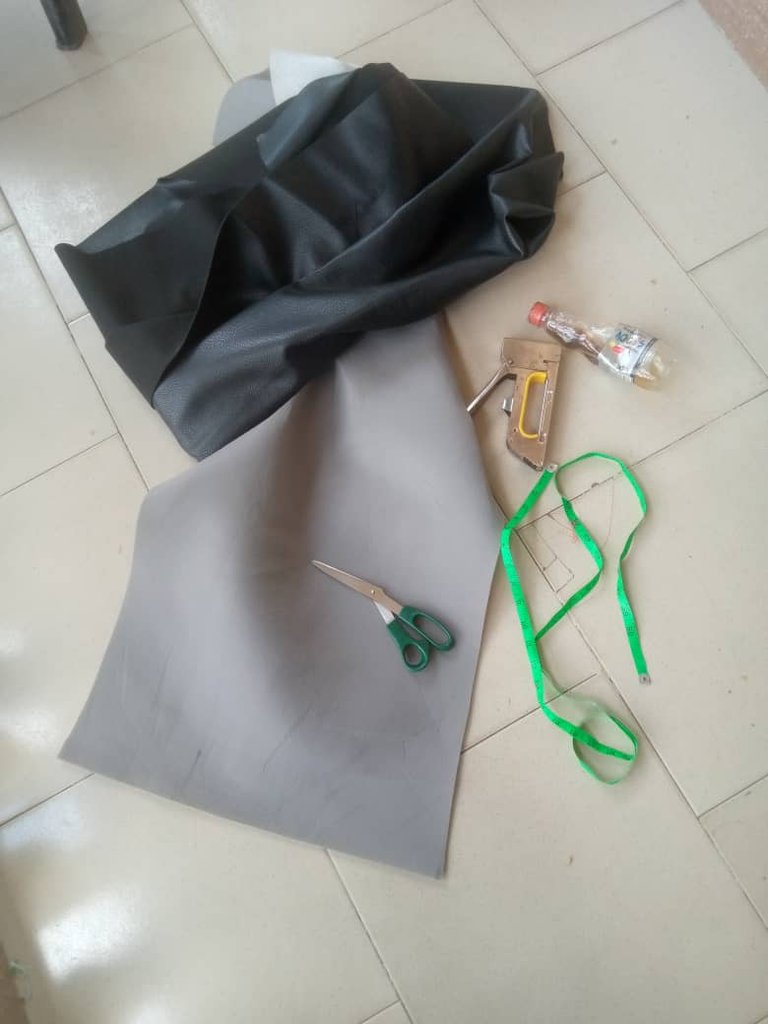
Back to the steps. I will try my best to explain each step using images for easy understanding, and I promise you after this post, you should be able to do the same by yourself.
Step 1
I Turn the seat upside down, loose the bolt under the seat the old the stand to the wood under, and then separate it from the stand

Step 2
I then used measurement tape to measure out each pattern on the seat, Measure those lines on the seat, i.e., the space between each of them, and then write it down on the seat.

Step 3
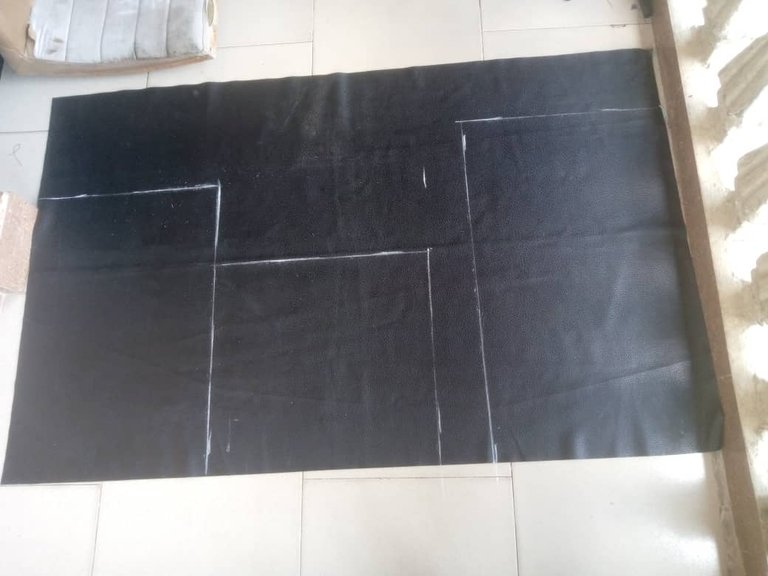
I then transfer the measurements to the new leather, mark it out, and connect each point with the help of a ruler and chalk.
Step 4
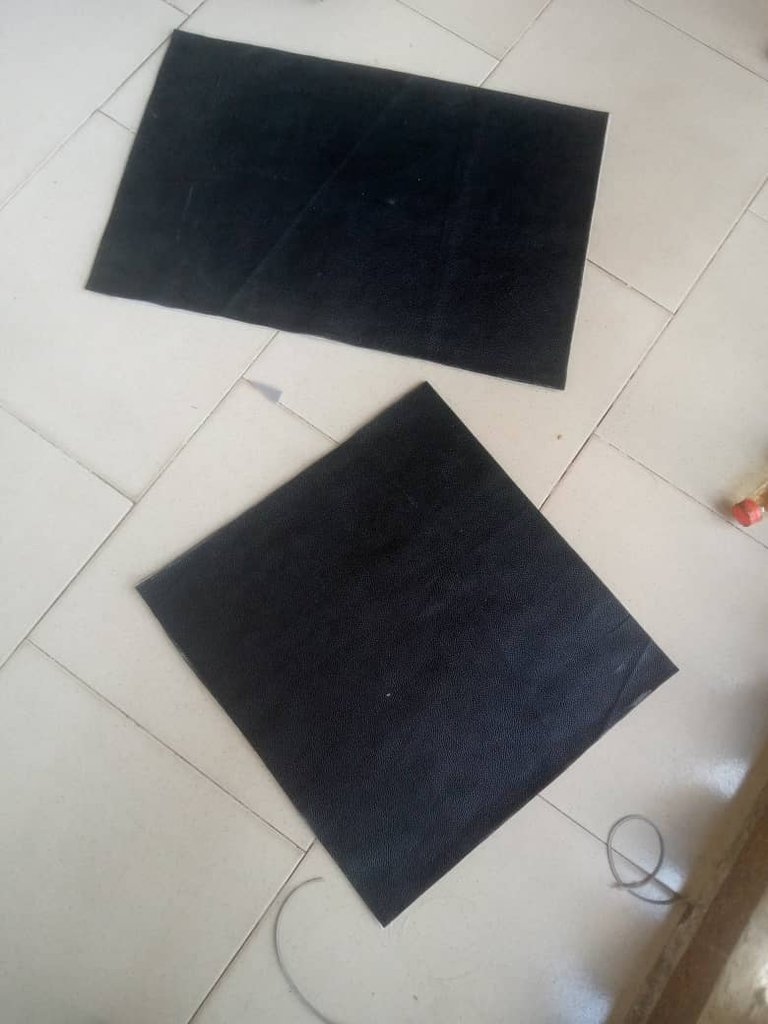
I cut them out following the line I drew, and here is the outcome of it.

Step 5
I gum the cut material to a roofing material to make it thick and smooth and also allow the sewing line to come out smooth.
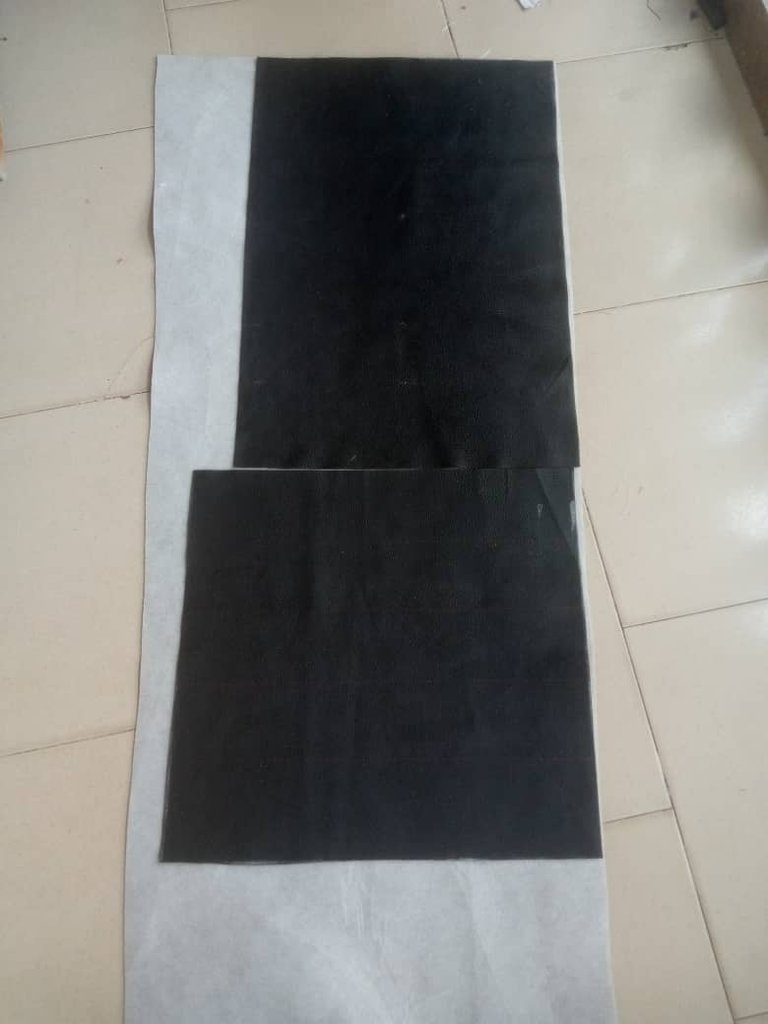
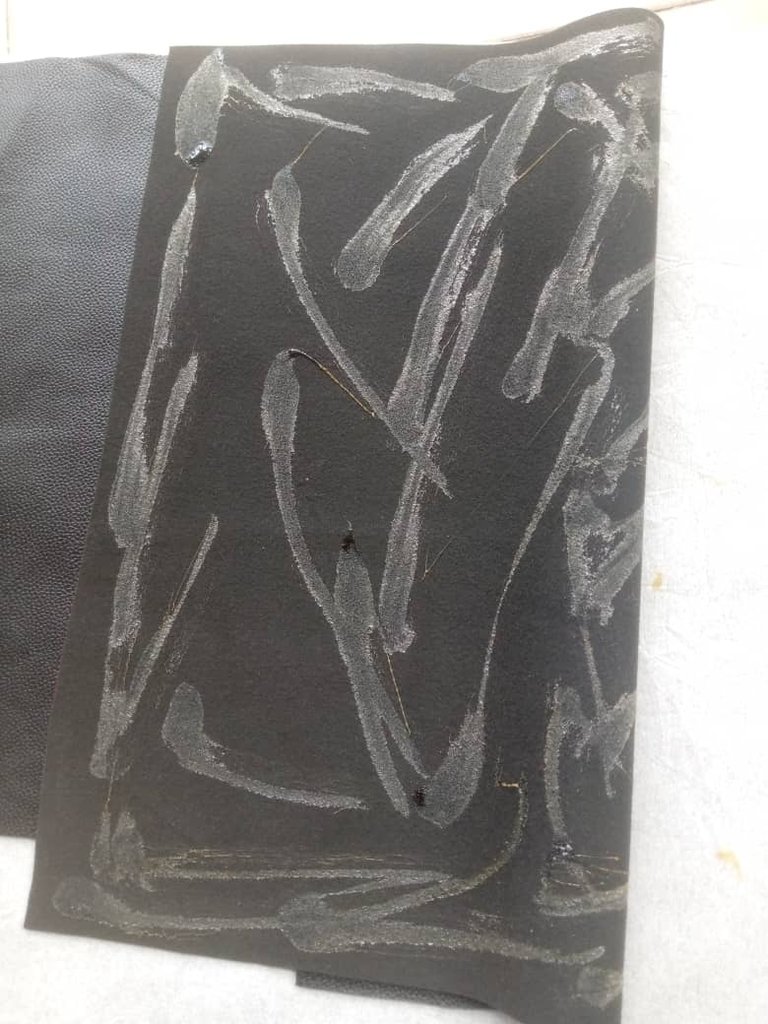
I cut it out for the sewing process
Step 6
I mark out a straight horizontal line on the leather with the help of a pencil, I then use a sewing machine to sew it carefully, following the line to make it straight.

Steps 7
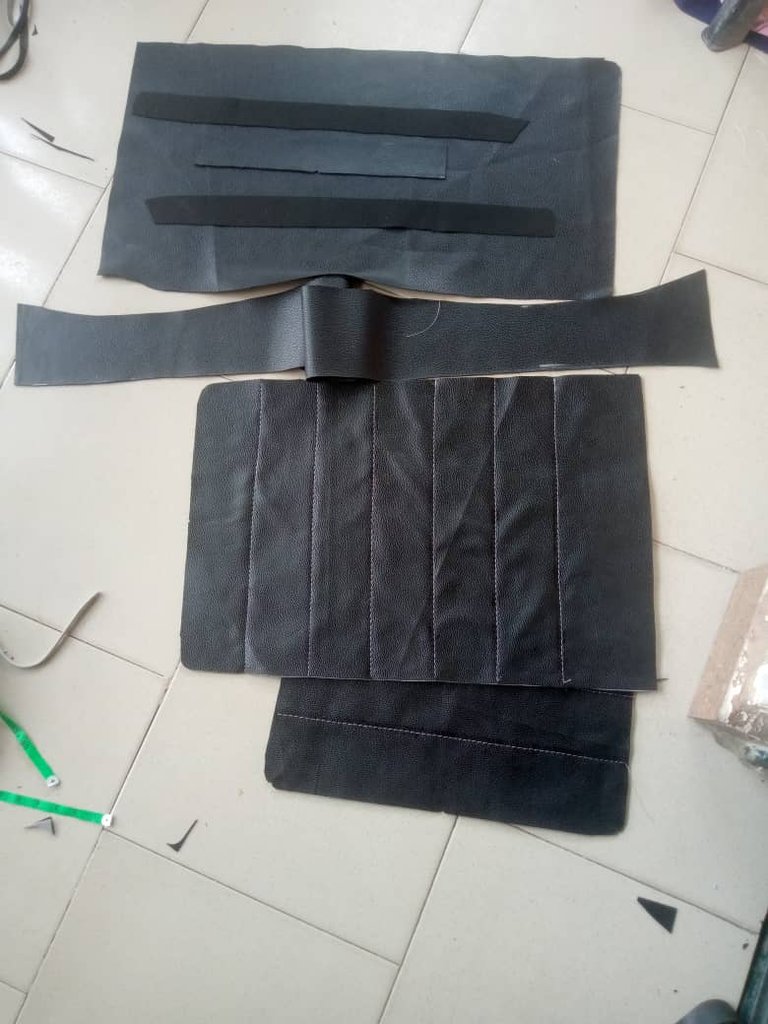
After sewing the center horizontal line, I then placed each portion of the leather I cut on it place and then mark draw the shape which is now my working pattern
Step 8
I then use a sewing machine to join the center together and also the side of the seat.

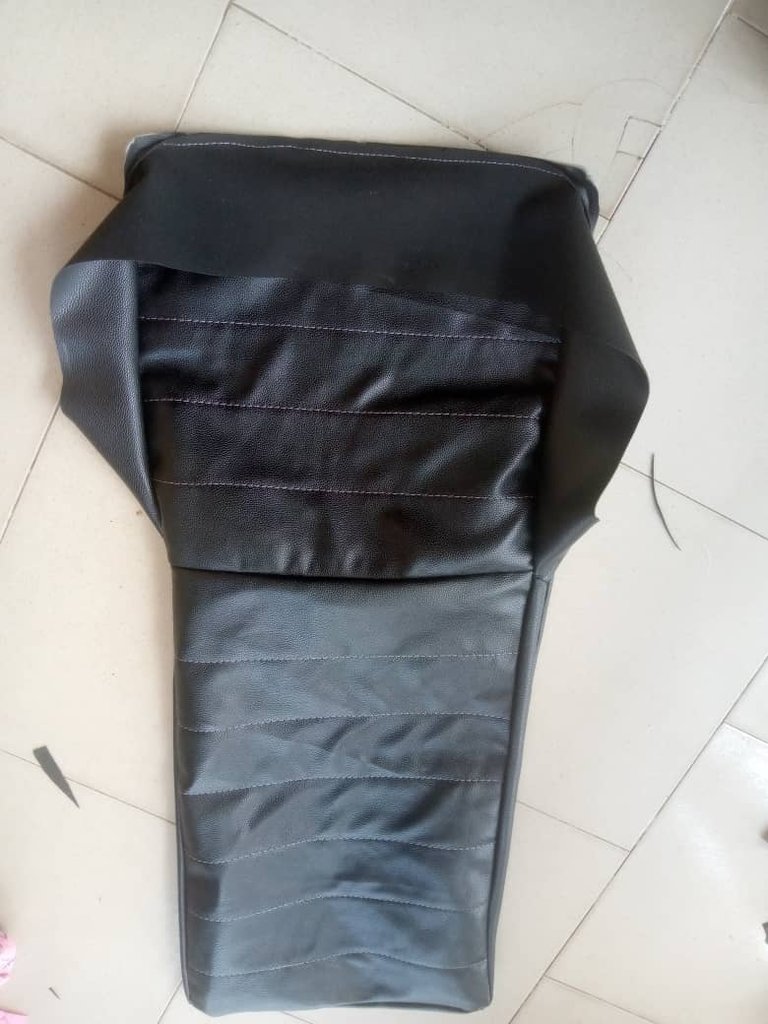
I finally sewed the back to get the seat cover ready.

Here is the final sewing.
Step 9
I then cover the seat with the new sew leather, straight it very well.
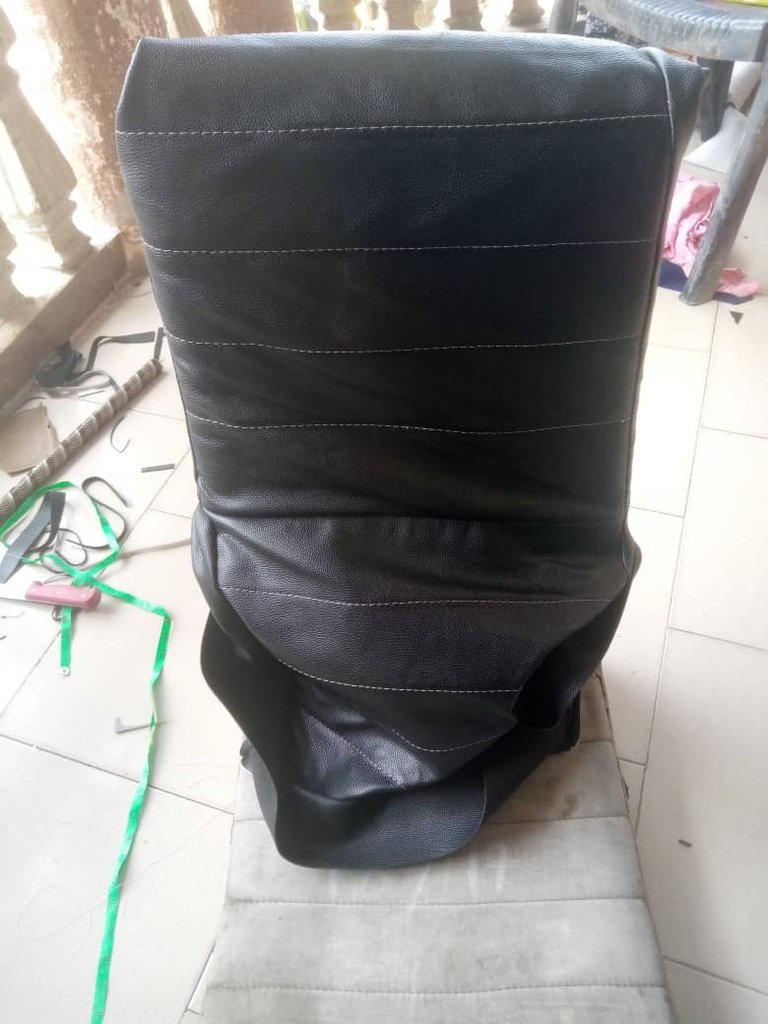
I then use a stapler to staple the leather to the wood at the bottom of the seat.

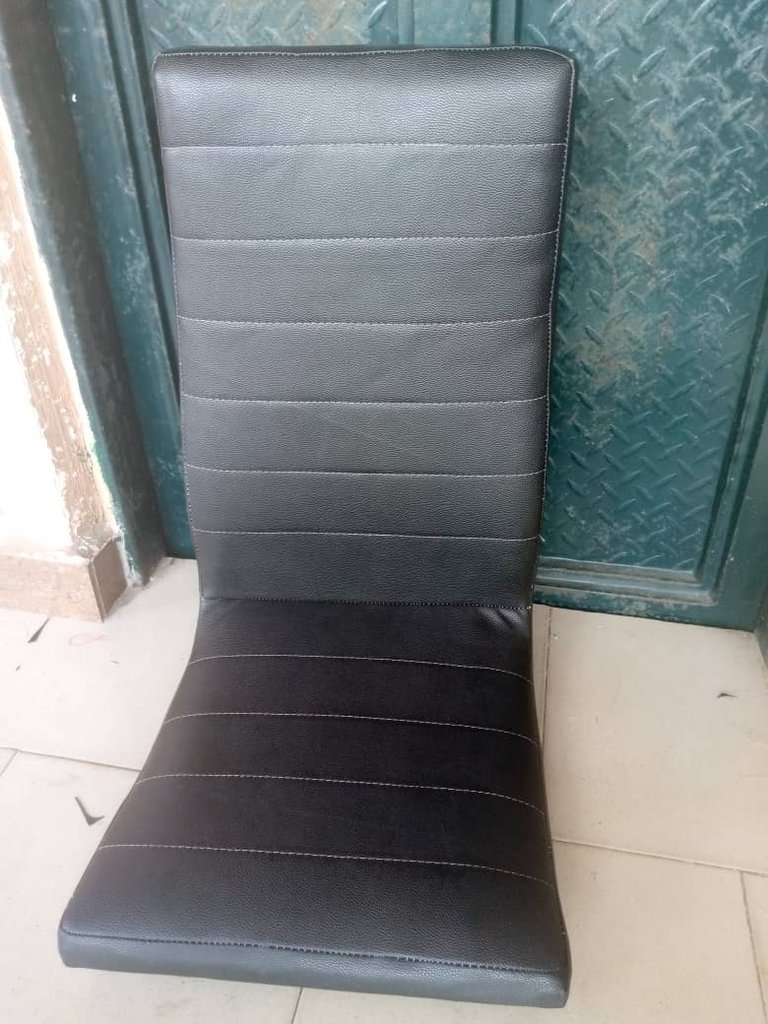
Finally, here is the finished work.
Step 10
After everything, I then tie back the seat to the frame, and that brings it to the end of the work. See the final photo below.


The work is wow, someone sewed me with it, asking me if I bought it new. I told him no, I sewed it, and he congratulated me and also told me it was beautiful.
Gave it out to my neighbor. He felt so happy. Telling me that is why he did not give it to anyone because he knew I would do it to his taste.
Guys, what can you comment about this seat?
Thanks, guys, your comment is important; support my work; thanks once again.


