Hello My Fellow DIYers!
It is hard to believe that it is over a year since I did an IT hardware post. Back then I was upgrading some memory on an older PC. Since then, that has now moved as a backup offline PC and I have bought some new hardware that can do some gaming too.
My laptop I bought where the hinge was faulty completly died and I had to scrap it. Not before first salvaging the hard drive which I will try today to install in my computer as a backup storage and also to add the memory to my daughters laptop. To get that laptop opened, first I needed a new precission screwdriver set as my existing set was too big.
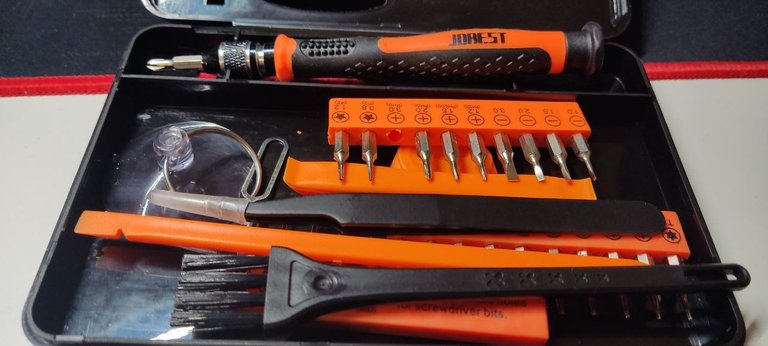
I saw there are now some cool new electric ones, but I didn't buy one due to how little I would use it and wanting to reduce clutter around the house.
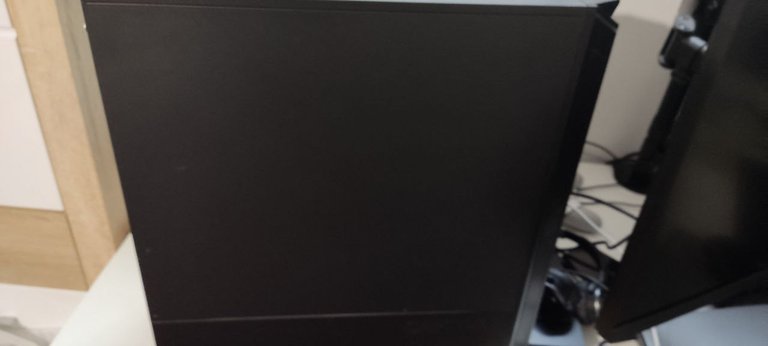
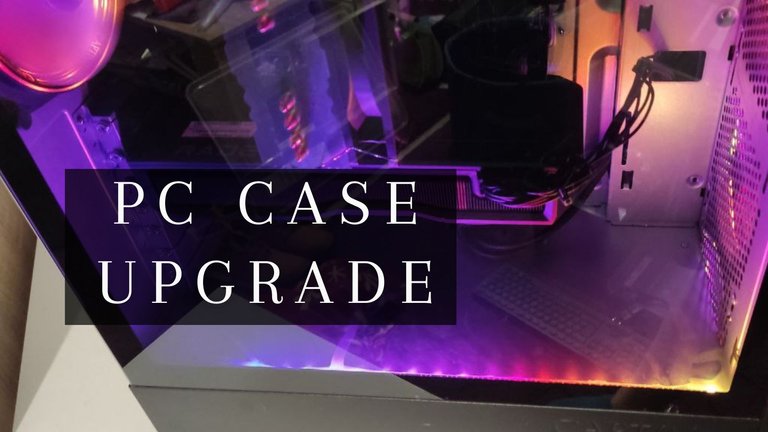
The PC looks very dull with the ordinary panel and I thought it was time to install a nice window where I can then see the insides of the PC. It also has some cool internal lighting which makes it even more cool.
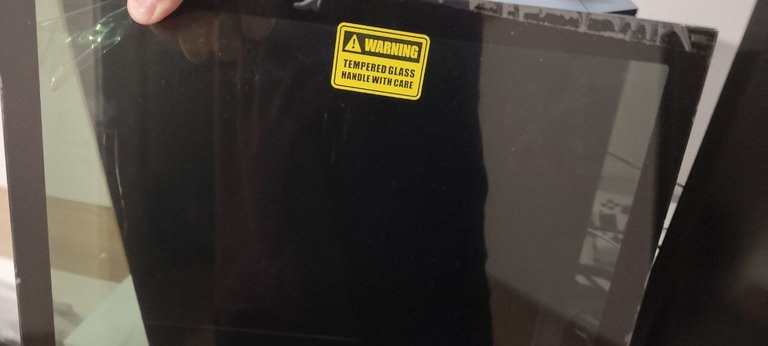
I was putting this job off as I have a long list of DIY jobs and become overwhelmed and my procastination then increases dramatically. I was hoping it would be a nice simple job and am glad to see that it would be once I looked and got started, which is the hardest thing for any job.
I removed the protective sheets and it was ready to be installed. The first job is to remove the original panel.
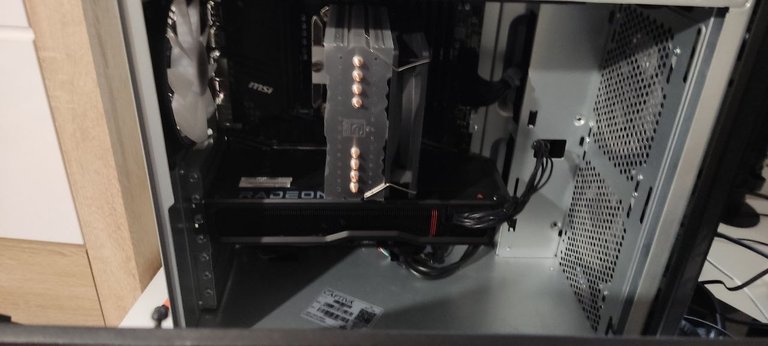
To do that, it was just one screw holding everything in, but some cool designed clips and edges to slot everything in nice and tight. Using my new precision screwdriver, I removed the screw and the inside of the PC was laid bare for me.
I was visually very happy with what I saw. Everything neatly organised and plenty of air circulation. Cables fitting snuggly in where they should do and easy access to everything. This is my first time with a decent graphics card, and it takes up the most space and looks really cool.
It has been a while since I built a PC myself. Since then, there have been some developments in most of the tech and how they are assembled. Looking around I could see the RAM chips easily and no further expansion possibilities with all bays loaded.
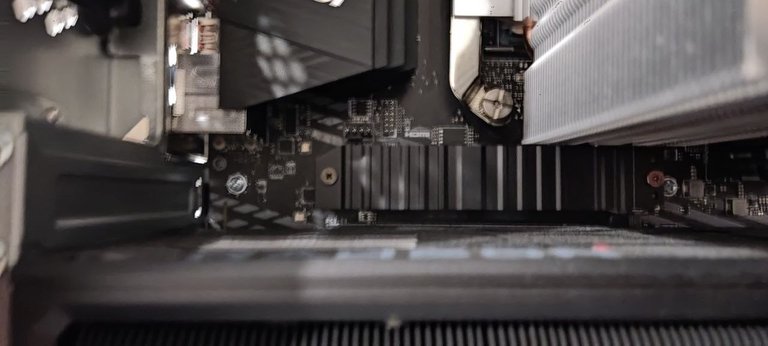
I only have 2TB of hard disk space and this is where I would like to do my next upgrade. But I needed to see where I could put it. Previously I would install a SATA or SSD drive, but that tech is old and too slow now. Now I need to install NVMe (Non-Volatile Memory Express) memory connected using the PCIe to connect to the new SSD form hard drives. Some are long, some are short, some are 3.0 and some use 4.0 and you can get various speeds and it depends on your motherboard where the RAM is routed from what I have picked up as I am no expert.
Here I think is the first M.2 SSD drive installed with some cooling. I read on my motherboard it was close to the CPU and this looked like the place.
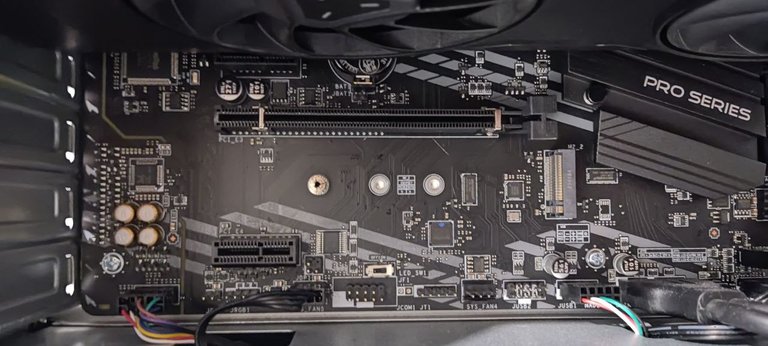
On the other side of the graphics card I think I spotted the second slot and I decided to grab a spare M.2 SSD card that I took from my broken Lenovo and was using as an external drive to test it.
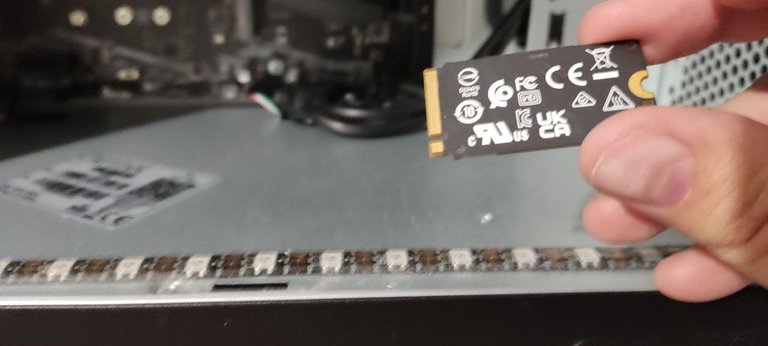
Hard to believe this is a HD these days, just a small micro-chip. And the speed is much improved from those first drives we used back in the day. I saw the connections matched and lined up and slotted it in. The next thing to do was to test if it was working.
I gave it a reboot but couldnt see anything showing, so I don't know if there is an issue with the drive or I need to install some software to format it for use. I at least know I have the slot ready for when I can upgrade the hard drive and can use this one as an external drive and trouble shoot why it doesn't work.
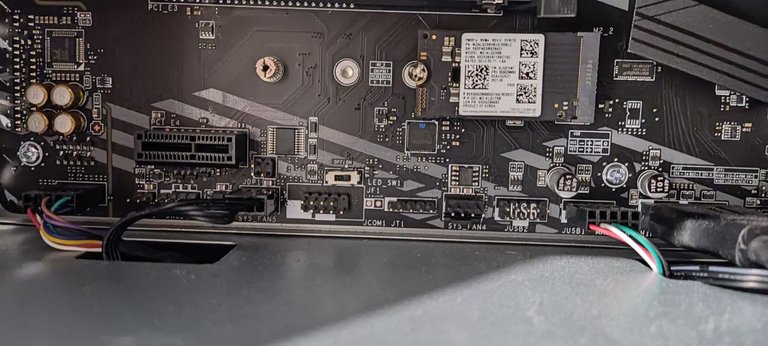
It looks like it fits nicely and I even found a screw to hold it tightly in place there. I can't think why it wouldnt be recognised or if the drive is broken.
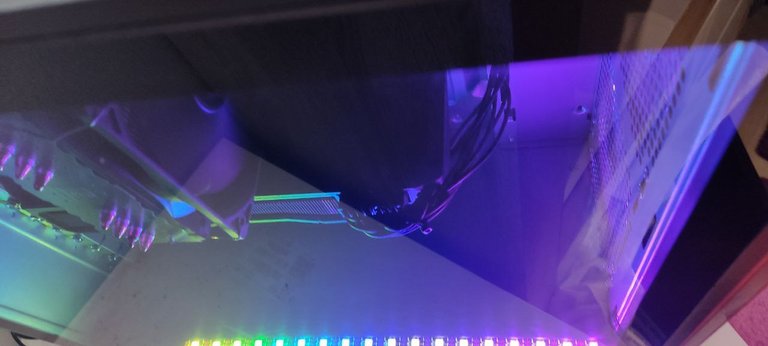
After playing around with the hard drive upgrade and checking the port and motherboard specifications, it was time to put the glass case on and it fitted quite snuggly in. I had to give it a strong thump in 2 places to hold it in and make it level with the rest of the case.
Finally, I put the screw back on in place and it was fully assembled again and ready to run! It was great to take a peak inside and see the motherboard, slots and how clean it was, so that I can be prepared for future cleaning and maintenance tasks.
Thanks for reading/watching.

Credits:
All photos are my own.

Let's connect : mypathtofire
