
Hola mi gente creativa e innovadora, espero que se encuentren bien, rebosantes de salud y repletos de energías positivas, quien les saluda @nanyuris y hoy quiero compartir con ustedes un magnifico juego didáctico denominado termino a término, que podemos utilizar para desarrollar el pensamiento lógico, el reconocimiento e identificación del abecedario, colores, además estimula la coordinación viso-motriz, la motricidad fina y la creatividad, con un brillante motivo navideños que te fascinará, ya que es de gran interés para los niños, a ellos les encanta todo lo relacionado con la navidad, dicha actividad se llama : El arbolito del abecedario.
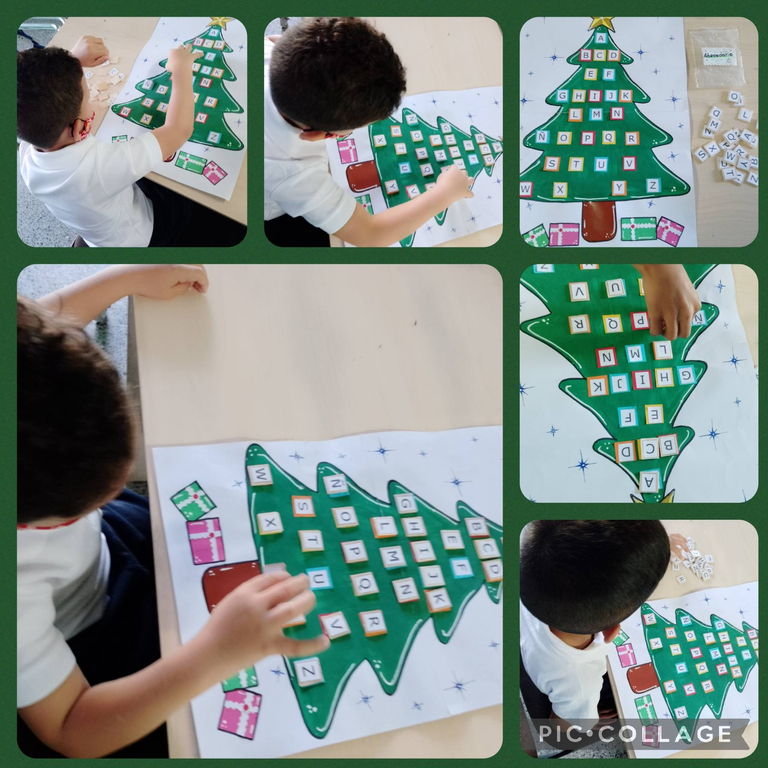
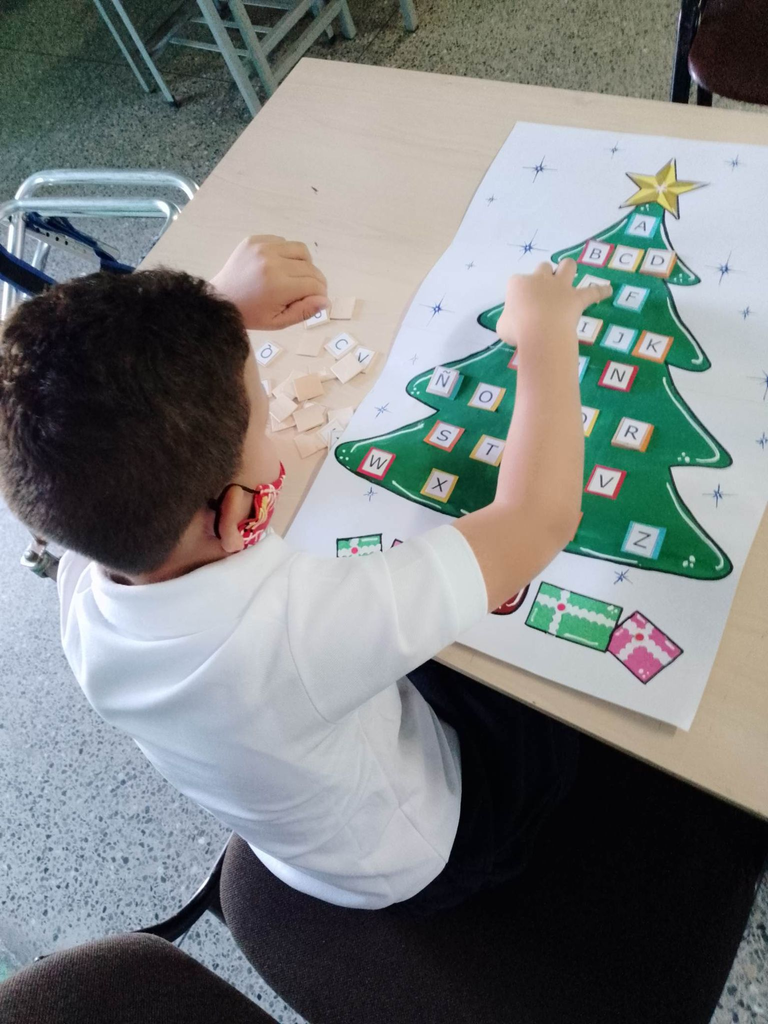
Esta hermosa e interesante estrategia la podemos realizar en nuestros hogares, en familia, donde los niños participen en la construcción del mismo y también lo podemos implementar en los ambientes de aprendizaje, una forma de aprender haciendo, con la finalidad de que los niños exploren, experimenten y manipulen la pintura, que sirve de estimulación sensorial, es importante señalar que mediante la pintura los niños expresan sus emociones.
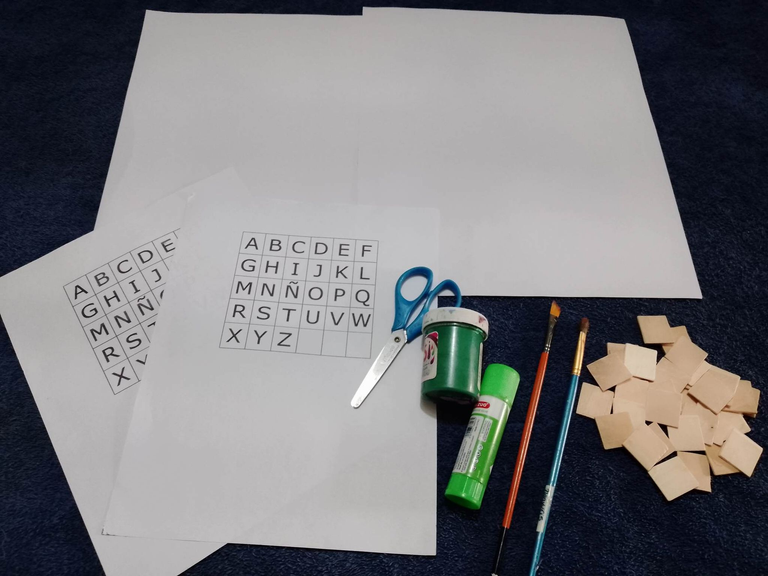
Materiales a utilizar:
Dos laminas de cartulina blanca, tijera, pega de barra, pincel, pintura al frio color verde, cuadritos de madera, abecedario impreso, lápiz de gafito, cinta plástica, marcadores de colores, corrector blanco, cartulinas de construcción y papel lustrillo de diferentes colores.
Paso a paso:
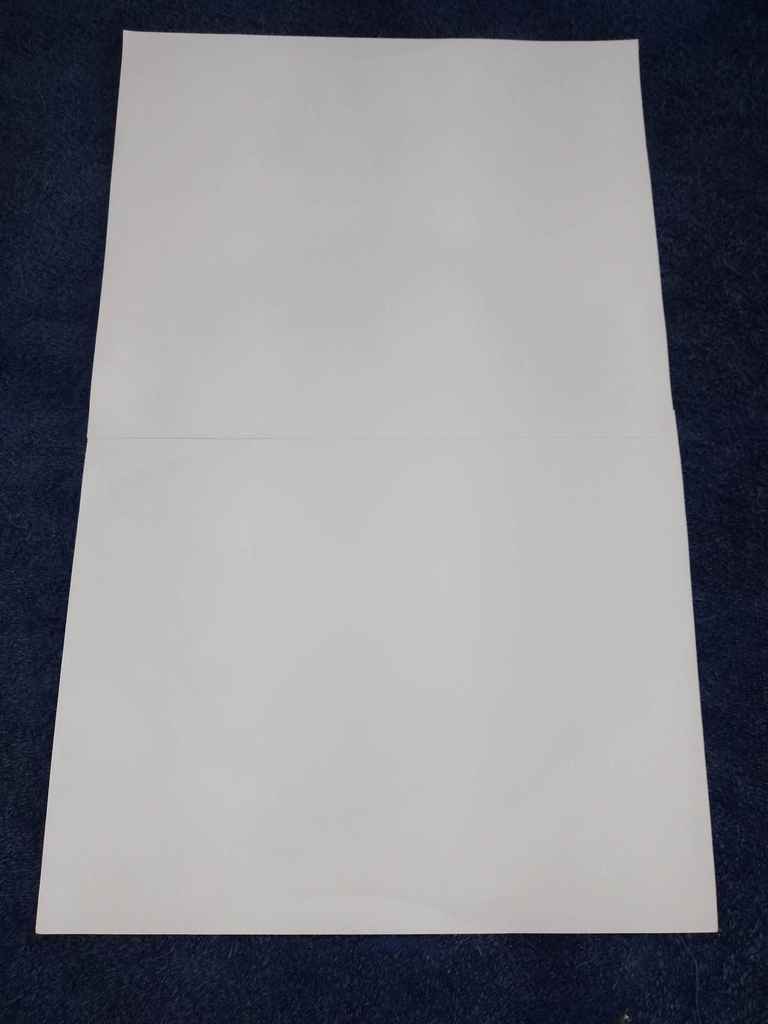
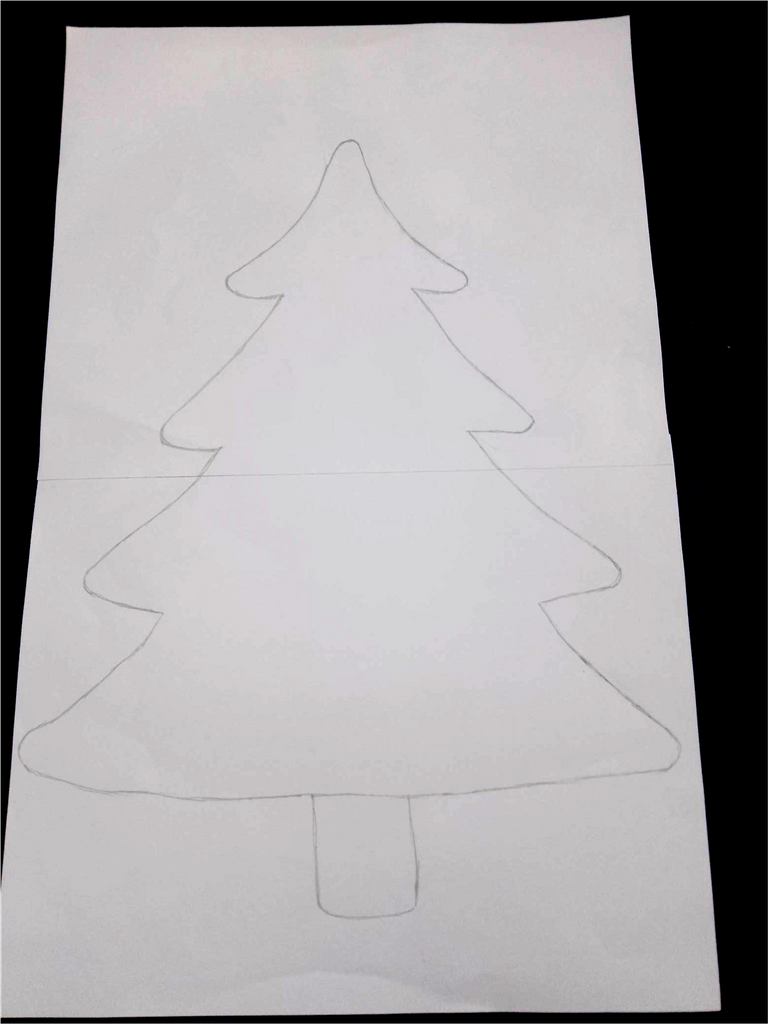
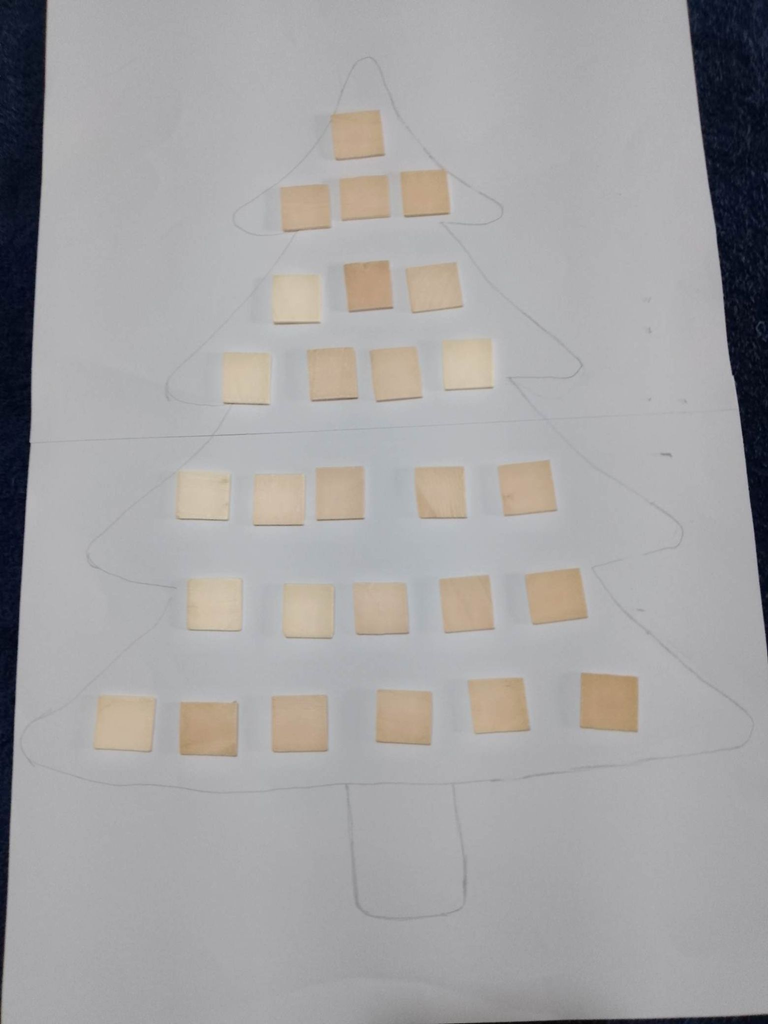
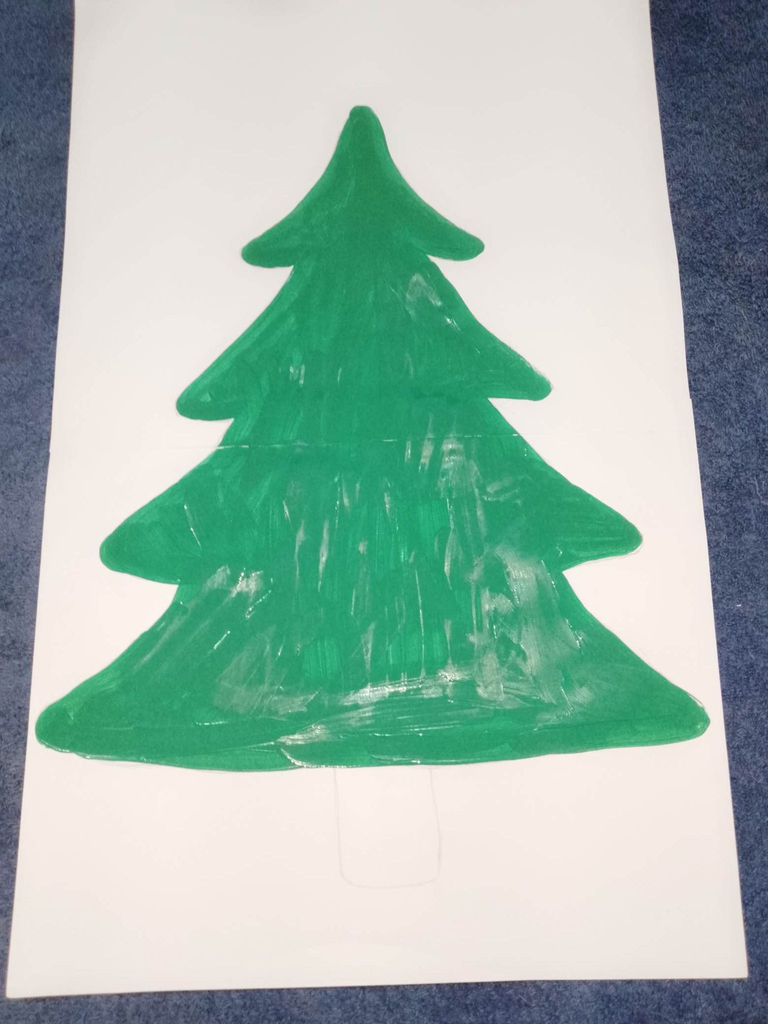
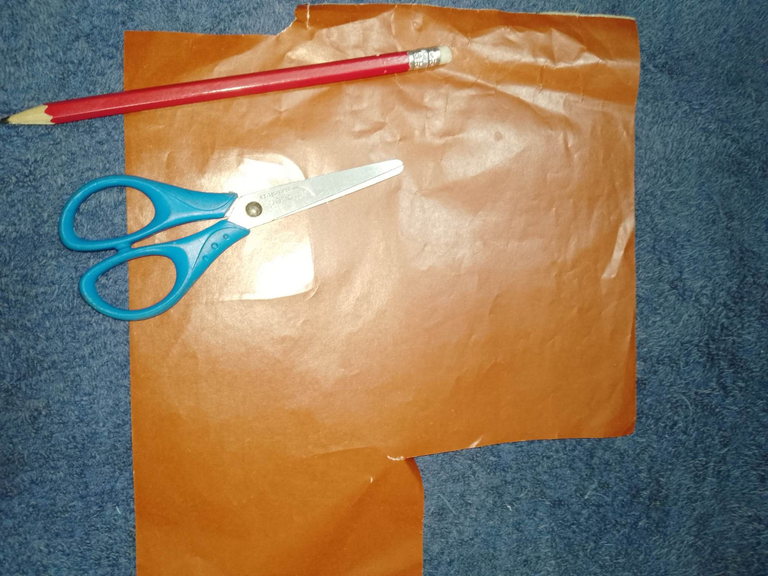
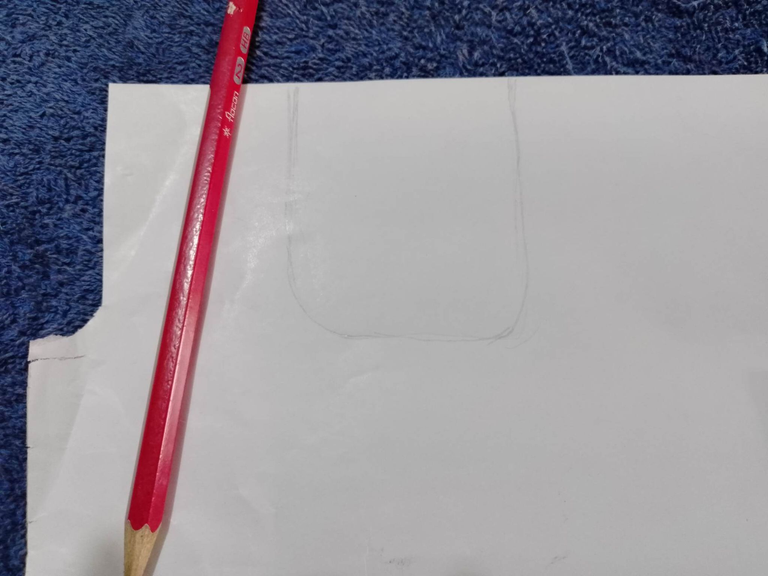
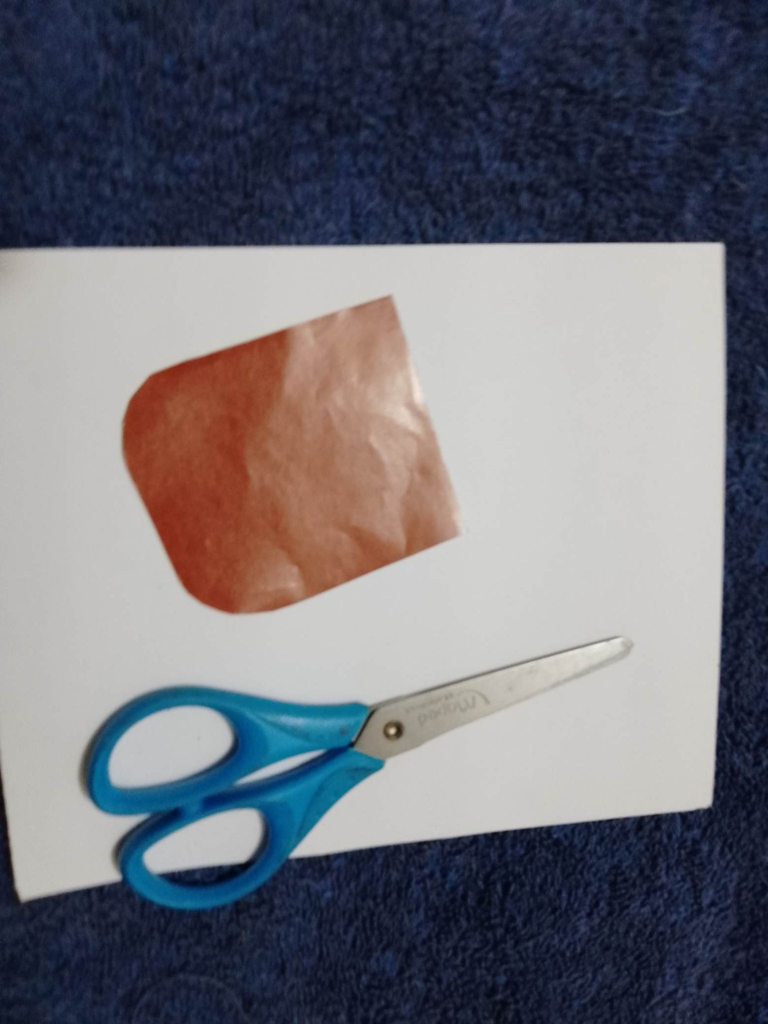
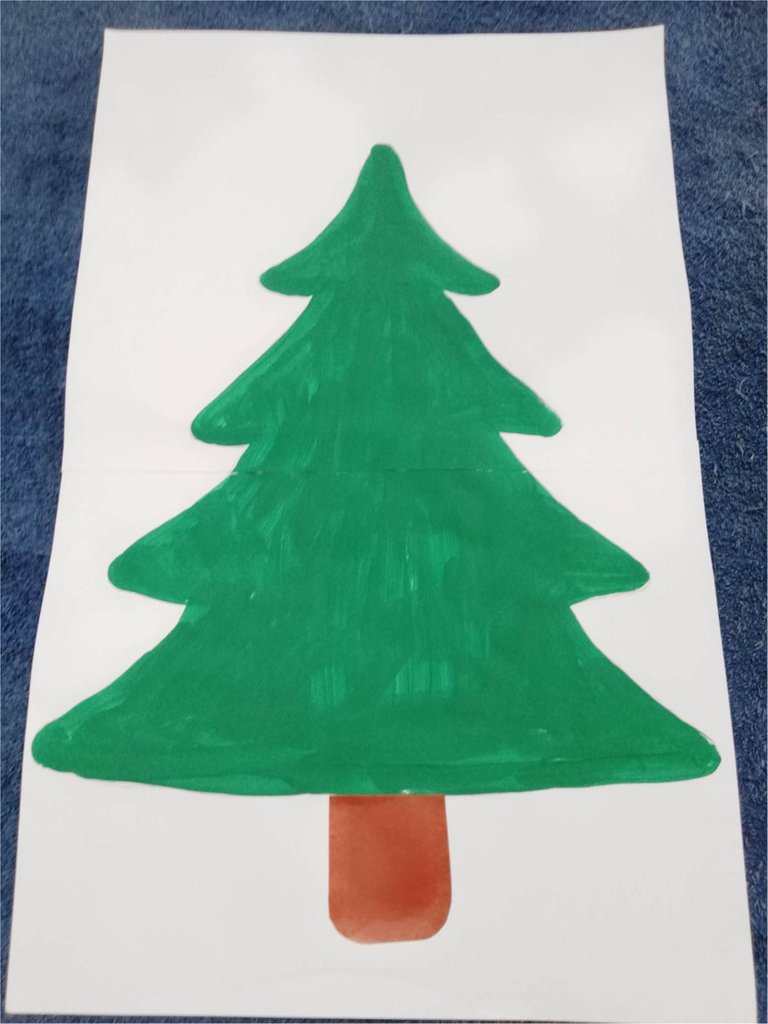
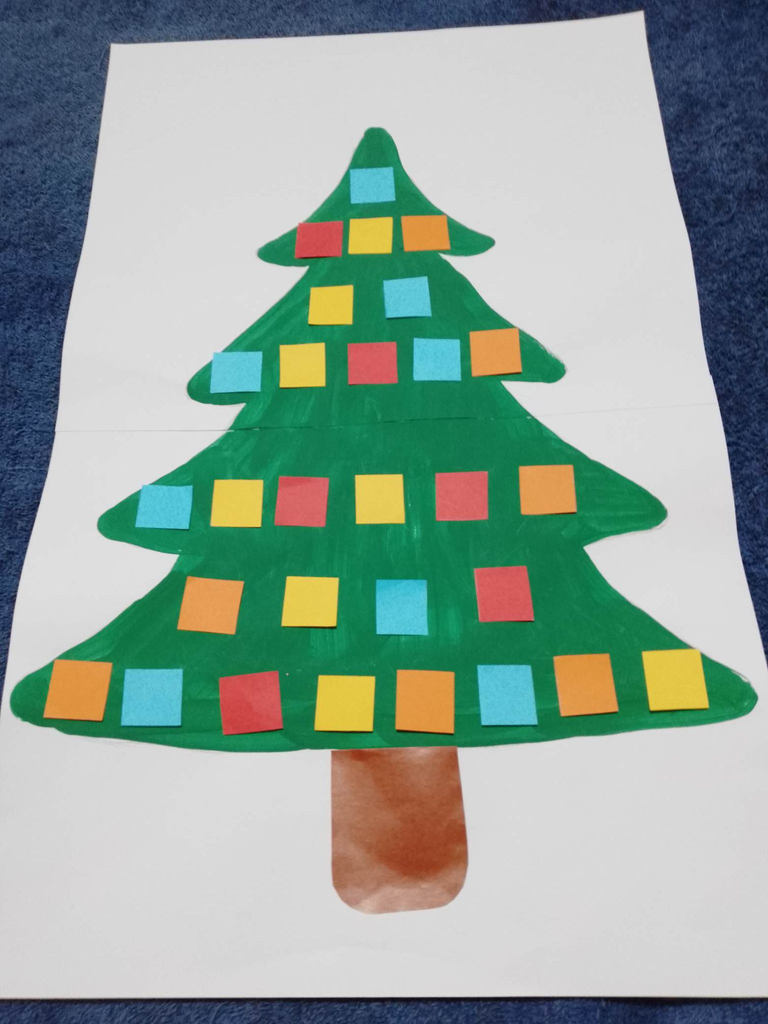
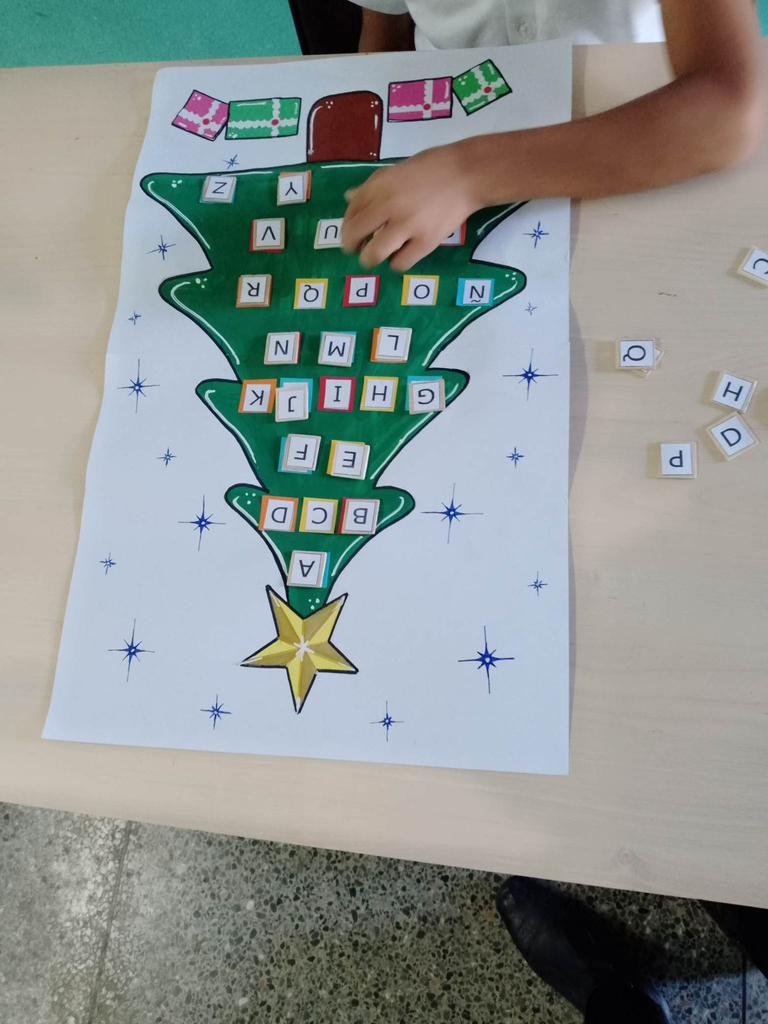
Inicie uniendo las dos laminas de cartulina con pega de barra, luego con la ayuda de un lápiz de grafito dibuje el arbolito de navidad de forma vertical, posteriormente coloque encima del dibujo los cuadritos de manera para tener una idea de la distribución de las misma, inmediatamente procedí a darle tono al árbol con la pintura al frio color verde, después dibuje el tronco de dicho árbol en el papel lustrillo color marrón y lo recorte, al instante lo ubique en su lugar y lo pegue.
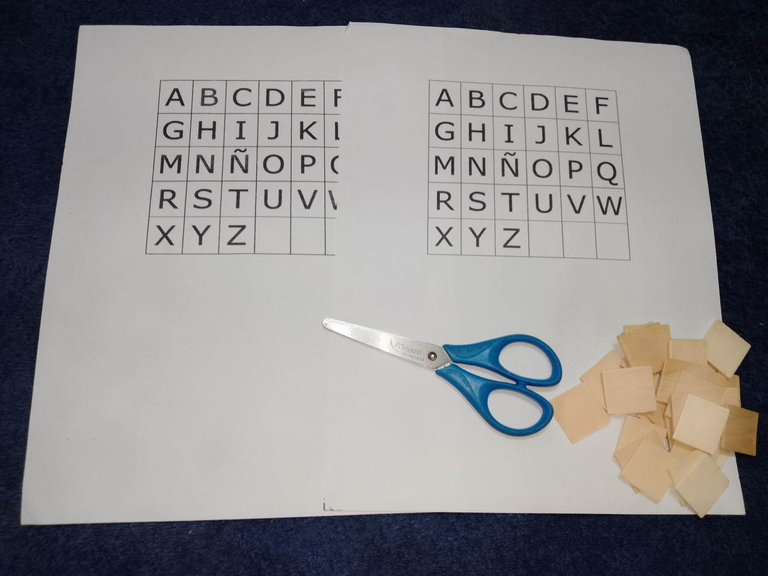
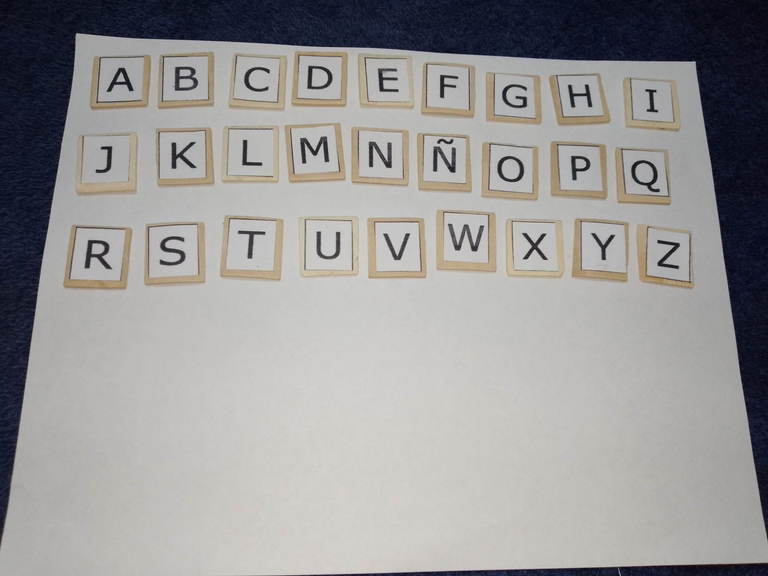
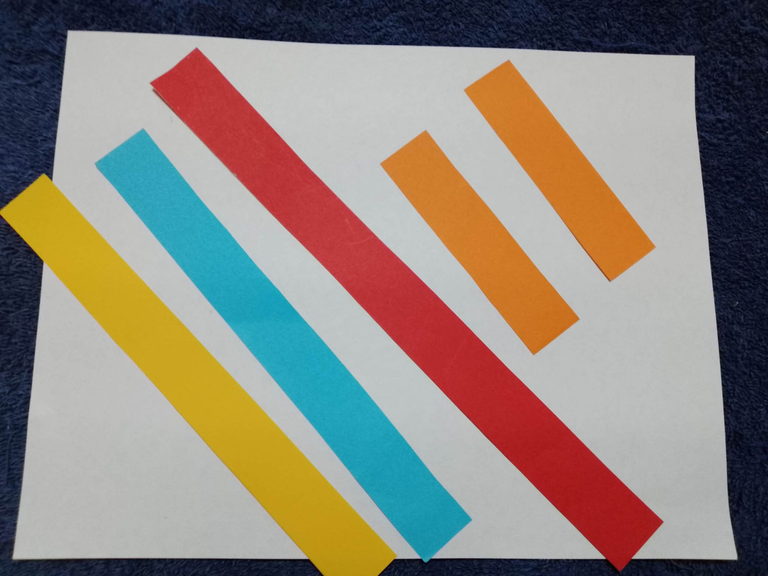
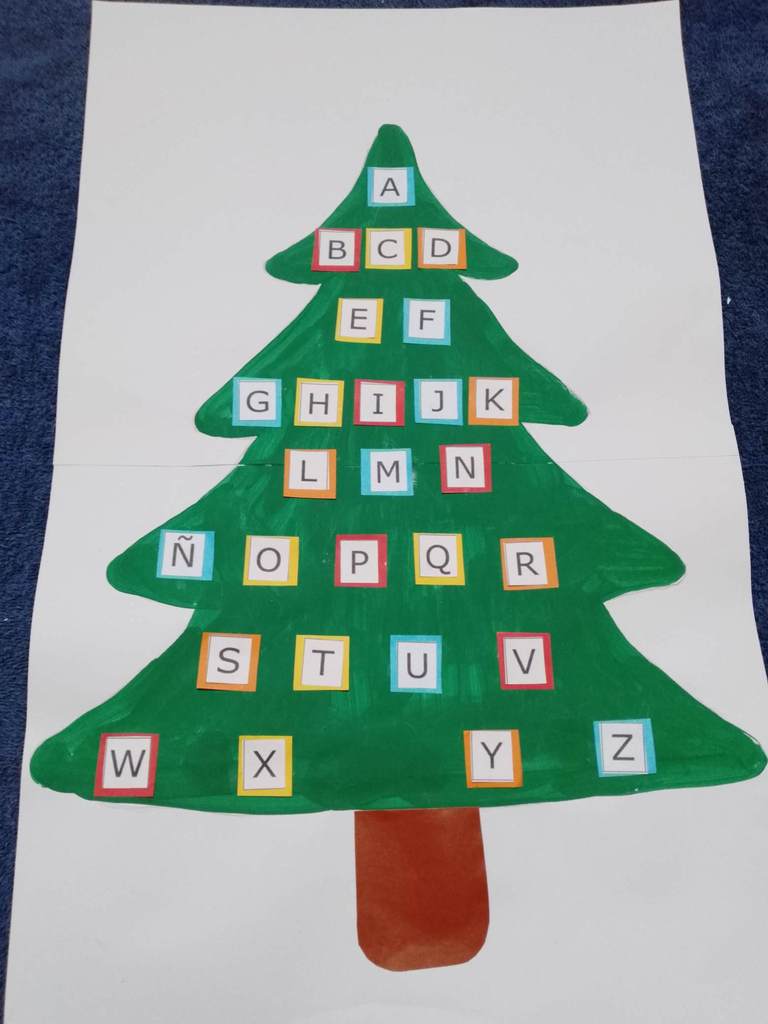
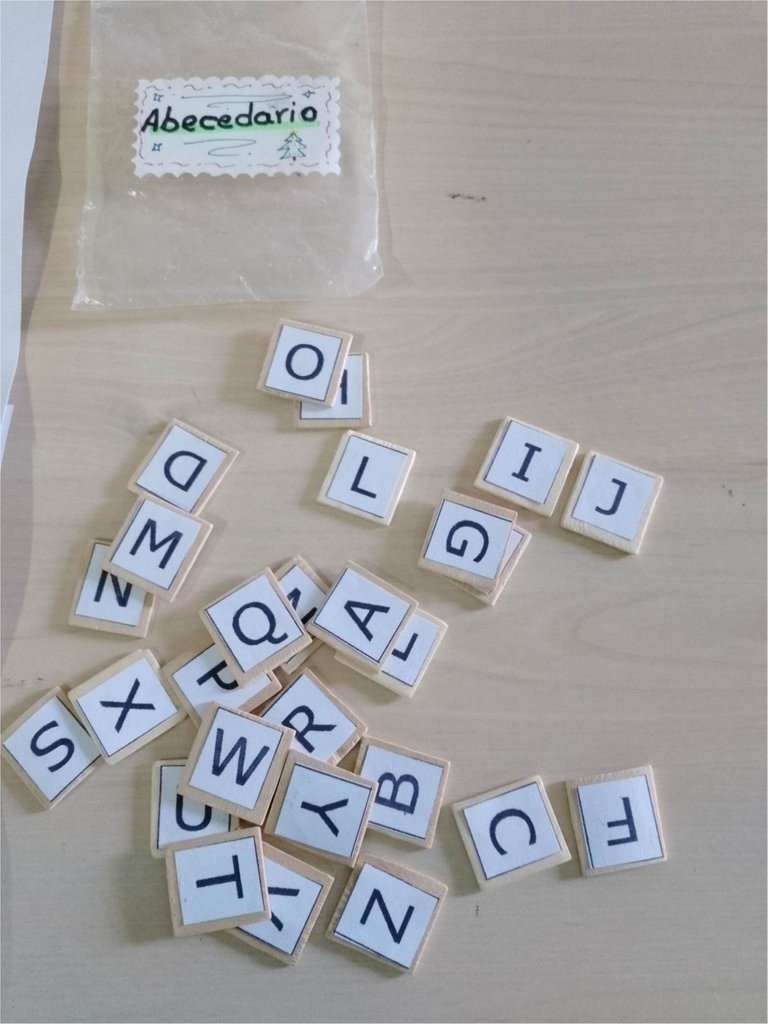
Rápidamente recorte el abecedario y lo fije en los cuadritos de madera con pega de barra, que serán las fichas del abecedario, con el mismo optimismo recorte varias tiras de cartulina de construcción de colores: Amarillo, azul, rojo y anaranjado, que luego recorte en pequeños cuadrados y ágilmente las distribuí en el arbolito para luego adherirlos.
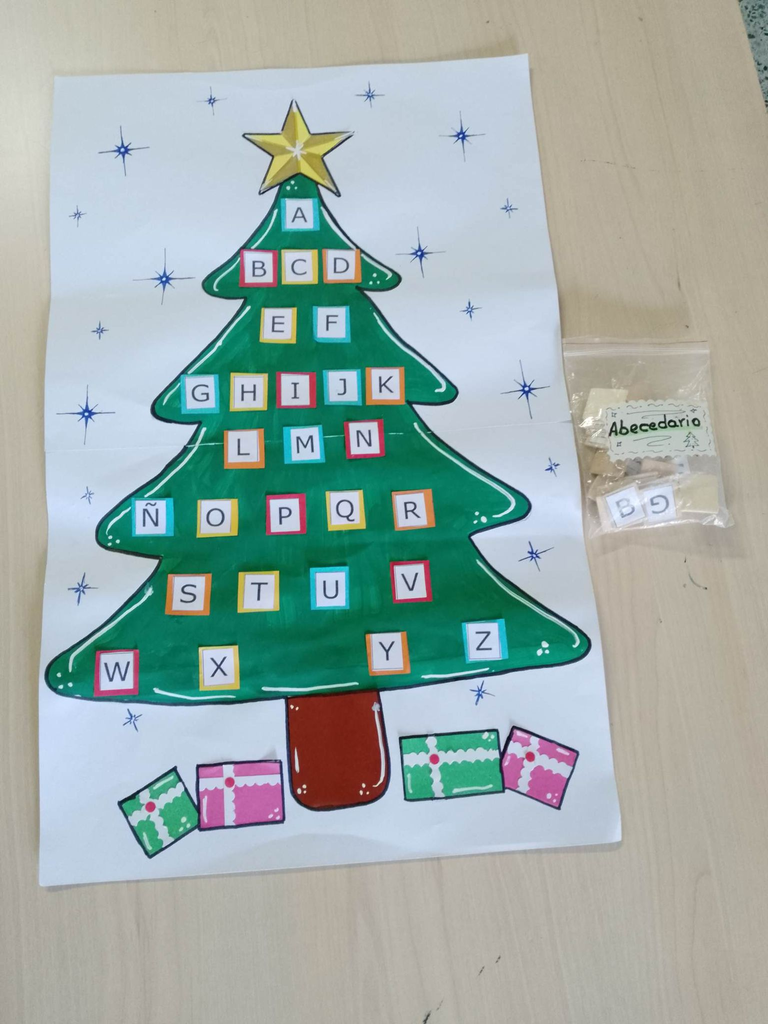
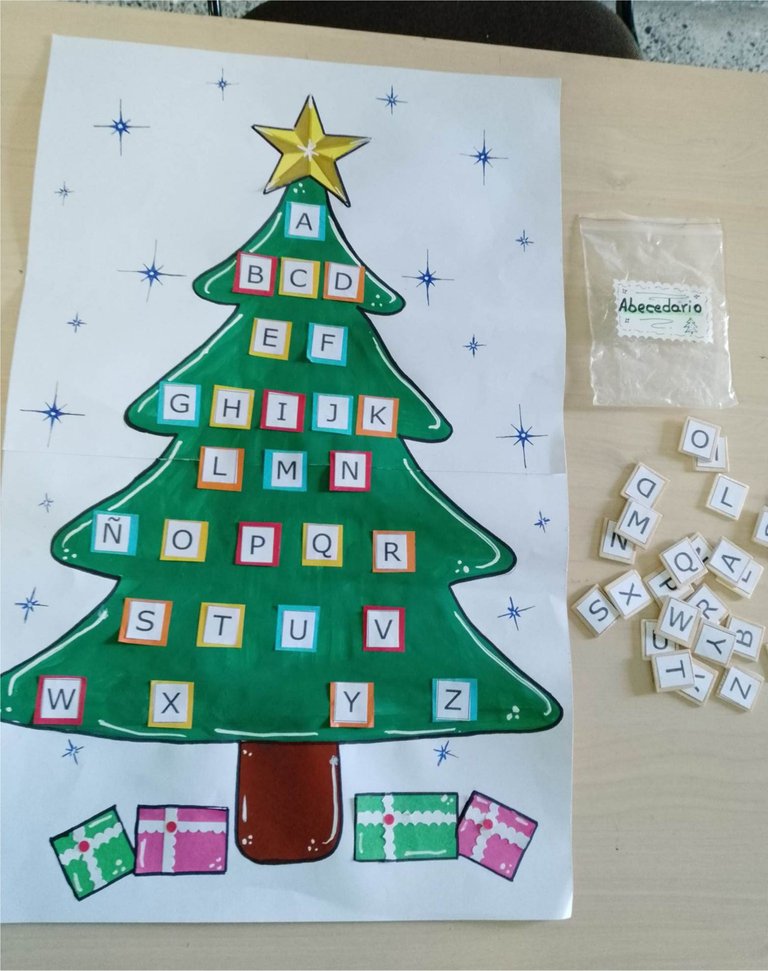
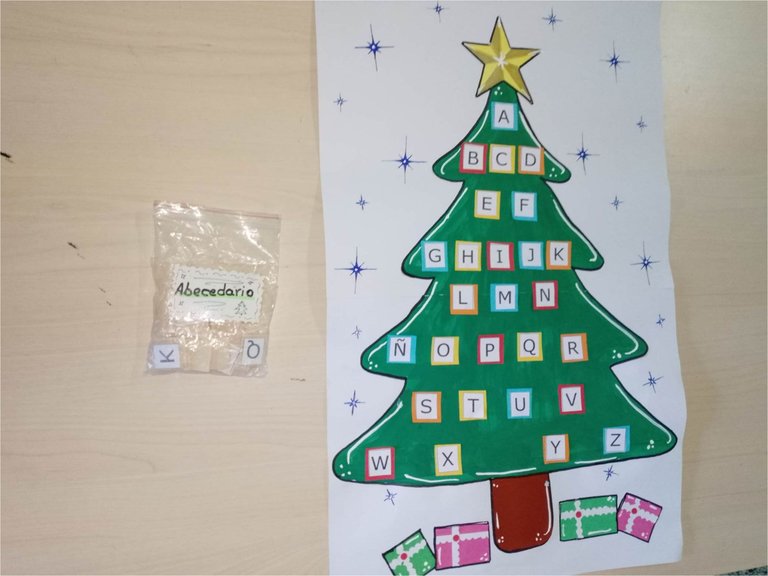
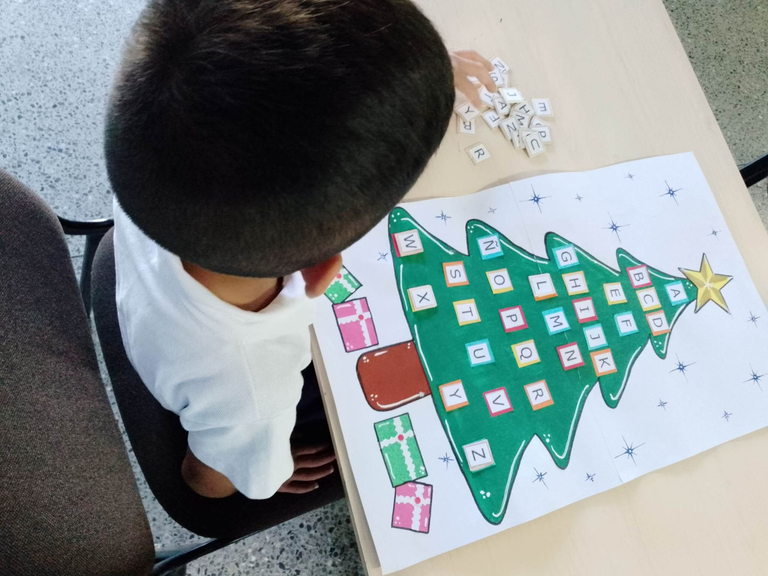
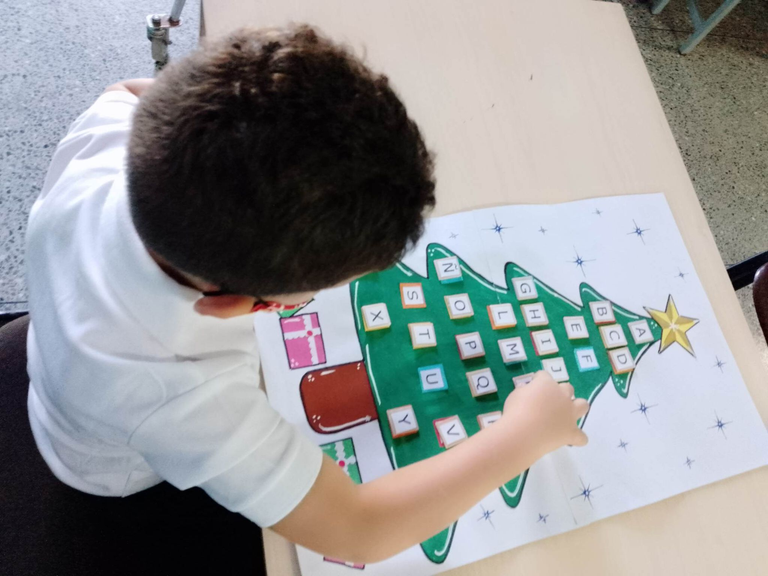
Con entusiasmo pegue ordenadamente en cada cuadro de color una letra del abecedario, velozmente dibuje en una cartulina de construcción de color amarillo una estrella que irá en la punta del árbol, el cual le dará un toque de fantasía, también con papel lustrillo rosado, verde y blanco elabore unas cajas de regalo para darle dinamismo al diseño, a continuación con los marcadores de colores dibuje algunos detalles para alegrar el dibujo, de lance en lance con corrector blanco plasme algunos destellos de luz , después conseguí una bolsa plástica de cierre mágico que servirá para guardar las fichas de madera, le coloque una etiqueta artesanal , es decir, hecha a mano con marcadores y la fije con cinta plástica.
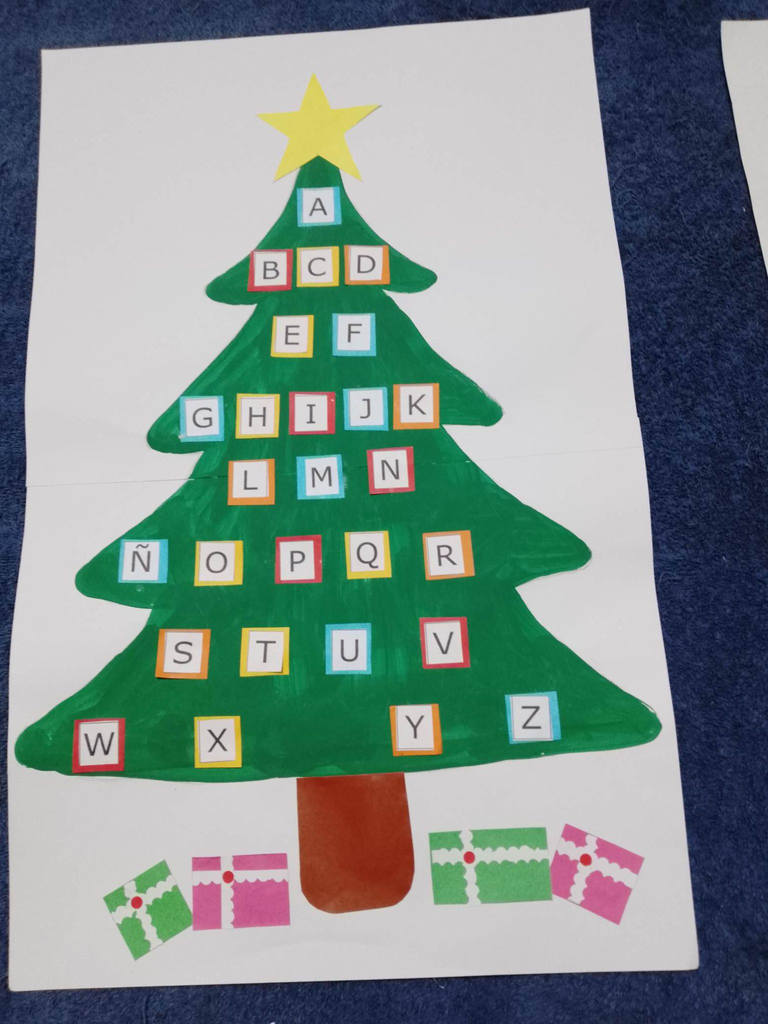
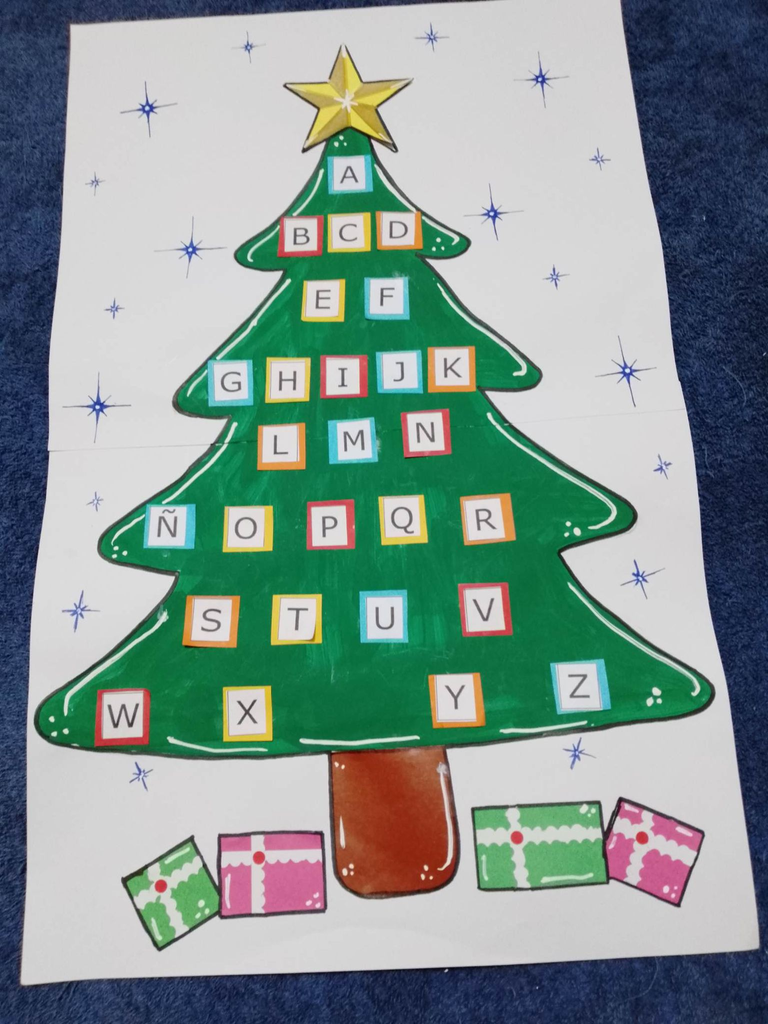
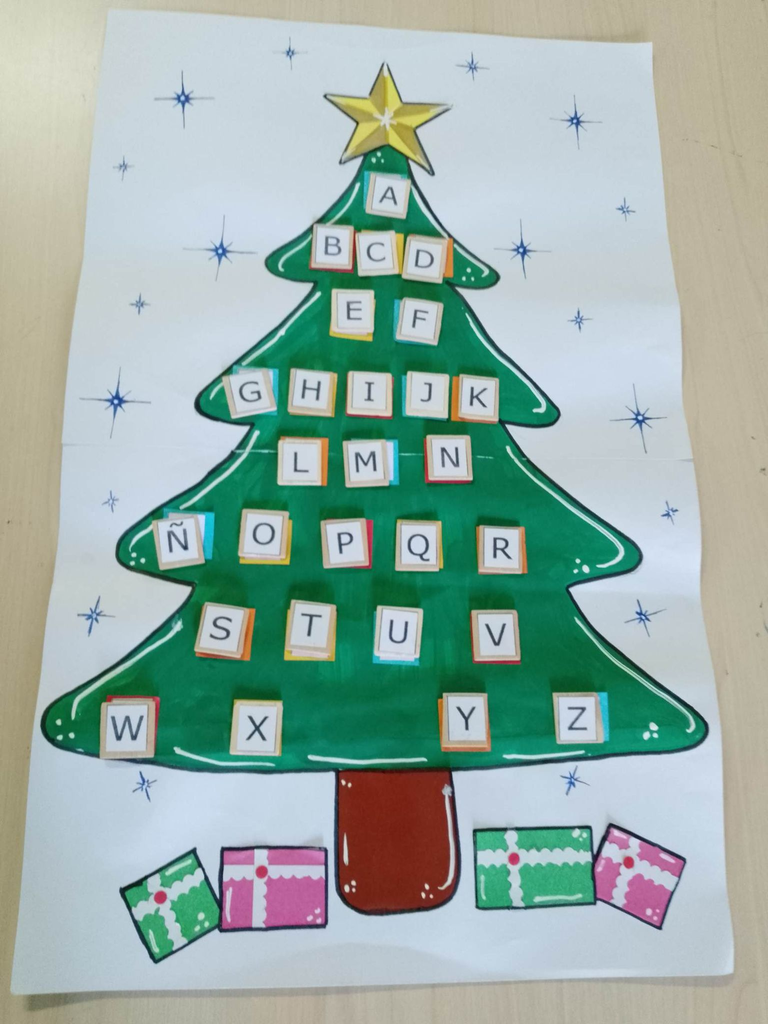
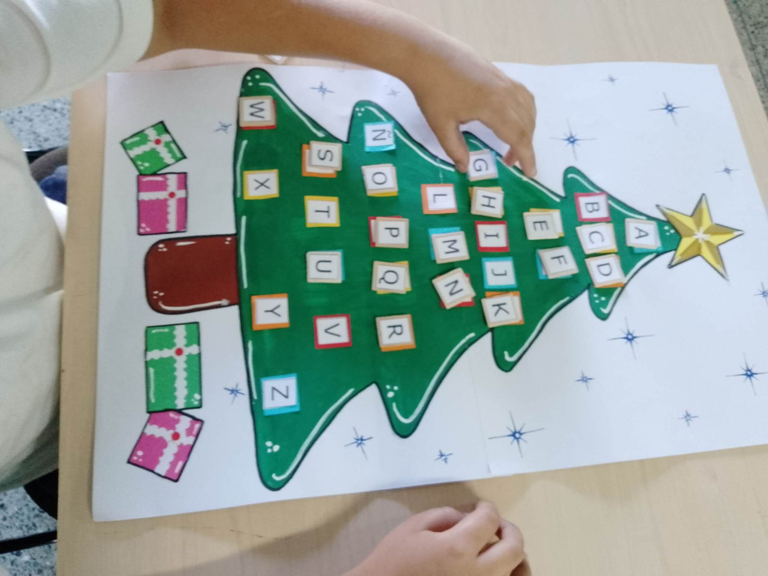
Resultado final
Hello my creative and innovative people, I hope you are well, brimming with health and full of positive energy, who greets you @nanyuris and today I want to share with you a great educational game called term by term, which we can use to develop logical thinking, recognition and identification of the alphabet, colors, also stimulates the visual-motor coordination, fine motor skills and creativity, with a bright Christmas motif that will fascinate you, as it is of great interest to children, they love everything related to Christmas, this activity is called : The alphabet tree.
This beautiful and interesting strategy can be done in our homes, in family, where children participate in the construction of the same and we can also implement it in learning environments, a way to learn by doing, in order that children explore, experiment and manipulate the paint, which serves as sensory stimulation, it is important to note that through painting children express their emotions.
Materials to be used:
Two sheets of white cardboard, scissors, glue stick, paintbrush, green cold paint, wooden squares, printed alphabet, gafito pencil, plastic tape, colored markers, white corrector, construction paper and lustrillo paper of different colors.
Step by step:
I started by joining the two sheets of cardboard with glue stick, then with the help of a graphite pencil draw the Christmas tree vertically, then place on top of the drawing the squares so as to have an idea of the distribution of the same, immediately proceeded to give tone to the tree with the green cold paint, then draw the trunk of the tree on the brown glossy paper and cut it out, instantly put it in place and glue it.
I quickly cut out the alphabet and fixed it on the wooden squares with glue stick, which will be the alphabet tiles, with the same optimism I cut out several strips of colored construction paper: yellow, blue, red and orange, which I then cut into small squares and nimbly distributed them on the tree and then glued them on the tree.
With enthusiasm I glued a letter of the alphabet in each colored square in an orderly fashion, I quickly drew on a yellow construction paper a star that will go on the top of the tree, which will give a touch of fantasy, also with pink, green and white glossy paper I made some gift boxes to give dynamism to the design, then with the colored markers I drew some details to brighten up the drawing, from set to set with white corrector I made some flashes of light, then I got a plastic bag with a magic zipper that will be used to keep the wooden tokens, I put a handmade label, that is, handmade with markers and I fixed it with plastic tape.
Final result

Imágenes de mi propiedad
Texto convertido en Deepl.
Collage elaborado en PicCollage
Conversor de fuentes 3D