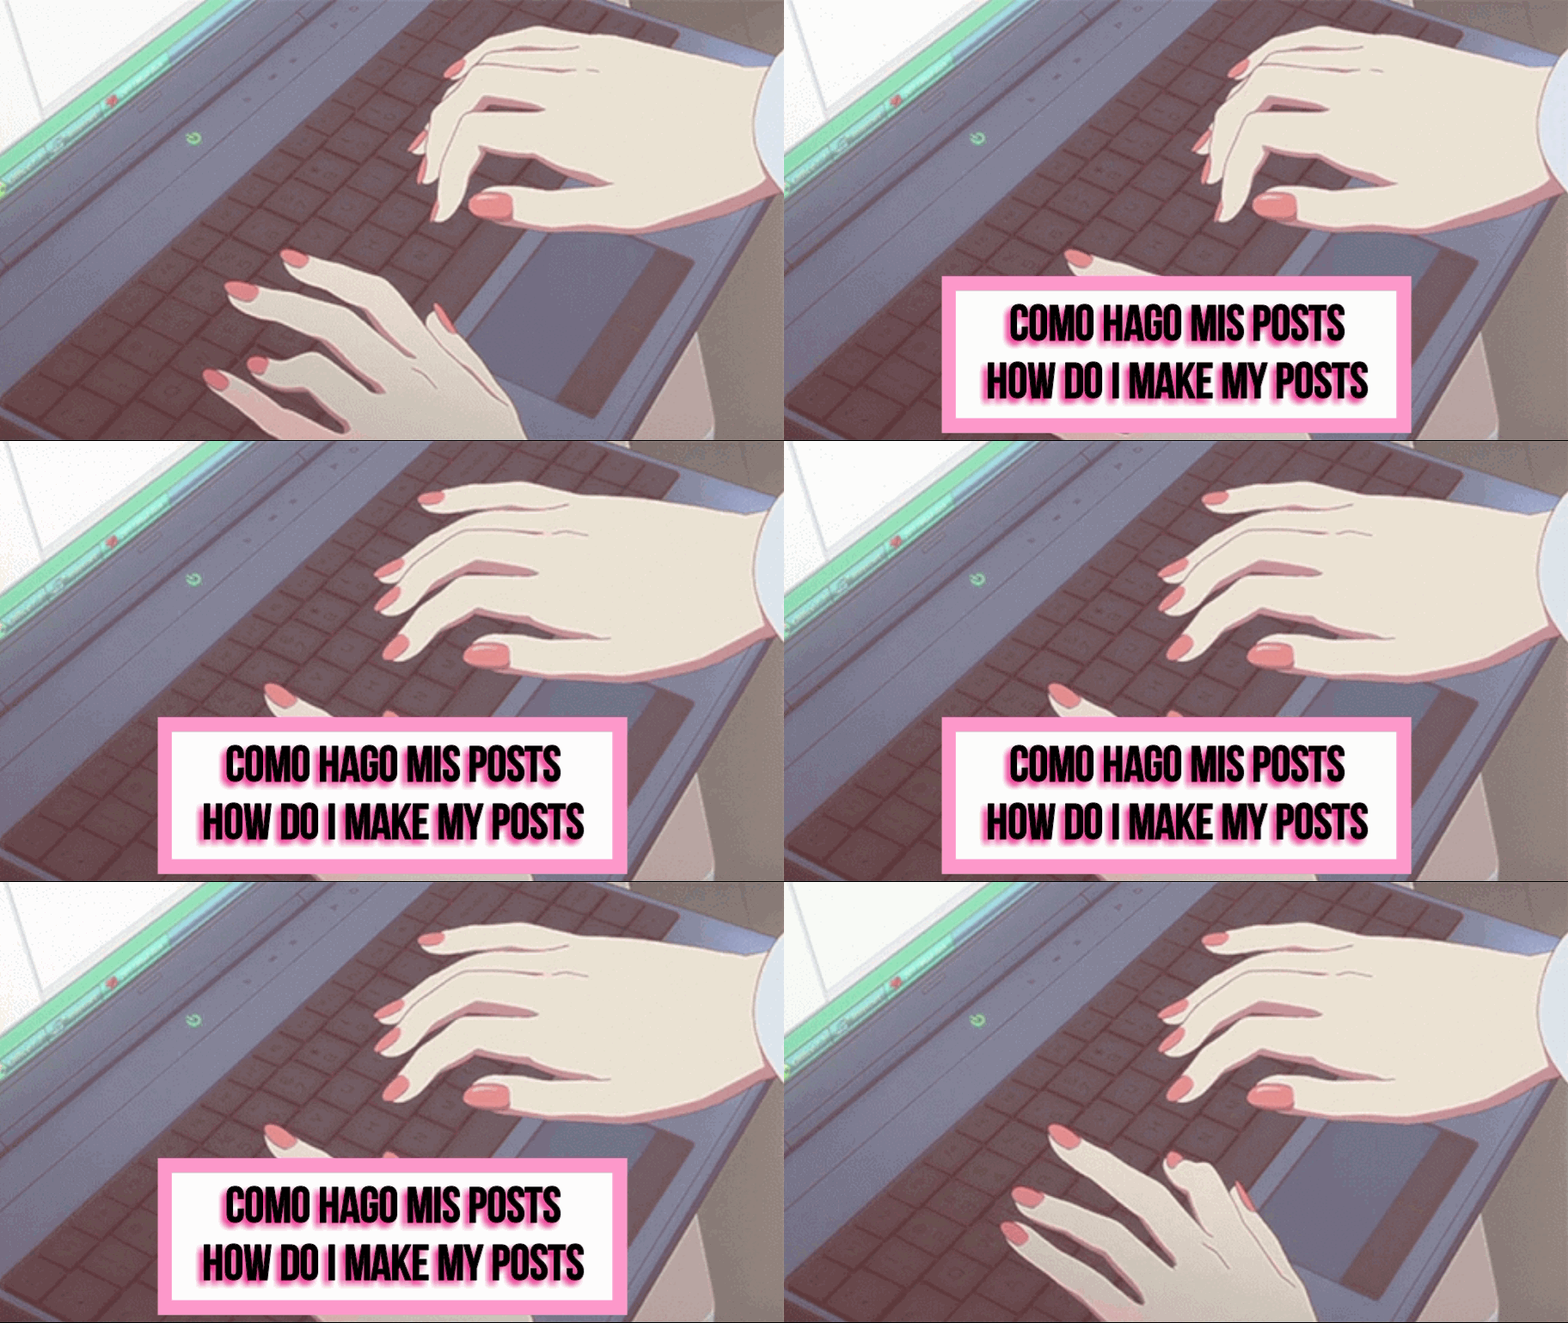
Hola de nuevo! Hoy les traigo un post súper genial y distinto a lo usual, en el cual les compartiré sobre cuál es mi proceso al hacer las publicaciones en Hive. Bueno, cuando comencé en Hive realmente no era muy buena con el maquetado, tuve que ver varias guías de markdown y html para ver con cual me sentía más cómoda, también como poner imágenes, fuentes, títulos, poner textos en rojo, etc, en fin un montón de cosas.
A medida que fui acostumbrándome se me hizo mucho más sencillo y además, fui reinventándome en hacer mi propio estilo en los posts hasta tener el que les mostraré el día de hoy. Soy una persona muy perfeccionista y siempre me fijo en cada detalle al hacer mis publicaciones, a su vez de dejar mi esencia en los mismos, me entretiene mucho hacerlos, disfruto muchísimo del proceso y les quiero compartir todo lo que hay detrás de cada publicación que hago, comencemos!
Hello again! Today I come with a super cool and different post than usual, in which I will share with you what is my process when making publications in Hive. Well, when I started in Hive I was not really good with the layout, I had to see several markdown and html guides to see which one I felt more comfortable with, also how to put images, fonts, titles, put texts in red, etc, in short a lot of things.
As I got used to it, it became much easier and also, I was reinventing myself in making my own style in the posts until I have the one I will show you today. I am a very perfectionist person and I always pay attention to every detail when making my posts, at the same time to leave my essence in them, I really enjoy the process and I want to share with you everything that is behind every post I make, let's go!


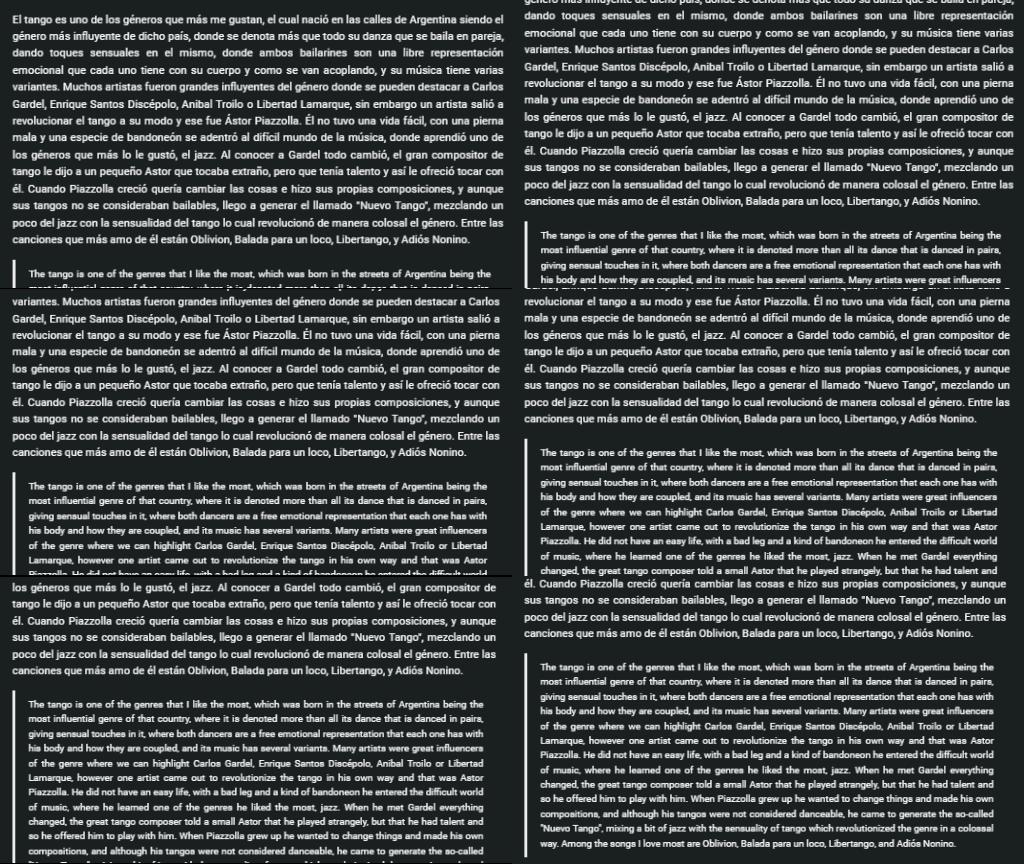
Luego de pensar muy bien sobre lo que voy a hablar, lo primero que hago siempre es comenzar a redactar la publicación dependiendo de lo que quiera compartir. Eso sí, antes de redactar siempre pongo a qué comunidad va dirigida la publicación para así evitar olvidos (que me ha pasado varias veces), esto lo recomiendo mucho. Al redactar siempre estoy pendiente de expresar todo lo que quiero decir, ordenar mis ideas, además de estar pendiente de errores ortográficos que a veces se me escapan por errores de tipeo. Me tomo mi tiempo en redactar tranquilamente ya que lo disfruto mucho. Luego de revisar que el post esté bien redactado, añadirle y quitarle algunas cosas, prosigo con la traducción.
After thinking very well about what I am going to talk about, the first thing I always do is to start writing the post depending on what I want to share. Of course, before writing I always write down the community to which the publication is addressed to in order to avoid forgetfulness (which has happened to me several times), I highly recommend this. When writing, I always try to express everything I want to say, to organize my ideas, and to be aware of spelling mistakes that sometimes escape me due to typing errors. I take my time to write calmly because I enjoy it very much. After checking that the post is well written, adding and subtracting some things, I continue with the translation.


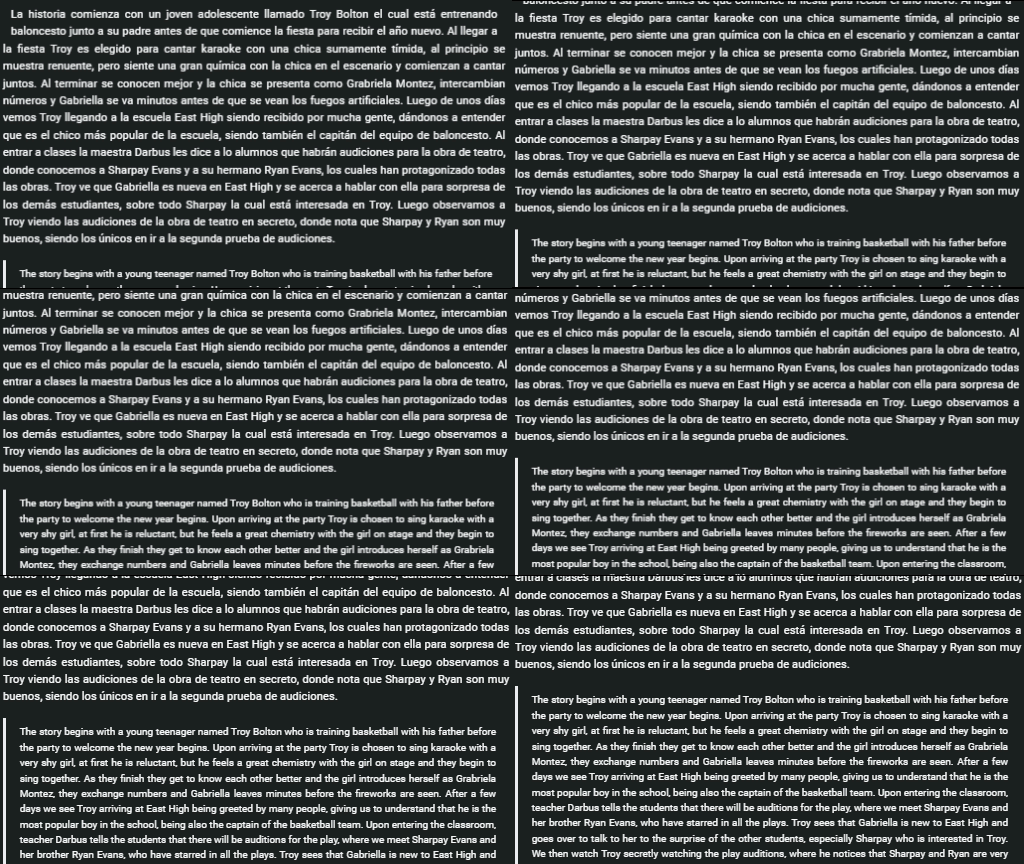
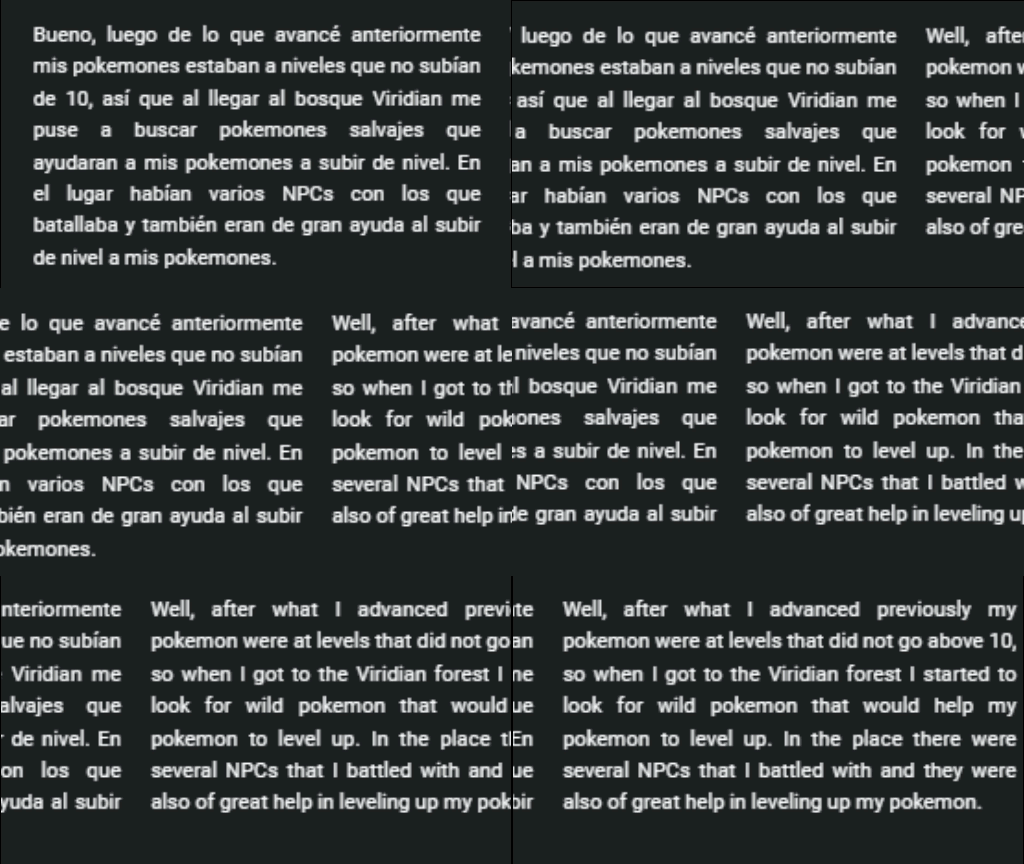
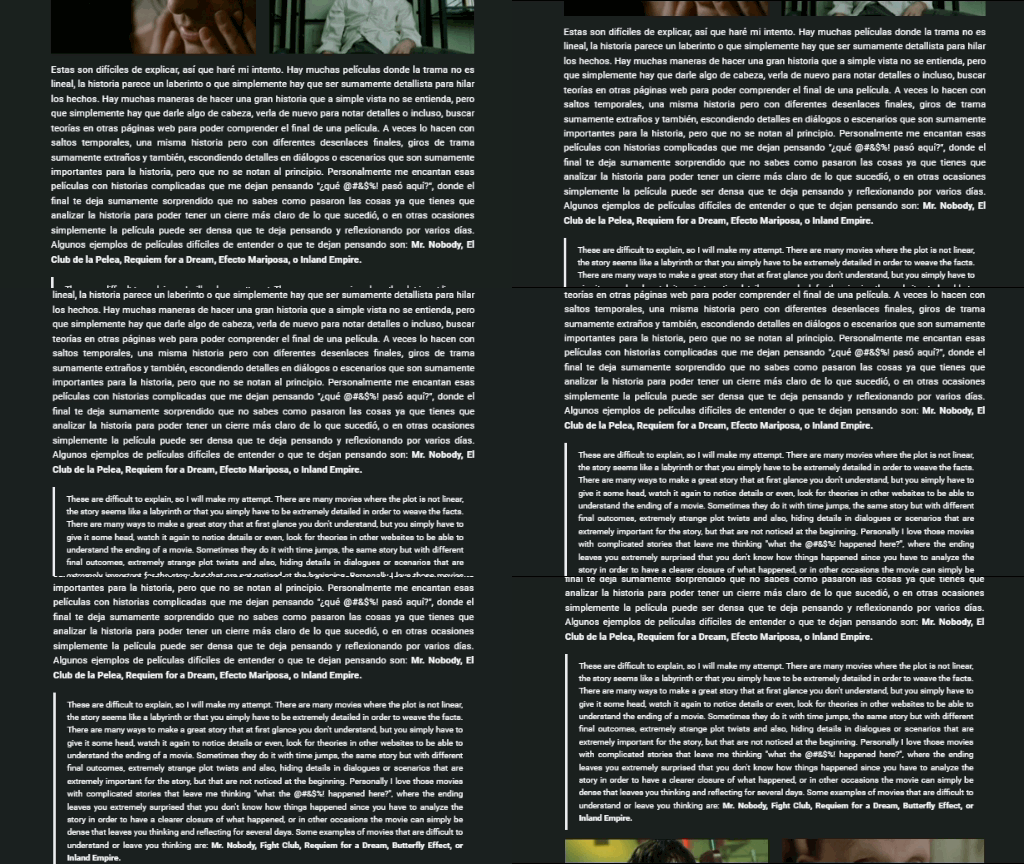
Hay muchas maneras de redactar un post en dos idiomas (incluso más). Se puede usar el método de doble columna donde pones un idioma de un lado y el otro, del otro lado (como este mismo post), también redactar todo el post un idioma y luego poner el texto del mismo post pero en otro idioma. El método que más uso es el de las citas, me gusta mucho este método al hacer posts con textos largos y en casi todas las publicaciones que he hecho lo utilizo, ya que de vez en cuando uso el método de doble columna. Al traducir redacto lo mismo que ya escribí pero en inglés, poco a poco. Si no se les da bien el idioma pueden usar un traductor, el que más recomiendo es deepL ya que me parece el más fluido.
There are many ways to write a post in two languages (even more). You can use the double column method where you put one language on one side and the other on the other side (like this post), or you can write the whole post in one language and then put the text of the same post but in another language. The method I use the most is the quotes method, I really like this method when making relatively long posts and in almost all the posts I have made I use it, since from time to time I use the double column method. When translating I write the same thing I already wrote but in English, little by little. If you are not good at the language you can use a translator, the one I recommend the most is deepL as it seems to me the most fluent.


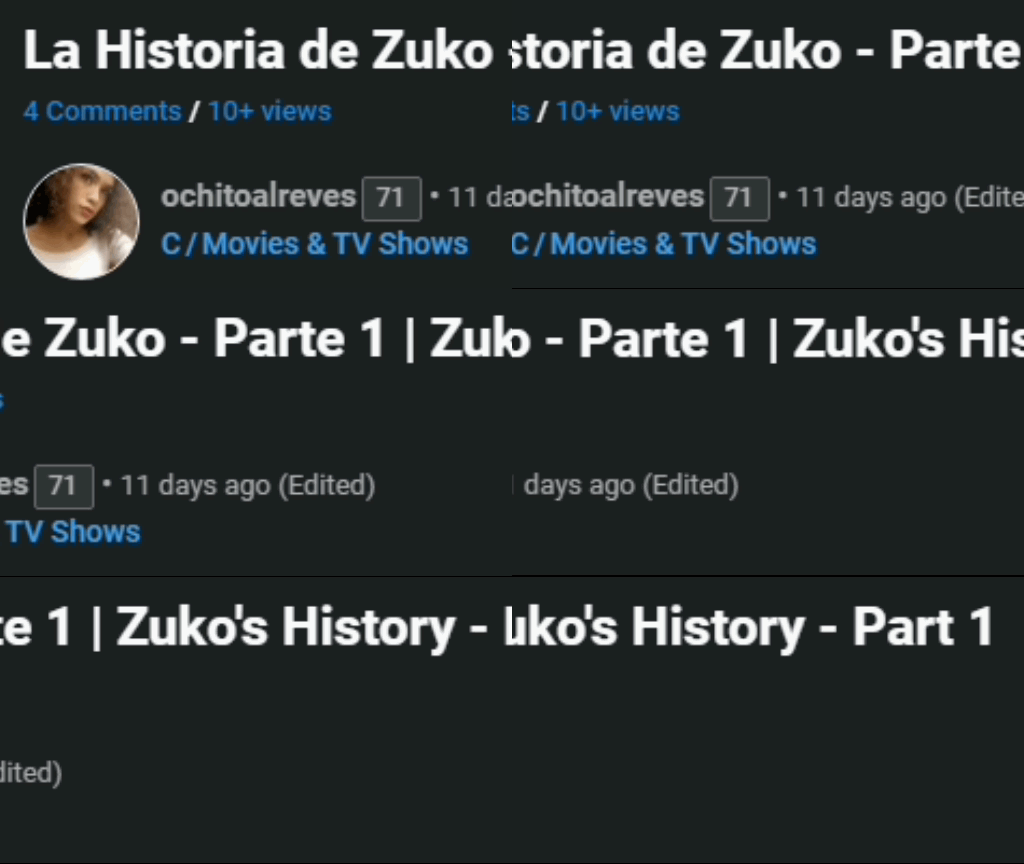

Luego de redactar todo tomo en cuenta el título, usualmente no lo hago al principio ya que a veces cuando se va redactando una que otra cosa puede cambiar y esto me ha pasado muchas veces, así que siempre dejo el título para cuando termine de escribir todo. Algo que recomiendo es que los títulos sean concisos pero que logren llamar la atención de alguna manera, usualmente un título muy largo no llama la atención. Normalmente pongo el título tanto en inglés como en español, también recomiendo que si el post esta en ambos idiomas pueden poner el titulo en el idioma principal, pero añadiendo "[ESP/ENG]" al principio o al final, como sea de su agrado. También recomiendo que si el título ya esta en dos idiomas no pongan el [ESP/ENG] porque es redundante.
Aquí unos ejemplos:
¡Reacción a mi película favorita! [ESP/ENG]
React to my favorite movie! [ENG/ESP]
After writing everything I take into account the title, normally I don't do it at the beginning because sometimes when the publication is being written one thing or another can change and this has happened to me many times, so I always leave the title for when I finish writing everything. Something that I recommend is that the titles are concise but that they manage to call the attention in some way, usually a very long title does not call the attention. I usually put the title in both English and Spanish, although I also recommend that if the post is in both languages you can put the title in the main language, but adding "[ESP/ENG]" at the beginning or at the end, as you like. I also recommend that if the title is already in two languages do not put the [ESP/ENG] because it is redundant.
Here are some examples:
¡Reacción a mi película favorita! [ESP/ENG]
React to my favorite movie! [ENG/ESP]


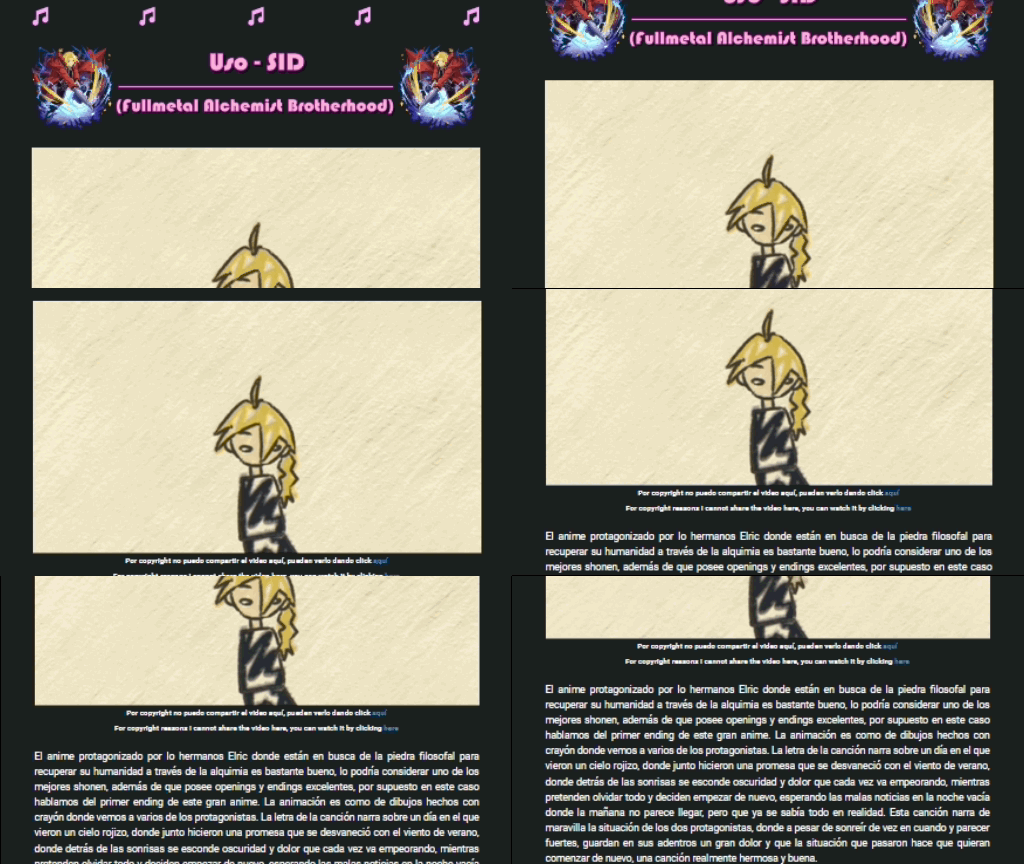
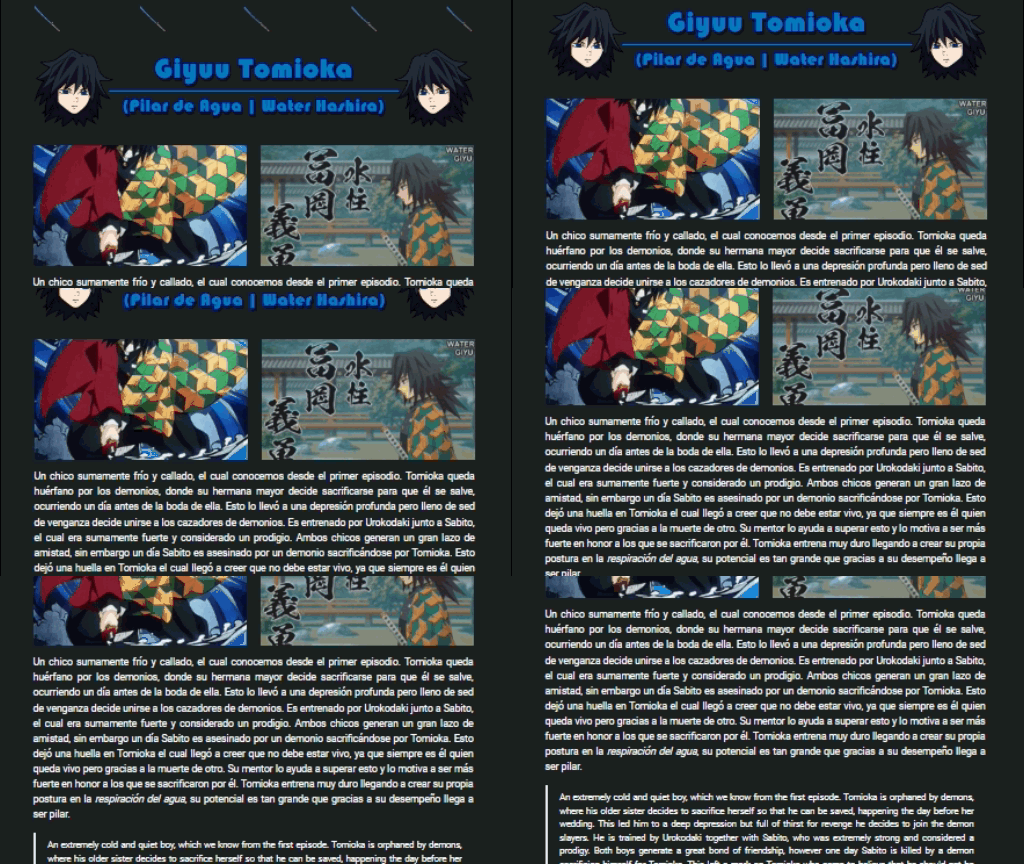
Esta es la parte más larga para mí, ya que me esfuerzo mucho en la estética del post y que se lo más agradable visualmente y este es uno de los puntos más importantes que les quiero mostrar a la hora de diseñar mis publicaciones. Suelo escoger bien los colores que representarán la publicación, las imágenes, si usaré el método de citas o doble columna al traducir y así sea visualmente agradable, en lo que viene a continuación les contaré todo lo que hago en el proceso de maquetado.
This is the longest part for me, since I put a lot of effort in the aesthetics of the post and make it visually pleasing and this is one of the most important points I want to show you when designing my publications. I usually choose well the colors that will represent the publication, the images, if I will use the method of quotes or double column when translating and so it is visually pleasing, in what follows I will tell you everything I do in the layout process.


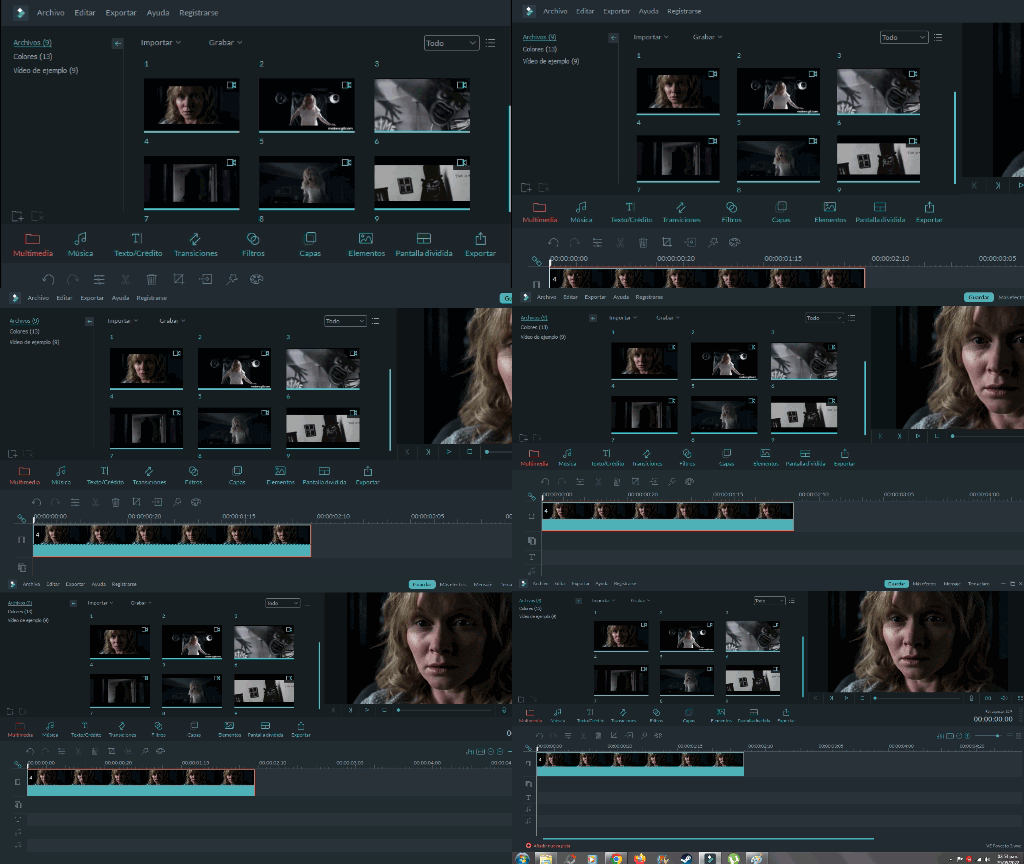
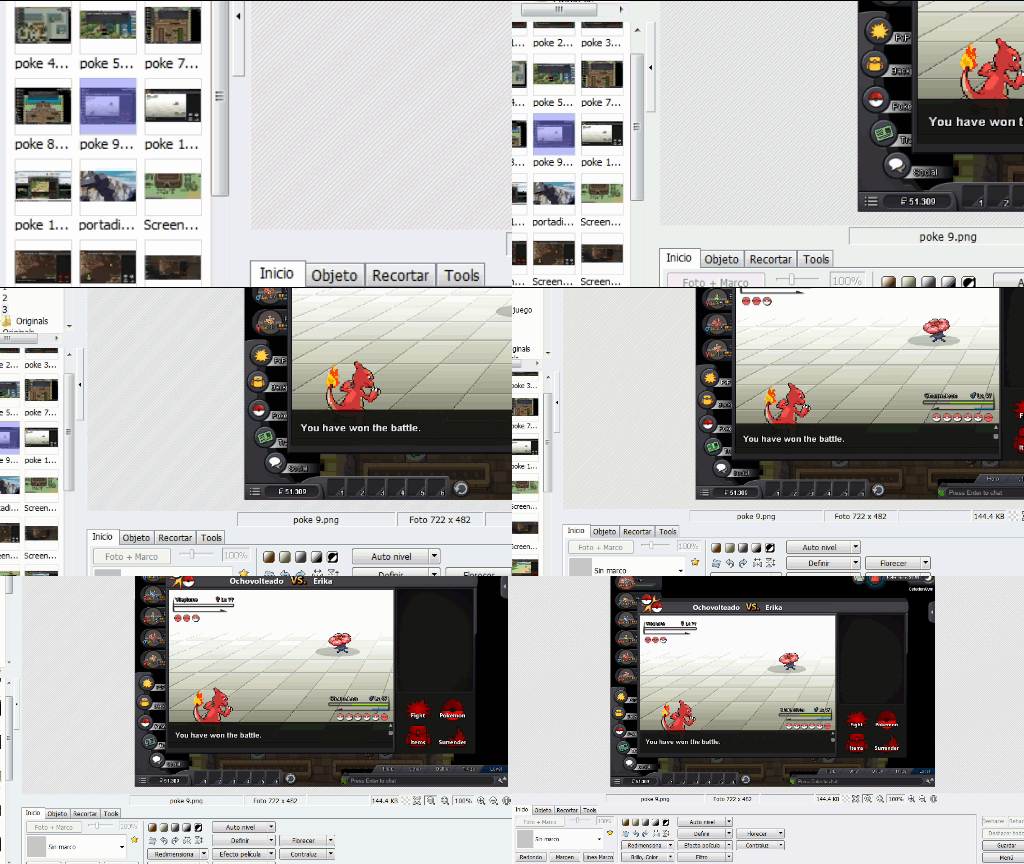
Si se fijan en varios posts míos notarán que los gifs e imágenes que pongo uno al lado de otro son de las mismas dimensiones, esto lo hago para que se vea agradable a la vista y el texto no se corra. Para los gifs la aplicación que uso para cambiar las dimensiones es Wondershare Filmora (que también lo recomiendo como editor de videos), ahí coloco todos los gifs y le pongo las mismas dimensiones a todos, sean solo 5 o 21 gifs me dedico a editar todos. Usualmente al final de mis publicaciones dejo un gif o imagen más grande que los demás. En el caso de poner las imágenes es igual, solo que los edito en PhotoScape. Me gustan mucho estas aplicaciones porque son bastante completas en cuanto a edición y las uso para más cosas que verán más adelante.
If you look at some of my posts you will notice that the gifs and images that I put next to each other have the same dimensions, I do this to make it look nice to the eye and the text does not run. For the gifs the application I use to change the dimensions is Wondershare Filmora (which I also recommend as a video editor), there I put all the gifs and I put the same dimensions to all of them, whether they are only 5 or 21 gifs I edit them all. Usually at the end of my publications I leave a gif or image bigger than the others. In the case of posting the images it's the same, I just edit them in PhotoScape. I really like these applications because they are quite complete in terms of editing and I use them for more things that you will see later.


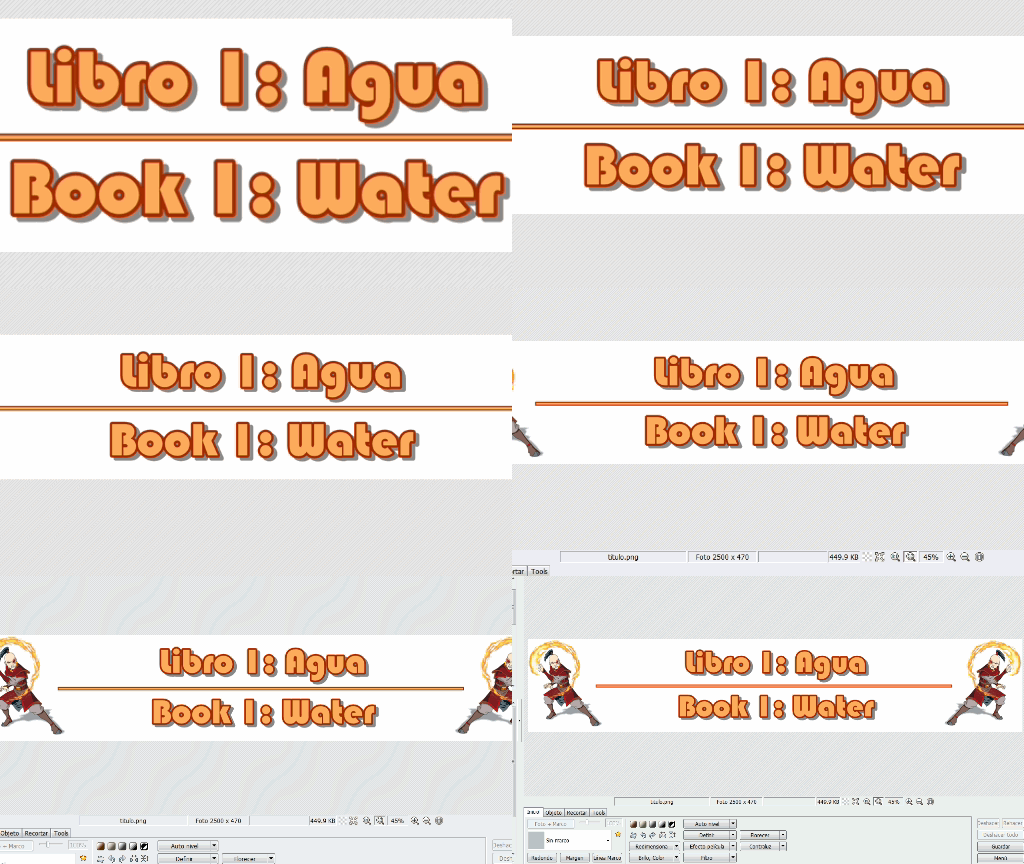
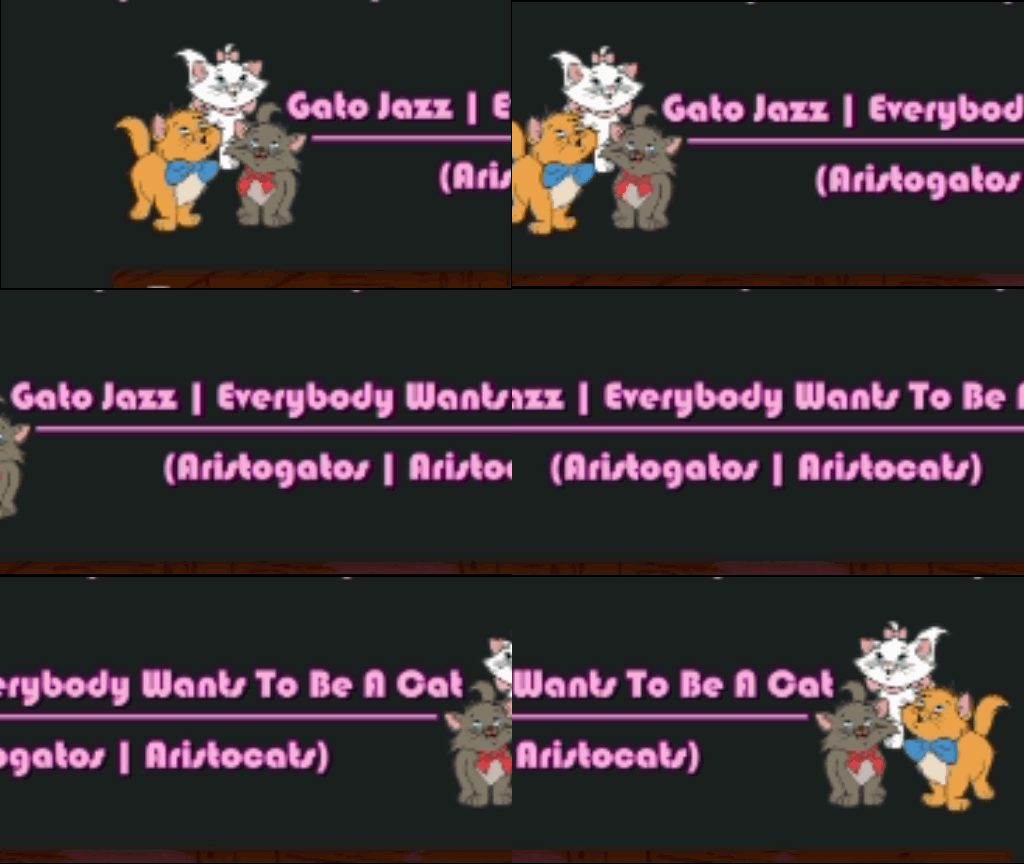
Dentro de mis posts pongo algunos títulos en forma de imágenes con transparencia dependiendo de lo que vaya a hablar. En el caso de las listas primero busco imágenes con transparencia respecto a la canción, película o serie de la que este hablando en ese momento, si son 5 películas, series o canciones, busco 5 imágenes diferentes con transparencia referentes a las mismas, si estoy hablando solo de una cosa, solo busco una imagen. Luego de ello en la aplicación de PhotoScape busco mi plantilla transparente determinada con dimensiones de 2500×470 y comienzo a diseñar los respectivos títulos como lo notan en los ejemplos que se muestran en los gifs. Para hacer los títulos escojo un color representativo que vaya con todo el post.
Within my posts I put some titles in the form of images with transparency depending on what I'm going to talk about. In the case of the lists I first look for images with transparency with respect to the song, movie or series I am talking about at that moment, if there are 5 movies, series or songs, I look for 5 different images with transparency referring to them, if I am talking about only one thing, I only look for one image. After that in the PhotoScape application I look for my determined transparent template with dimensions of 2500×470 and I start to design the respective titles as you can see in the examples shown in the gifs. To make the titles I choose a representative color that goes with the whole post.


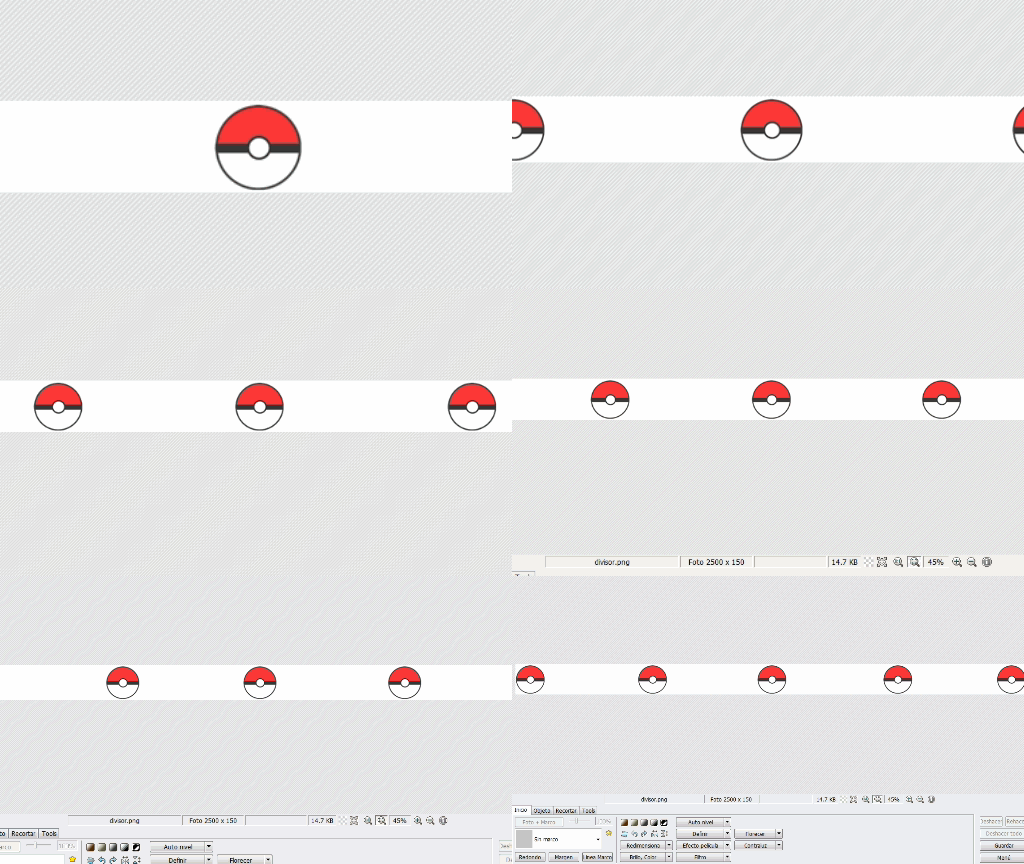
Luego de hacer todo lo anteriormente mencionado, me dedico a diseñar el divisor. Para ello uso la misma plantilla transparente que tengo guardada y le cambio las dimensiones. Para ello, busco iconos o imágenes simples con transparencia que tengan relación con lo que estoy hablando, que generalmente los busco de colores negros, para así hacer un balance de colores en la aplicación de PhotoScape y quede todo del mismo color. Si no es una imagen negra la pongo de ese color y uso una opción del editor de foto que se llama "invertir colores" y luego para cambiar el color uso la opción "balance de color".
After doing all of the above, I design the divider. For this I use the same transparent template that I have saved and I change the dimensions. To do this, I look for icons or simple images with transparency that are related to what I'm talking about, which I generally look for them in black colors, in order to make a color balance in the PhotoScape application so that everything is the same color. If it is not a black image I put it in that color and I use an option in the photo editor called "invert colors" and then to change the color I use the option "color balance".


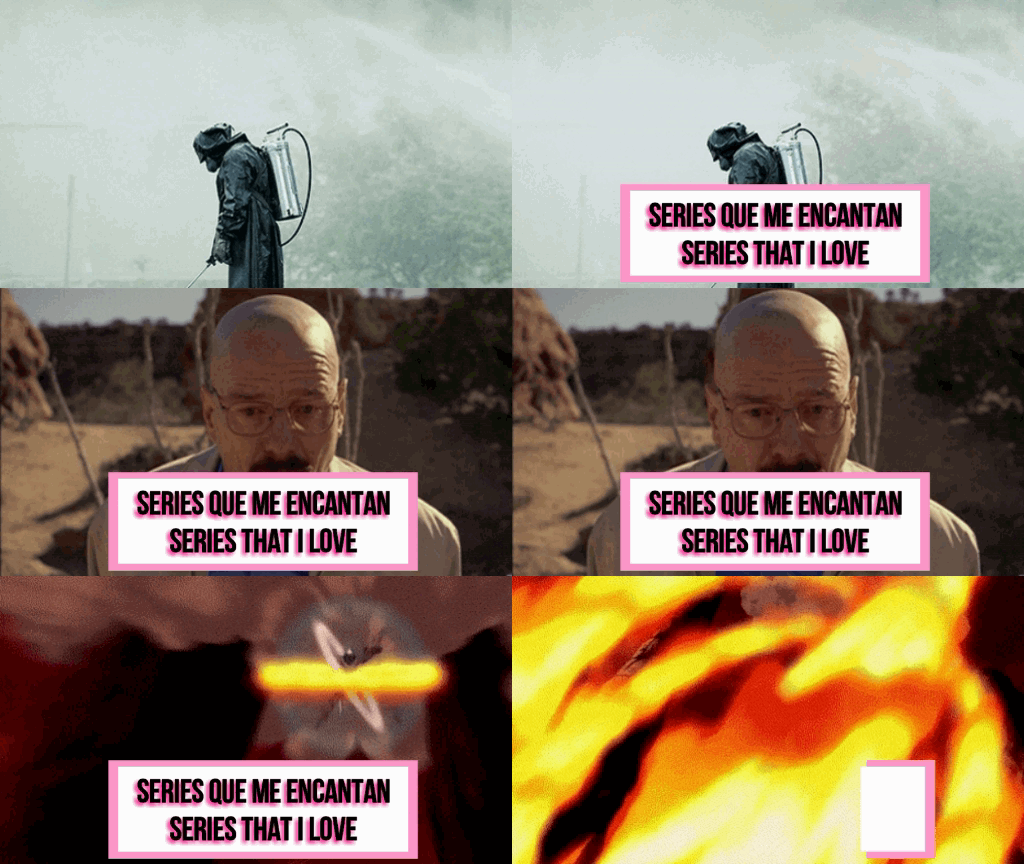
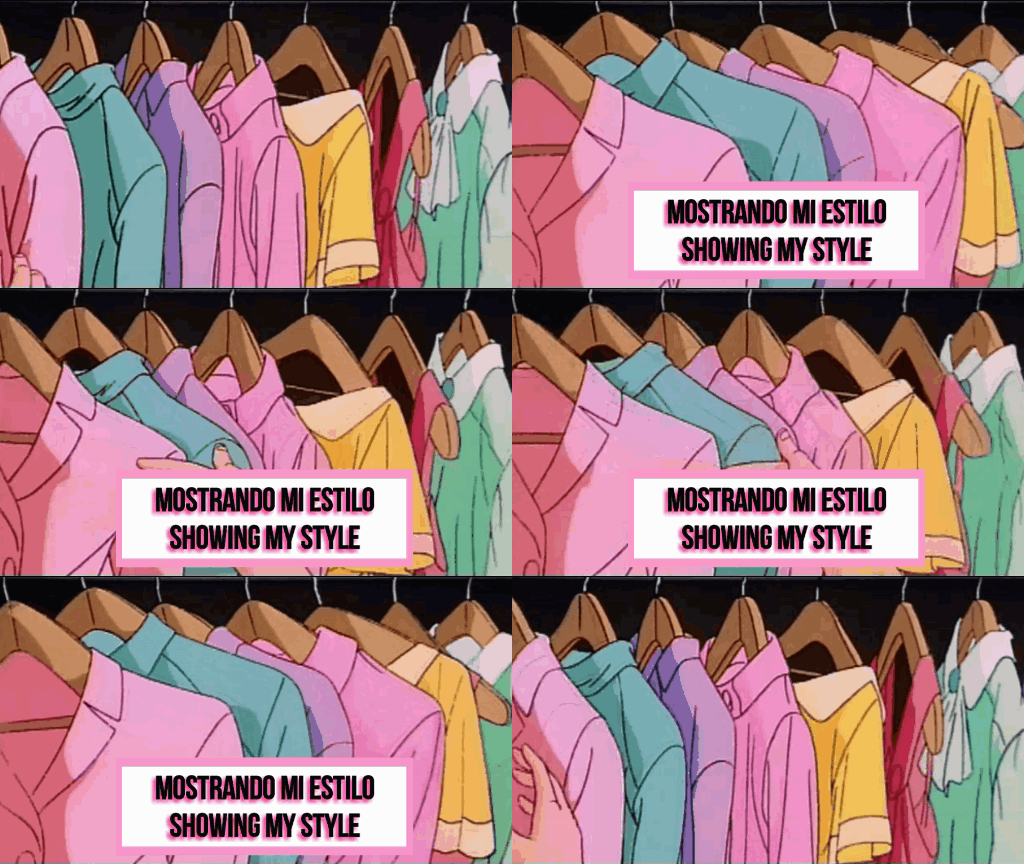
Mis publicaciones se destacan por tener uno o varios gifs junto con el título especifico en la portada. Aquí hago dos cosas dependiendo de la publicación. El primer caso es si la publicación tiene pocos gifs o imágenes estáticas, para eso busco un gif en especifico que se reproduzca en bucle y en Wondershare Filmora le pongo el respectivo titulo con el respectivo color. En segundo caso es que, si tengo en el mismo post varios gifs, selecciono varios y en Wondershare los sintetizo en uno solo y le pongo unas dimensiones más amplias.
My publications stand out for having one or more gifs along with the specific title on the cover. Here I do two things depending on the publication. The first case is if the post has few gifs or static images, for that I look for a specific gif that plays in loop and in Wondershare Filmora I put the respective title with the respective color. In the second case, if I have several gifs in the same post, I select several and in Wondershare I synthesize them into a single one and give it larger dimensions.


Luego de hacer todo lo anteriormente mencionados dedico a poner las fuentes de absolutamente todas las imágenes que he puesto en la publicación, cosa que considero lo más importante. Se preguntaran como hago para guardar los links si hago todo este procedimiento de guardar las imágenes y editarlas, pues es muy sencillo. A cada gif que guardo le asigno un número, del 1 hasta la cantidad de gifs que necesite, y en un block de notas de la computadora voy añadiendo todos los links junto a los números, también los de los títulos y divisor. Las fuentes las pongo al final del post.
After doing all the above mentioned I dedicate to put the sources of absolutely all the images that I have put in the publication, which I consider the most important thing. You may wonder how do I save the links if I do all this procedure of saving the images and editing them, it is very simple. I assign a number to each gif I save, from 1 to the number of gifs I need, and in a notepad of the computer I add all the links next to the numbers, also those of the titles and divider. I put the sources at the end of the post.
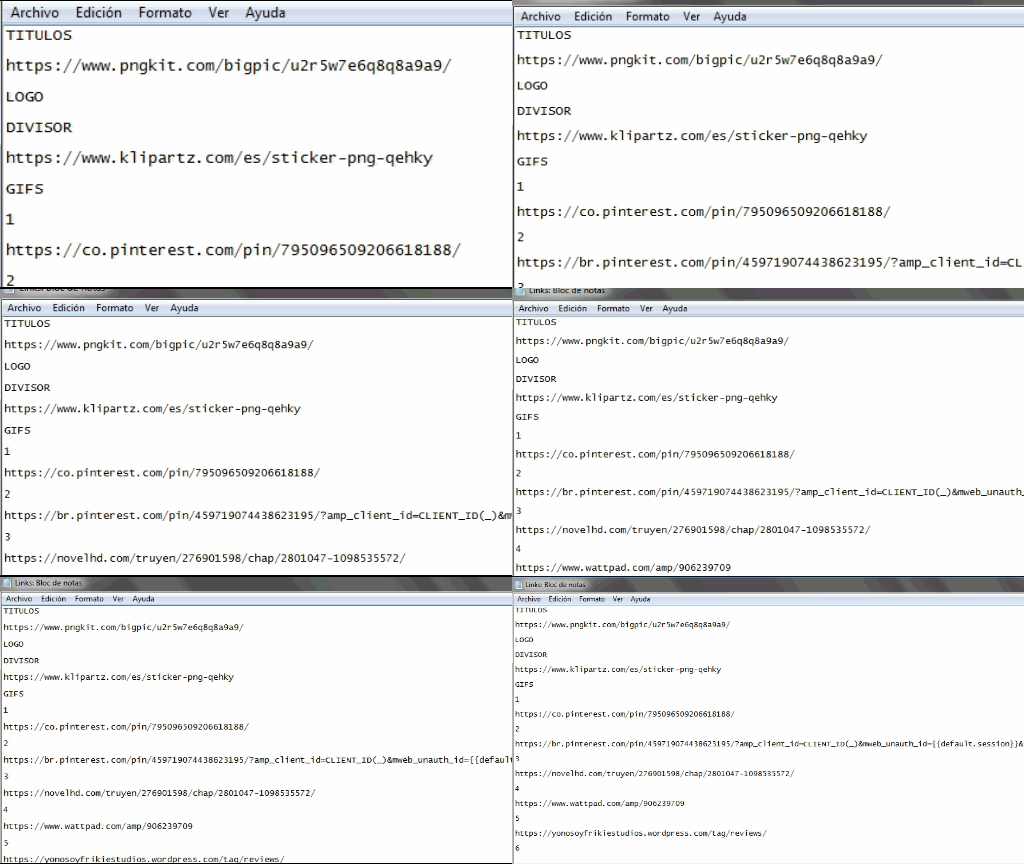
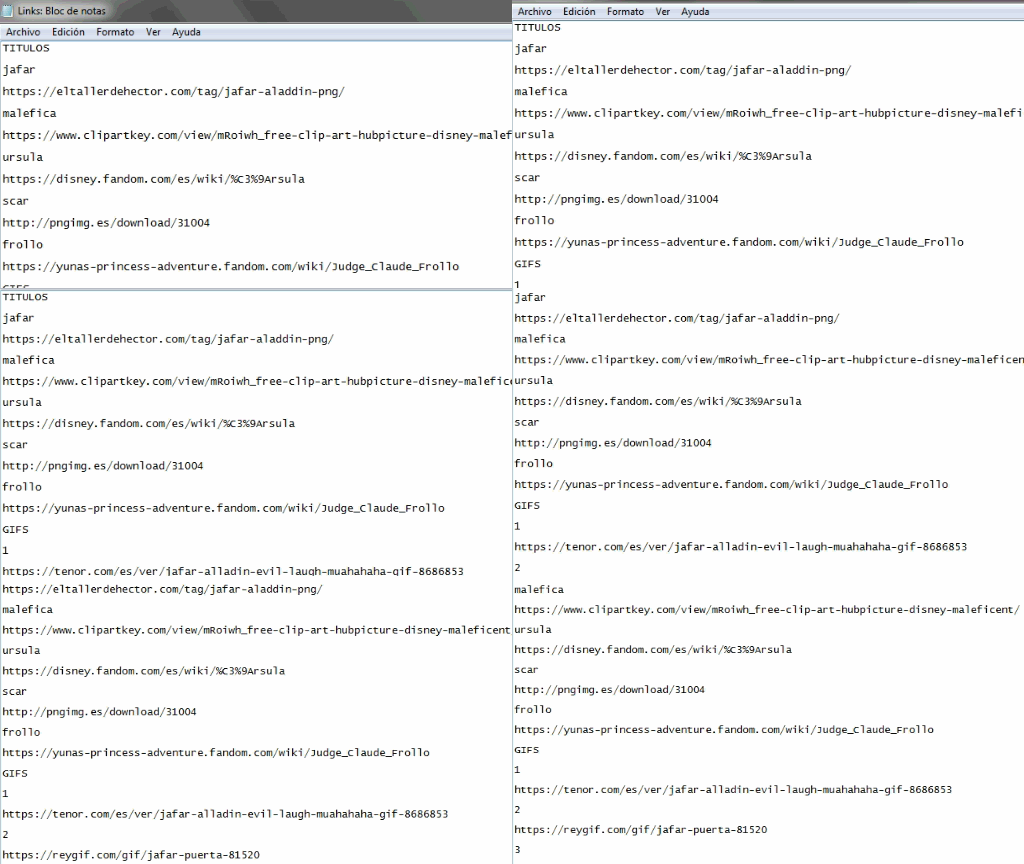


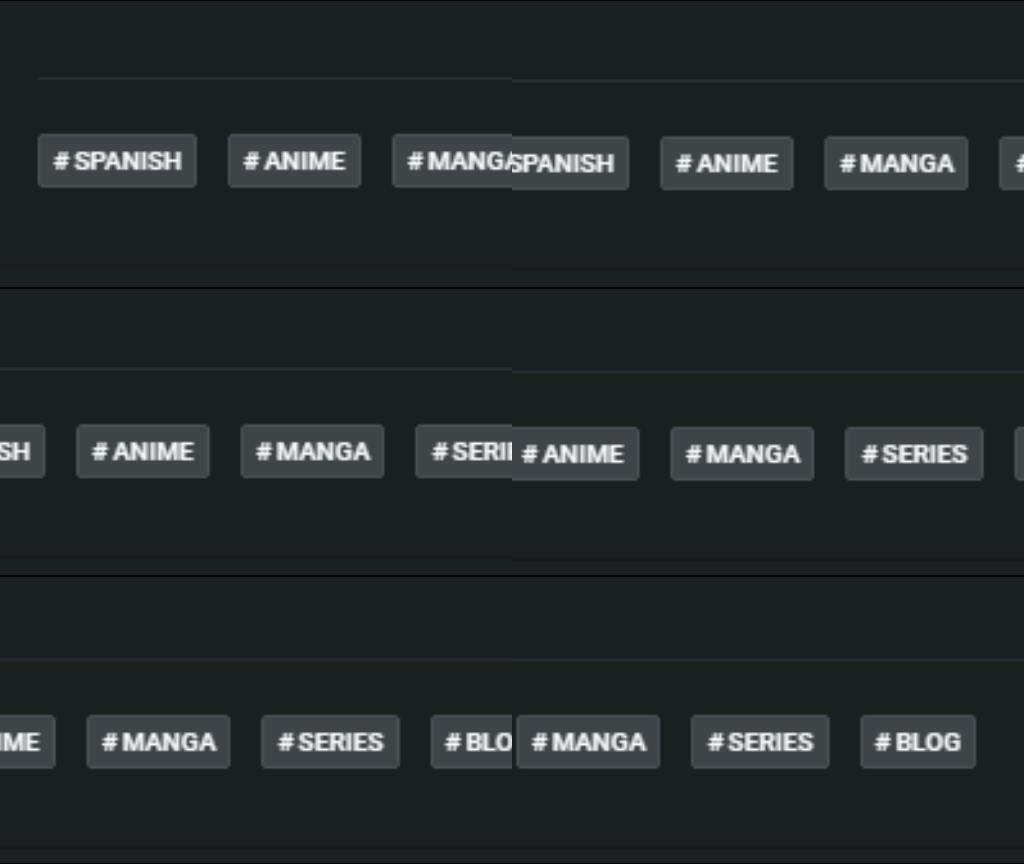
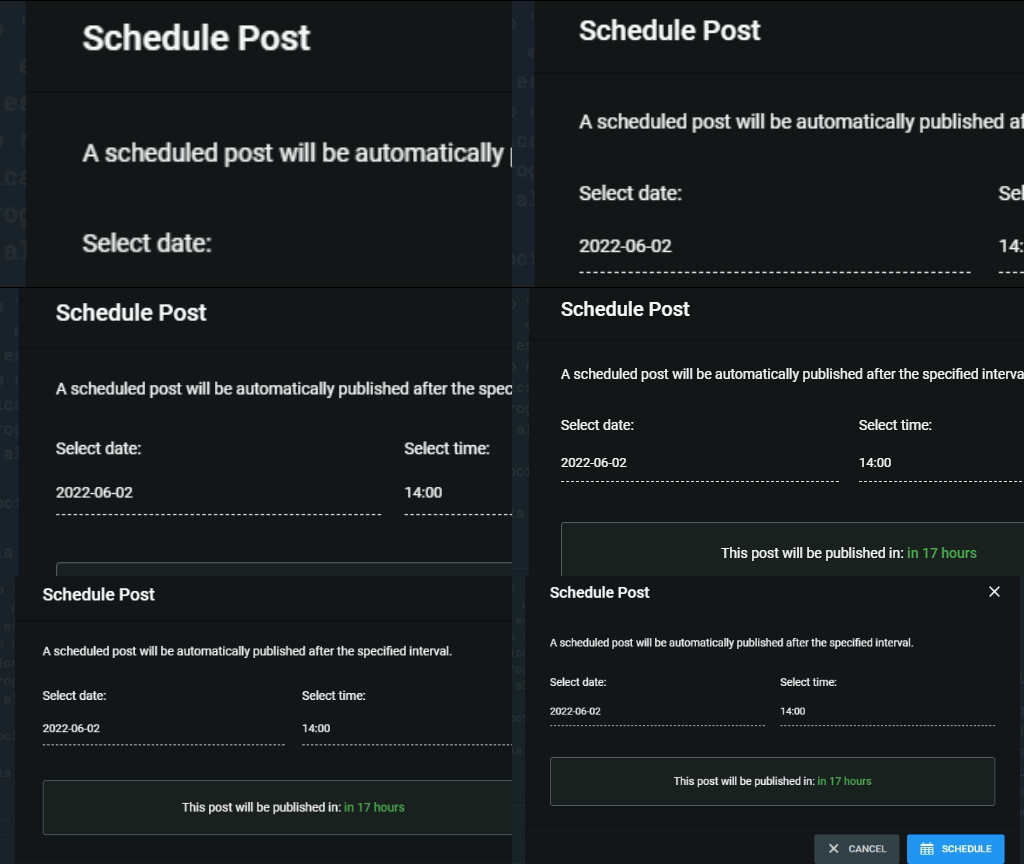
Luego de terminar, de revisar si puse todo, si esta ordenado y si no hay errores me dirijo a poner las etiquetas del post. Procuro que sean referentes al tema que abarco, si hablo de películas pongo "movies, film", si hablo de juegos pongo "games, gaming" y así, eso sí, al principio siempre pongo la etiqueta "spanish" ya que es mi lengua principal. Luego de esto y para finalizar el proceso reviso todo de nuevo, programo mi post para que sea publicado a las 2pm del día en el que haya redactado el post, o lo programo para el día siguiente a la misma hora. Y así, es todo el proceso que llevo a cabo al crear una publicación.
After finishing, after checking if I put everything, if it is tidy and if there are no mistakes I go to put the tags of the post. If I talk about movies I put "movies, film", if I talk about games I put "games, gaming" and so on, yes, at the beginning I always put the tag "spanish" because it is my main language. After this and to finish the process I check everything again, I schedule my post to be published at 2pm of the day I have written the post, or I schedule it for the next day at the same time. And so, that's the whole process I go through when creating a post.

Espero que les haya gustado este post! Admito que fue muy genial y a la vez divertido hacer un post sobre como hago mis propios posts, me sentía como en Inception. Me gustó mucho hacerlo y compartirles todo el proceso que llevo a cabo al elaborar mis publicaciones ya que les pongo mucho cariño al hacerlos
Siempre me gusta dejarle mi propia esencia a las cosas que hago, y los posts en Hive no son la excepción, fue un largo camino que recorríhasta descubrir mi estilo. Al principio me costaba hacer las publicaciones, pero ahora se me hace más fluido y además, lo disfruto muchísimo. Me encanta compartirles esto y los invito a compartir sus procedimientos!
Les mando un abrazo y nos vemos en el próximo post!
I hope you liked this post! I admit it was really cool and at the same time fun to make a post about how I make my own posts, I felt like I was in Inception. I really enjoyed doing it and sharing with you the whole process I go through when making my posts since I put a lot of love into them and it's very cool.
I always like to leave my own essence to the things I do, and the posts in Hive are no exception, it was a long road that I traveled with a lot of patience until I discovered my own style. At the beginning it was hard for me to make the posts, but now it's more fluid and I enjoy it a lot. I love to share this with you and I invite you to share your procedures!
I send you a hug and I'll see you in the next post!

Puedes seguirme en mis redes sociales dando click!
You can follow me in my social media with a click!

Portada diseñada por mí en Wondershare Filmora | Cover designed by me in Wondershare Filmora
Gif de portada y final dando click | Gif of cover and end by clicking
Fuente de los títulos | Source of the titles
Fuente del divisor | Source of de divider
Gifs hechos por mí | Gifs made by me
