Hello, everyone.
I welcome you to my blog and another Sunday for the members of the hive Learners community to showcase and display creativity at its peak. While some people use Sunday to relax, the hive Learners community members use it as a day to showcase how creative they can be. Still on my interior design course/program that will last for one year. I have made quite a huge progress in just a few weeks, and I am really glad I enrolled. The past few weeks have been a busy few weeks indeed, and we have been able to change the looks of many houses. Yesterday we got a painting done, and I decided to take a few pictures so I can share them on hive as well.
designed in canva.
Getting a house or a room painted can be very stressful yet looks easy when you watch from the rear. I used to think all you needed was to rub the paint on the wall using the roller and in any manner but did not know they had basic rules to follow and even how the roller is supposed to be rolled on the wall.
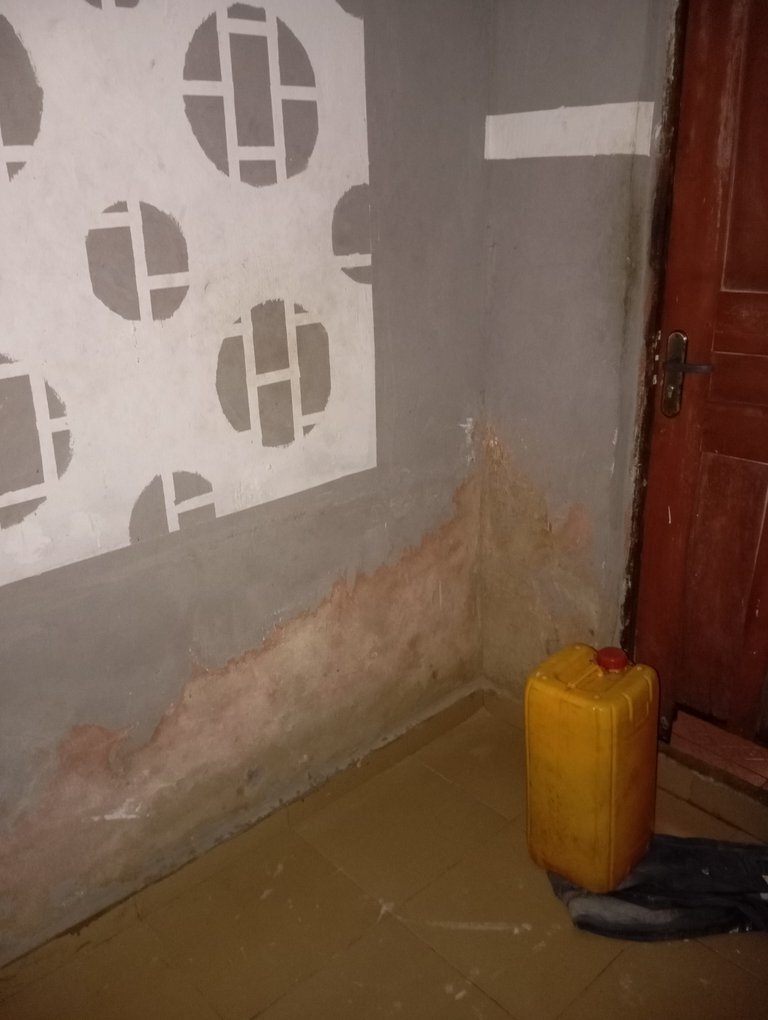
- Paint scraper
- Sand paper
- Paints
- Roller
- Brushes
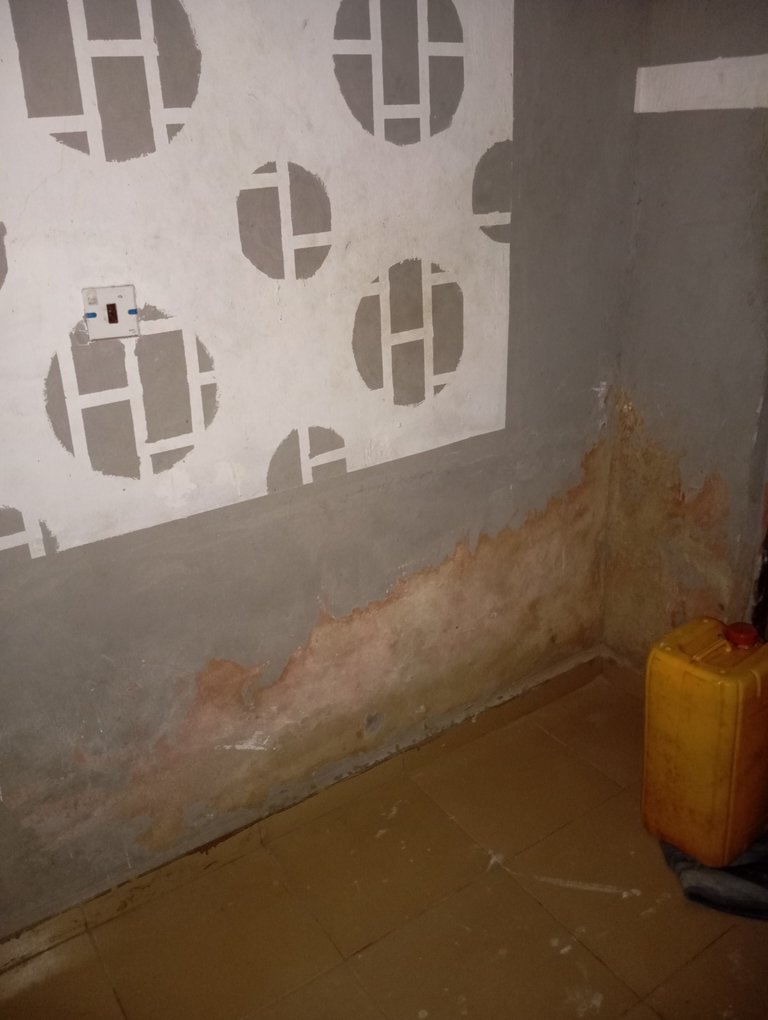
At this step, if you are using an emulsion that is too thick, you can mix it with water and stir until it is evenly mixed, but in the case where the emulsion paint is not too thick or in the case of satin paint, all you have to do is stir the paint and not mix with water to avoid making it too watery. After mixing, you clean up the surface or wall you are about to paint either with sandpaper or a paint scraper, depending on what you want to take off the wall. It can be dirt or old paints or coatings.
Paint is applied in layers; apply paint from top to bottom. There are many reasons as to why paints are to be applied from top to bottom and in sections one can manage (the painter) and not get confused. One of the many reasons is that it reduces roller marks on the wall as well as helps to reduce the amount of paint that touches the ground. After applying the first coat, you allow it to dry for a minimum of 30 minutes; if you have enough time, 45 minutes to 1 hour is best.
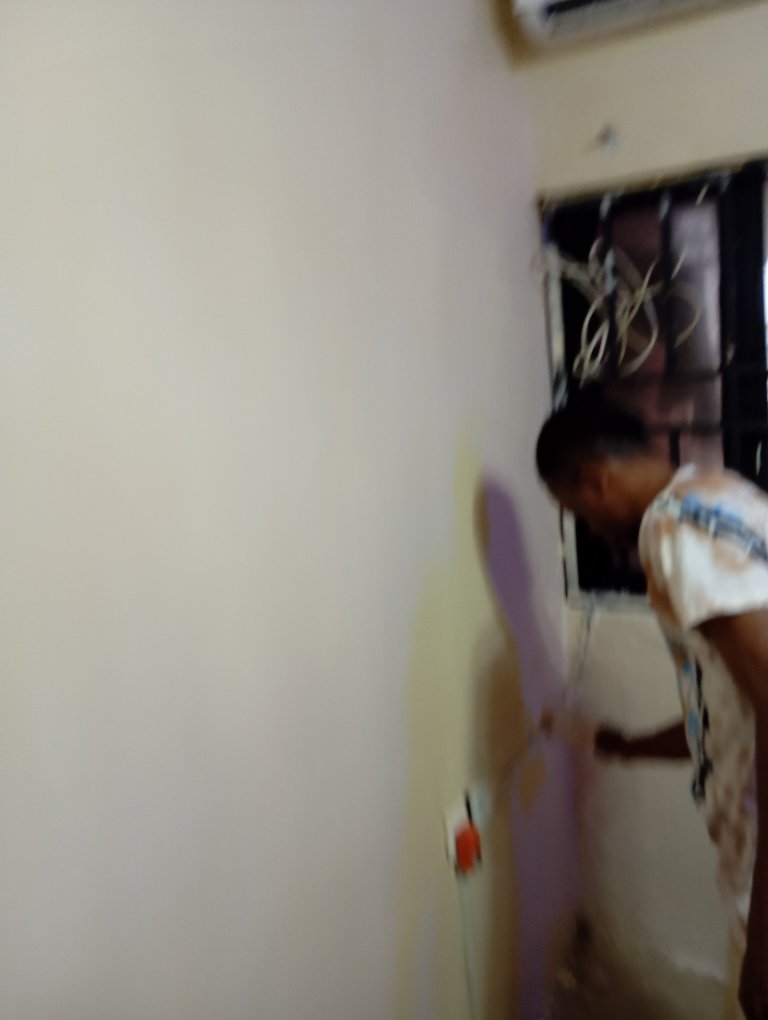
At this step we used the brush to paint areas the roller cannot get access to, areas like the window, door, or walls that are like angled, the ceiling area, and the floor areas. Instead of staying idle waiting for the first coat to dry up, we stayed busy.
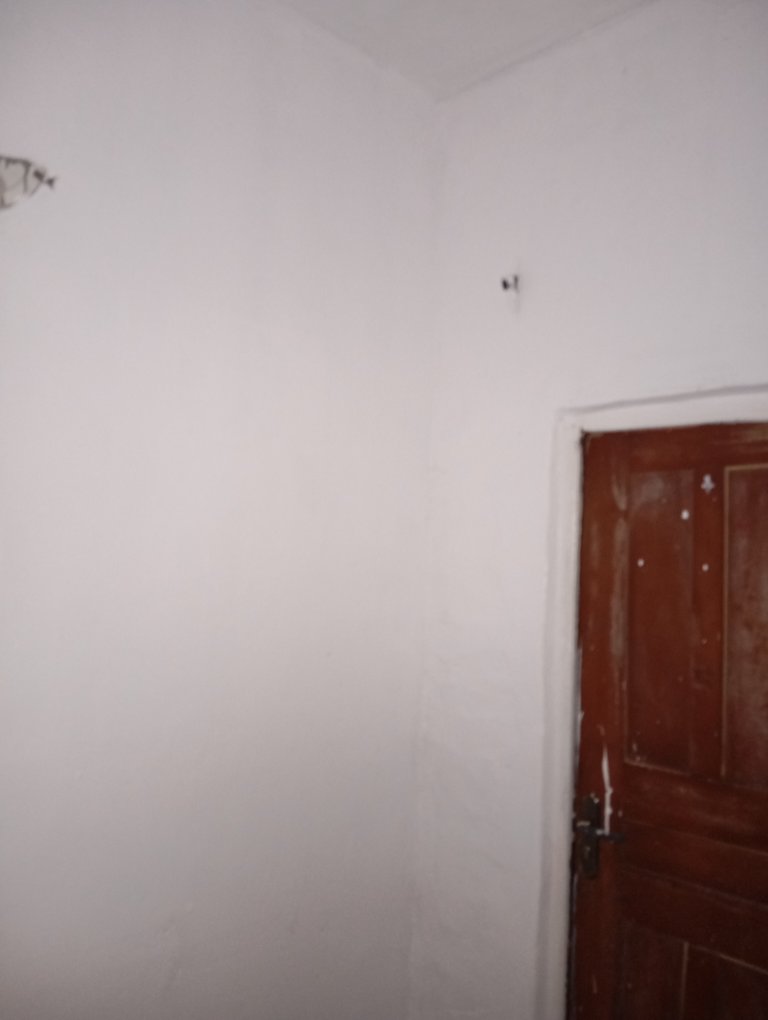
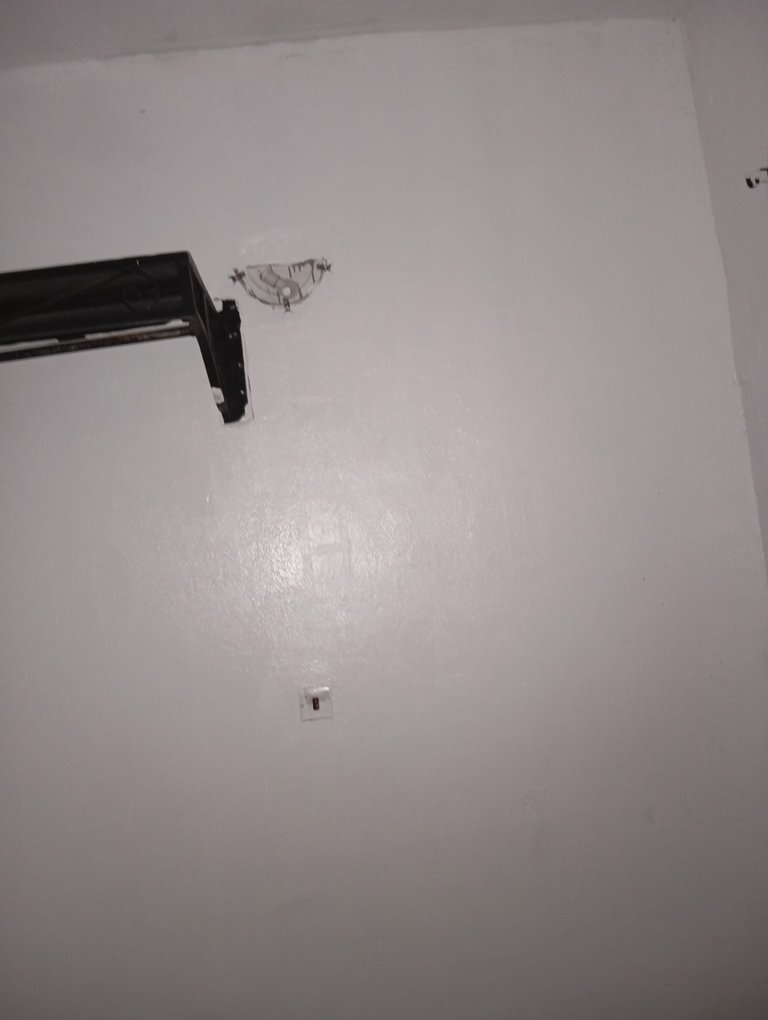
After allowing the first coat (layer) to dry, you apply a second coat and follow the same process until the previous paint on the wall is completely covered. Some paints need 3 coatings, some 4 and some, like satin paint, just need 2. How fast the old paint is covered depends on the color of the paint on the wall and the new color you are painting, as well as the type of paint (emulsion, satin, or oil paint) you are using.


