Saludos a todos en esta linda comunidad de #hivediy, espero tengan un lindo día lleno de muchas bendiciones para los creadores de esta plataforma, agradeciendo a todo el equipo que se esfuerza en ver cada detalle de nuestras publicaciones para mejorar.
Greetings to everyone in this nice community of #hivediy, I hope you have a nice day full of many blessings for the creators of this platform, thanking all the team that strives to see every detail of our publications to improve.


En el colegio de mi hija le toco presentar un proyecto con plantas medicinales, así que puse manos a la obra; fui explicando cada paso que se realizaría para que ella me ayudara y viera donde se colocaría la planta, por eso se me ocurrió darle vida con una linda maceta princesa, solo les puedo decir que su maestra quedo enamorada con la idea.
Utilizando material reciclable como una botella de refresco plástica que perjudica el entorno, ayudamos con la ecología de nuestro planeta.
In my daughter's school she had to present a project with medicinal plants, so I got down to work; I explained each step that would be done so that she could help me and see where the plant would be placed, so I came up with the idea of giving life with a pretty princess pot, I can only tell you that her teacher fell in love with the idea.
Using recyclable material such as a plastic soda bottle that harms the environment, we help with the ecology of our planet.
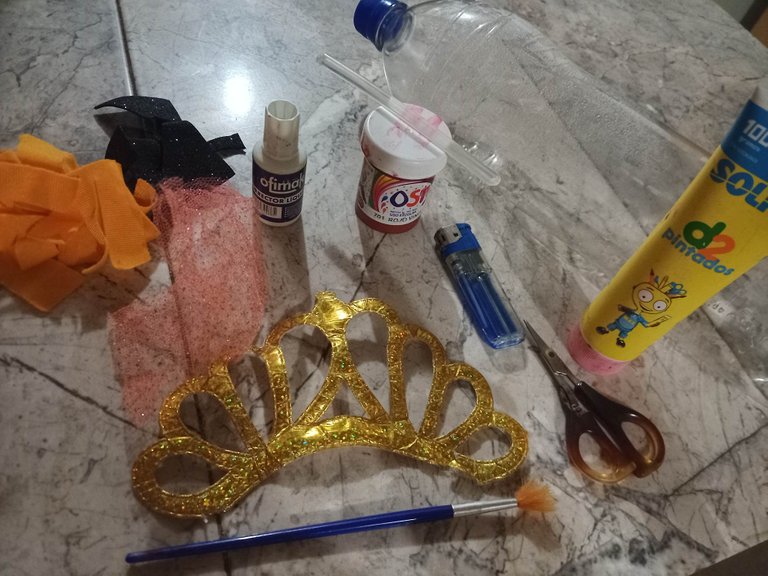

- 1 Botella de plástico vacía de Refresco de litro y medio.
- 2 Retazo de tela (amarillo, trasparente con brillos rosa)
- 1 Molde corona dorado reciclado
- 1 Corrector blanco de brocha
- 1 Barra de silicon pequeña
- 1 Tijera
- 1 Pincel
- 1 Encendedor
- 1 Pintura al frió color rojo vino
- 1 Pinta dedos rosado
- Retazo de foami negro escarchado reciclado
- 1 Empty one and a half liter plastic bottle of soft drink.
- 2 Piece of fabric (yellow, transparent with pink glitter).
- 1 Recycled gold crown mold
- 1 white concealer brush
- 1 small silicone stick
- 1 scissors
- 1 Paintbrush
- 1 lighter
- 1 Wine red cold paint
- 1 pink finger paint
- Recycled frosted black foami scraps


Colocas el molde de la corona dorada reciclada, encima de la botella de refresco plástica de litro y medio, para ver exactamente a que nivel de la base te gustaría que quedara, en mi caso aproveche una curva que encajaba perfectamente con lo que yo quería.
Place the mold of the recycled golden crown on top of the liter and a half plastic soda bottle, to see exactly at what level of the base you would like it to be, in my case I took advantage of a curve that fit perfectly with what I wanted.


Utiliza un encendedor para quemar el silicon en barra pequeño o también puedes utilizar una pistola de silicon, para proceder a pegar de la botella la corona dorada reciclada en la botella, cuidando que todo el borde este bien pegado.
Use a lighter to burn the small silicone stick or you can also use a silicone gun to proceed to glue the recycled golden crown to the bottle, making sure that the entire edge is well glued.
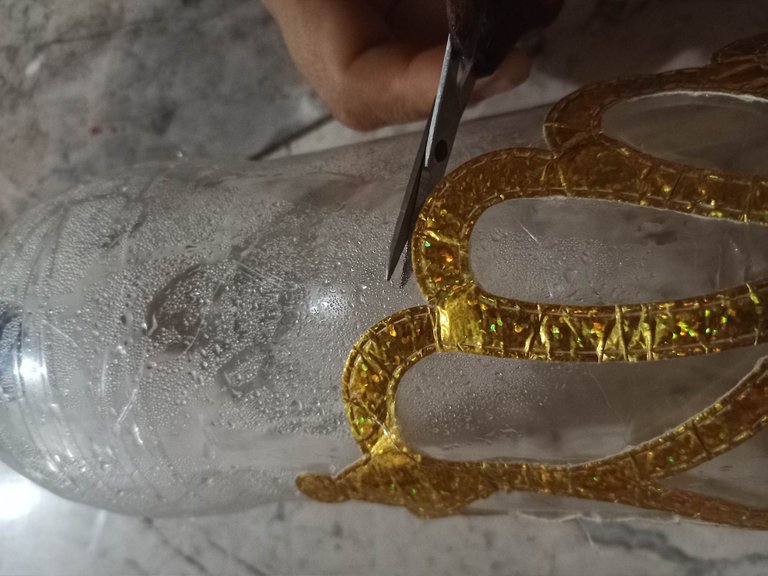
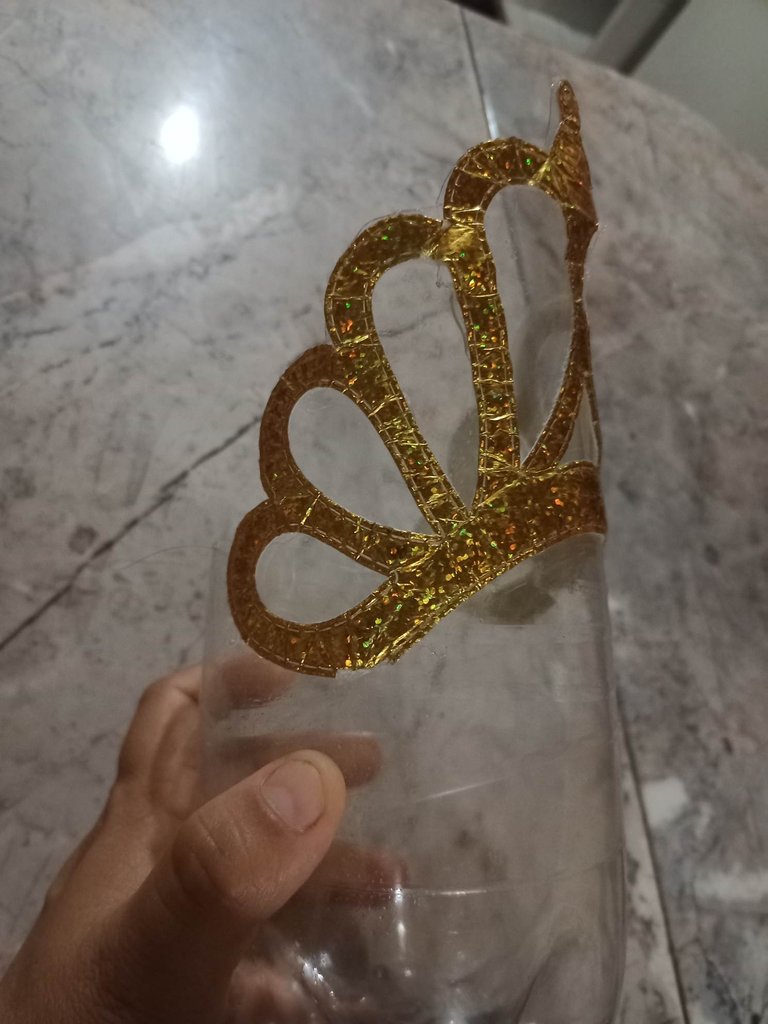

Con una tijera pequeña, comienzas a recortar toda la parte superior de la corona para darle forma a tu botella, cuidando de darle un hermoso acabo circular en la parte posterior.
With a small scissors, you begin to trim the entire top of the wreath to shape your bottle, taking care to give it a beautiful circular finish on the back.
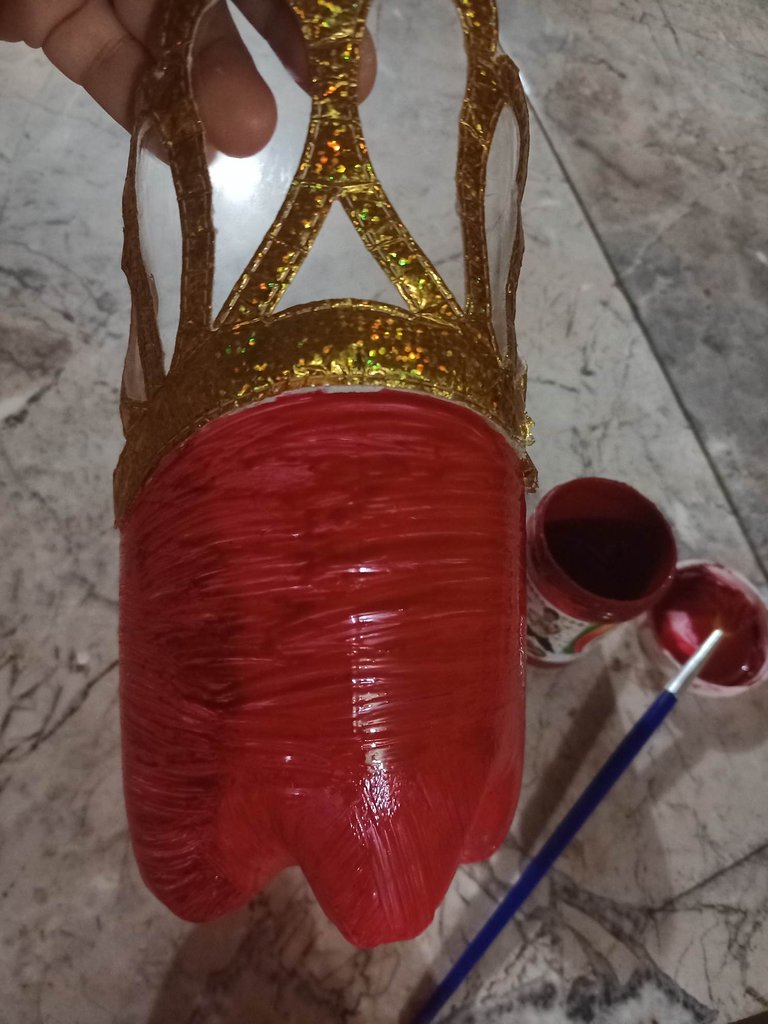
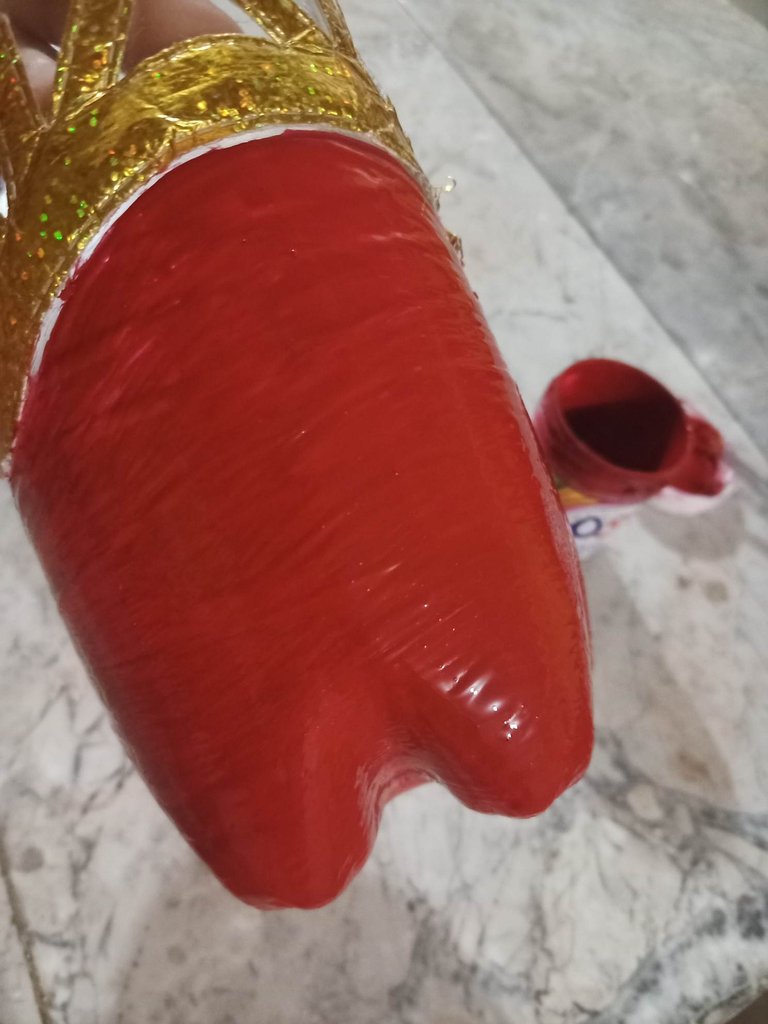

Aplicas una primera capa de pintura roja vino, esperas que secar; luego colocas la segunda capa.
Apply a first coat of wine red paint, wait for it to dry, then apply the second coat.
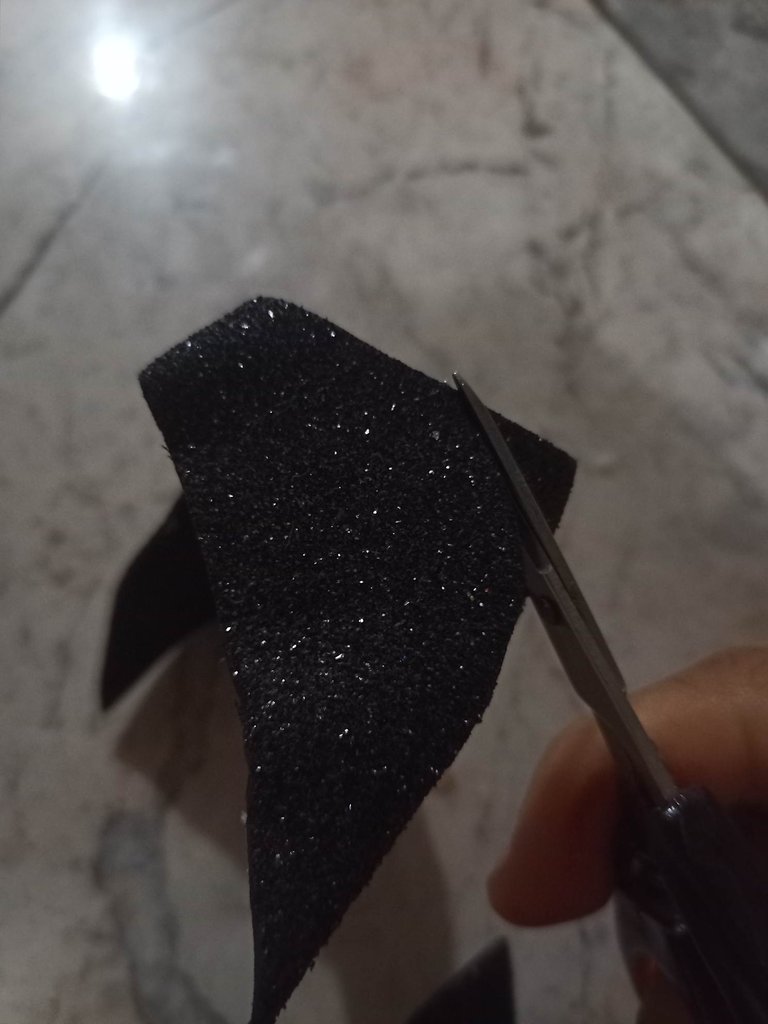
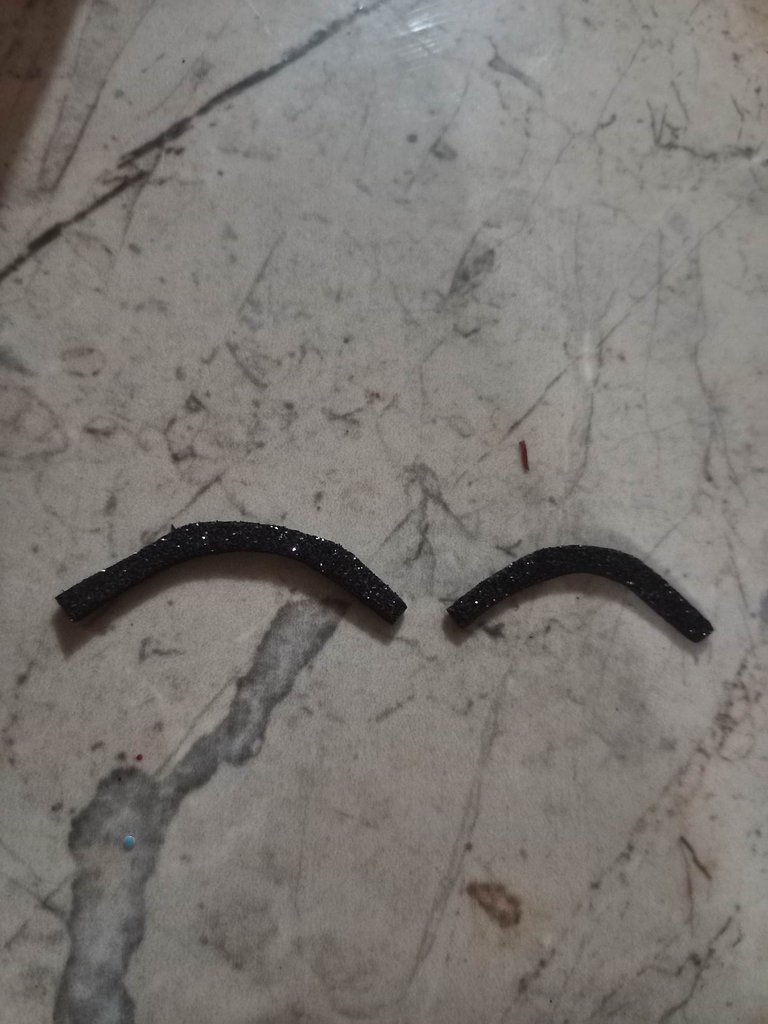
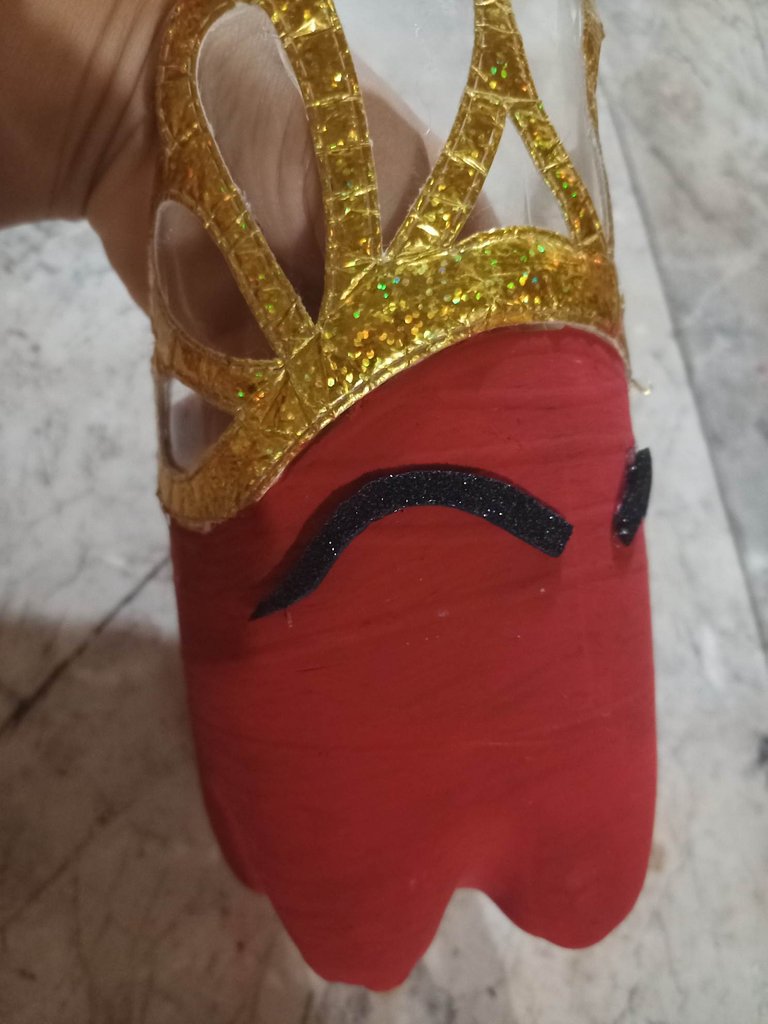

Recortas el foami escarchado negro, dándole apariencia de cejas moldeadas; para luego pegarlo con silicon caliente encima de la pintura rojo vino con separación entre ambos, como se aprecia en la imagen.
Cut out the black frosted foami, giving it the appearance of molded eyebrows; then glue it with hot silicon on top of the wine red paint with separation between them, as shown in the image.
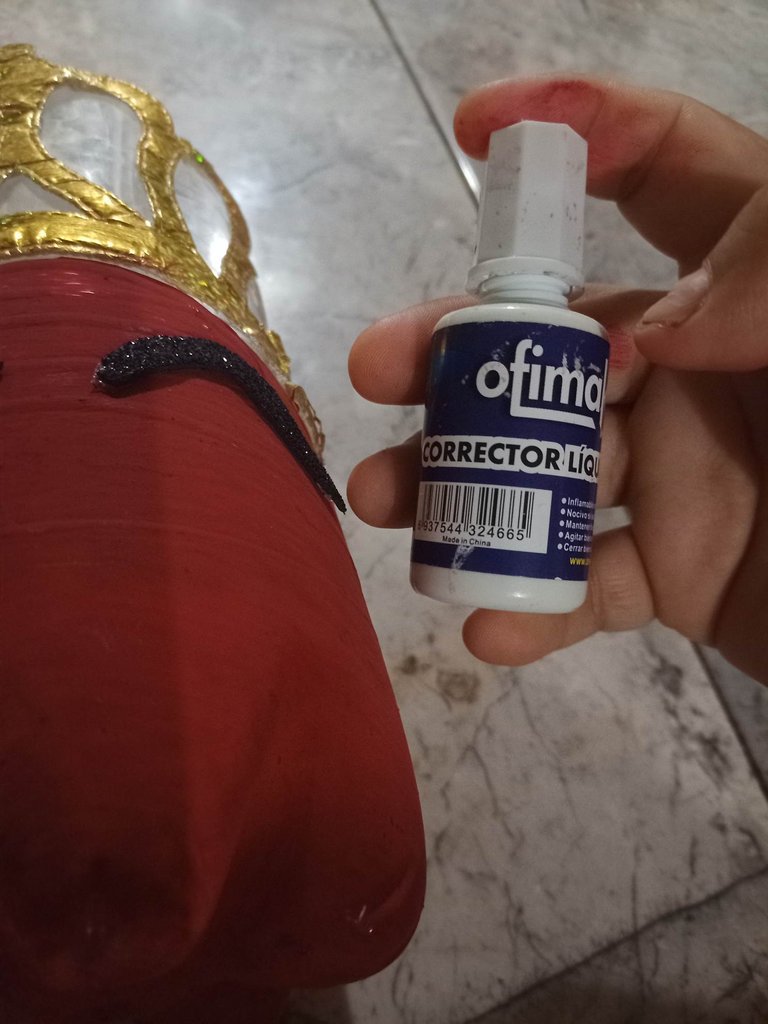
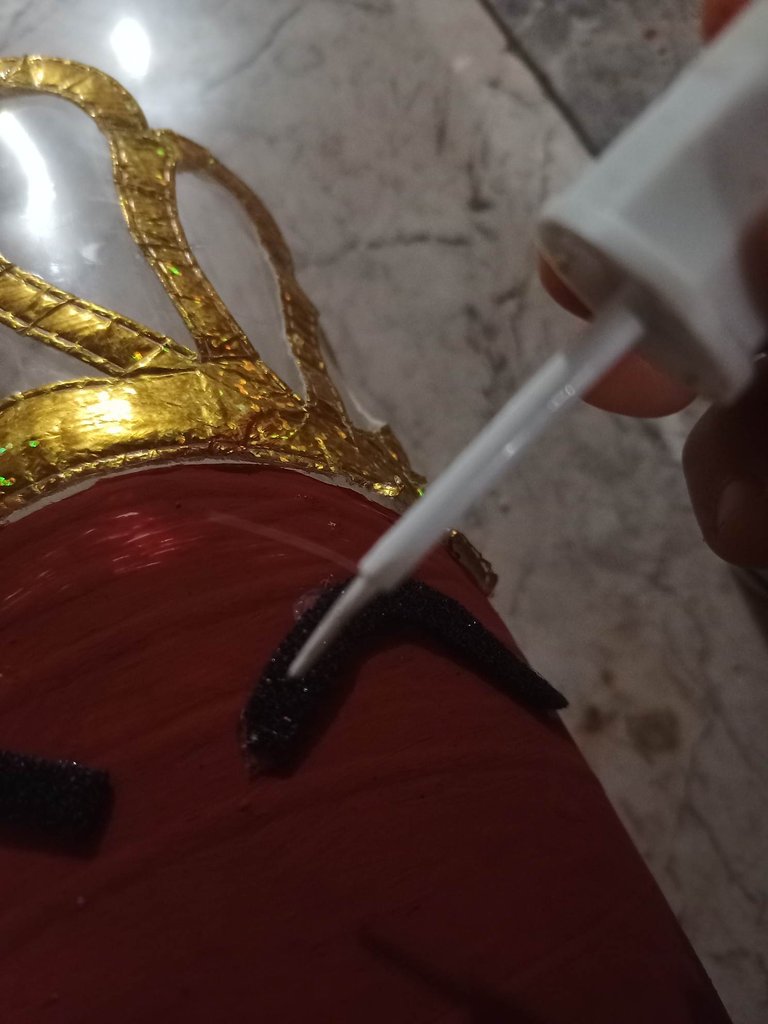

Use un corrector blanco para delinear la parte superior de las cejas y darle un poco de profundidad.
Use a white concealer to outline the top of the eyebrows and give them some depth.
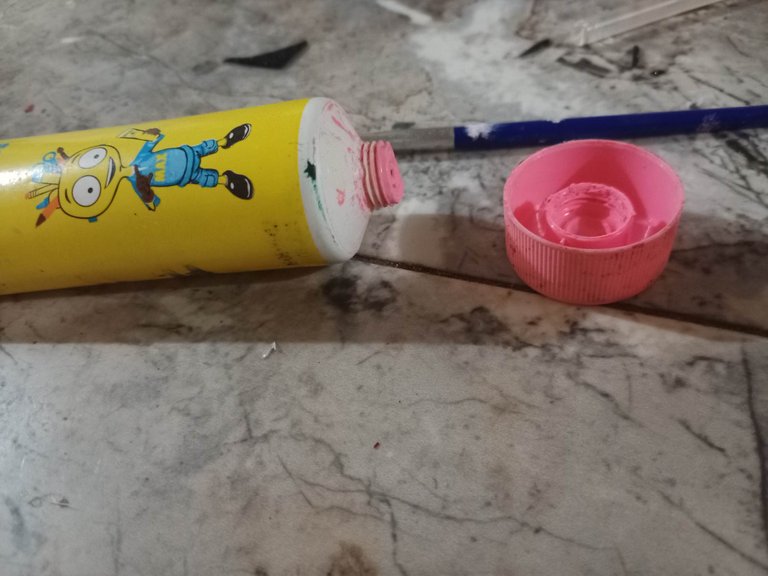
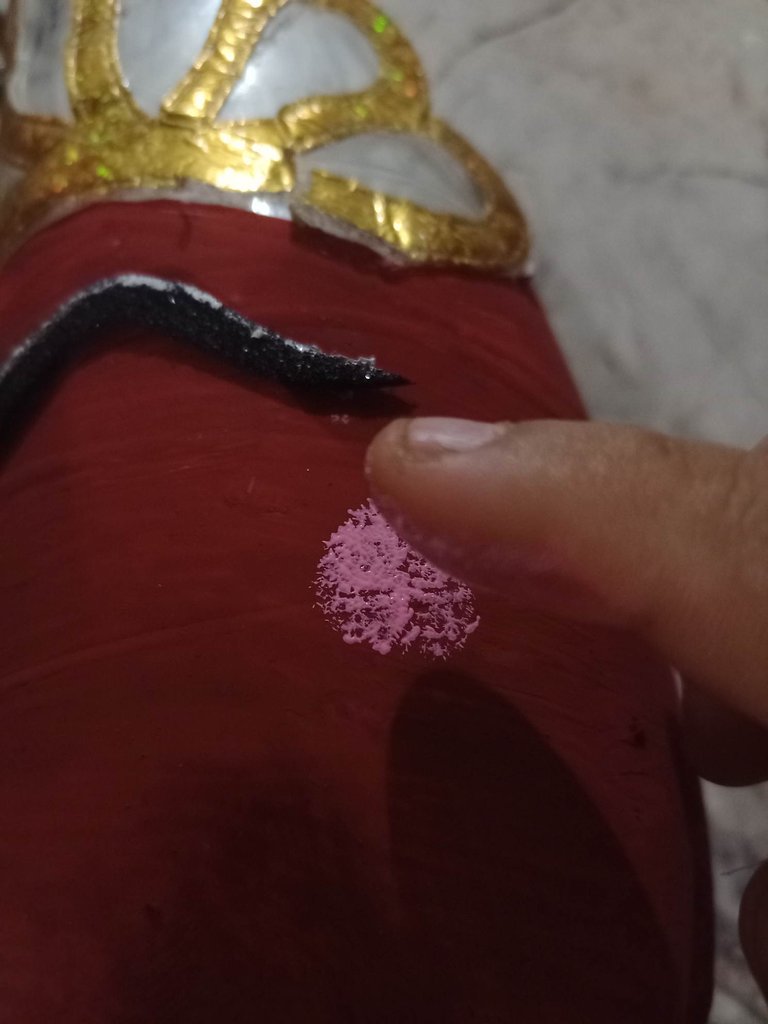

Utilizas el pinta dedos para darle una ilusión de mejillas coloreadas rosa, en ambos lados.
You use the finger paint to give an illusion of pink colored cheeks, on both sides.
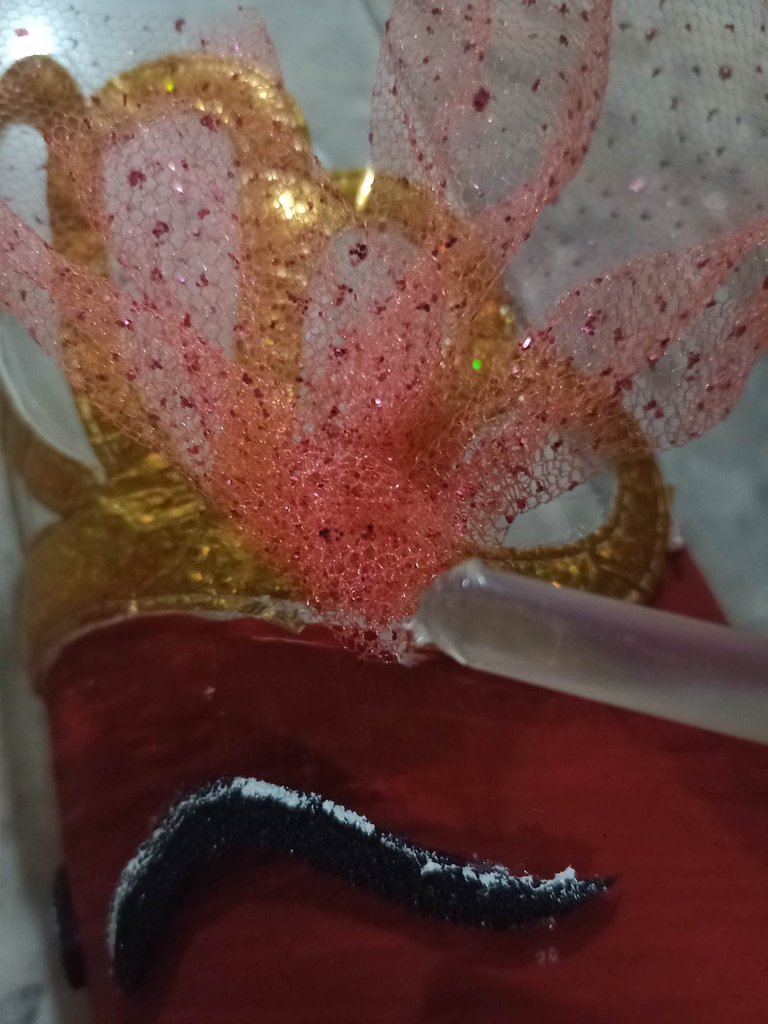

Arruchas la tela tipo Tutu escarchado en un extremo; para luego pegarlo con silicon en barra caliente, por encima de la ceja; hacia un lado de la corona dorada reciclada.
You will gather the frosted Tutu fabric at one end; then glue it with hot glue stick, above the eyebrow, to one side of the recycled golden wreath.
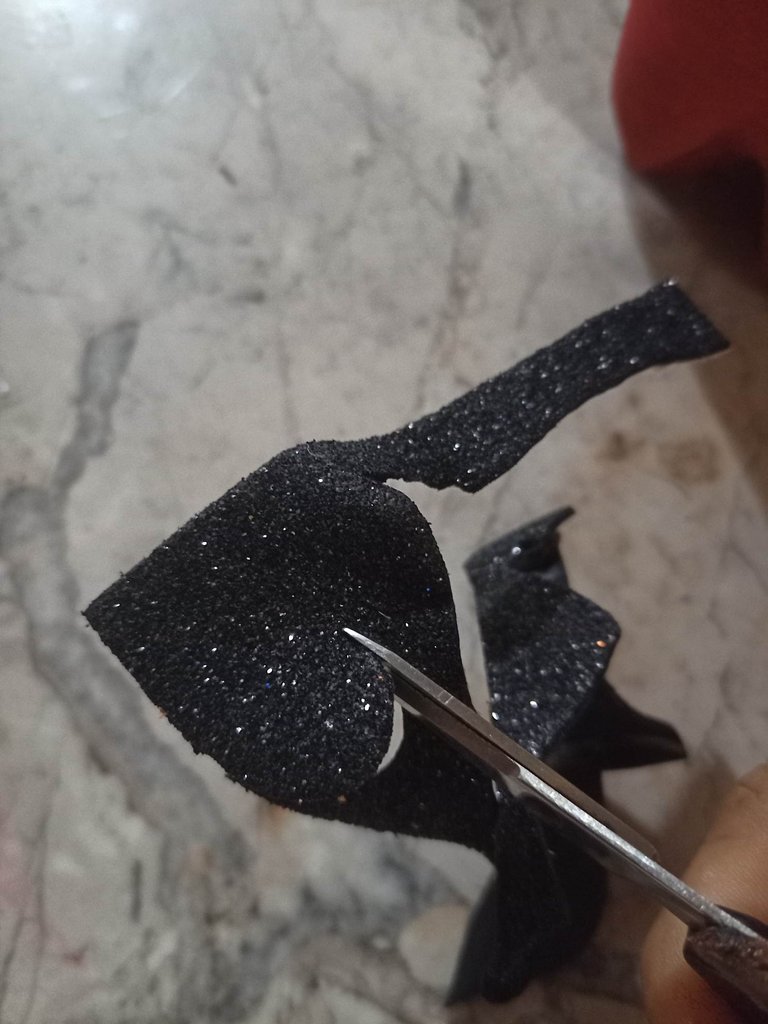
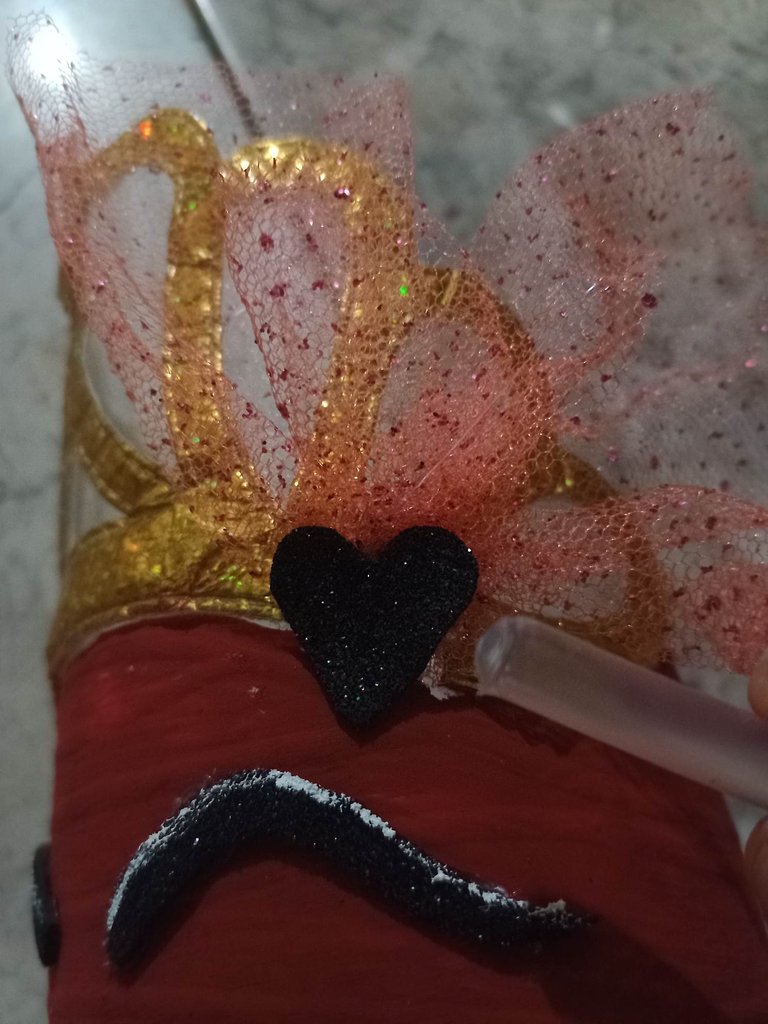

Nuevamente con el foami negro escarchado, realizas un corte en forma de corazón, para pegarlo con silicon en barra caliente en la parte inferior de la tela arruchada.
Again with the frosted black foami, make a heart-shaped cut, to glue it with hot glue stick on the bottom of the ruffled fabric.
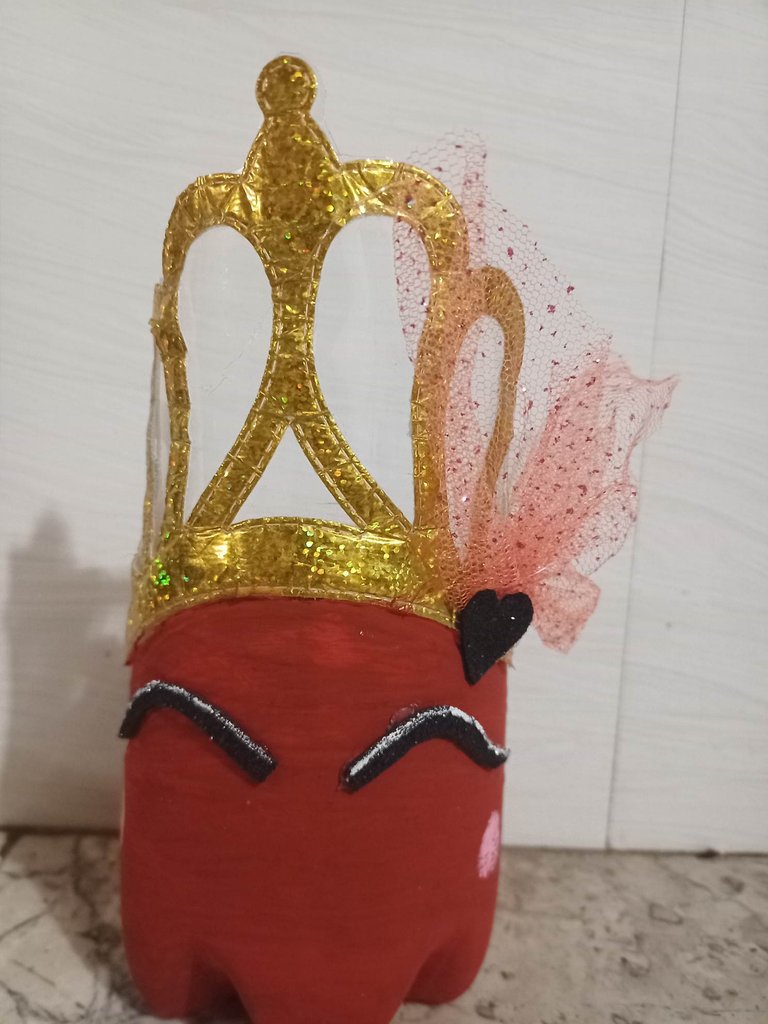
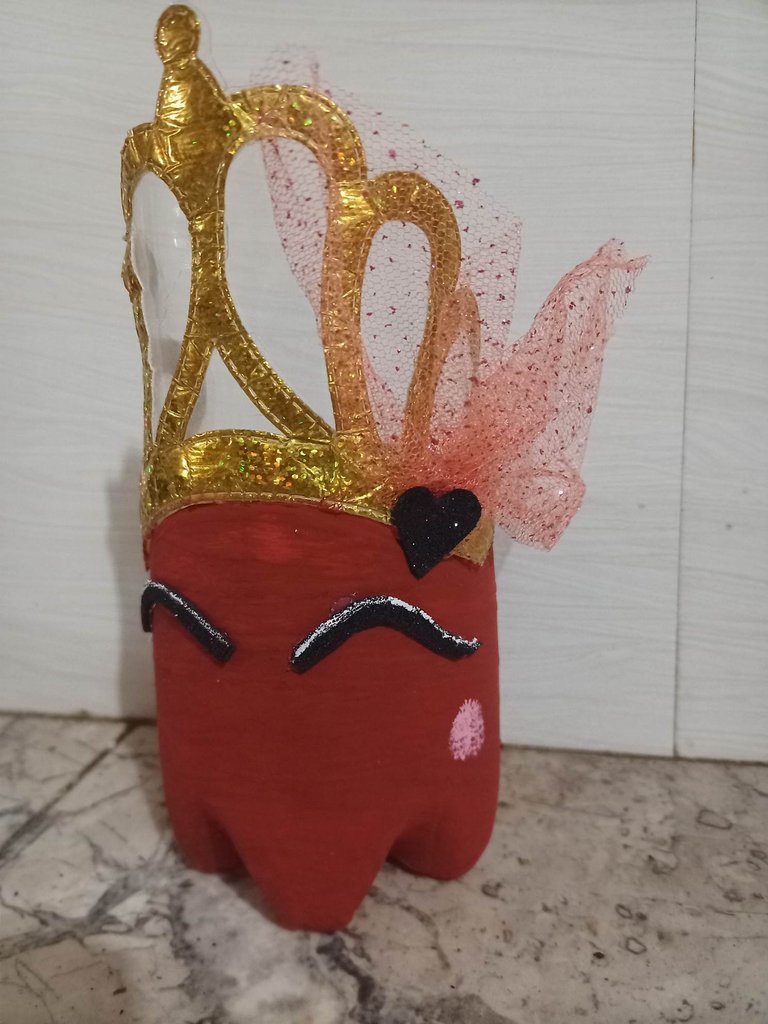

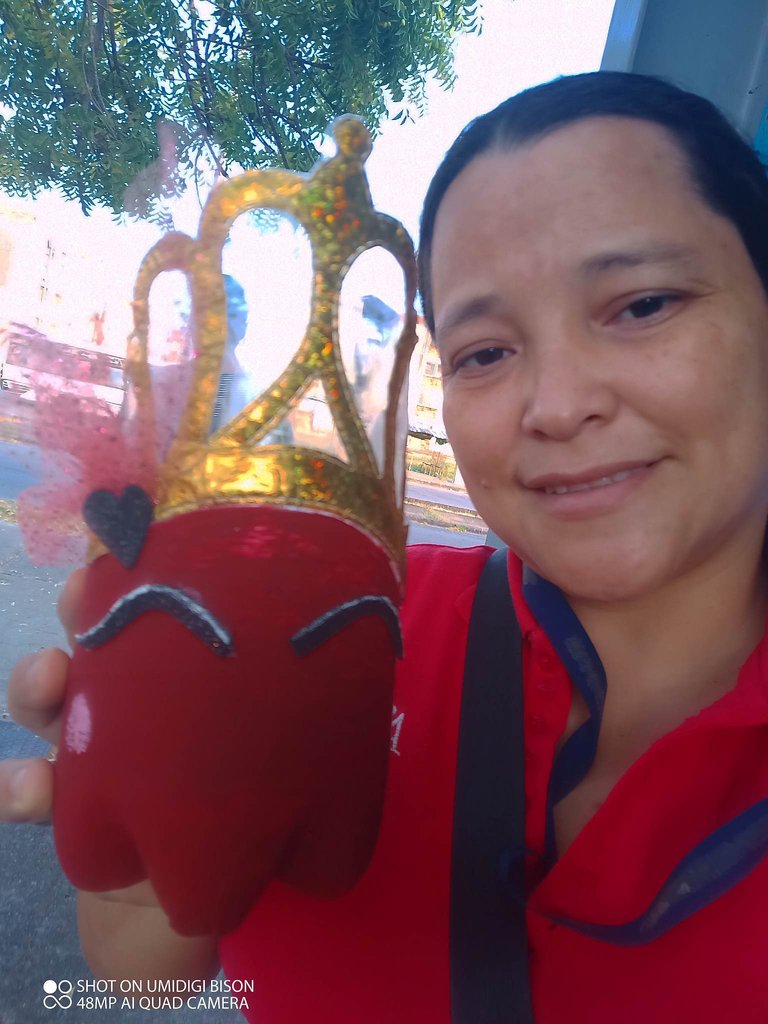

Estoy muy satisfecha en la manera de como me quedo mi linda maceta princesa, es muy creativo darle vida a tus plantas con decoraciones de originalidad y estilo.
Espero le guste el resultado final y puedan practicarlo en casa.
I am very satisfied with the way my pretty princess pot turned out, it is very creative to give life to your plants with original and stylish decorations.
I hope you like the final result and can practice it at home.

Translation made with the version www.DeepL.com
Separators made in canva


