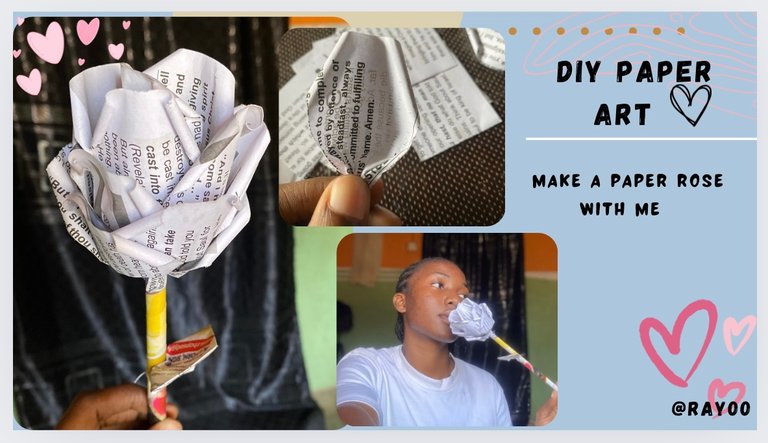
hi, my fellow diy lovers. I'm excited to share with you a paper rose I made. Flowers are one of the girls' classic favorites, so I decided to make a paper rose as a gift to myself haha.
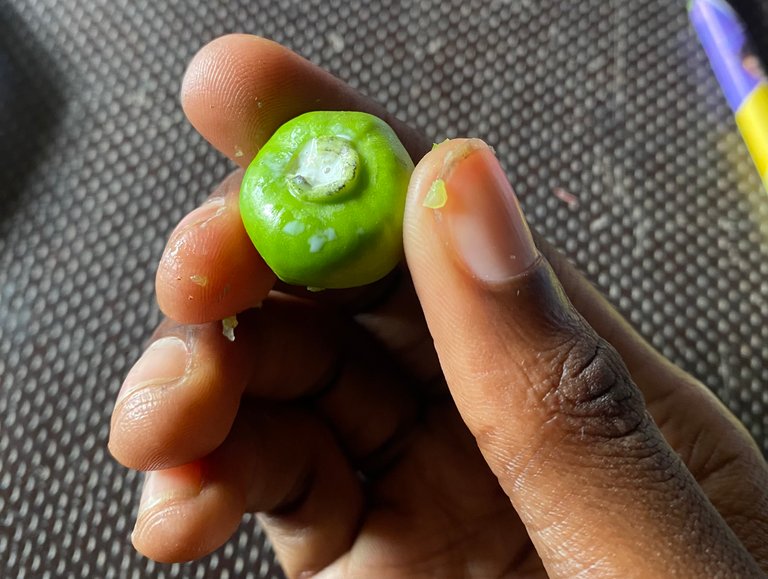
This paper rose is quite easy to make. It took me less than two hours to make and It would have been quick if I had my glue ready. Interestingly, when I asked my students for glue, one of them suggested I use the sap from the tree stem he brought as glue. I was so surprised that it worked. It had this white sap that comes out from it which is the glue. I don't even know the name of the tree.
Let me work you through my process so you can make one for yourself. You can be creative and patient to make more than one so you can make a bouquet.
Materials used: paper and glue
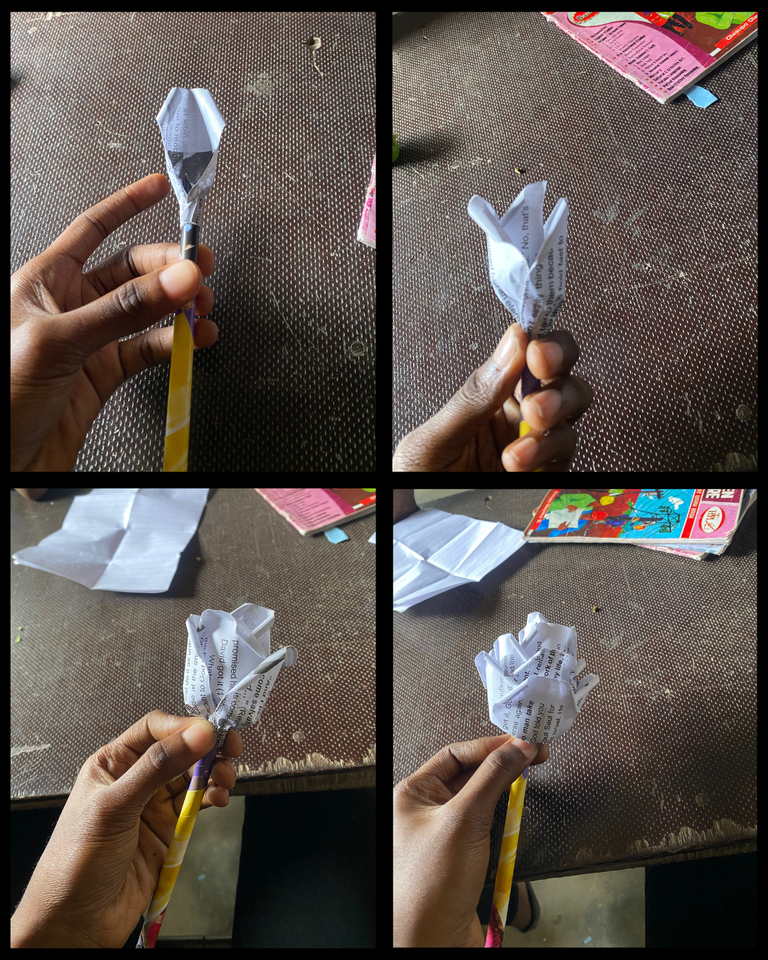
Step 1: I cut out my paper and divided it into pieces.
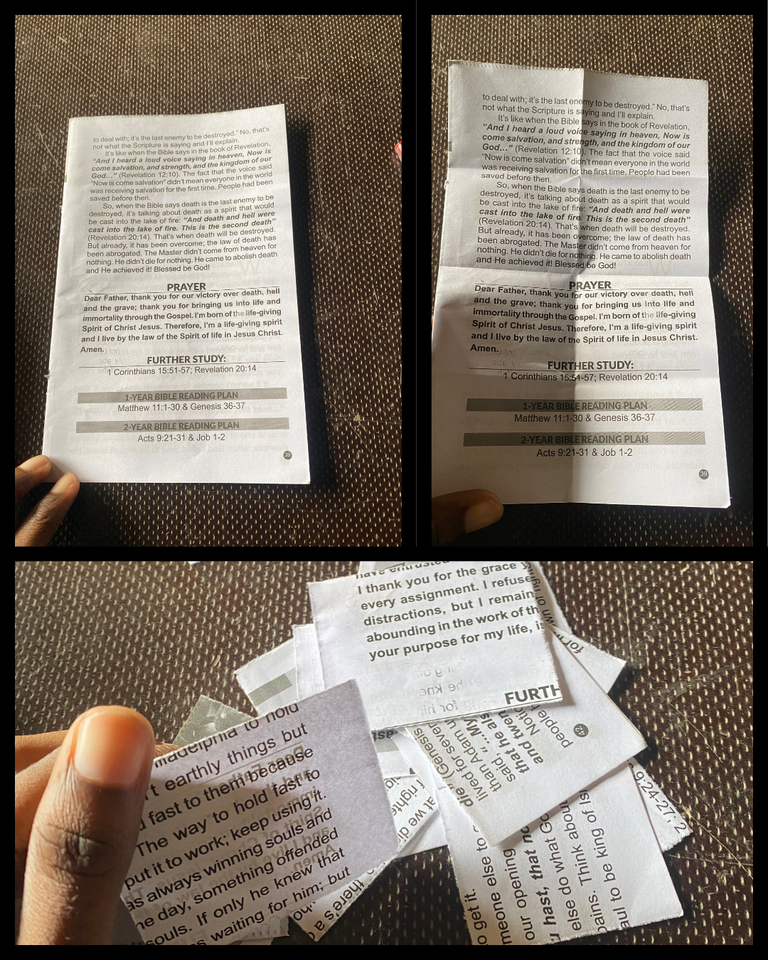
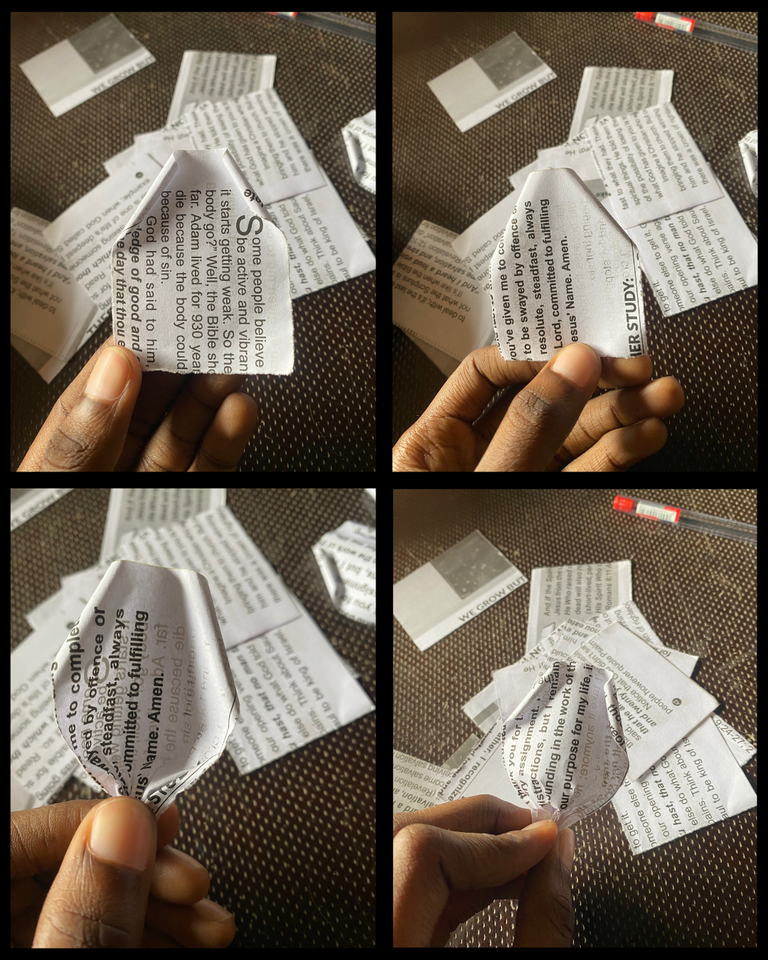
Step 2: I roll the upper edges of the paper and pinch the bottom. I repeat the process till I have enough for my rose.
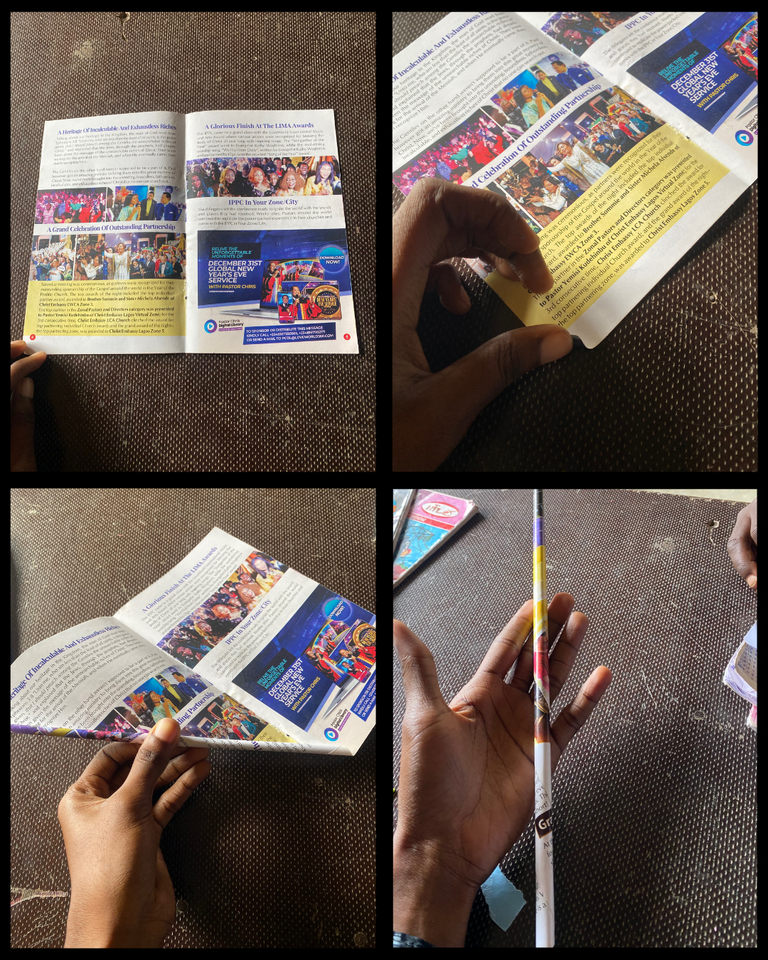
Step 3: I cut and roll another piece of paper for the stem
Step 4: I start to add the petals I made in Step 2 to the stem I made in Step 3.
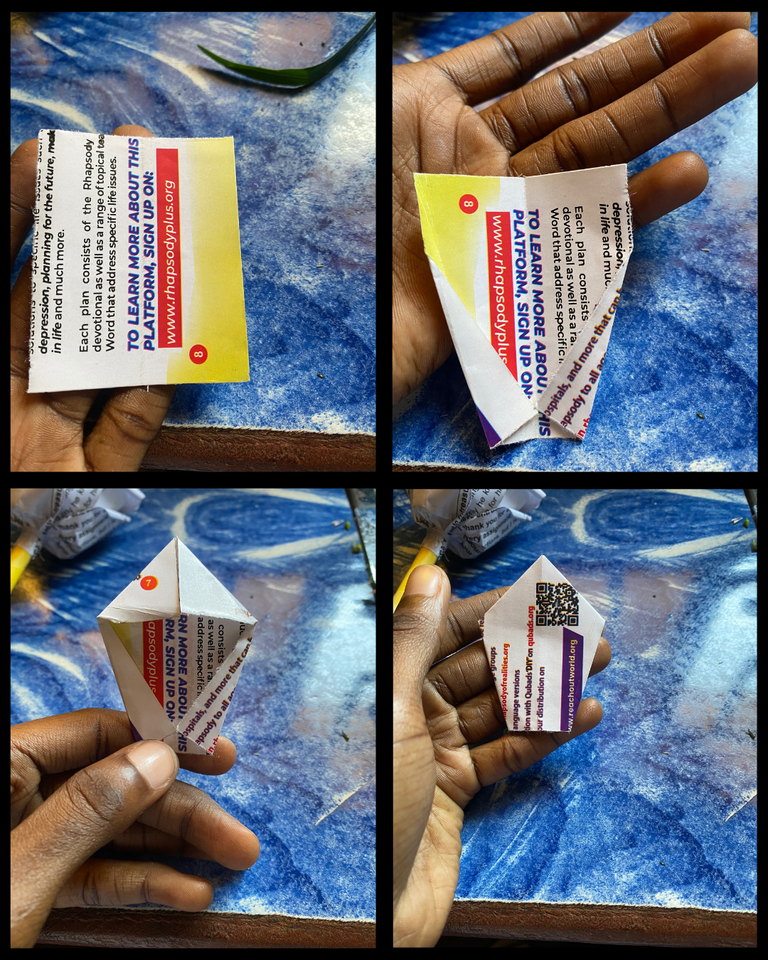
Step 5: After making the Rose, I made a leaf to add at the bottom.
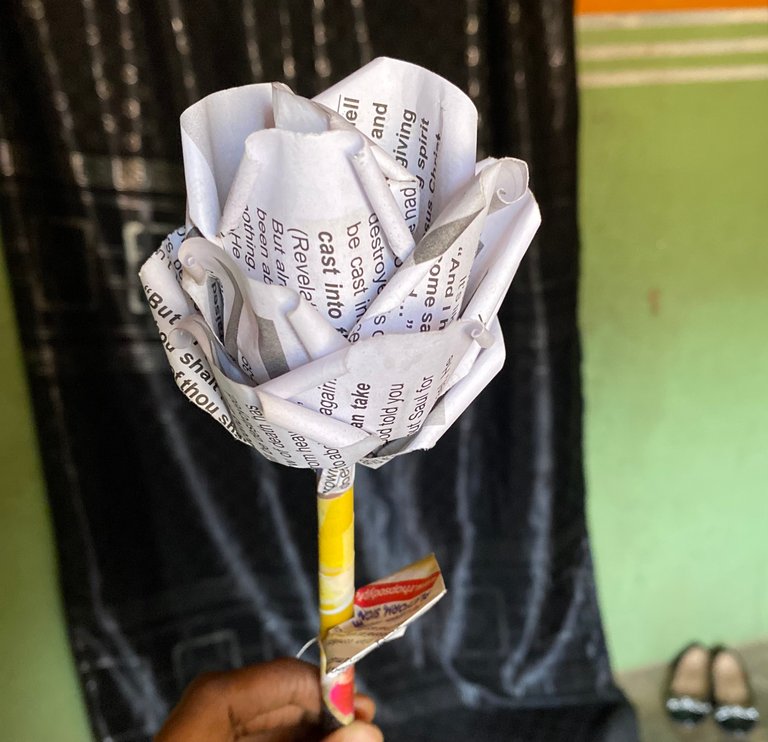
Here is the final result. I hope you like it.

*The seed of the tree I used as glue, I forgot to take a picture of the leaf.
Thanks for visiting my blog❤️✨
All images are mine. Thumbnail and collage made using canva
Posted Using InLeo Alpha

