hello fan friends of the beautiful #hivediy community, I hope you have a happy and prosperous weekend with God's blessing 🙏, that fills us with many good vibes to continue sharing on this great platform that has supported us from the beginning.
hola amigos fanáticos de la hermosa comunidad de #hivediy, espero que tengan un feliz y prospero fin de semana con la bendición de Dios 🙏, que nos llene de muchas buenas vibras para seguir compartiendo en esta gran plataforma que nos a apoyado desde el comienzo.
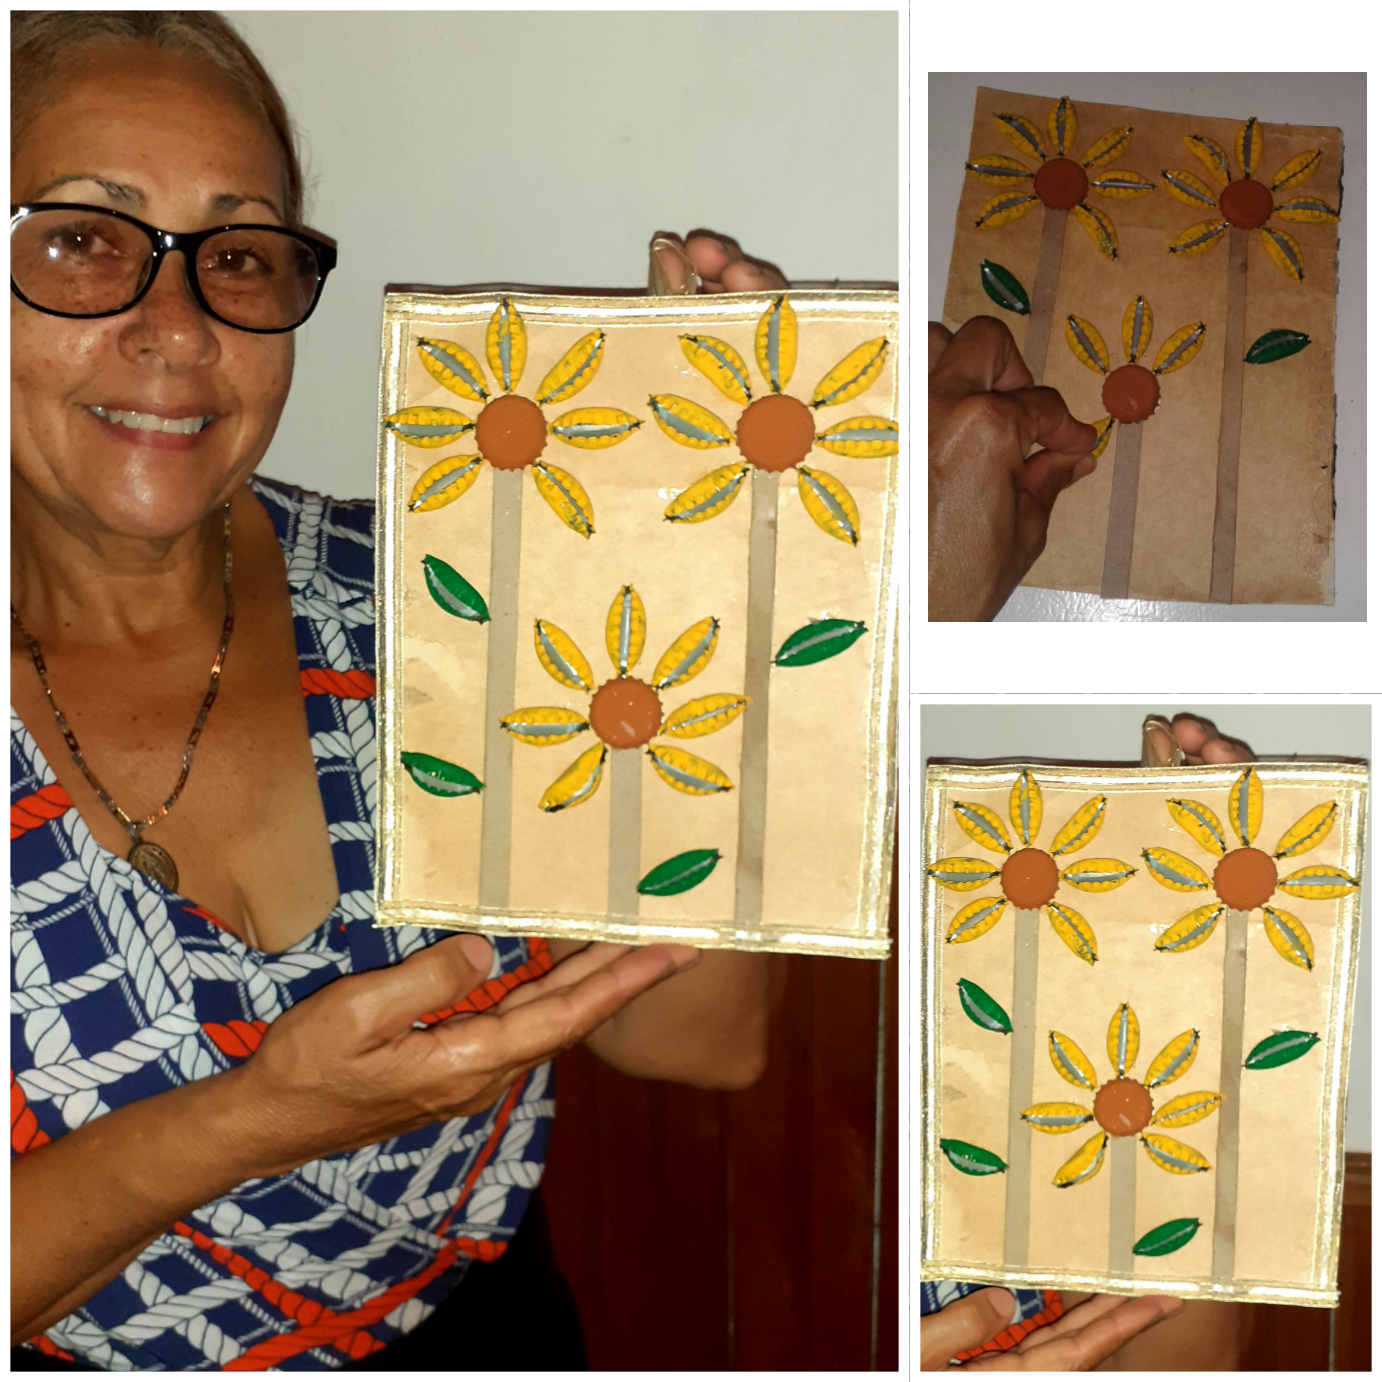
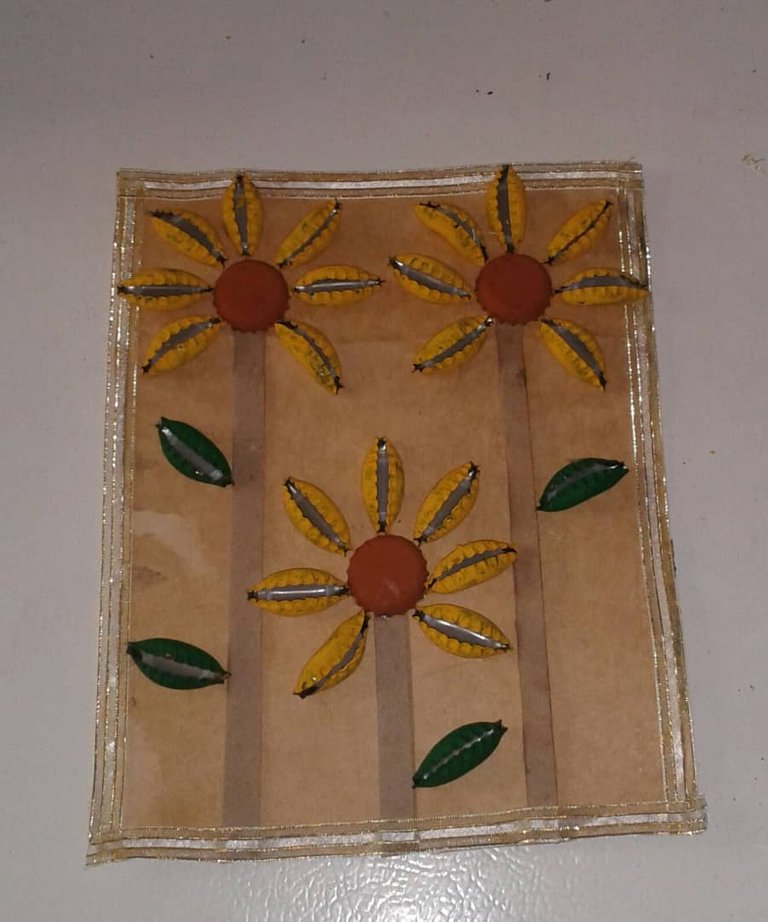
well let me tell you, a normal day, I was at home sitting in a chair looking at the wall one or another time, and it came to my mind to make a beautiful decorative painting with recyclable material. Since I particularly LOVE 🌻 sunflowers, I wanted to do it in honor of them.
bueno les cuento, un día normal, estaba en mi hogar sentada en una silla mirando a la pared una o otra vez, y se me vino en la mente realizar un hermoso cuadro decorativo con material reciclable. Como a mi en particular me ENCANTA las 🌻 girasol, Quise realizarlo a honor de ellas.
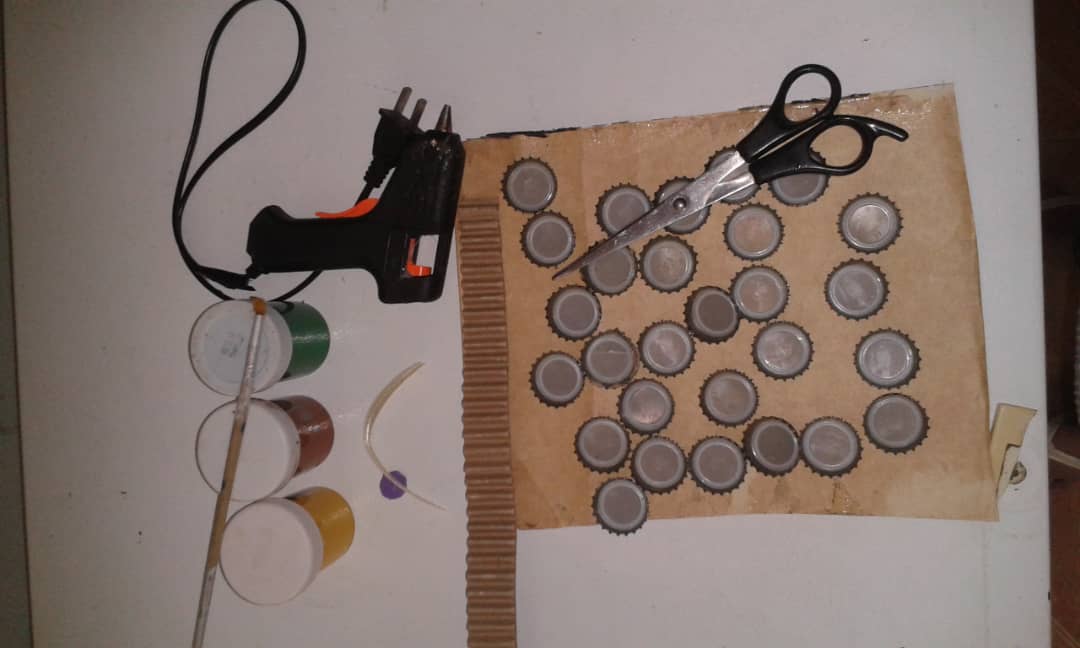
For all this I used the following materials....
▪︎a piece of cardboard measuring 25cm long and 20cm wide.
▪︎28 soda bottle cap
▪︎yellow cold paint.
▪︎ green cold paint.
▪︎ brown cold paint.
▪︎ brush.
▪︎ 1 cm wide and 1 meter long tape.
▪︎ silicone.
▪︎ scissors.
para todo esto utilicé los siguientes materiales....
▪︎un pedazo de cartón con una medida 25cm de largo y 20cm de ancho.
▪︎28 chapa de botella de refresco
▪︎pintura al frío amarilla.
▪︎pintura al frío verde.
▪︎pintura al frío marrón.
▪︎pincel.
▪︎cinta de 1cm de ancho y 1 metro de largo.
▪︎silicon.
▪︎tijera.
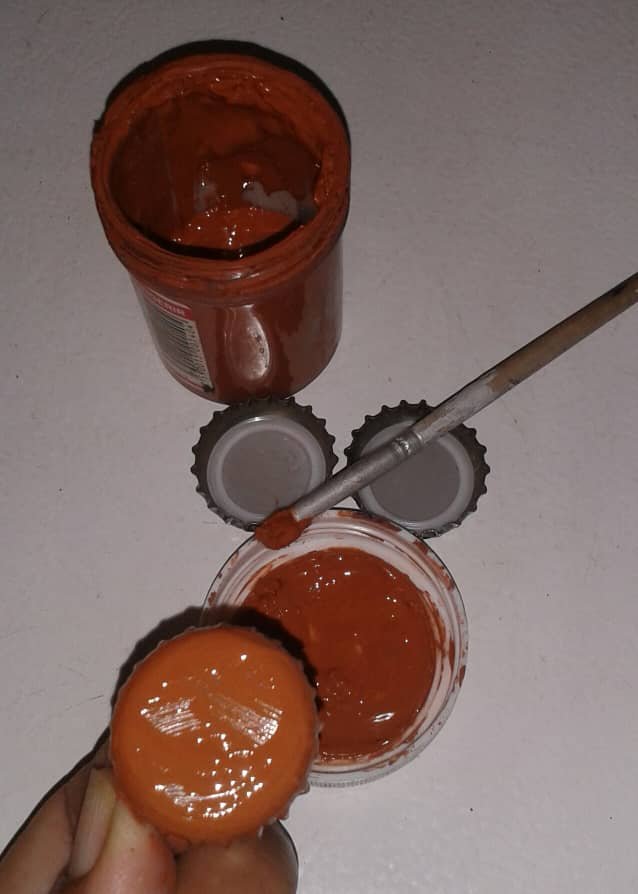
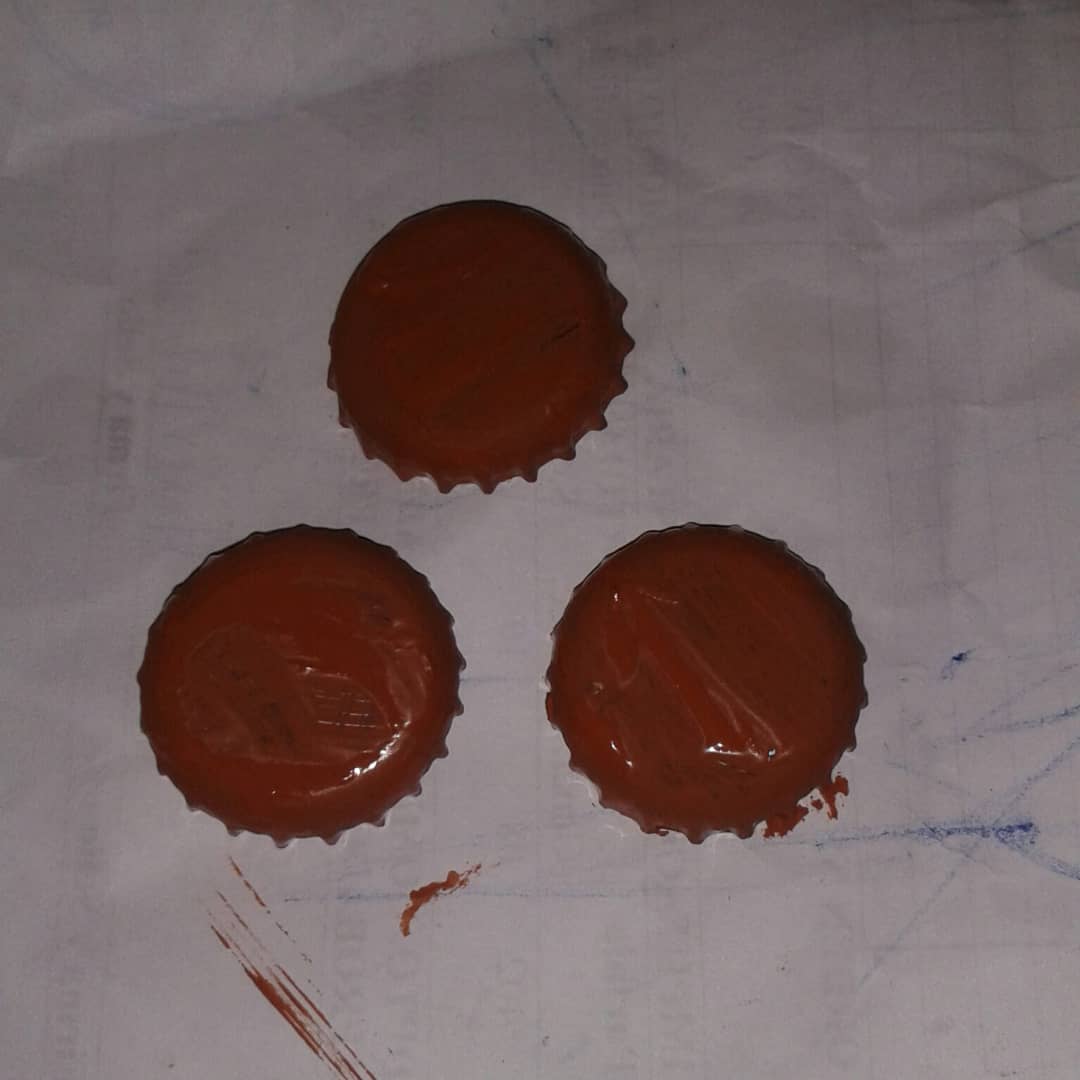
step 1
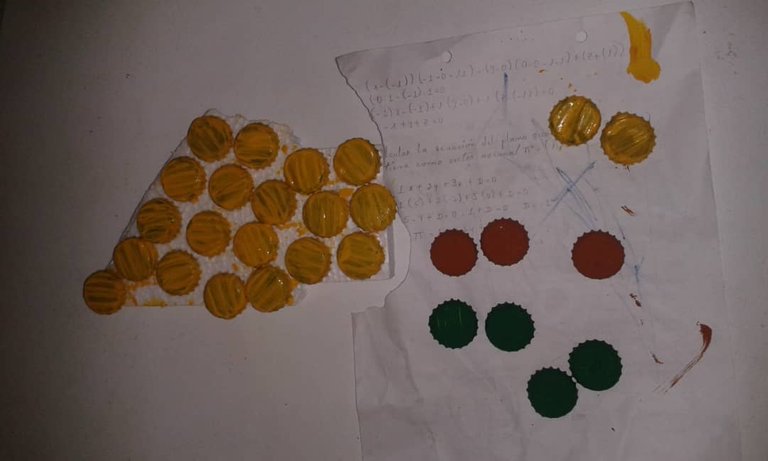
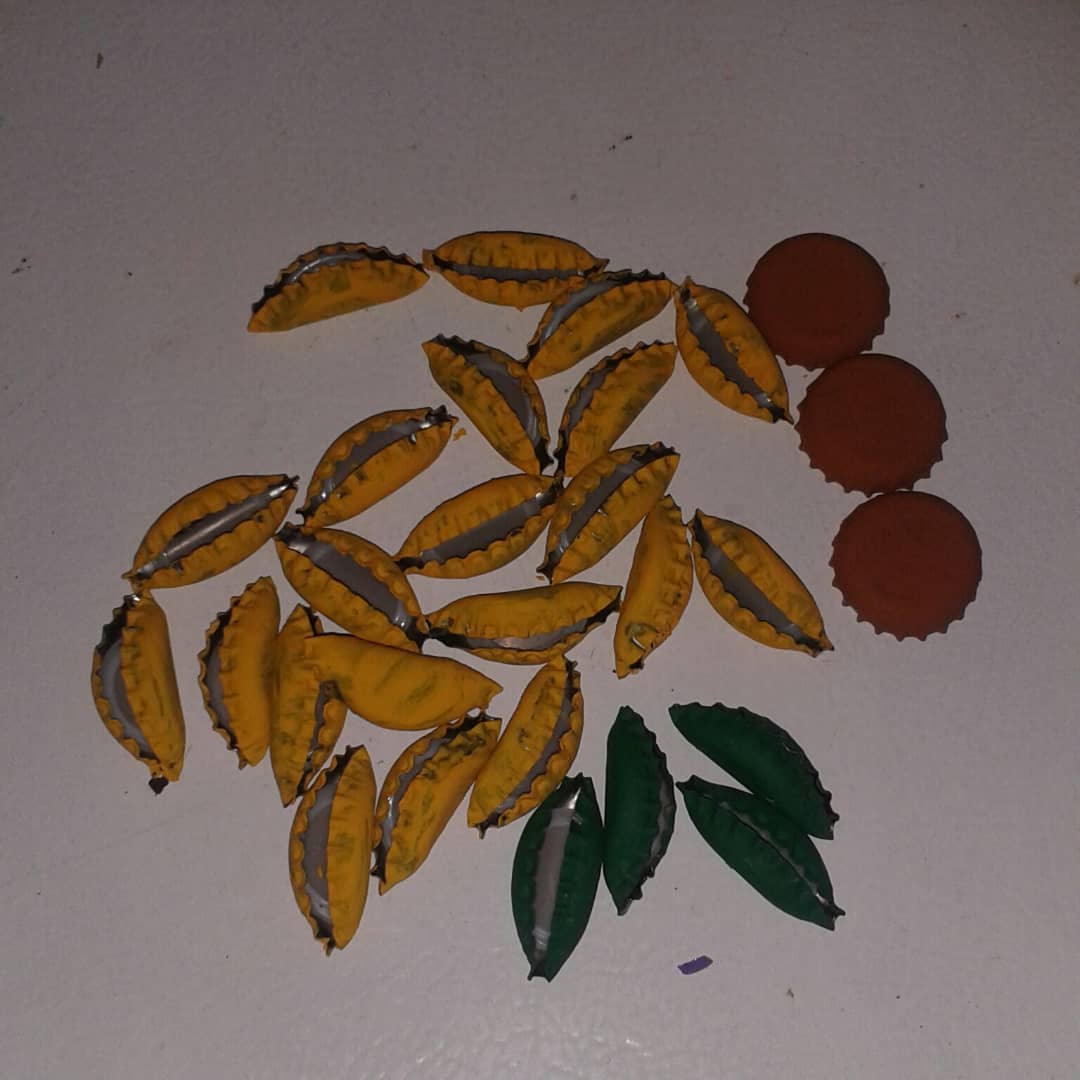
The first thing I did was grab 3 soda bottle caps, along with the brown paint, and we painted.
paso 1
Lo primero que hice fue agarrar 3 chapas de botella de refresco, junto a la pintura marrón, y pintamos.
step 2
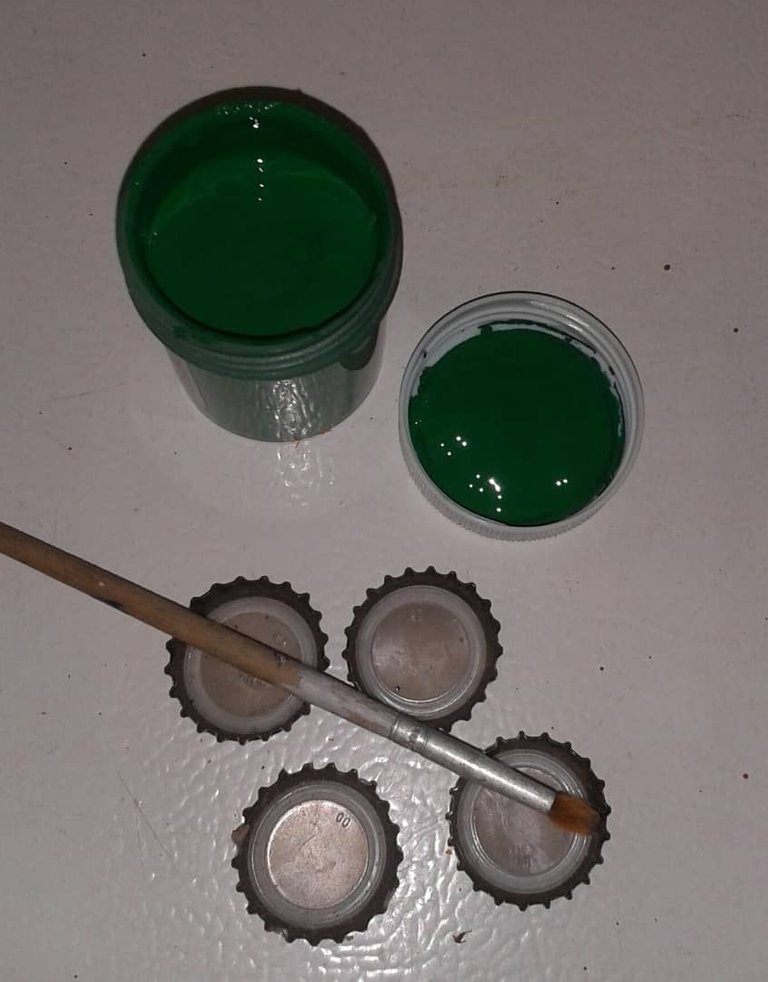
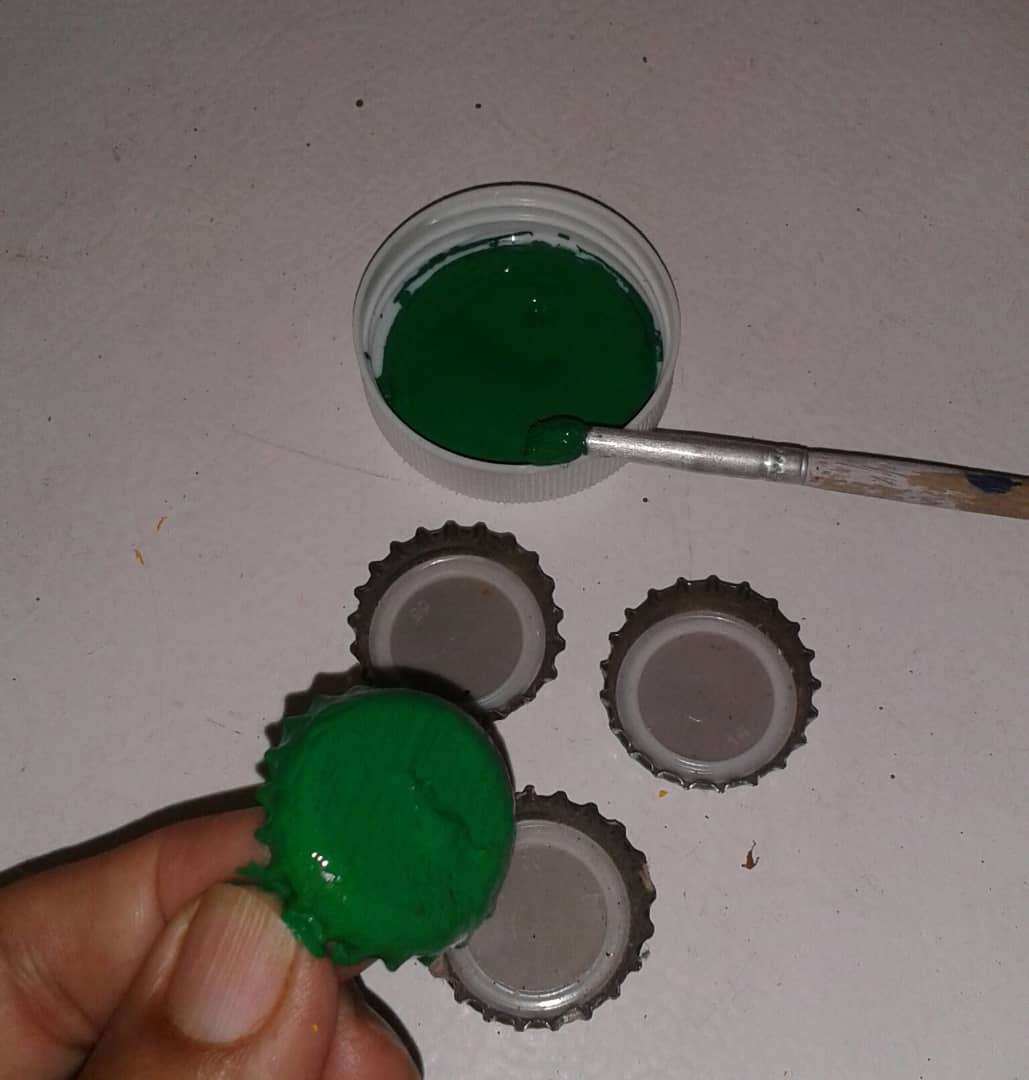
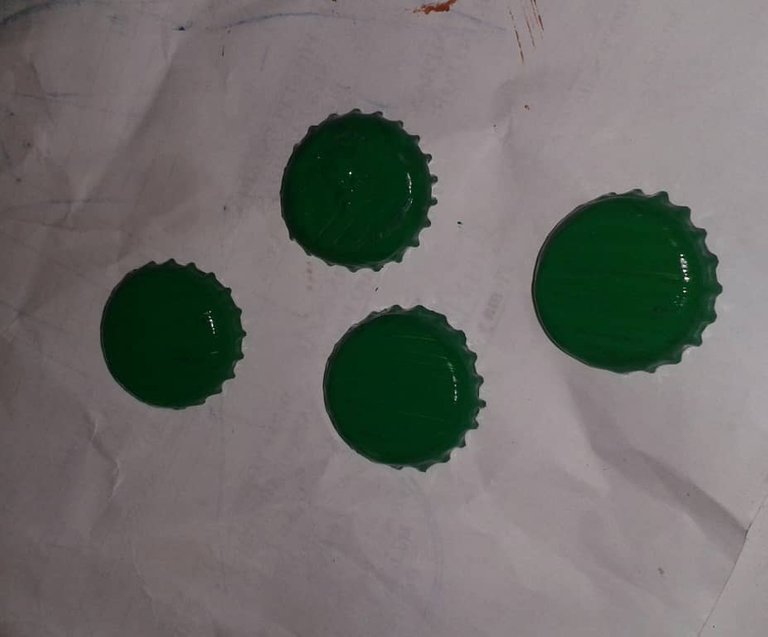
we take 4 more plates, to paint it green. In which they will make the leaves 🍃.
paso 2
tomamos 4 chapas más, para pintarla de color verde. En el cual van hacer las hojas 🍃.
step 3
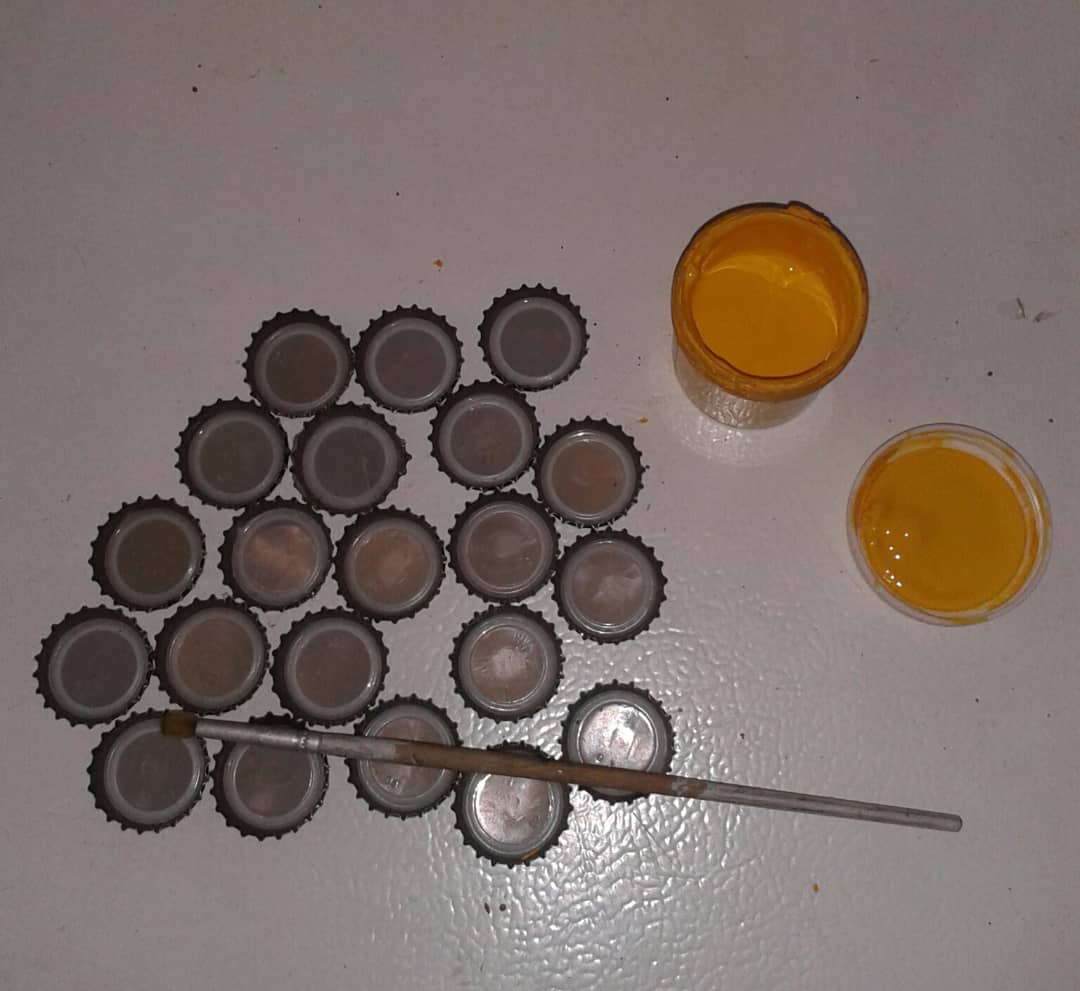
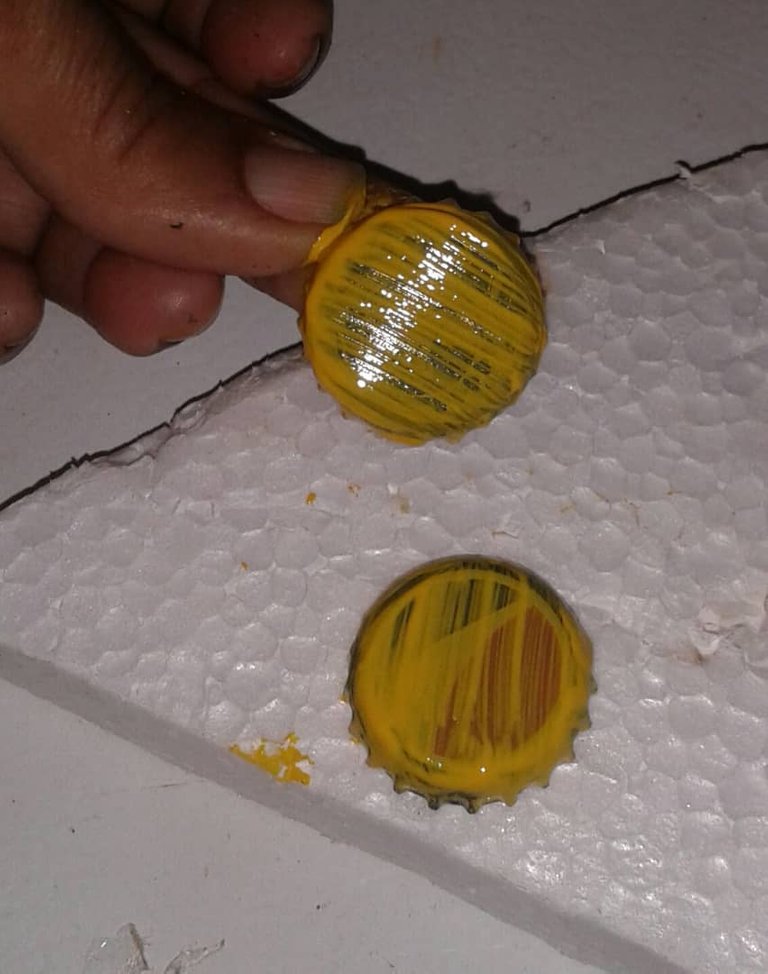
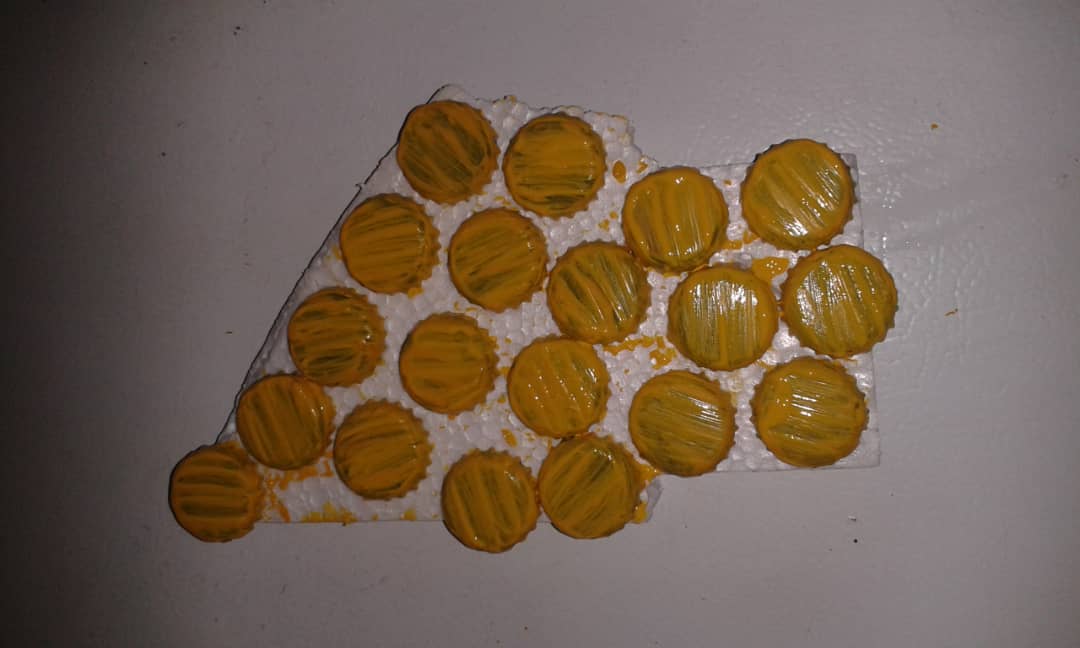
We take the 21 remaining plates, and we paint it yellow, therefore they will make the petals of our beautiful sunflowers.
paso 3
Agarramos las 21 chapas que quedan, y la pintamos de color amarillo, por lo tanto ellas van hacer los pétalos de nuestra hermosas girasoles.
step 4
We place all the 28 already painted plates on one side to dry. We wait about 30 minutes for them to dry.
paso 4
La colocamos en un lado todas las 28 chapas ya pintadas para que se sequen. Esperamos unos 30 minutos para que estén bien secas.
step 5
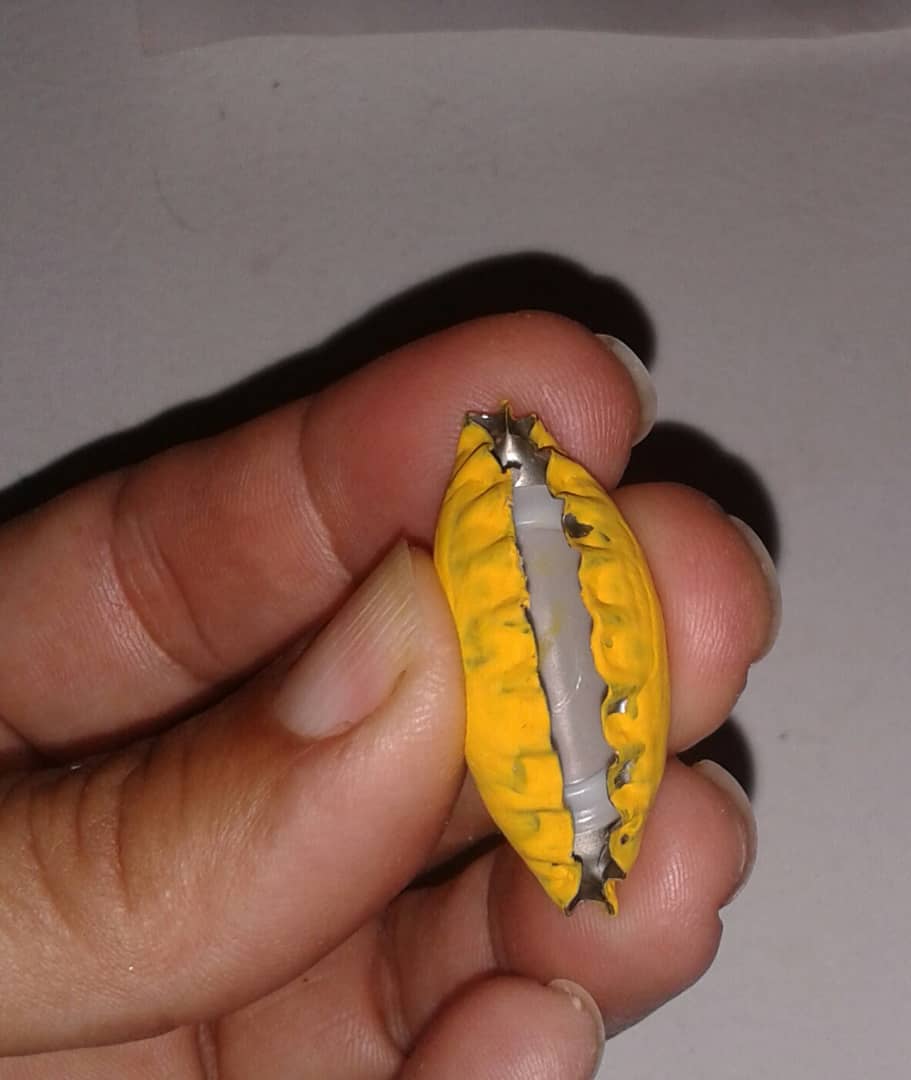
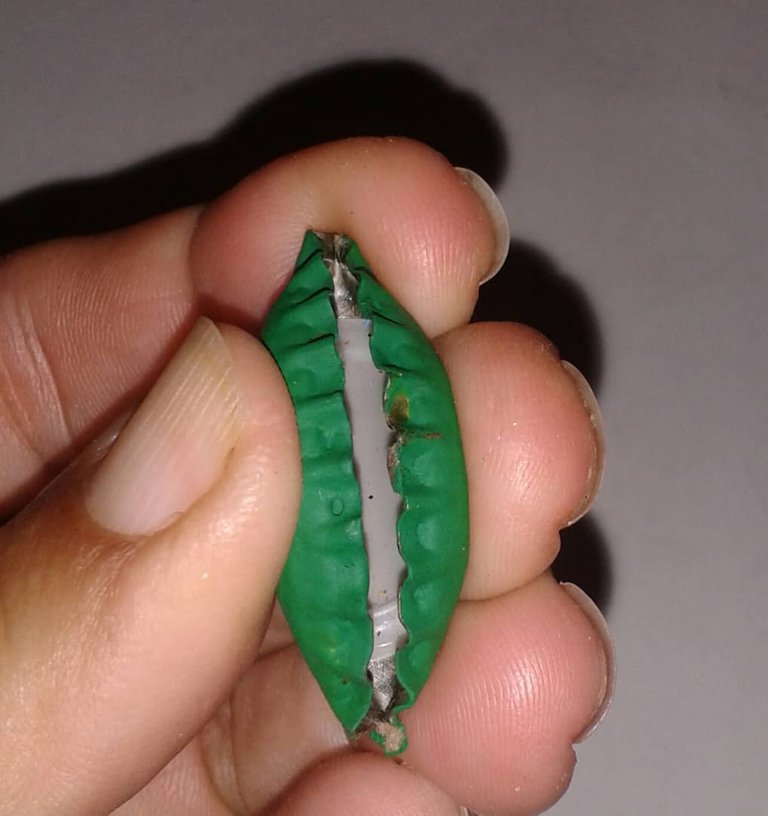
Now we begin to take the yellow colored caps 💛 to fold it in half to give it a petal shape. And the green plates are also folded in half and shaped into a beautiful leaf.
paso 5
Ahora comenzamos a tomar las chapas de color amarillo 💛 para doblarla por la mitad para darle una forma de pétalo. y las chapas de color verde tambien la doblamos por la mitad y se le da forma de una hermosa hoja.
step 6
Now we are going to cut some cardboard strips, two strips measuring 18 cm long and one strip measuring 8 cm long with a width of 1 cm for both strips. This will make the stem of our orchids.
paso 6
Ahora vamos a cortar unos listones de cartón, dos listones con una medida de 18 cm de largo y un liston de 8cm de largo con un ancho de 1 cm ambos listones. Esto va hacer el tallo de nuestras orquídeas.

step 7
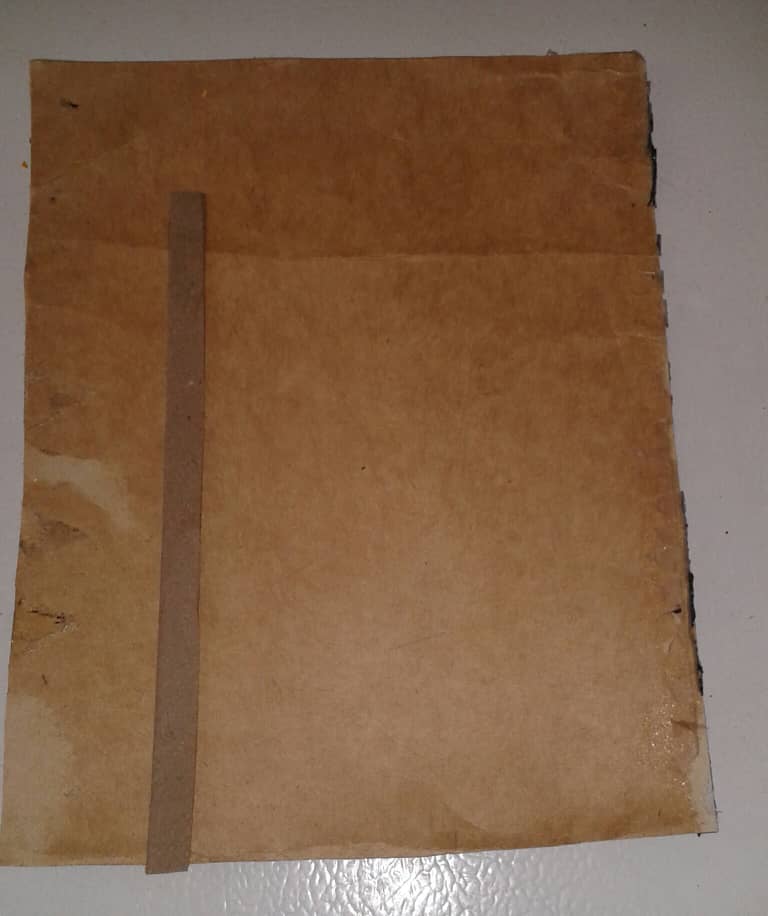
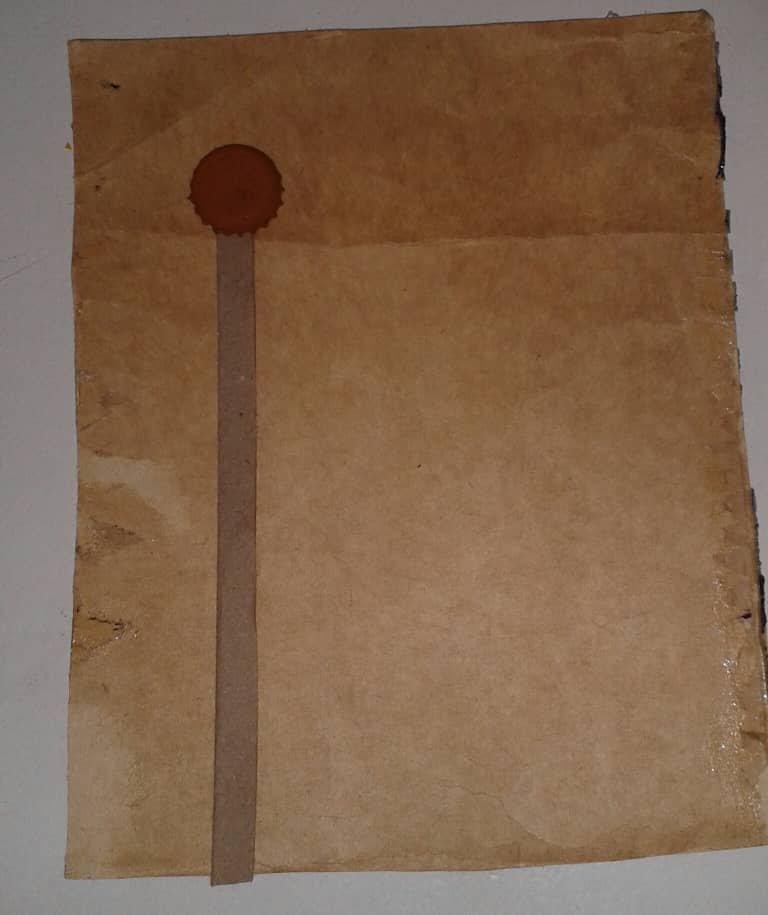
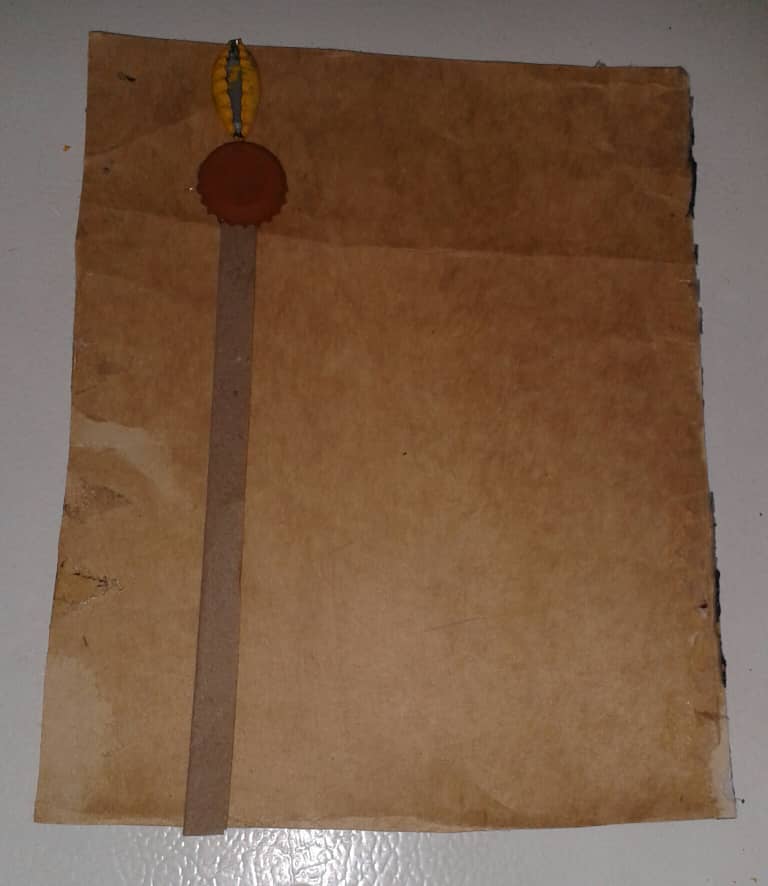
Now we take an 18cm ribbon and glue it to one side of the cardboard box, and we are going to assemble the middle part called pipes or sunflower head with the brown sheet metal 🌻.
paso 7
Ahora agarramos un listón de 18cm y la pegamos a un lado del cuadro de cartón, y vamos a armar con la chapa de color marrón lo del medio llamado pipas o cabeza del girasol 🌻.
step 8
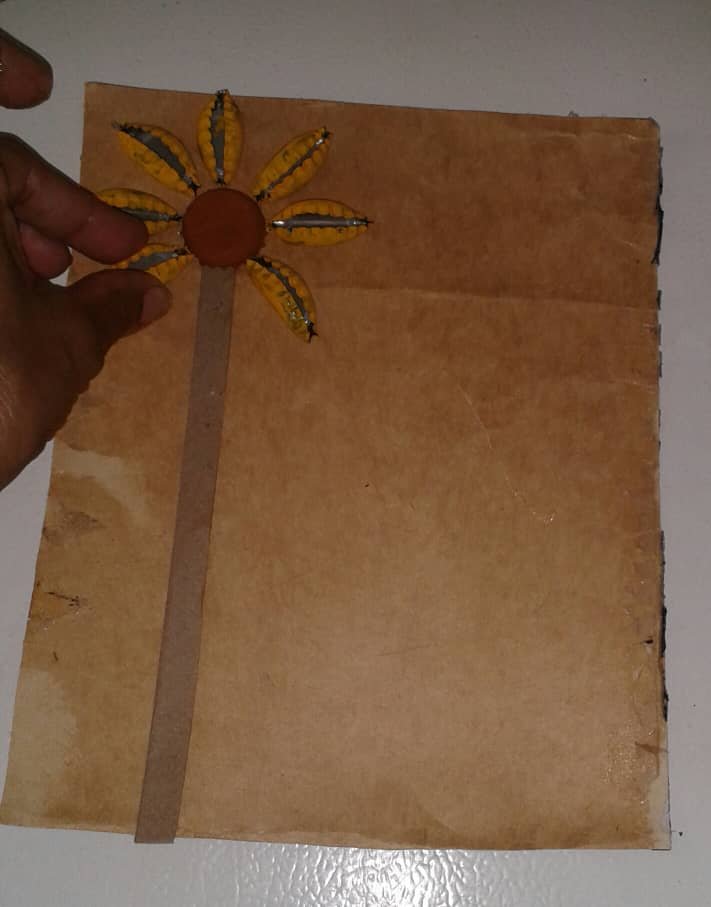
Next, we take the yellow caps and glue them around the brown cap or sunflower head.
paso 8
Después, tomamos las chapas amarillas y la pegamos al rededor de la chapa marrón o cabeza del girasol.
step 9
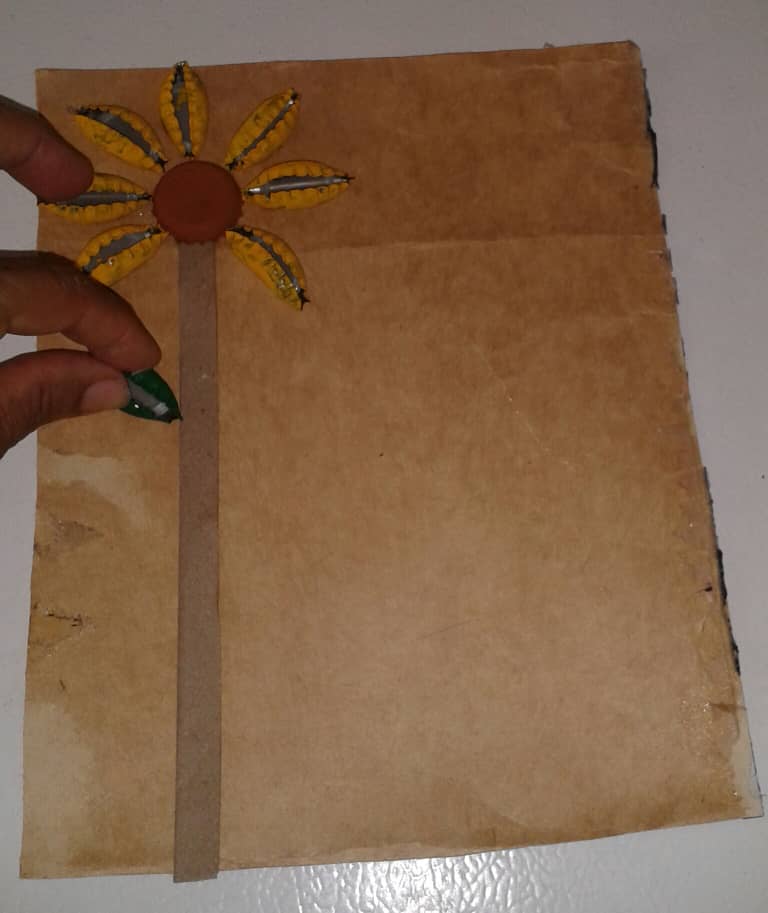
And with the green plates we stick it on the strip or stem of our sunflower 🌻, which has been the little leaves.
paso 9
Y con las chapa de color verde la pegamos en la tira o tallo de nuestra girasol 🌻, que viene siendo las hojitas.
step 10
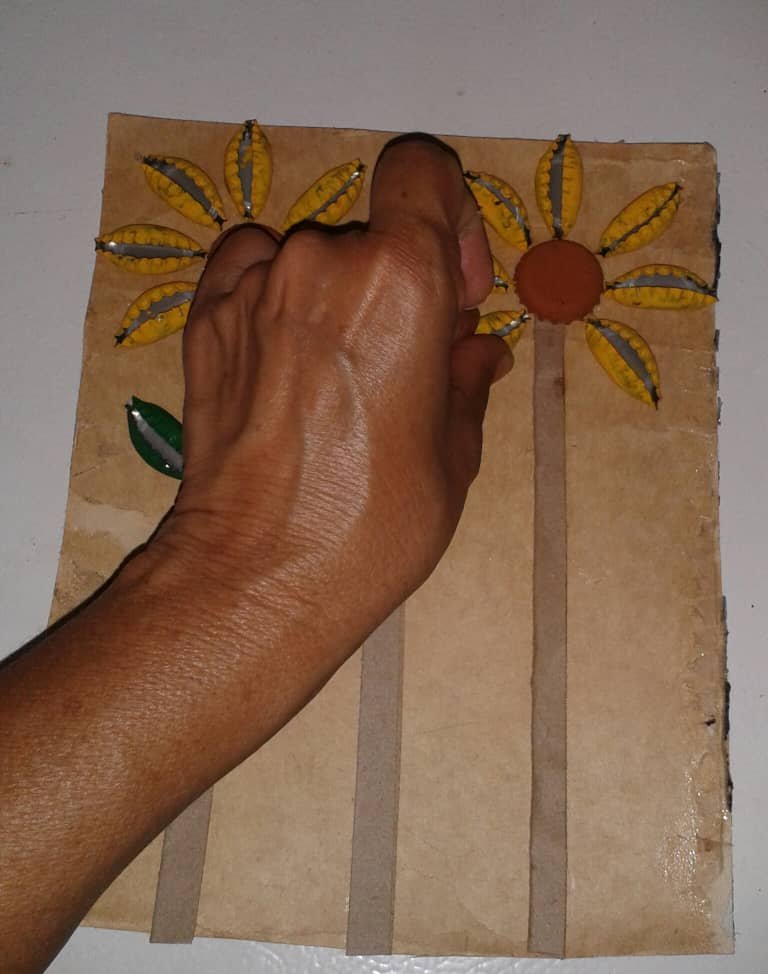
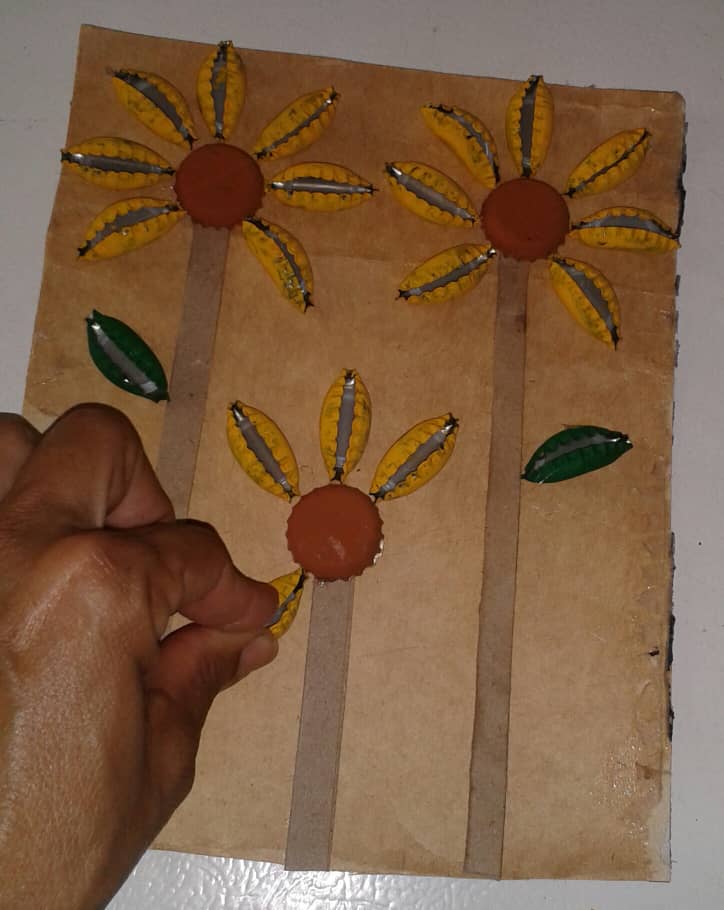
Once the first sunflower 🌻 in one corner is finished, we make another one in the other corner that has the same size.
paso 10
Ya terminada el primer girasol 🌻 de una esquina, realizamos otro de la otra esquina que tiene la misma medida.
step 11
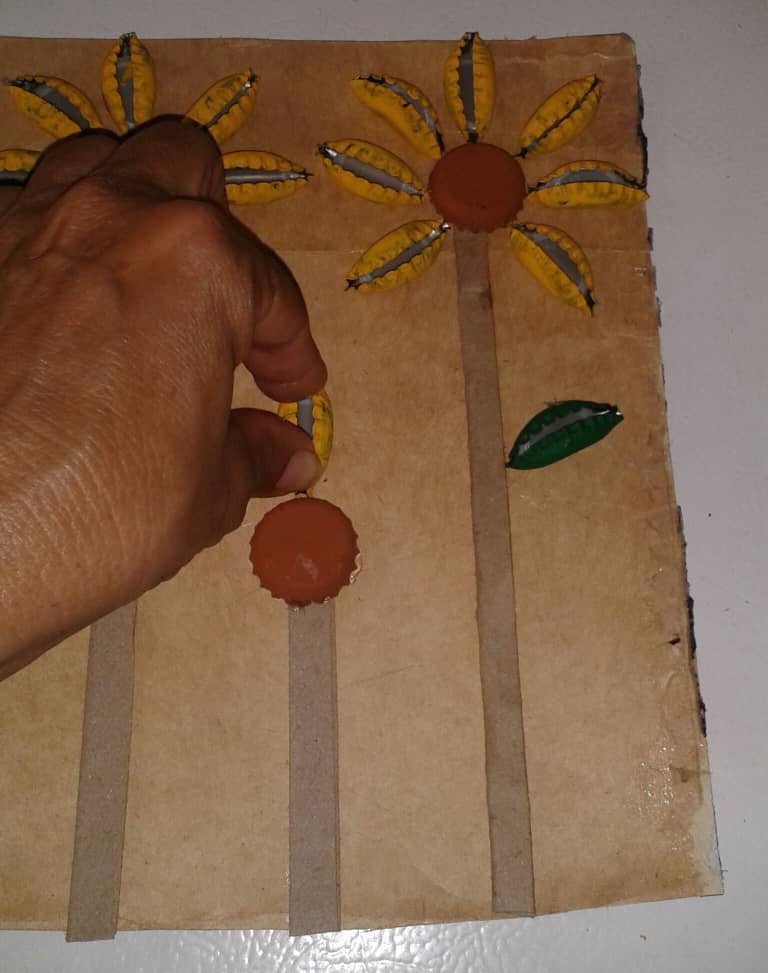
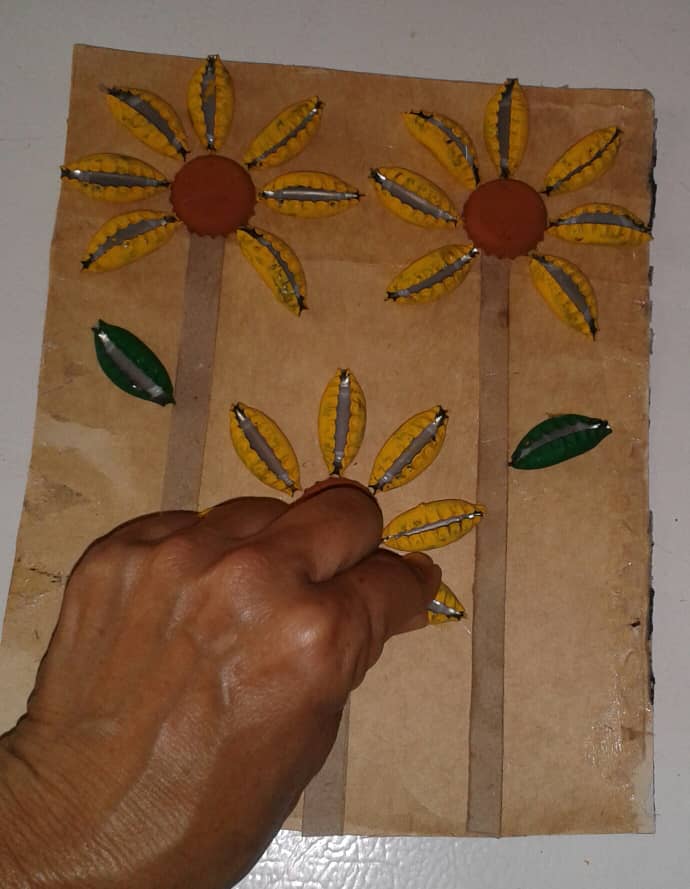
Now we are going to glue the 8cm long strip in the middle of the two sunflowers. We glue the brown sheet in the middle, the yellow sheets that are the petals. Like the green plates on the stem.
paso 11
Ahora vamos a pegar en el medio de las dos girasoles, la tira de 8cm de largo. Pegamos en el medio la chapa marrón, las chapas amarillas que son los pétalos. Al igual q la chapas verdes en el tallo.
step 12
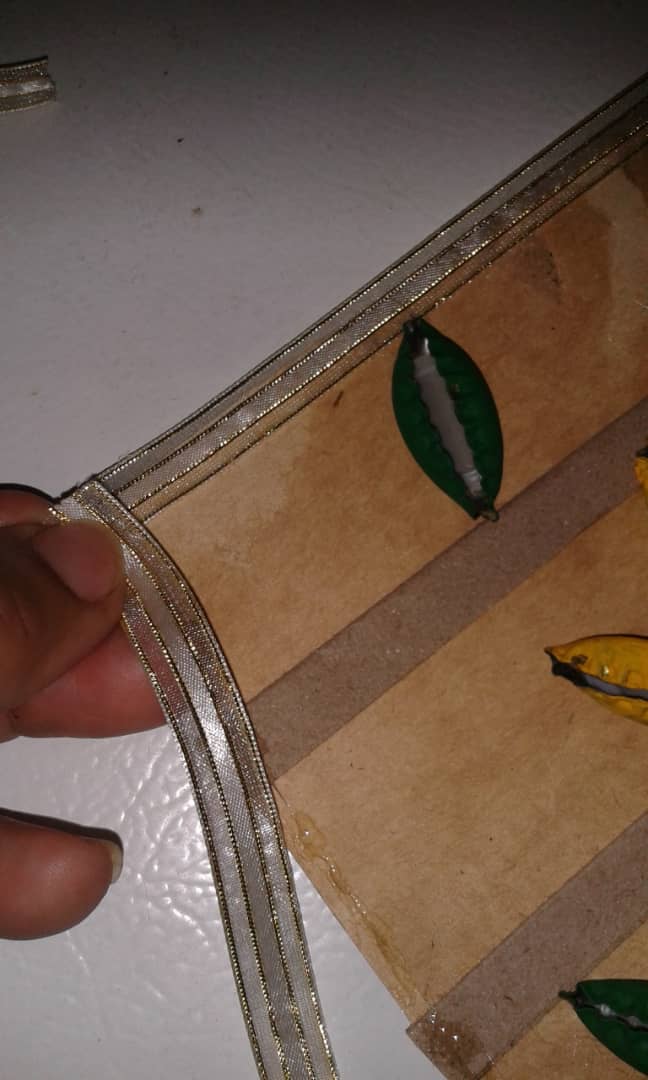
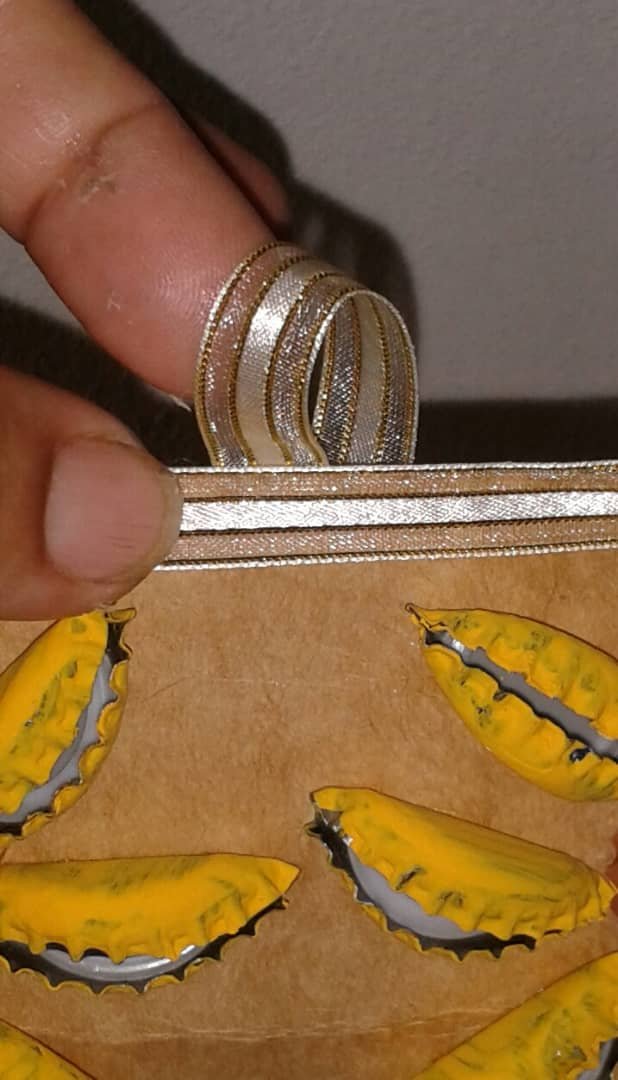
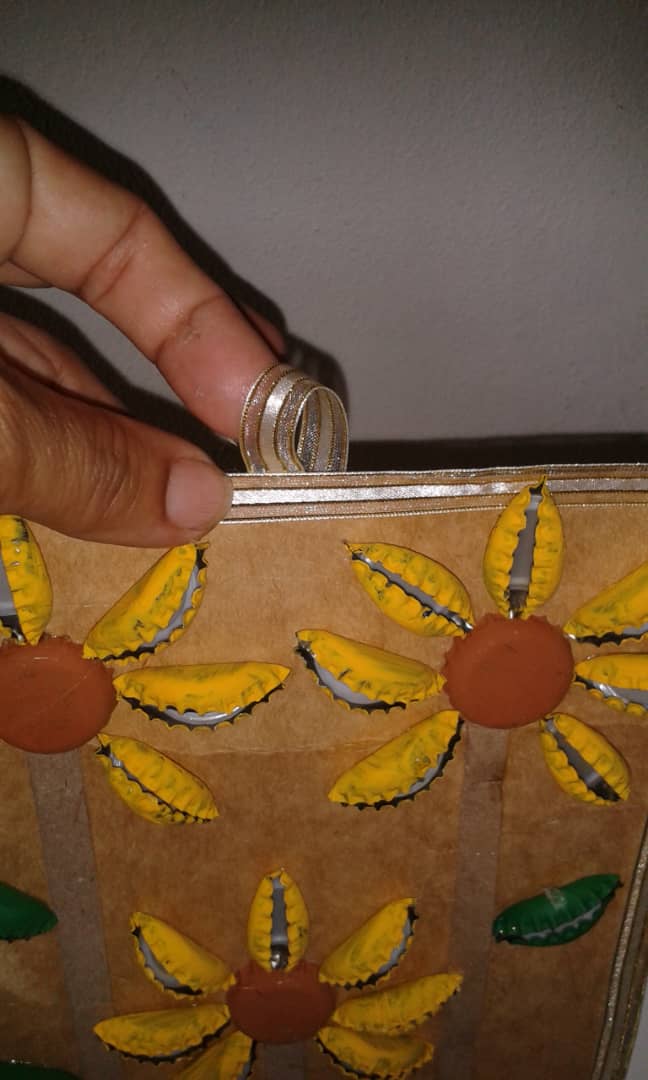
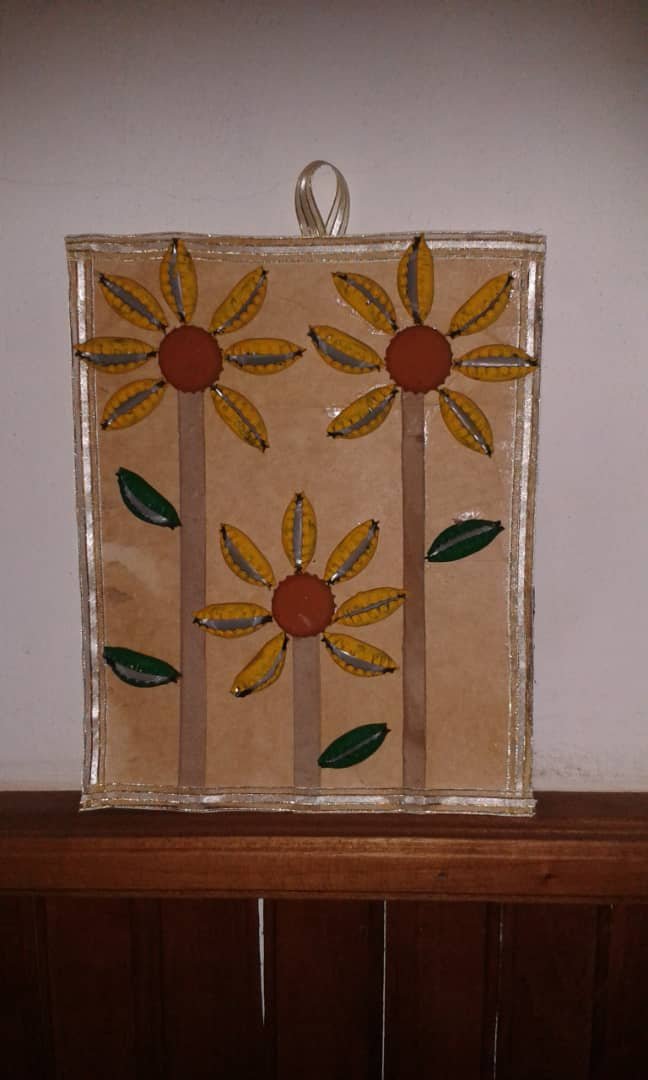
And to finish off our beautiful and creative painting we stick the gold ribbon all around the painting and on the back we stick another piece of tape to be able to hang it.
paso 12
Y para culminar nuestro hermoso y creativo cuadro le pegamos la cinta doradas en todo el alrededor del cuadro y por la parte de atrás le pegamos otro pedacito se cinta para poder guindarlo.
