Introduction
Hello there! @Saydie here, playing Splinterlands everyday!
I'm here for this week's Battle Mage Secrets with the featured rule set Briar Patch. It is a rule set that gives Thorns ability to all monsters.
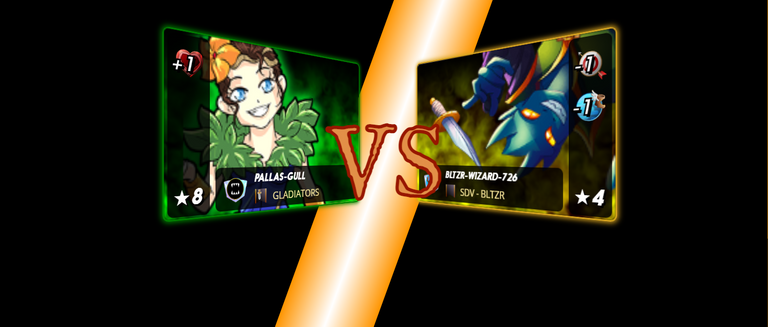
The Battle that I will show to you this week was from bltzr-wizard-726 which is the scholar account awarded to me by Balthazar guild that has max level Chaos Legion deck and is currently playing on the Diamond League for both game format but before I show you the battle, let us learn more about this rule set.

 BRIAR PATCH
|
| Counter Abilities | |||
|---|---|---|---|
 Protect Protect Divine Shield Divine Shield |  Silence Silence Headwinds Headwinds Rust Rust |  Backfire Backfire Magic Reflect Magic Reflect Return Fire Return Fire |  Shield Shield Void Void Amplify Amplify Reflection Shield Reflection Shield |
Protect and Divine Shield if monsters have extra armor and divine shield, their health won't be reduced so easily while when attacked by melee monsters or use melee monsters to attack the opponent.
When there is a Briar Patch ruleset, expect that the opponent will use range or magic to avoid the Thorns so it is better to have monsters with Silence and Headwinds to reduce magic and range damage of the opponent. It is also expected to have monsters to have armor so Rust could also be useful.
Counter abilities will also be handy to have such as Magic Reflect and Return Fire which will deal damage back to the attacker while Backfire, when activated, deals damage when the opponent mixed an attack.
Having Shield and Void would also help reduce the damage taken from opponent attacks and when a melee monster attacks, it only gets 1 damage if it has Shield.
Amplify monsters will be handy with this battle as they will increase the damage of Thorns as well as Magic Reflect and Return Fire by +1.
Not only that Reflection Shield gets immunity from Blast damage, it also was immune against Thorns.

Revealing Battle Conditions and Team Lineup
Rule Set
| Description | |
|---|---|
 Diamond League Wild Format | 36 Mana Cap Available Elements:  Death, Death,  Earth, Earth,  Dragon Dragon |
 Target Practice | All Ranged and Magic attack Monsters have the  Snipe ability. Snipe ability. |
 Counterspell | All monsters have the  Magic Reflect ability. Magic Reflect ability. |
 Briar Patch | All monsters have the  Thorns ability. Thorns ability. |
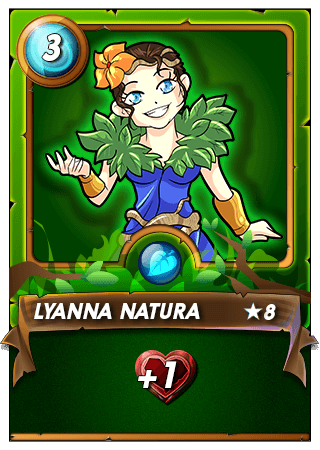
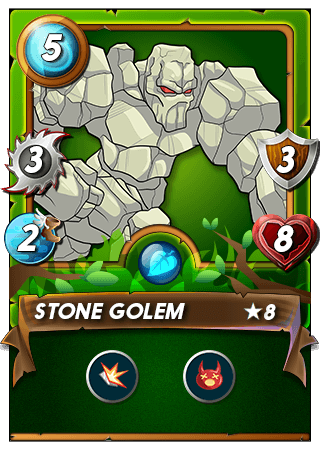
Opponent's Line- up
 |  | 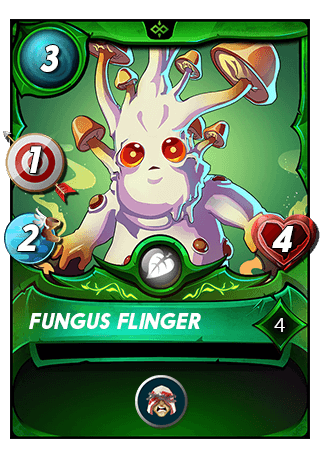 |  | 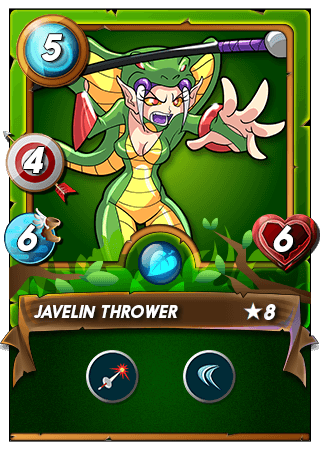 | 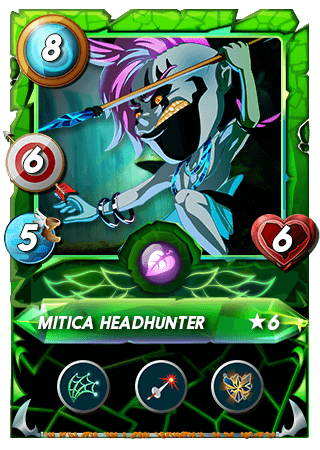 | 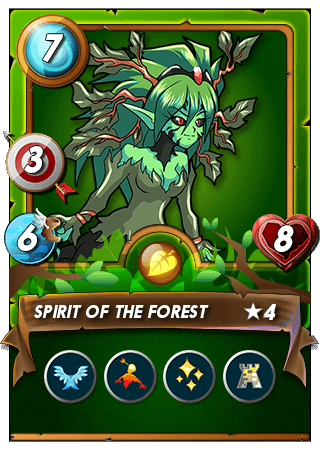 |
My Team
 |  |  |  |  |  |  |
Conveniently rent or buy this team with my Peakmonster's Decks Lineup Link.

For this battle, we have the featured rule set Briar Patch which makes melee monsters get damage when they attack as well as Counterspell that deals reflected damage to magic monsters. We also have Target Practice which makes melee and range monsters to have the Snipe ability. Given this conditions, I choose the following line- up:
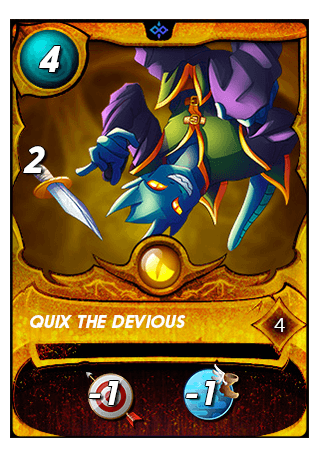
Summoner: Since using both melee and magic monsters will received damage when used I expect that the opponent will use range monsters instead so I used Quix the Devious to reduce the range and speed of the opponent and to be able to use dragon monsters.
1st Position: I used Carnage Titan for my tank since it has very huge amount of health and armor and although it is a melee monster, it has Shield so melee and range attack gets reduced by half as well as the damage it gets from Thorns.
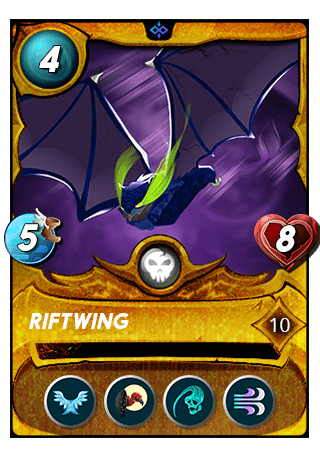
2nd Position: I placed the Riftwing to be targeted by the opponent monsters since it has the Headwinds abiliy which will further reduced the range damage of my opponent and has the Backfire ability and with the combination of Flying, it has 25% chance of evading range attacks so it will return 2 Backfire damage to the attacker. When a monster was defeated, it will get 1 more health with the Scavenger ability.
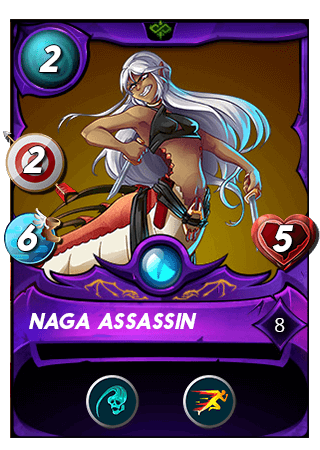
3rd Position: I placed the Naga Assassin for another Backfire and it also has the Swiftness ability to increase the speed of all ally monsters.
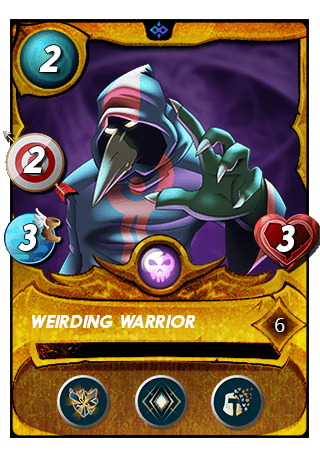
4th Position: I placed the Wierding Warrior for its Shatter which will remove all the armor of the target while also having Rust which will reduce the armor of all opponent monsters as long as it remains on play. It also has the Amplify ability to increase the damage for Thorns.
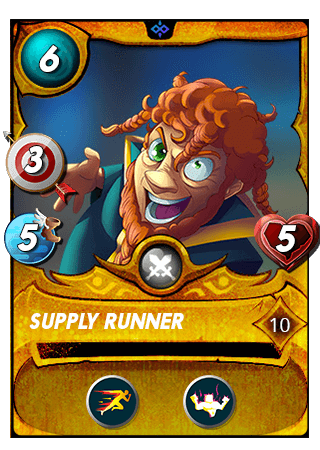
5th Position: I used Supply Runner which will provide more speed with another Swiftness while Strengthen will increase the health of all ally monsters.
6th Position: I placed Lira the Dark with another Swiftness as well as the Opportunity to target monsters with the lowest health and Snare to remove the Flying ability of the opponent.

Revealing Battle Secrets
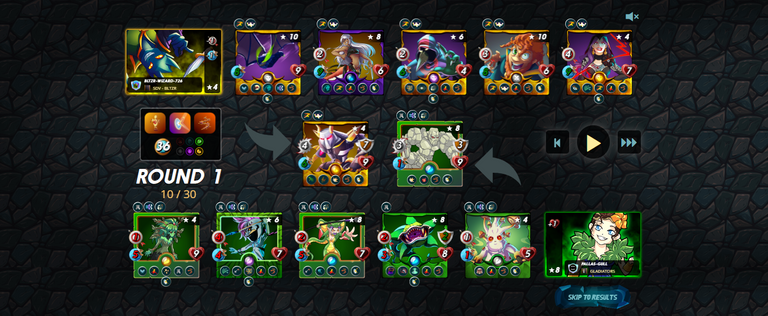
Round 1:

After an attack from Lira the Dark and Naga Assassin, Fungus Flinger got defeated, increasing the stats of Stone Golem and Vampiric Blossom for the opponent team but it also increased the health of Riftwing by 1.
Supply Runner attacks Vampiric Blossom, removing its armor followed by an attack from Weirding Warrior and lost 2 health.
Carnage Titan attacks Stone Golem and got its armor removed in exchange of receiving 2 damage on its armor due to the Thorns damage.
Spirit of the Forest and Mitica Headhunter deals 5 damage to Riftwing but Javelin Thrower and Vampiric Blossom failed to hit it, causing Backfire to be triggered and deals 2 damage back to them.
Stone Golem attacks Carnage Titan but missed.
Round 2:

Experiencing the same fate to Fungus Flinger, Vampiric Blossom shares the same fate from Lira the Dark and Naga Assassin.
Javelin Thrower also did not get to have a chance to attack because it was defeated by Supply Runner and Wierding Warrior and this 2 deaths gives another 2 health to Riftwing.
Losing another 2 armor, Carnage Titan attacks Stone Golem for 4 damage, turning its health to 6.
Spirit of the Forest and Mitika Headhunter attacks Riftwing for another 5 damage while also restoring 3 heath to Stone Golem.
Stone Golem attacks again but missed.
Round 3:
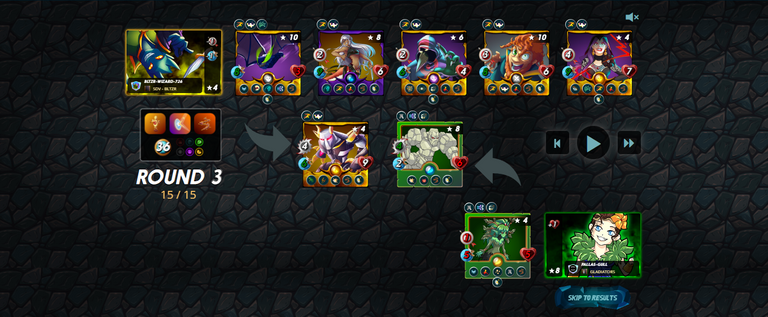
The damage of Lira the Dark and Naga Assassin to take down Mitika Headhunter so Supply Runner needs to deal the final Blow which earns Riftwing 1 more health.
Carnage Titan lost another 2 armor for bringing the health of Stone Golem to 5.
Spirit of the Forest restores the health of Stone Golem back to 8 but got its attack to miss so it received Backfire damage from Riftwing.
Stone Golem finally land an attack this time but got 2 damage from Thorns despite having Shield due to the Amplify of Wierding Warrior.
Final 4:
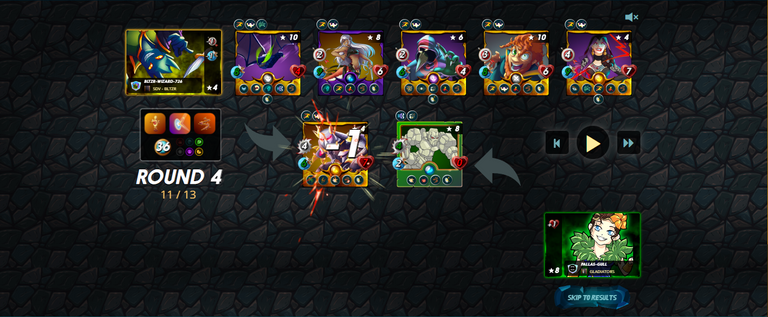
Lira the Dark Naga Assassin finishes off Spirit of the Forest.
The rest of my range monsters attack Stone Golem and the finishing blow was dealt by Carnage Titan, losing 2 health and within this, ends the match with additional 2 health for Riftwing.

Battle Recap
Here is a replay of the battle which at you can watch at 3speak or in Splinterlands.

Did your Strategy Work?
Since I know that the opponent would find it hard to use both melee and magic monsters, I focus my team on range monsters while also nerfing the damage of his monsters using my summoners' ability and the use of Headwind while I boosted my team with so much speed that it would be hard for the opponent to hit the card that they will attack and will be punished if they missed with Backfire. Although I use a melee monster, it is a card that got the Shield ability so it also reduced the damage I can get and the last part of my strategy was the use of Amplify which further increases the damage my opponent takes from Thorns. All in all, this was a very good anti- melee and anti-range and anti magic strategy.


Previous Battles
 |  |  |  |
 |  |  |  |
All the image that I edited here belongs to Splinterlands.
All the battle links provided comes from my personal accounts and from the scholar account that I am using from Balthazar Guild.
Card abilities and rulesets from Splintercards
Thank you for reading my post. If you're interested to play Splinterlands, you can join by clicking this the images below and follow me on Twitter and 3Speak for timely Splinterlands updates.
 |  |  |

