


ENG
Hello everyone, I hope you had a nice week. I in particular have been working on some projects that I will gradually share with you.
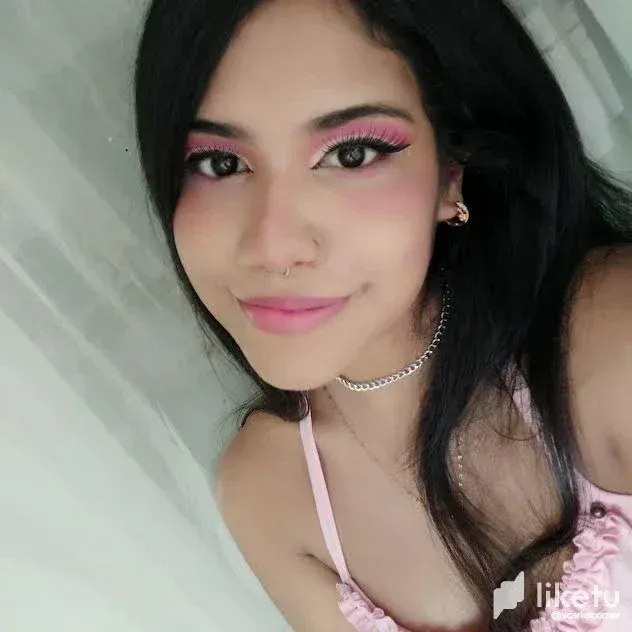
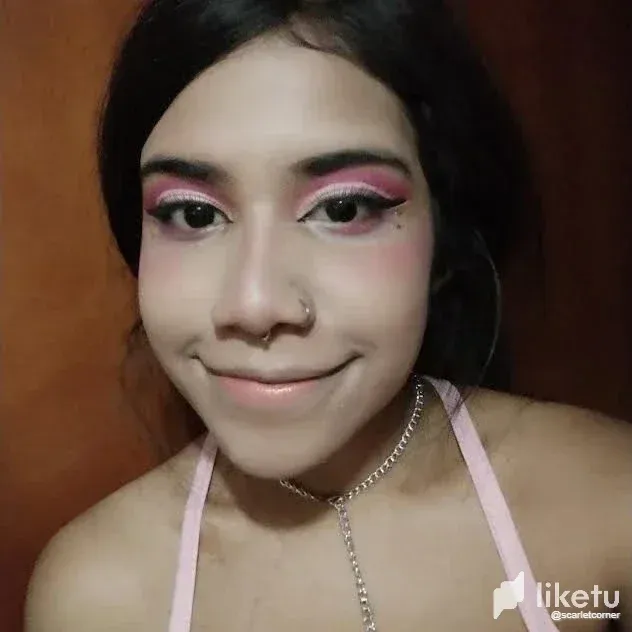
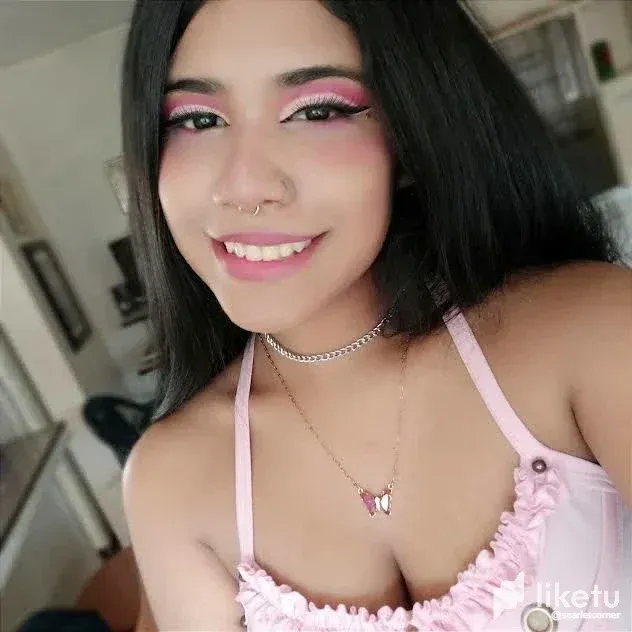
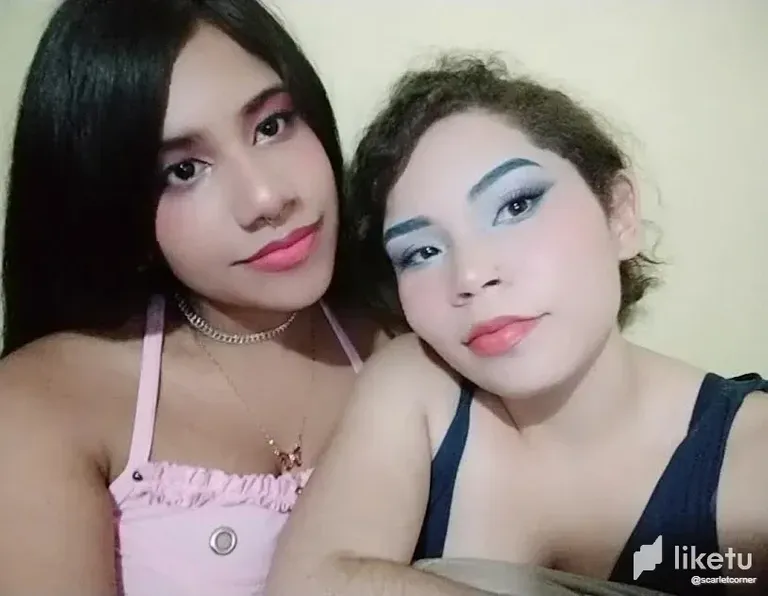
Today I want to show you a quick and super adorable makeup that I did for an outing with my best friend. We both wanted to have a girl's day out, so we took the opportunity and did our makeup, of course, separately.
I anticipate that this is a makeup that looks simple, but it takes time to do it, especially for the smokey. Take your precautions.
Without redundant so much, I consider that the colors I chose look good for my skin color, what do you think?
Process:
The first thing I did was to moisturize my face with cream. This step is very important so that our skin doesn't look dry and dull. I also took the opportunity to flat iron my hair, I hadn't done it in a while.
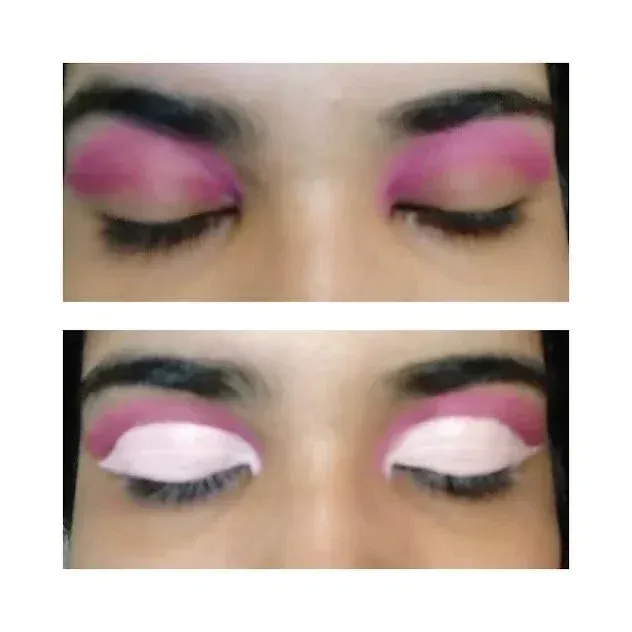
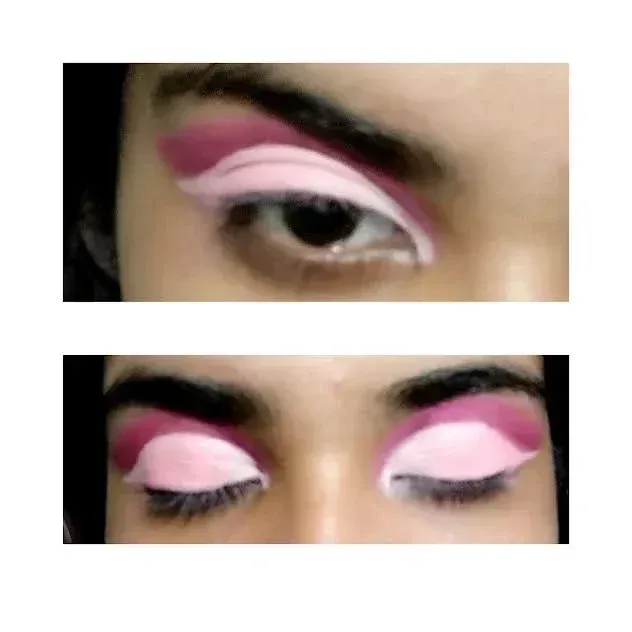
To start with the makeup, I focused on the eyes. Here I was inspired by a design I saw on pinterest, however, in the end it didn't look so similar. I first applied a pink shadow on the upper eyelid, then I darkened it on the sides with a darker shadow (you can barely see it) and divided the back part with light concealer, to demarcate the area where I was going to place the other shadow, right on the mobile eyelid. You can wipe off the excess with a clean swab to perfect.
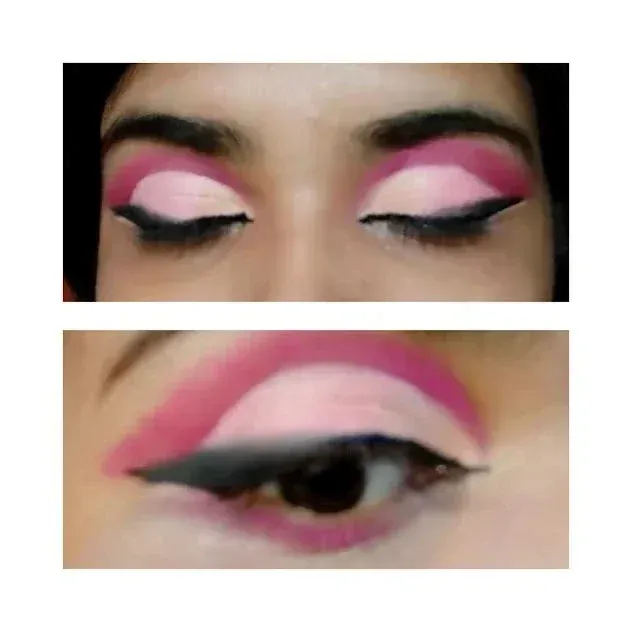
Right where I made the division, I applied some light pink shadow, it was super concealed, you can hardly notice it hahaha, but it is there. I proceeded to apply the eyeliner to create the "foxy eyes" effect. Don't forget to apply a bit of pink shadow on the lower edge of the eye to create a depth effect. I also added a few little stars on the sides, I've been doing that a lot lately.
My eyebrows I left them as they are, I simply combed them with a comb and gel, I feel they suit me well and look quite natural.
Once I finished the eye area, I added lashes, mascara, a little concealer and foundation on some specific parts of the face, blush and highlighter.
To finish, I outlined my lips with a brown pencil to continue applying a pink lipstick and a bit of gloss or lip gloss to give it a brighter and more striking touch.
And that was it. I think the whole look flowed pretty well, I love pink, I plan to experiment more with similar shades in the near future.
I hope you liked the process. Any questions, comments or corrections let me know. A hug and thanks for watching my tutorial ❤️
Text translated with DeepL.
The images shared are my property. Some you can find them in my makeup instagram.
ESP
Hola a todos, espero que hayan tenido una linda semana. Yo en particular he estado trabajando en algunos proyectos que iré compartiendo paulatinamente con ustedes.
El día de hoy quiero mostrarles un maquillaje rápido y súper adorable que me hice para salir con mi mejor amiga. Ambas queríamos tener un día de chicas, por eso aprovechamos y nos maquillamos, claro, por separado.
Adelanto que este es un maquillaje que se ve sencillo, pero toma su tiempo realizarlo, sobre todo por el smokey. Tomen sus previsiones.
Sin redundar tanto, considero que los colores que elegí me lucen bien por mi color de piel, ¿qué les parece?
Proceso:
Lo primero que hice fue hidratar mi carita con crema. Es muy importante este paso para que nuestra piel no se vea seca y sin brillo. Aproveché también de plancharme el cabello, tenía tiempo que no lo hacía.
Para empezar con el maquillaje, me enfoqué en los ojos. Aquí me inspiré de un diseño que vi en pinterest, sin embargo, al final no me quedó tan parecido. Al hacerlos primero apliqué una sombra rosada en el párpado superior, luego la fui oscureciendo en los costados con una sombra más oscura (casi ni se percibe) y dividí la parte posterior con corrector claro, para demarcar la zona donde iba a colocar la otra sombra, justo en el párpado móvil. Puedes limpiar los excesos con un hisopo limpio para perfeccionar.
Justo donde realicé la división, apliqué un poco de sombra rosada clara, quedó súper disimulado, casi ni se nota jajaja, pero sí está. Proseguí a aplicar el delineado para crear el efecto “foxy eyes”. No te olvides de aplicar un poco de sombra rosada en el borde inferior del ojo para crear un efecto de profundidad. También agregué unas estrellitas a los costados, últimamente lo hago seguido.
Mis cejas las dejé tal cual, simplemente las peiné con un peinecito con gel, siento que me quedan bien y se ven bastante naturales.
Una vez culminada el área de los ojos, agregué pestañas corridas, rímel, un poco de corrector y base en algunas partes puntuales de la cara, rubor e iluminador.
Para finalizar, me contornee los labios con un lápiz marrón para continuar aplicándome un labial rosado y un poco de gloss o brillo labial para darle un toque más brillante y llamativo.
Y listo. Considero que todo el estilo fluía bastante bien, me encanta el rosa, próximamente planeo experimentar más con tonos parecidos.
Espero que les haya gustado el proceso. Cualquier duda, comentario o corrección déjamelo saber. Un abrazo y gracias por ver mi tutorial ❤️
Texto traducido con DeepL.
Las imágenes compartidas son de mi propiedad. Algunas las podrás encontrar en mi instagram de maquillaje.
For the best experience view this post on Liketu