Happy Sunday everyone here, guess your day has been fun, my creativity input for this Sunday is about my Plumbering experience over the week. Stay tune as I put you through the work processes but first I would like to list out the materials need to get the plumbing work done at the farm house.

- Nipple (for drinking water)
- Y² m/f copper socket
- ¾ Y² tiger socket
- ¾ ball Guage
- ¾ elbow
- socket
- Thick Kano pipe
- ¾ tee
- ¾ union
- Gum (big gum can)
- Thread seal tape
- ¾ adaptor
- ¾ tiger elbow
- ¾ tiger socket
- ¾ tiger nipple
- ¾ s.f tap
- ¾ thick Kano pipe
- Saw blade
- Wrench
- Cement
- Hammer
- Chisel
- Shovel
- Hand Trowel
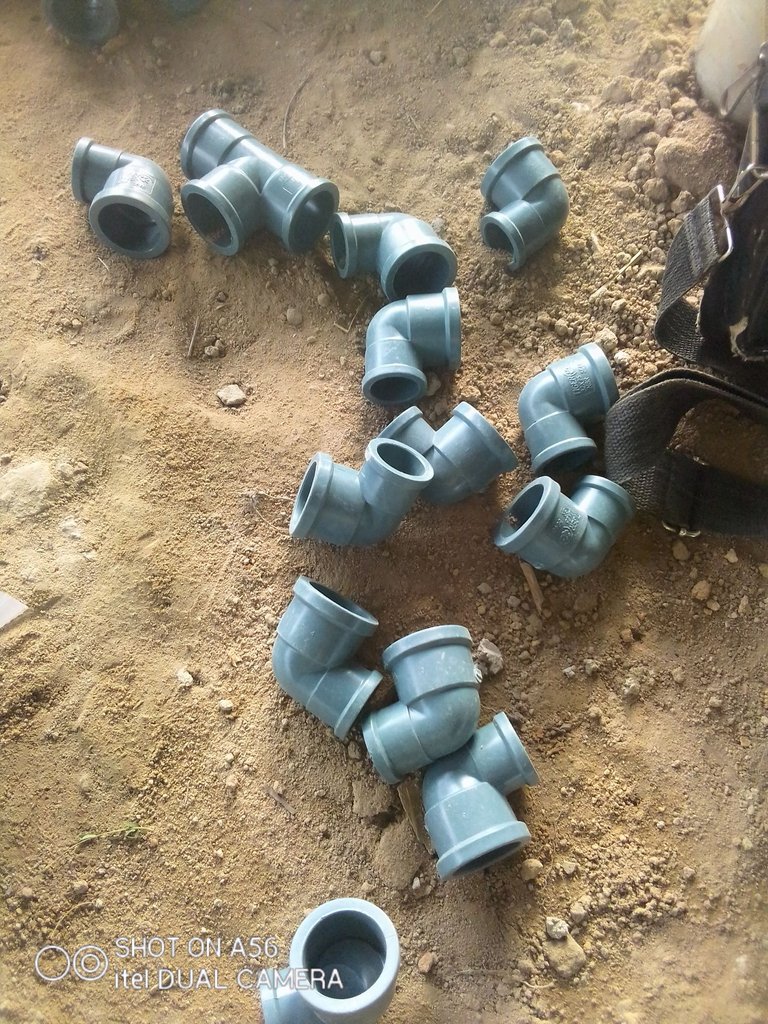
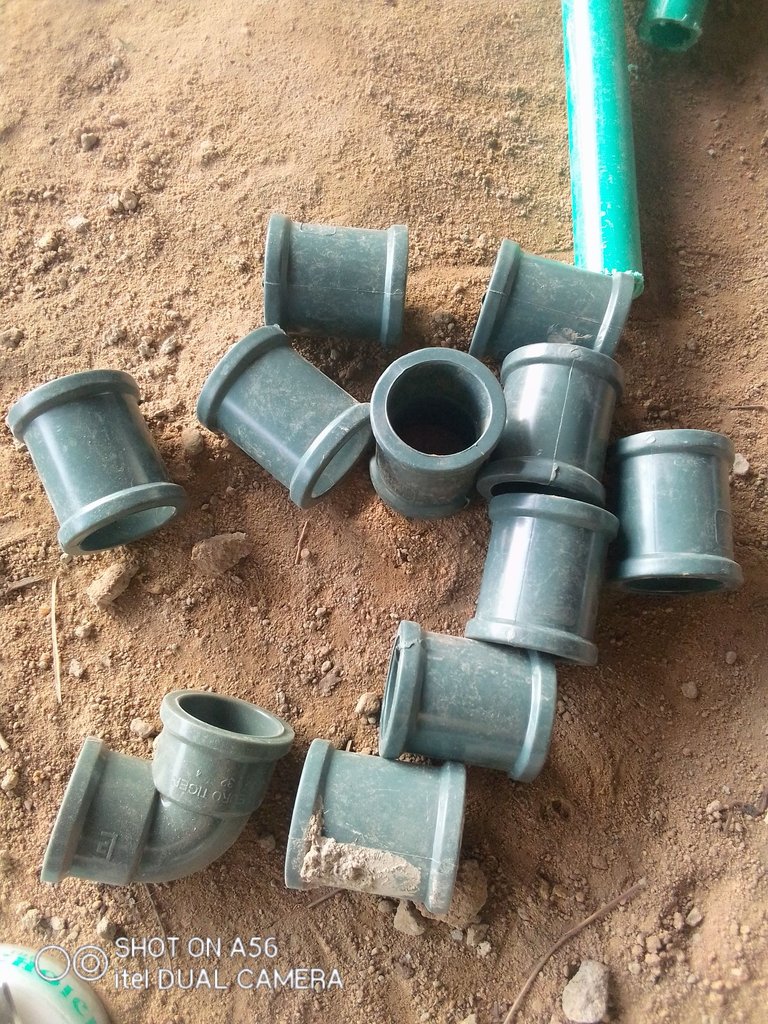
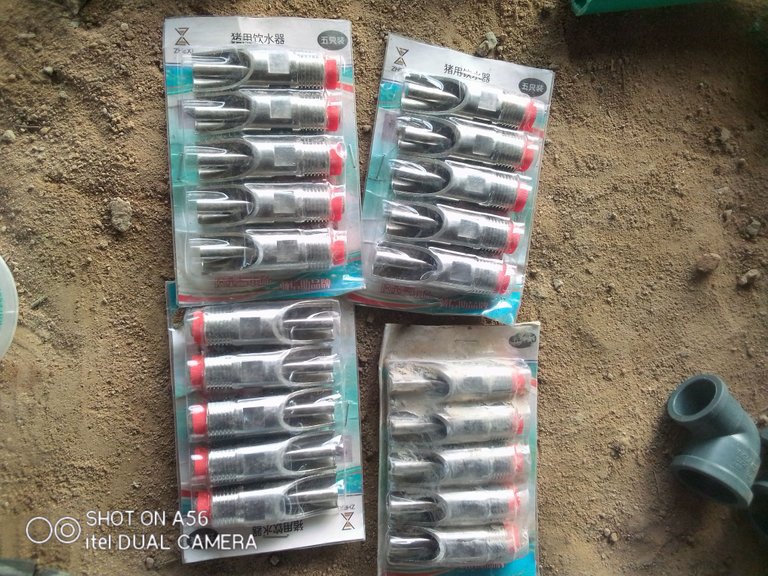
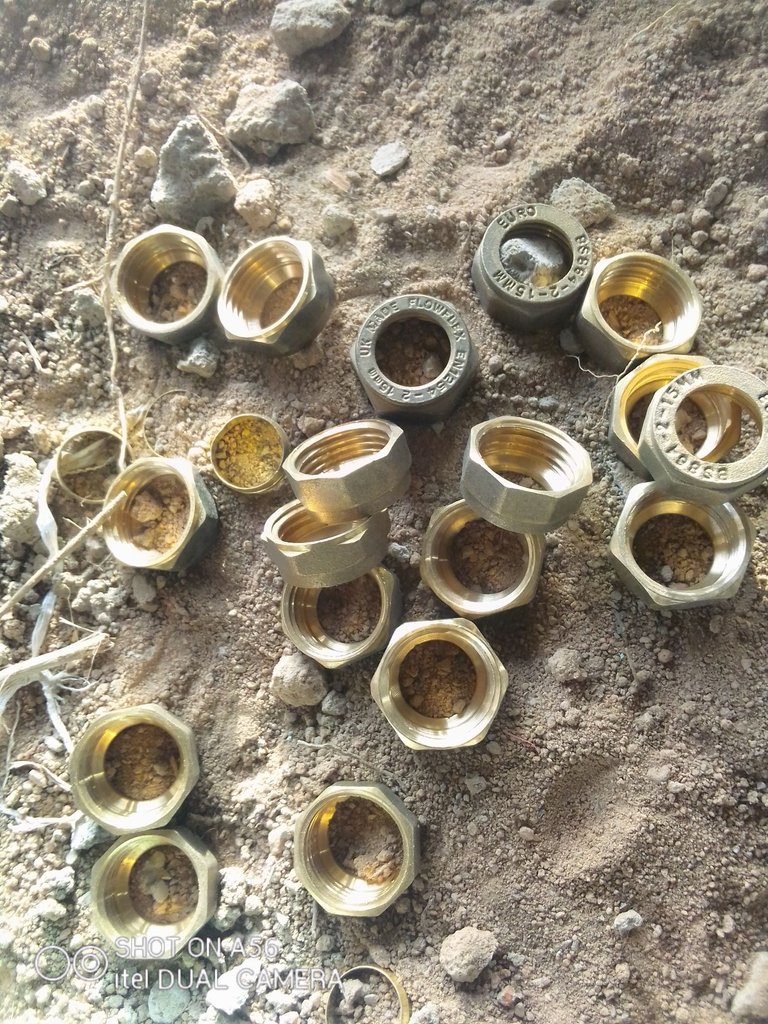
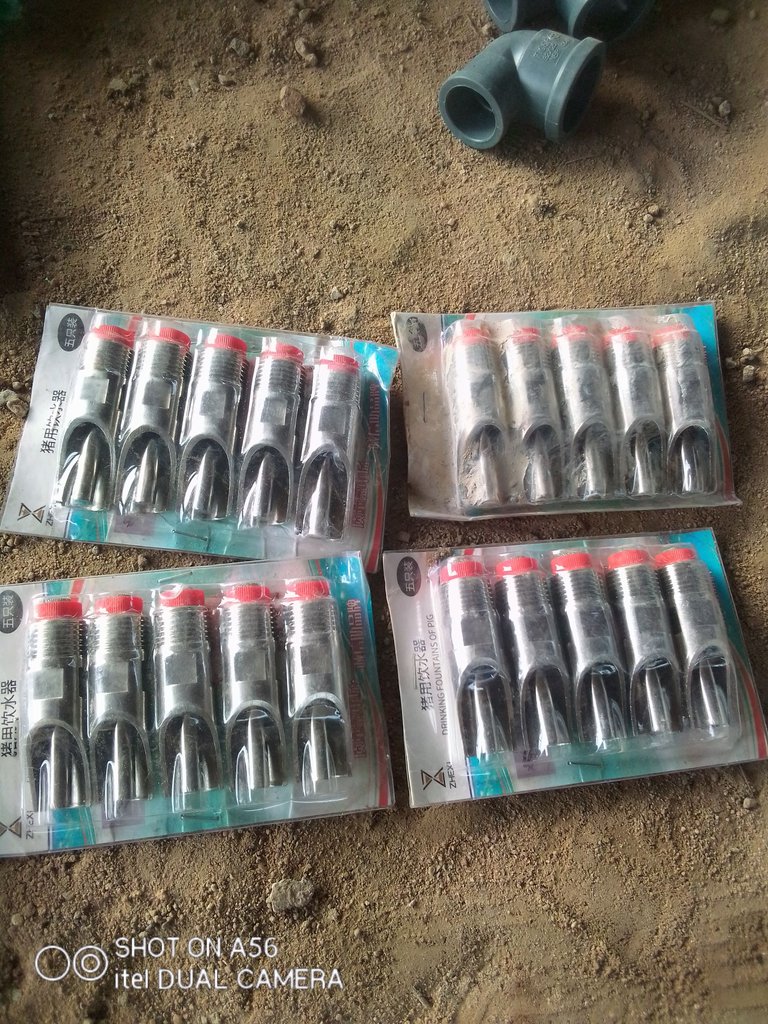
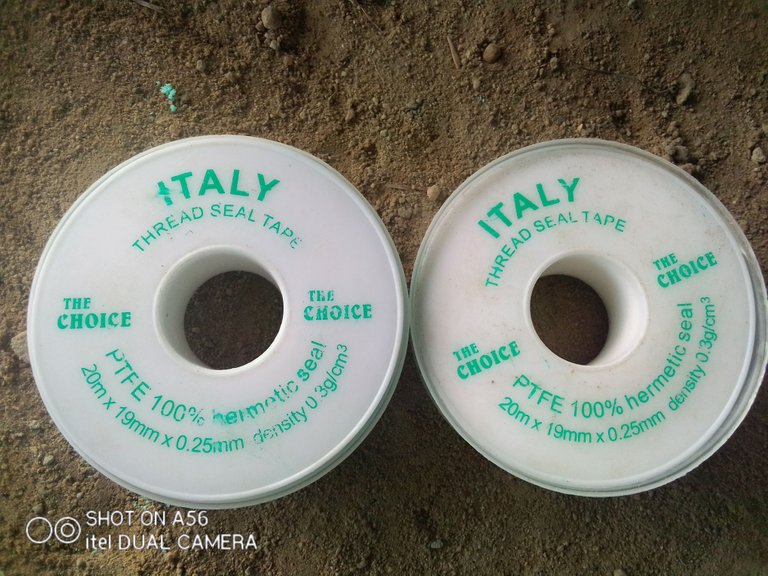
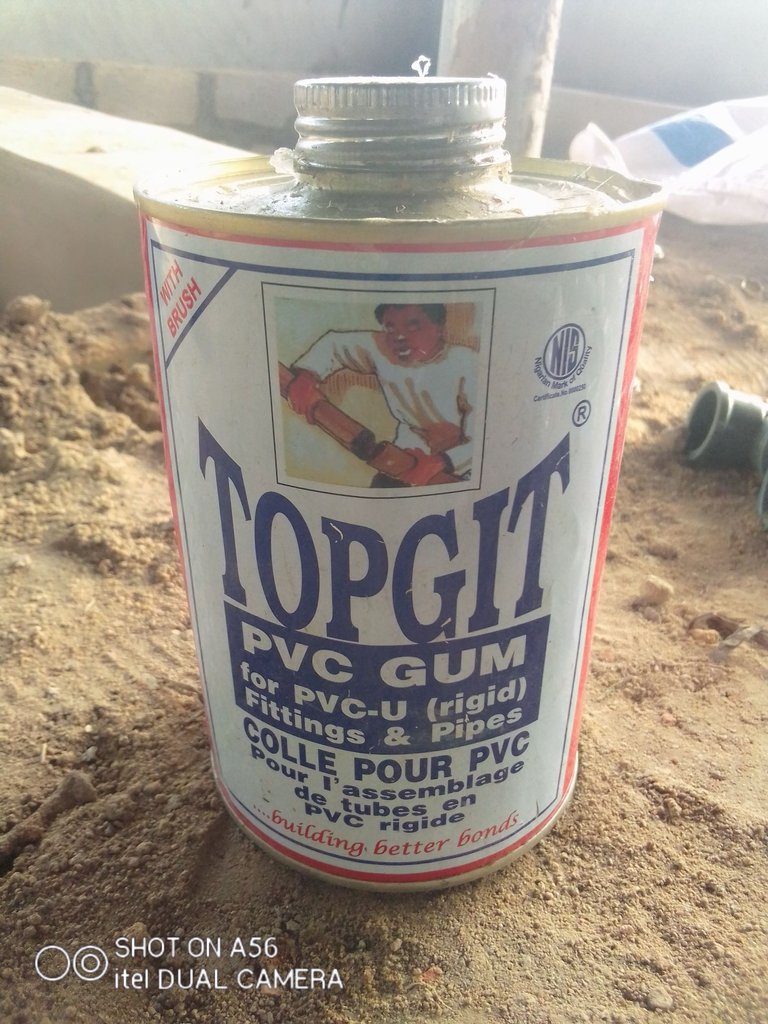
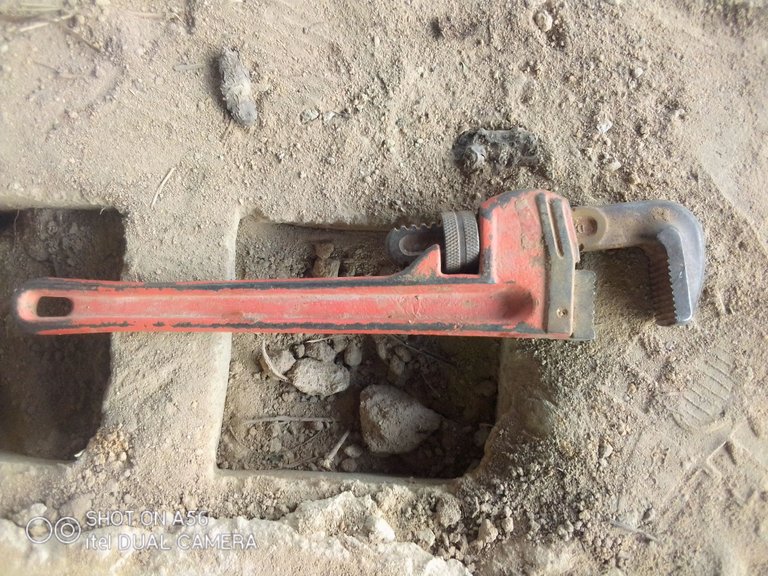
I bought the materials needed at the biggest Plumbering Material's Store in Omu-Aran in order to get them at good bargain price. We got a vehicle to help transport them over to the site.
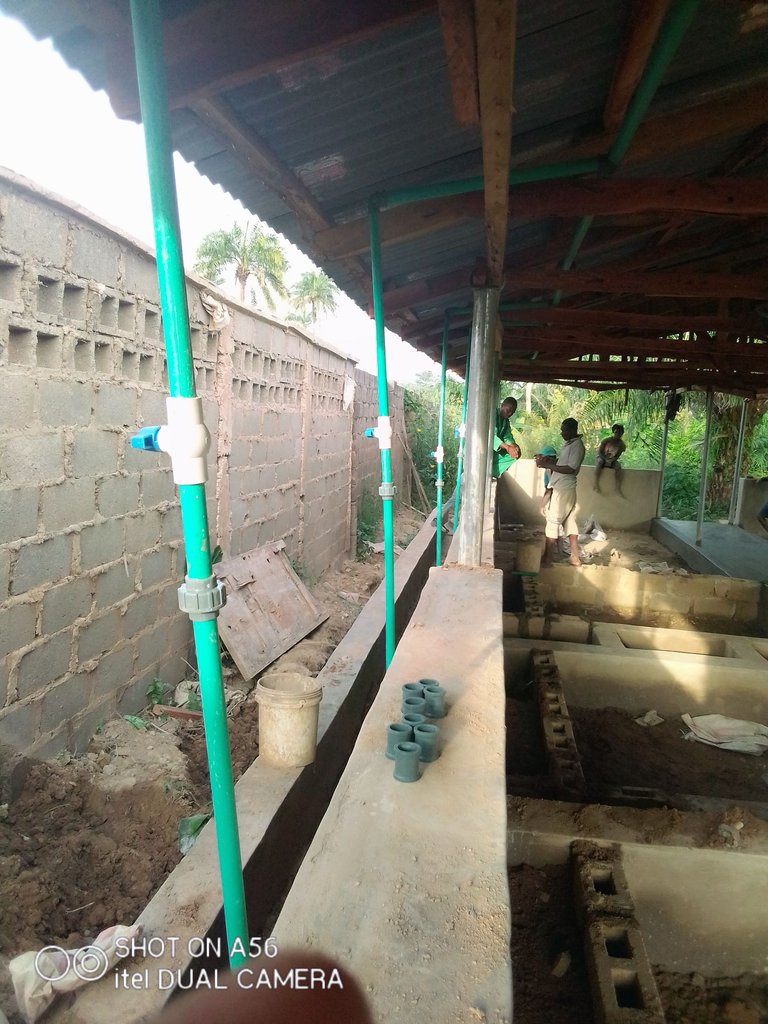
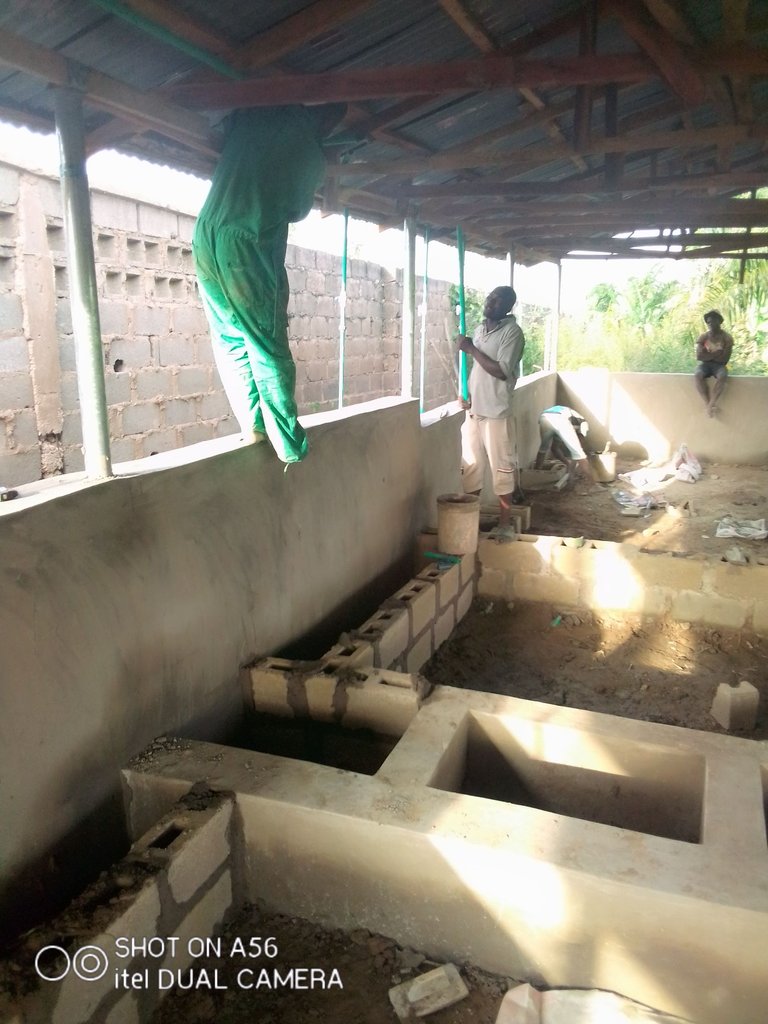
The work started in earnest, not to bore you with Plumbering terms I will explain in simple terms. We pierced the wall with the use of an Hammer and Chisel, and the pipe was driven into the walls and held in place with cement paste, after which we connected all the pipes in place to each corridor where the animals will be kept for ease by the animals.
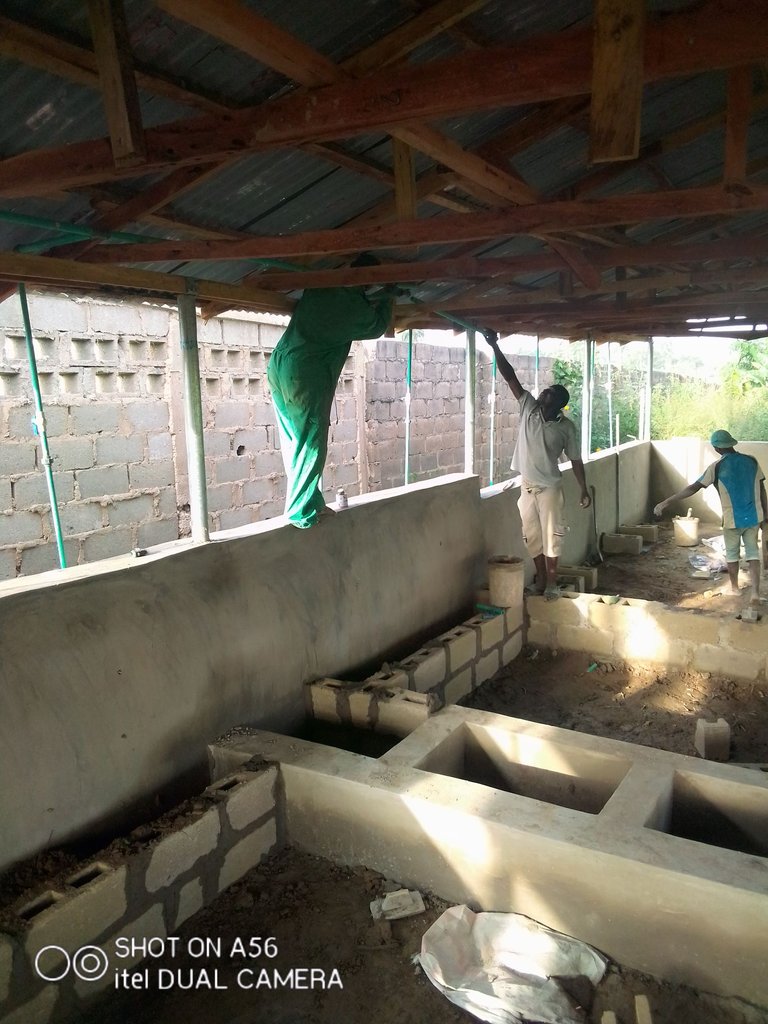
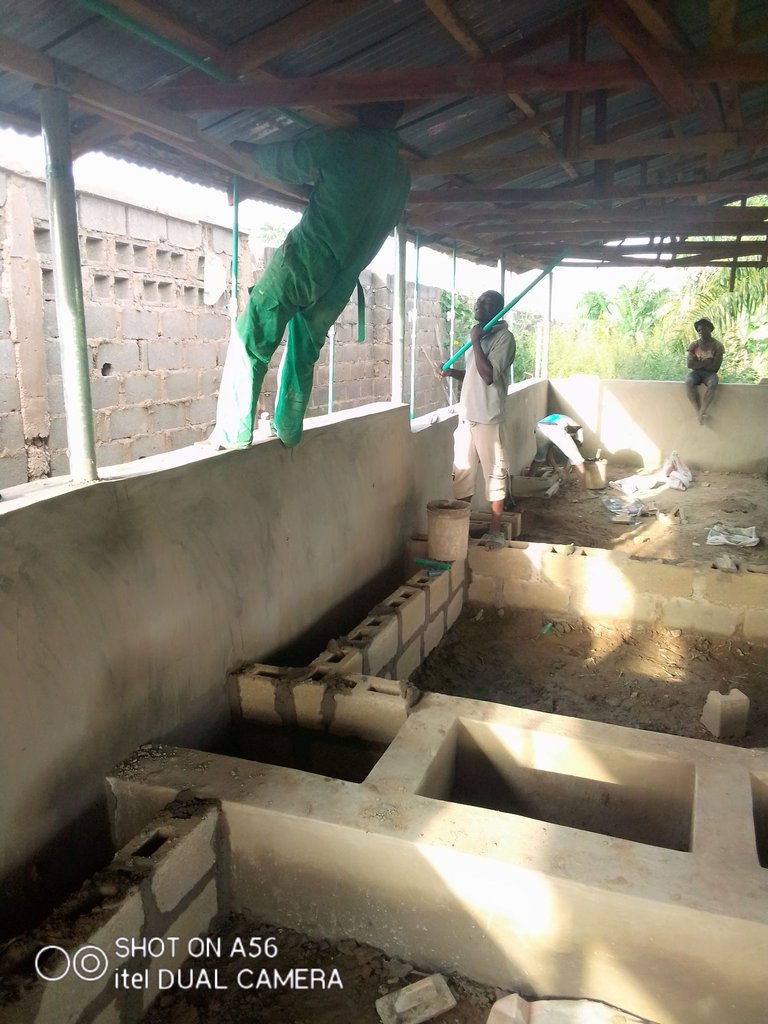
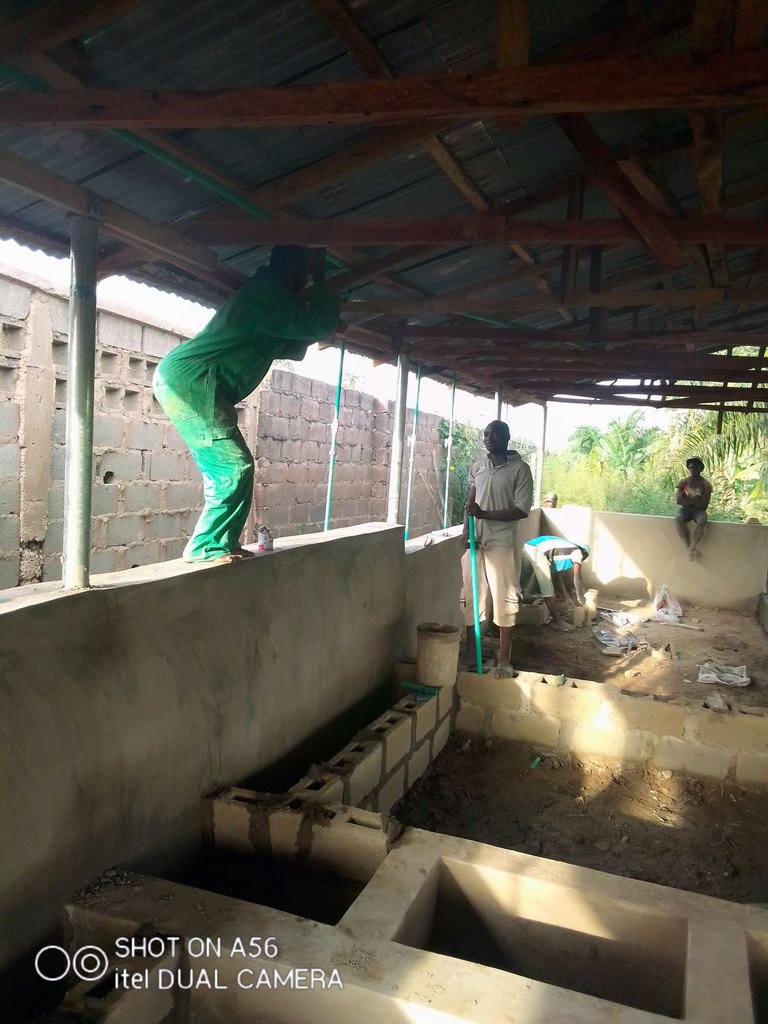
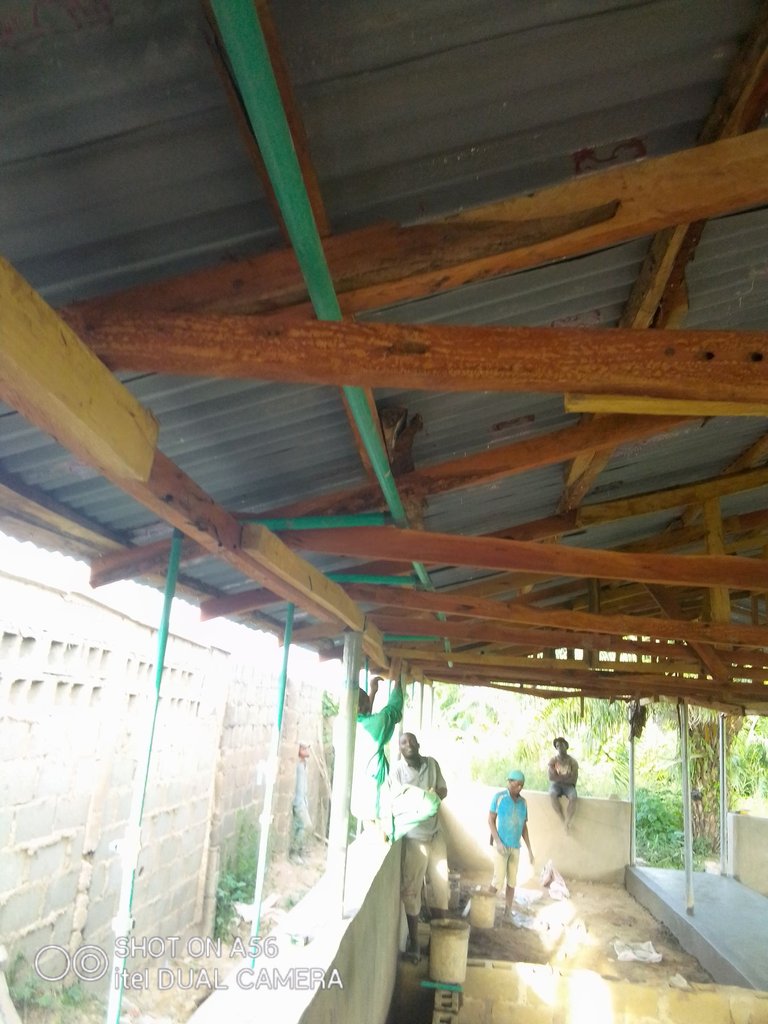
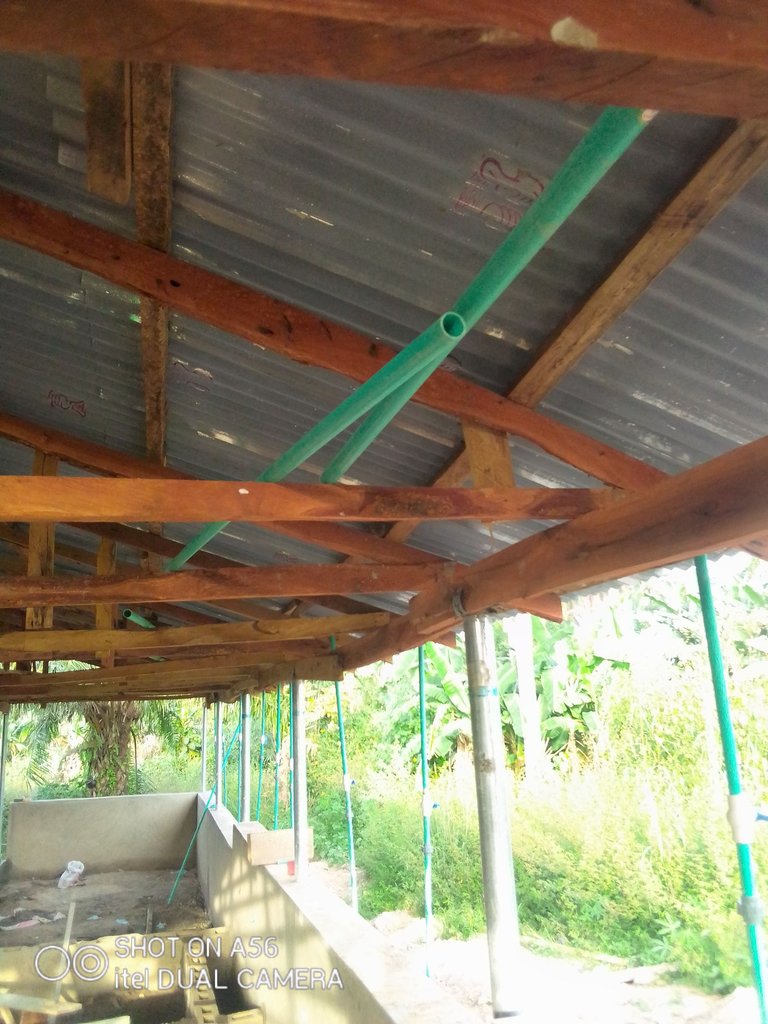
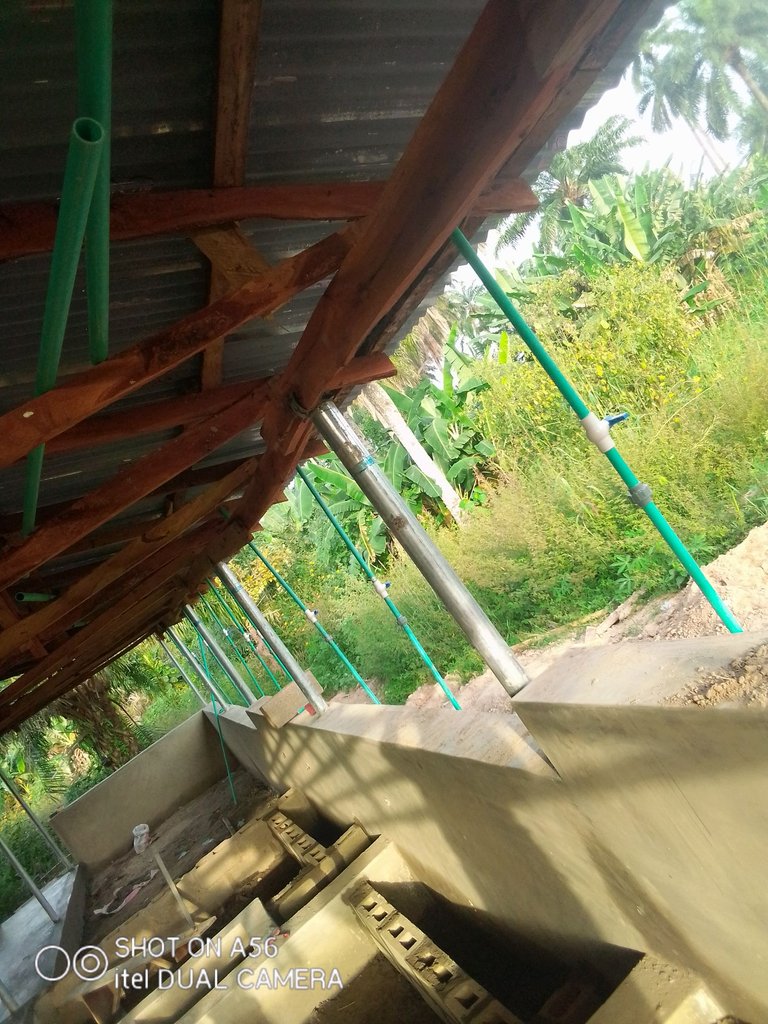
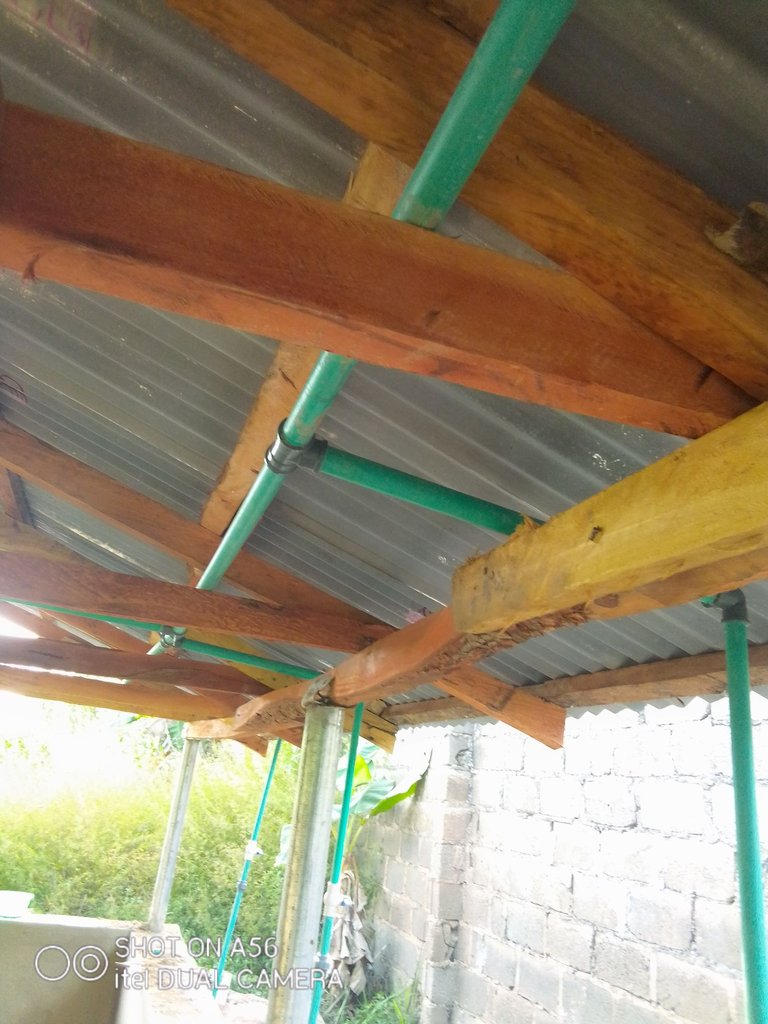
Then instead of laying the pipe that will bring water to each corridor unit from the Storex through the outside walls thereby causes more damage and even when there is need for repairs in the near future. So we layed the pipes through the roof of the farm Building along the wood layout connecting each pipe with a tee, socket or elbow depending on what is needed and making sure each of the joints is held tight in place with the gum or wrench so avoid leakage.
That was how the work over the weekend, the *Water Tank will be connected to the pipe framework soon when fund is released to purchase it.
Thanks for coming by my blog, do have a happy new week.
(I snapped and own all the Images used in this write-up)
