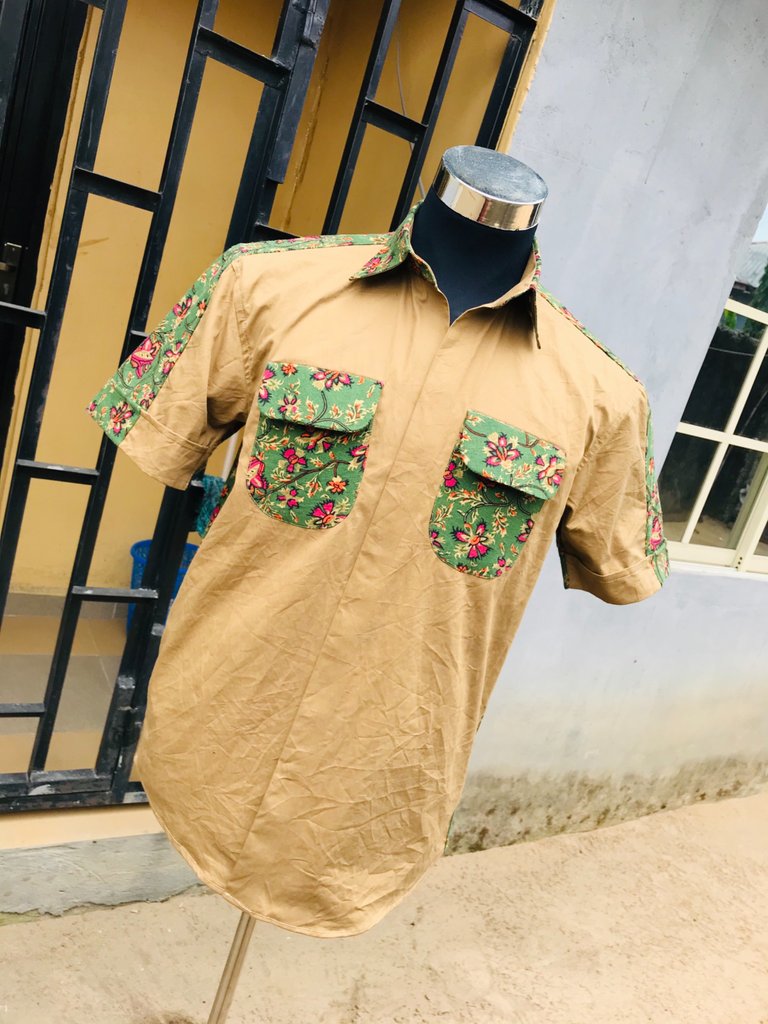
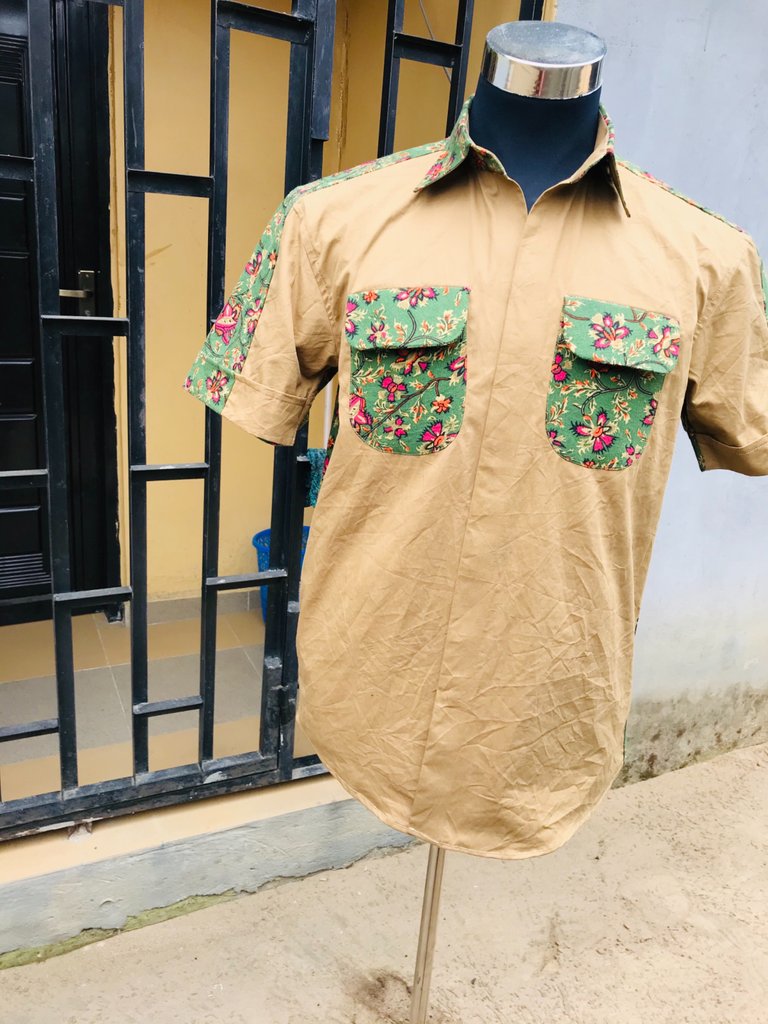
Hello my honorable friends on this platform, good morning to you all hope you all enjoyed your weekend and I specially wish you all a great and a prosperous new week ahead. It actually always fun writing to you guys each time, I trust you all are safe and healthy wherever you are, it’s alway gladden my heart writing to you all, so friends to day is yet another day I want to share with you all my just conclude outfit for a client as usual. It’s actually a shirt, I decided to sew this style for him . Friends I’ll be sharing from start to finish how I got this outfit made 😊just say connected to your favorite brand @smilestitches and let me take you on this amazing session.
Am secretly making this shirt to gift a friend on his birthday 😂,
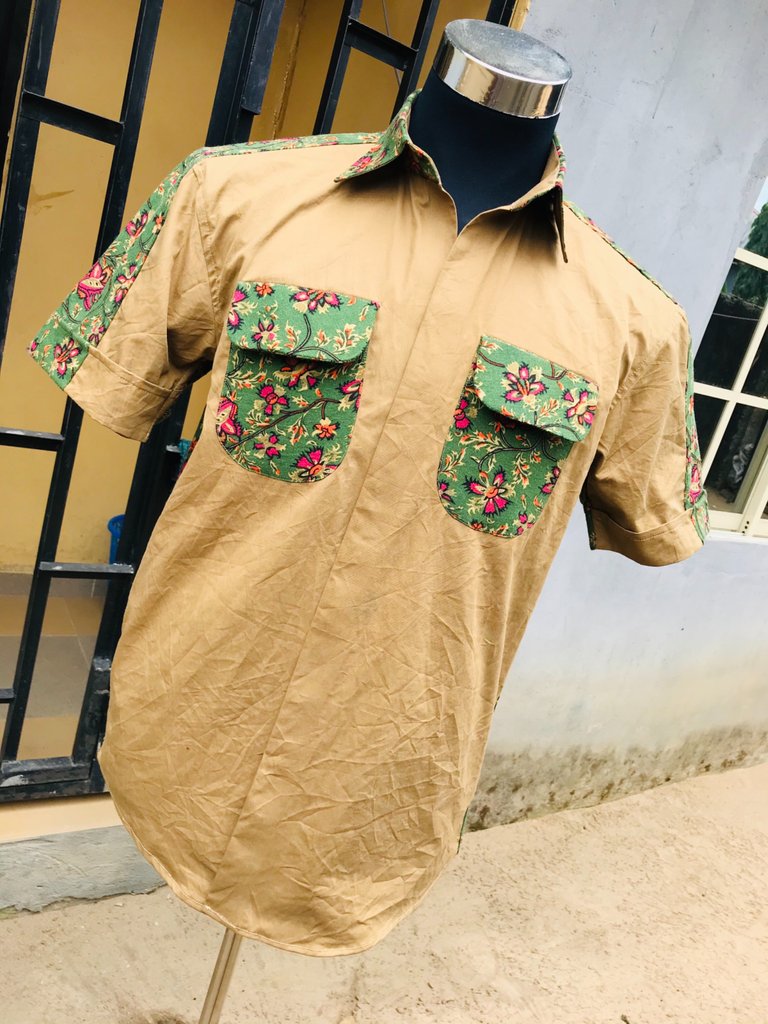
Items used:
- A flowery fabric
- A plain matching color fabric for the combination
- Collet gum
- Paper gum
- Matching thread.
My sewing processes:
Step 1:
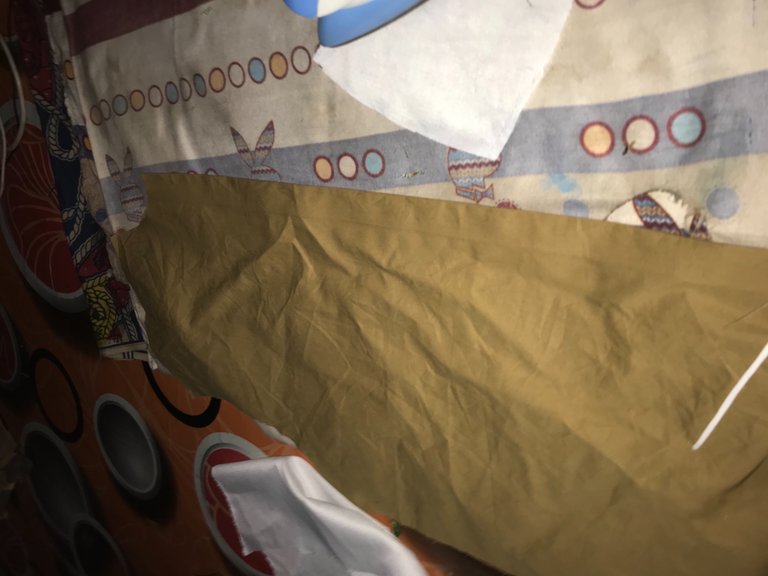
I first lay the plain fabric, I bend it into two I draw my client’s body measurement on it with a pencil ✏️ and I cut it out. I used the front I already cut out to cut out the back view and the both sleeves.
It’s actually a short sleeve so am taking 9inches for the length of the sleeves.
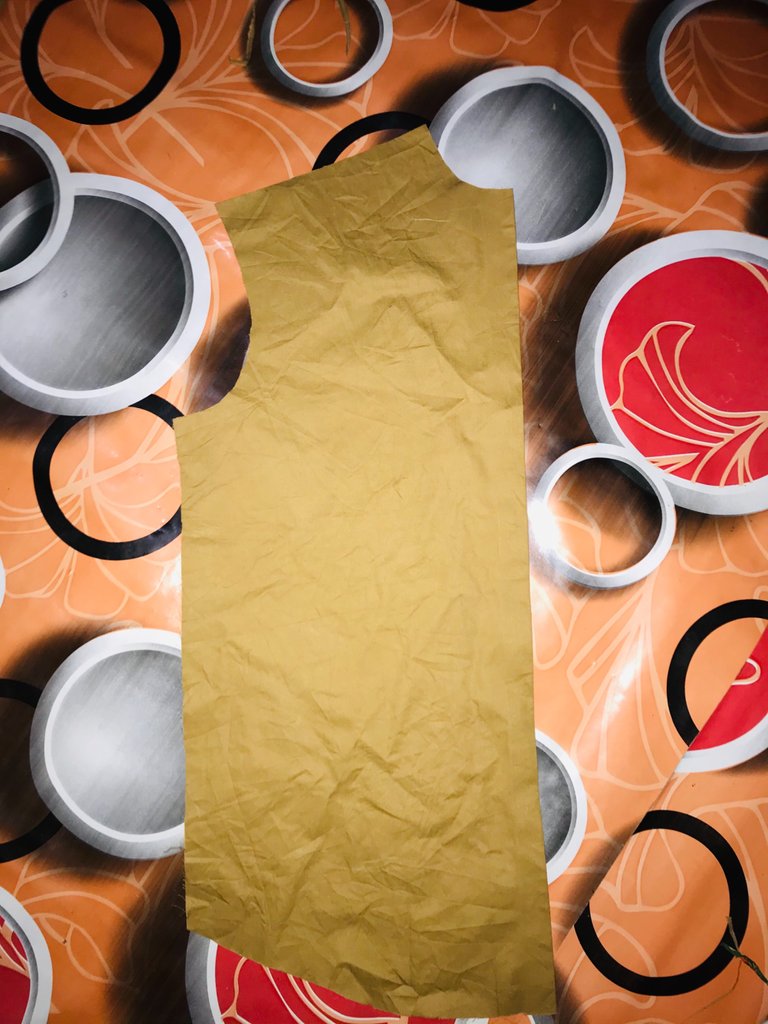
Step 2:
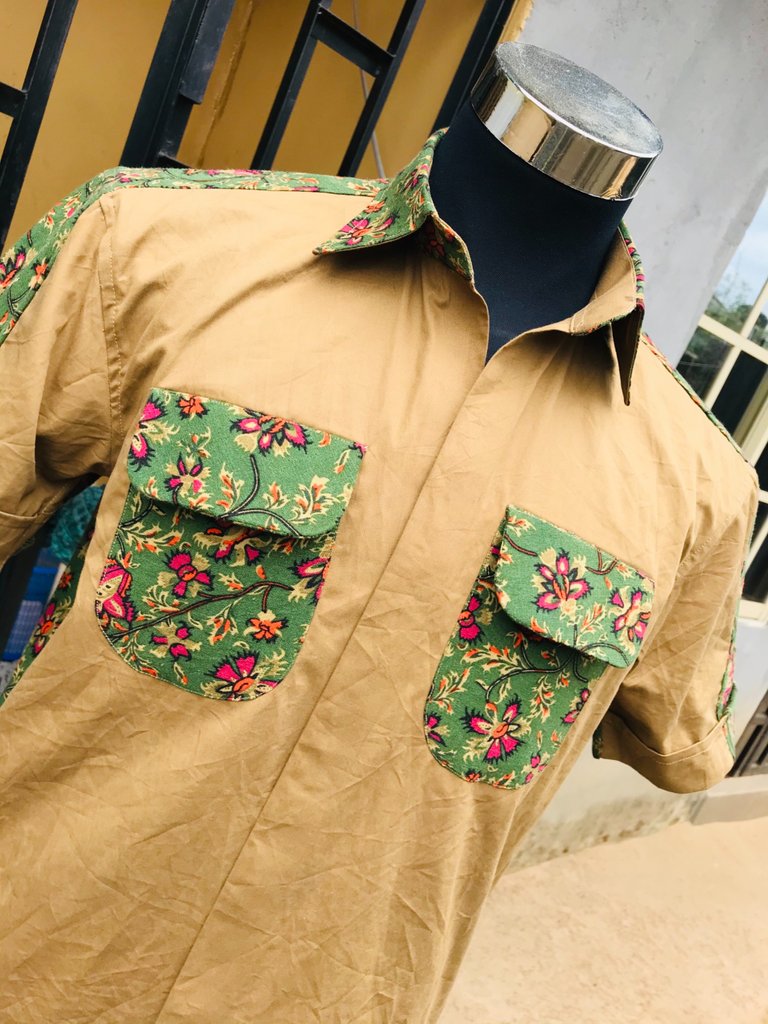
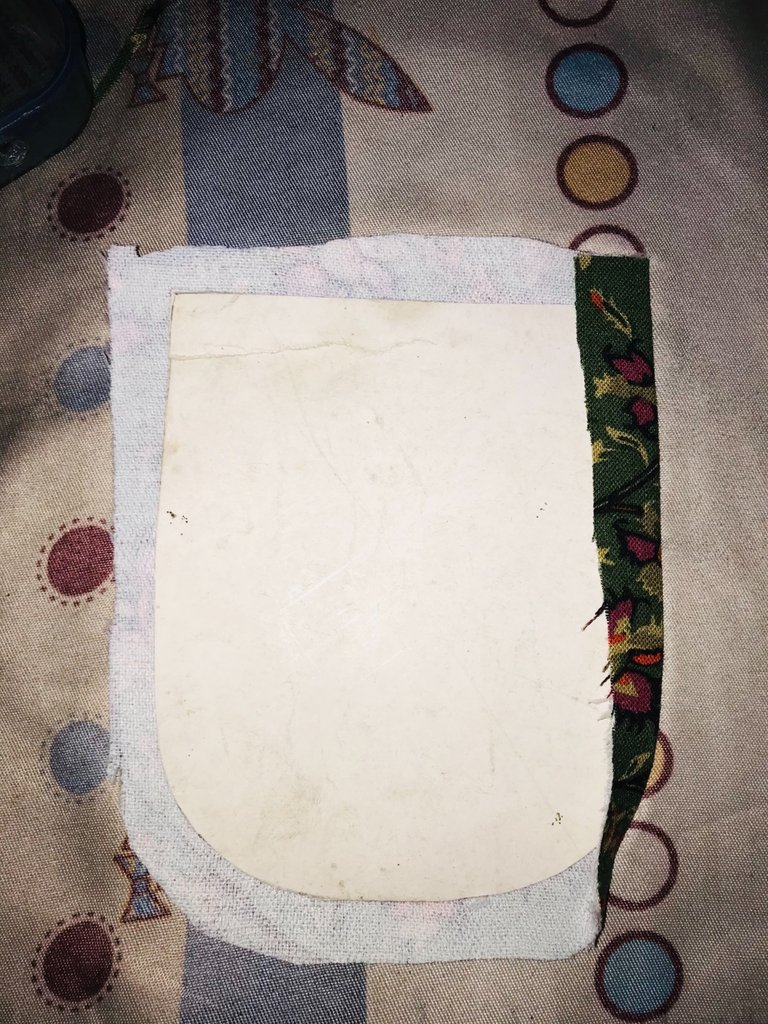
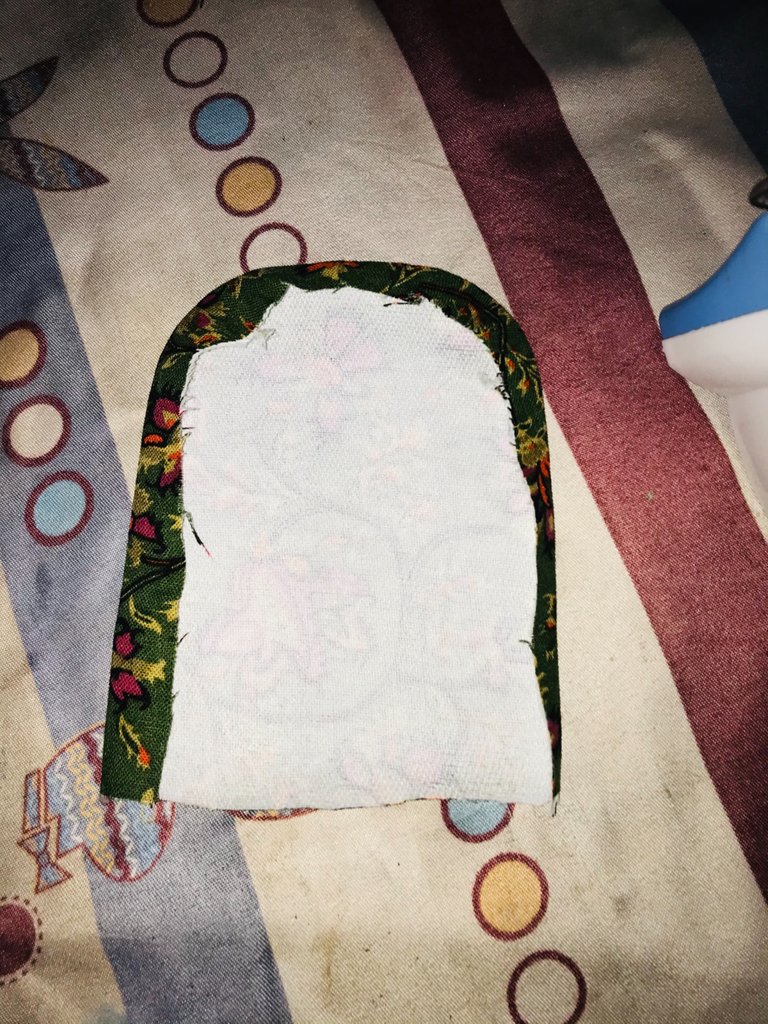
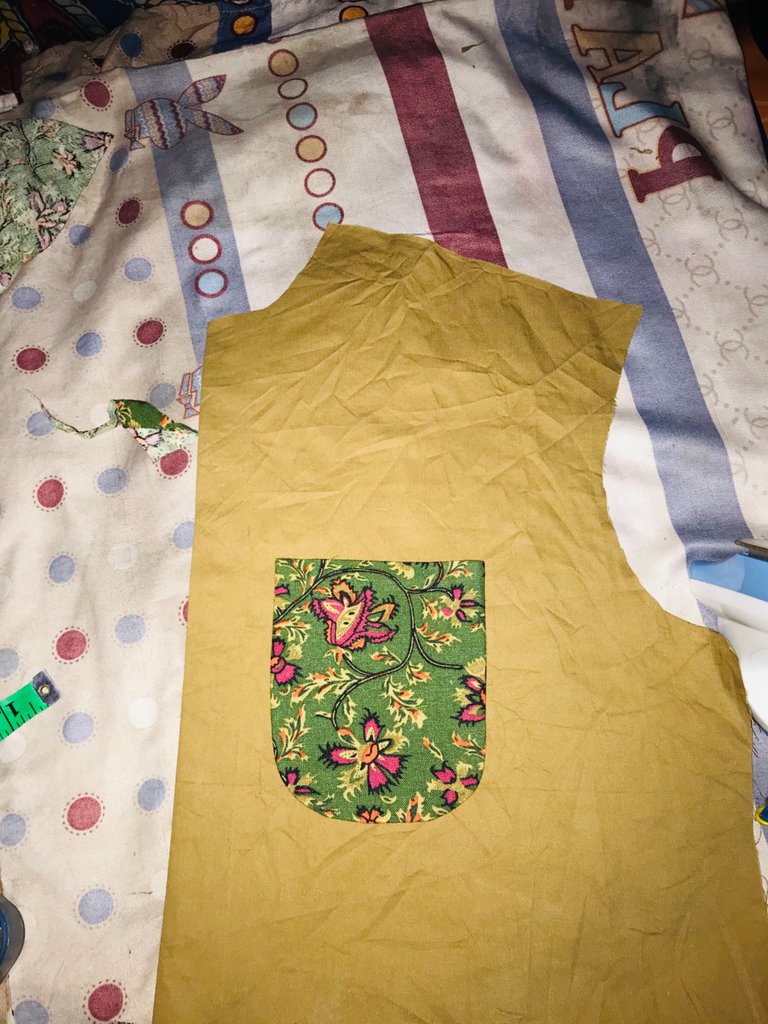
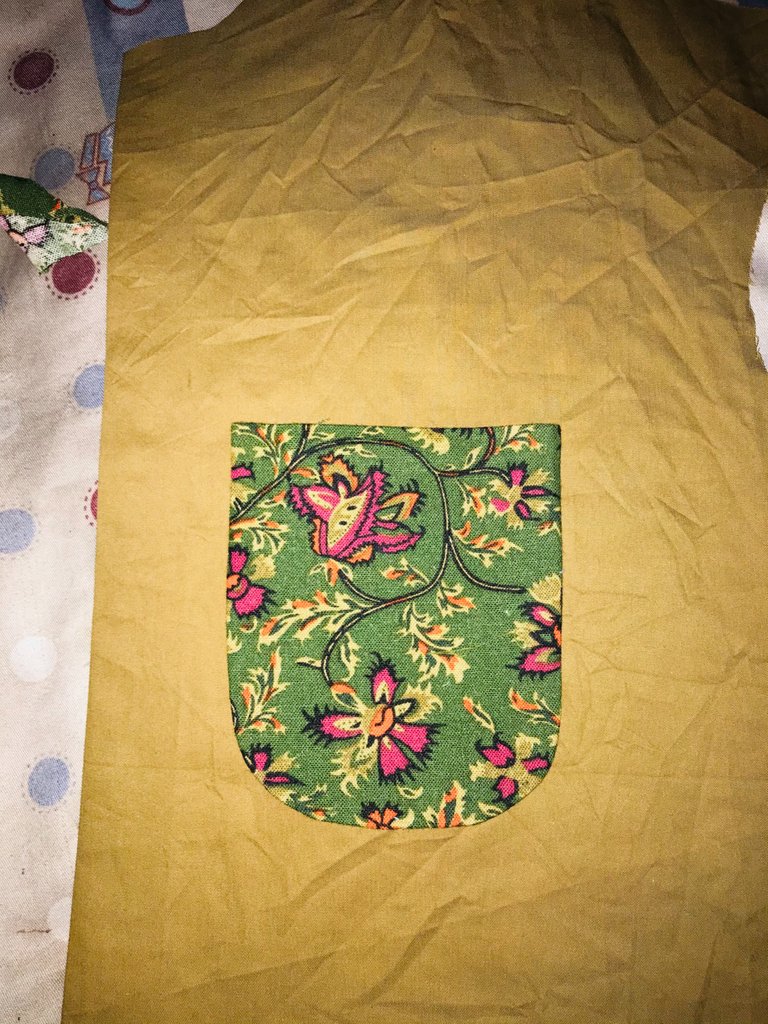
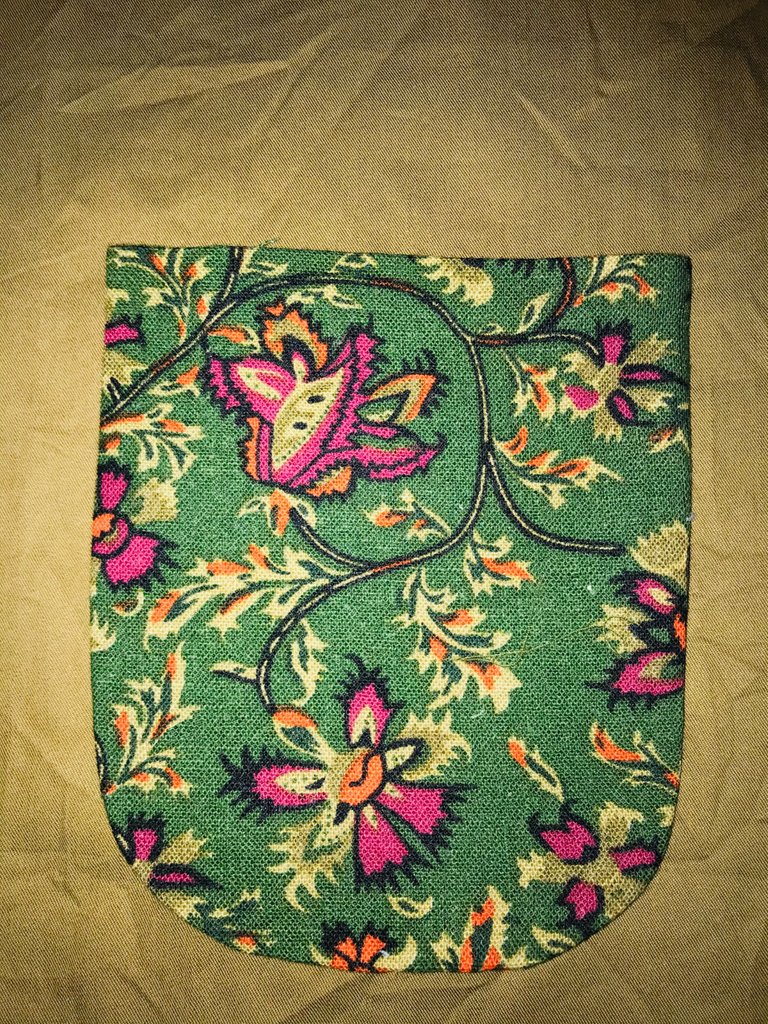
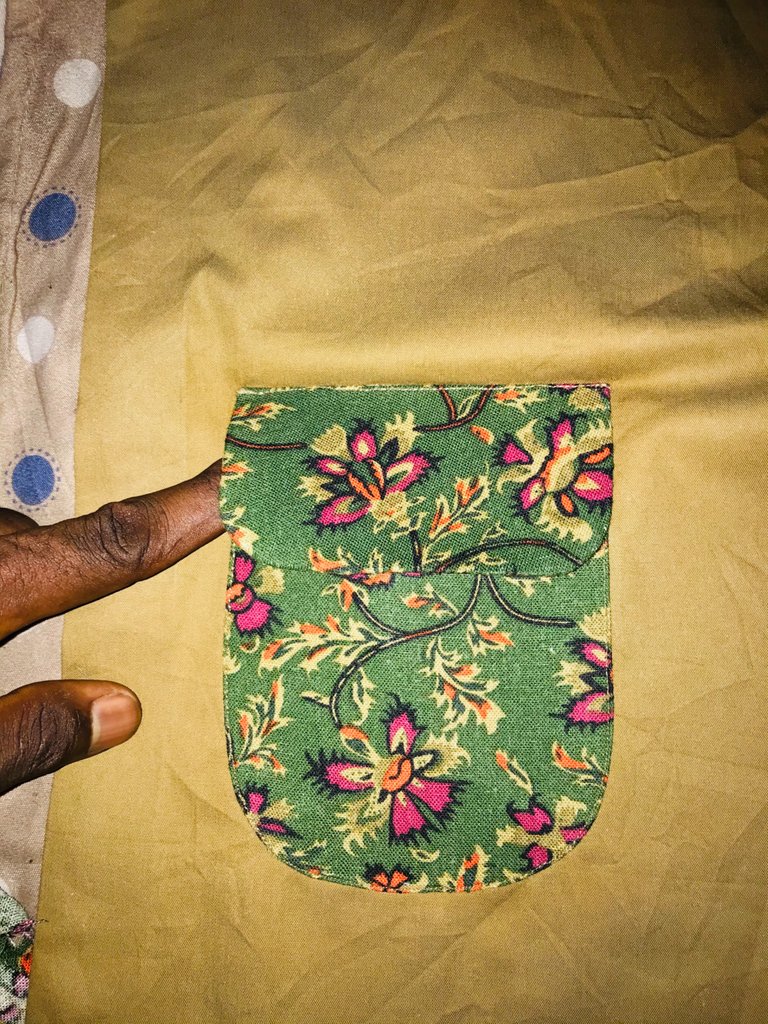
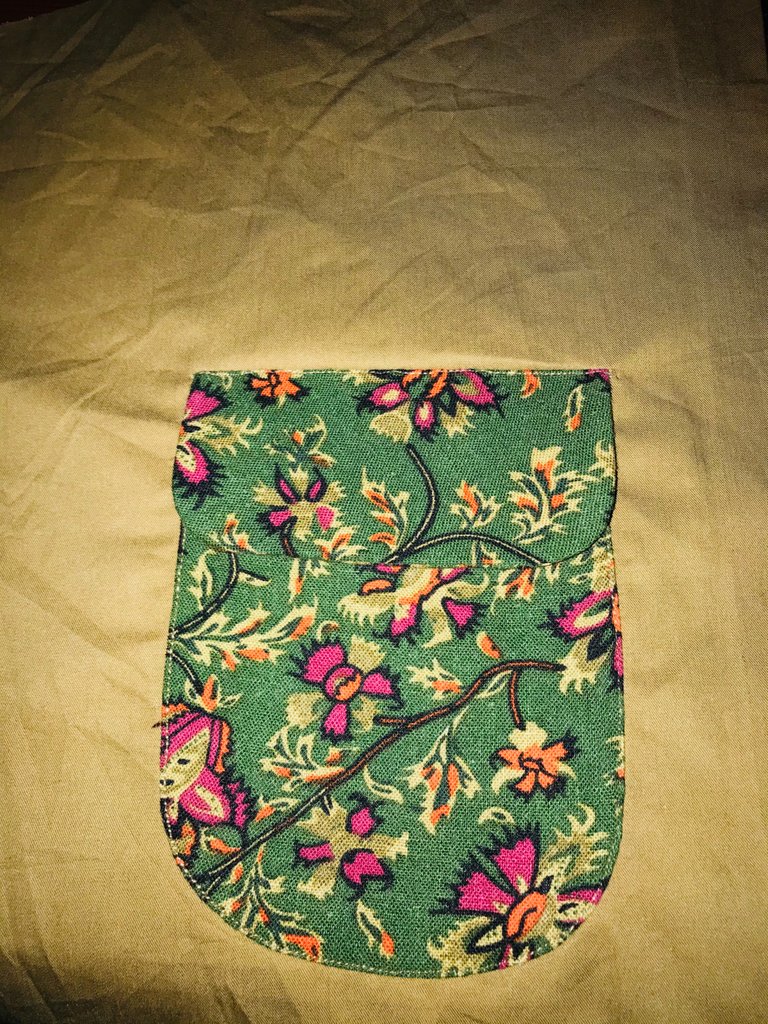
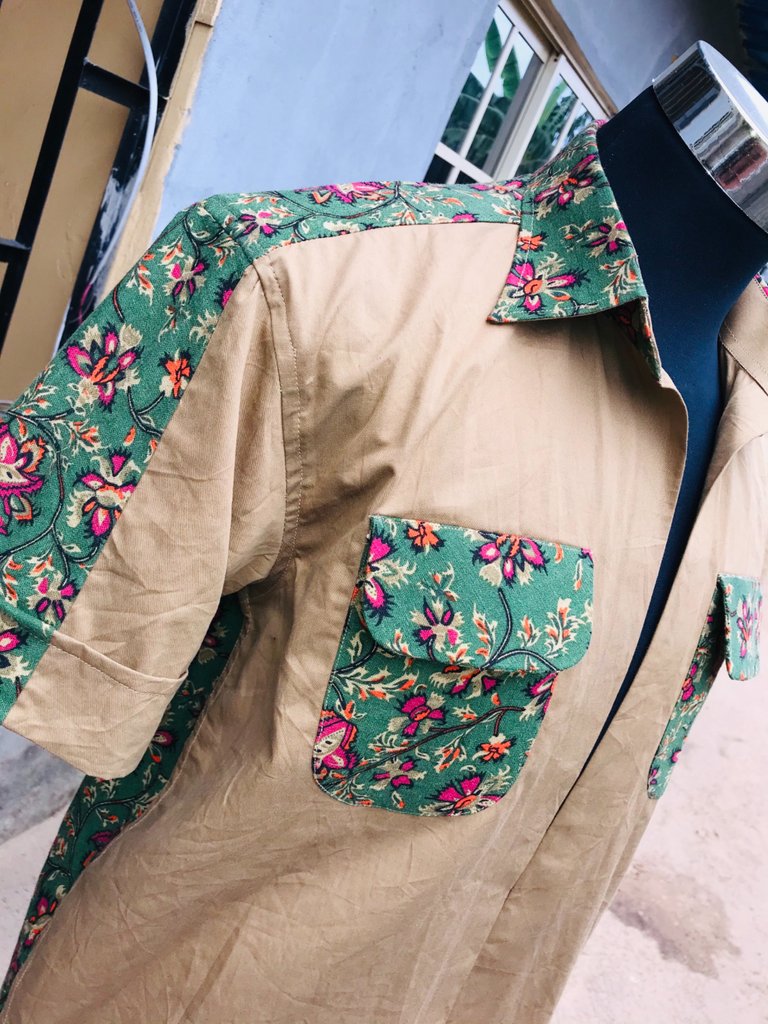
I then ironed in the 2inches I left for the button and the button hole, I ironed it inside and sewed it. Now I took the flowery fabric and I cut it in a square form and I use my round pocket form to iron out the roundness, you just can’t achieve that roundness without the pattern. So I used the pattern to achieve the roundness and after ironing out the roundness, i made the pocket in a pair and I sewed one to the left and the other to the right side of the front.
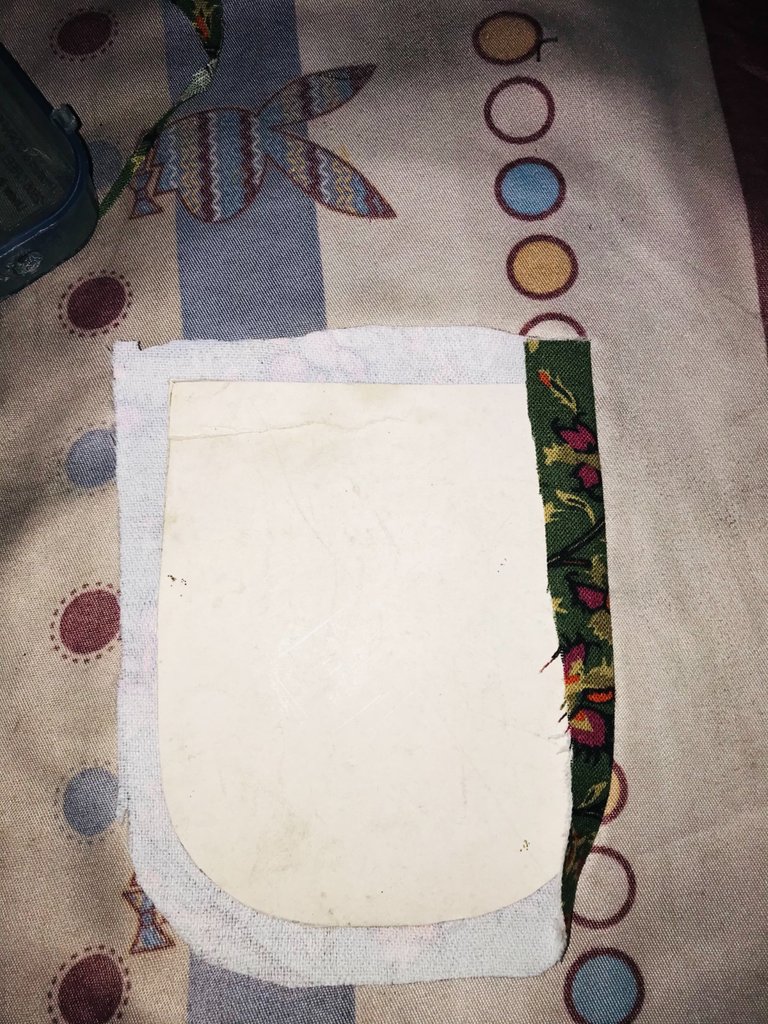
Step 3:
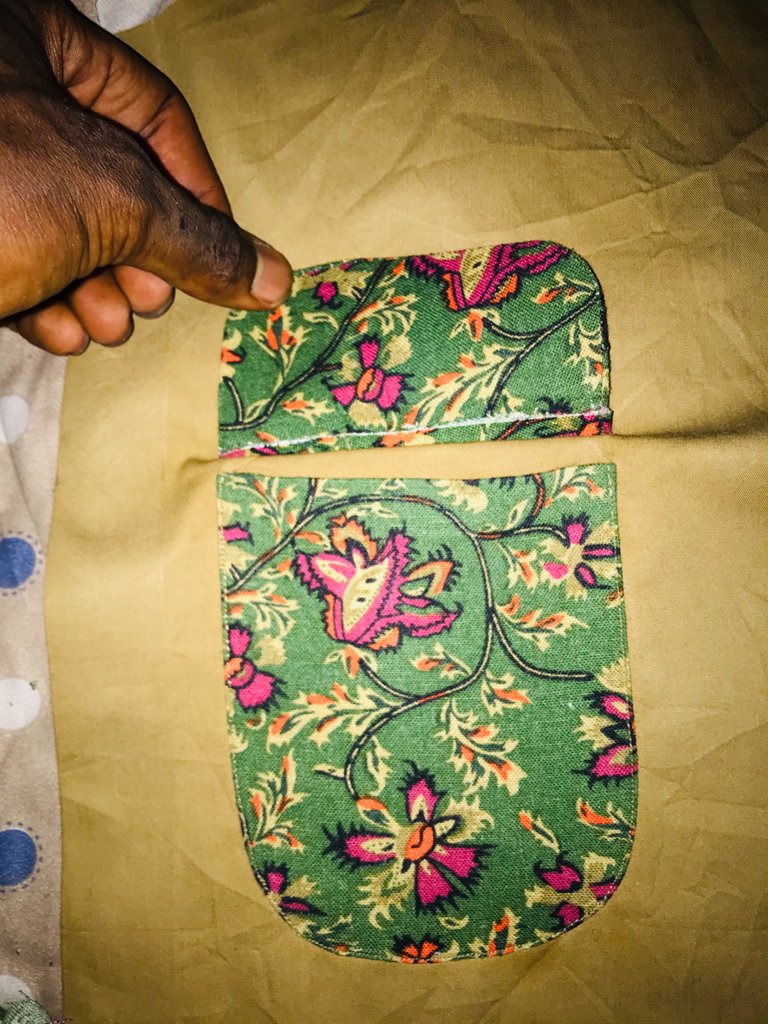
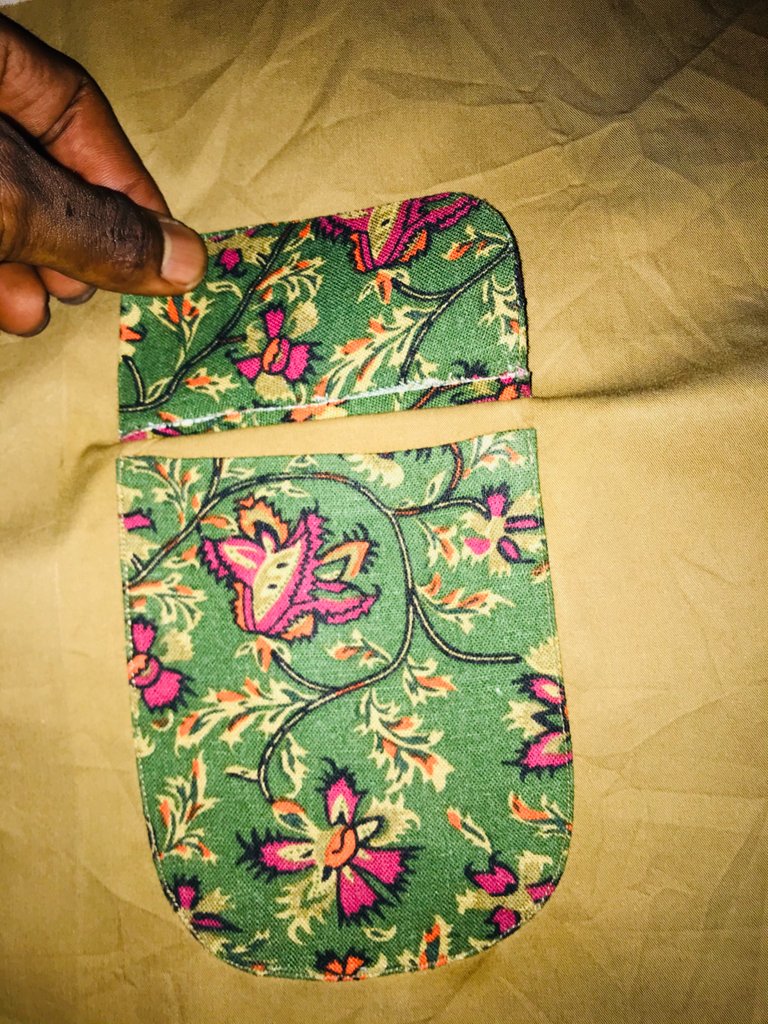
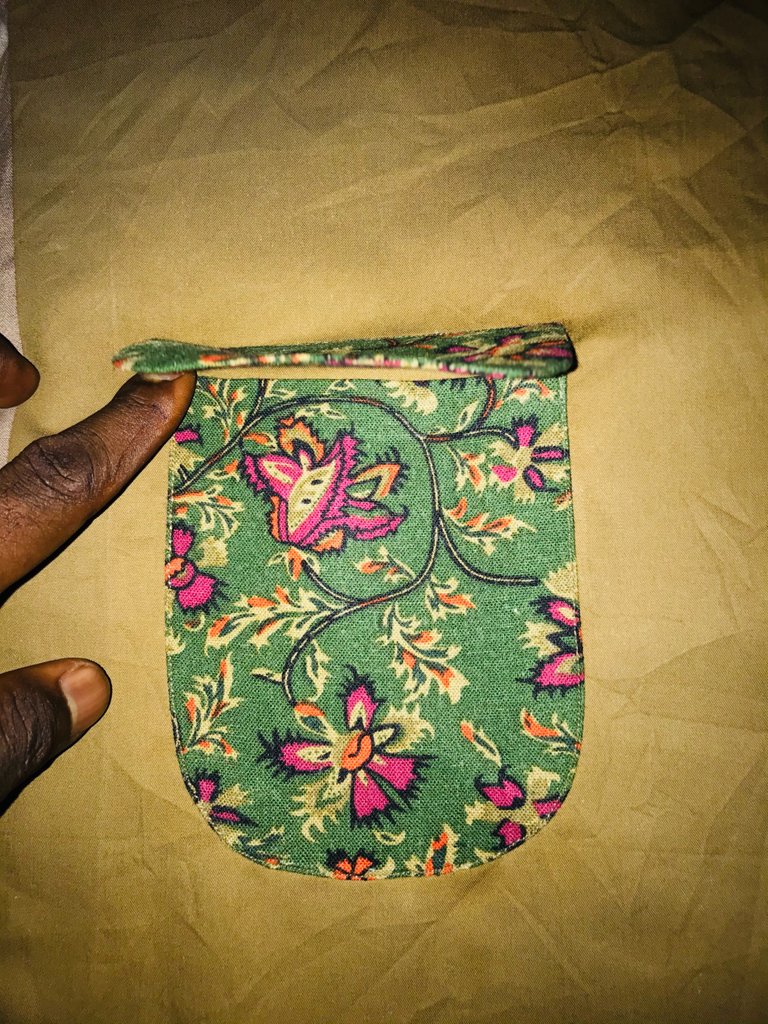
After the pocket was done, I made a pocket cover just same size as the pocket, in a round form since that pocket was round too. So i made the cover in a round form and I place it on top the pocket to sew it to the pocket.
Step 4:
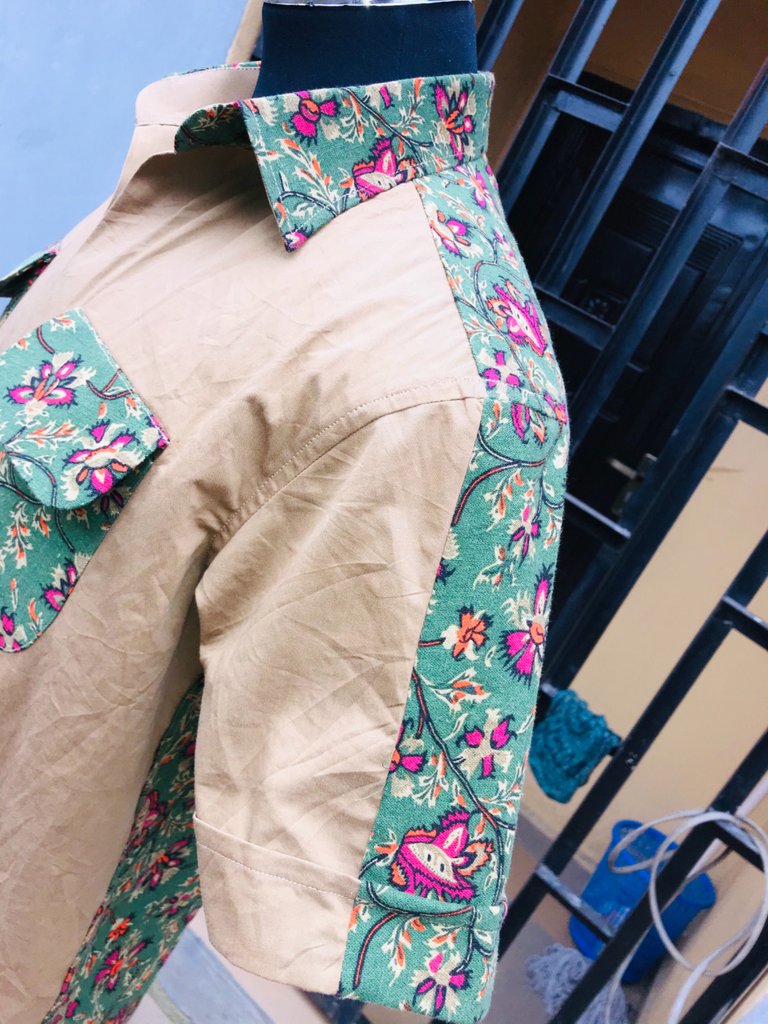
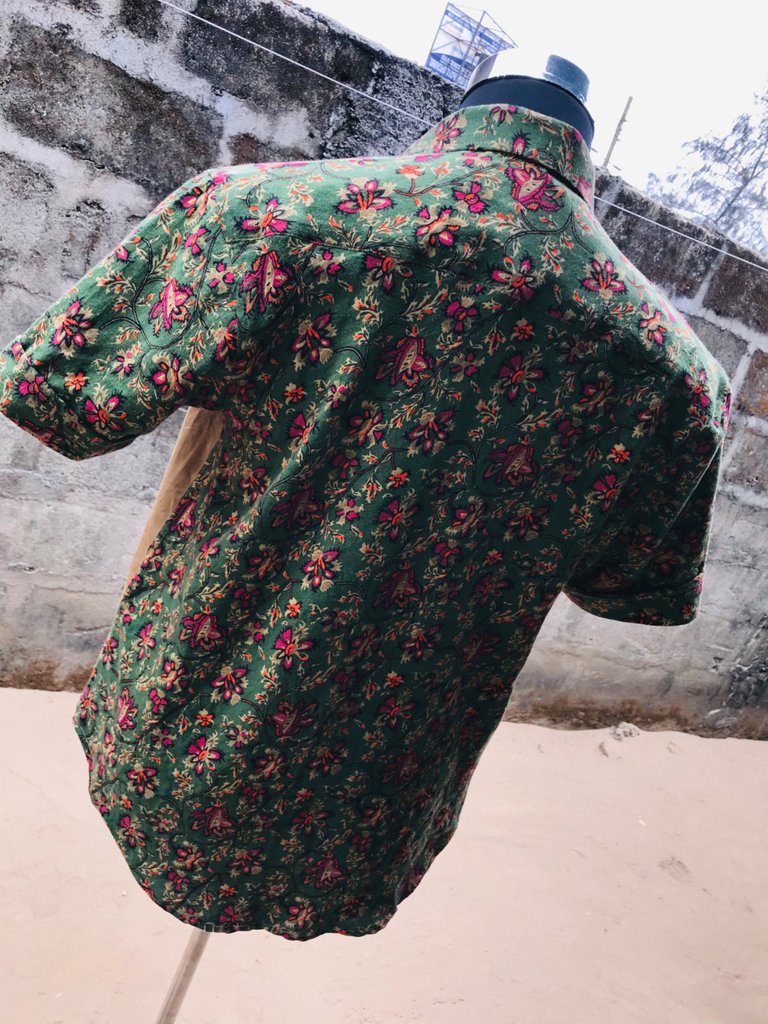
Now the front was ready and I sewed the back to the front and I trimmed and included the both sleeves, like you can see the sleeves I parted it one side is the shirt fabric while the other one side is the plain fabric and I tried my possible best to make sure it rhymes with the shoulder division too.
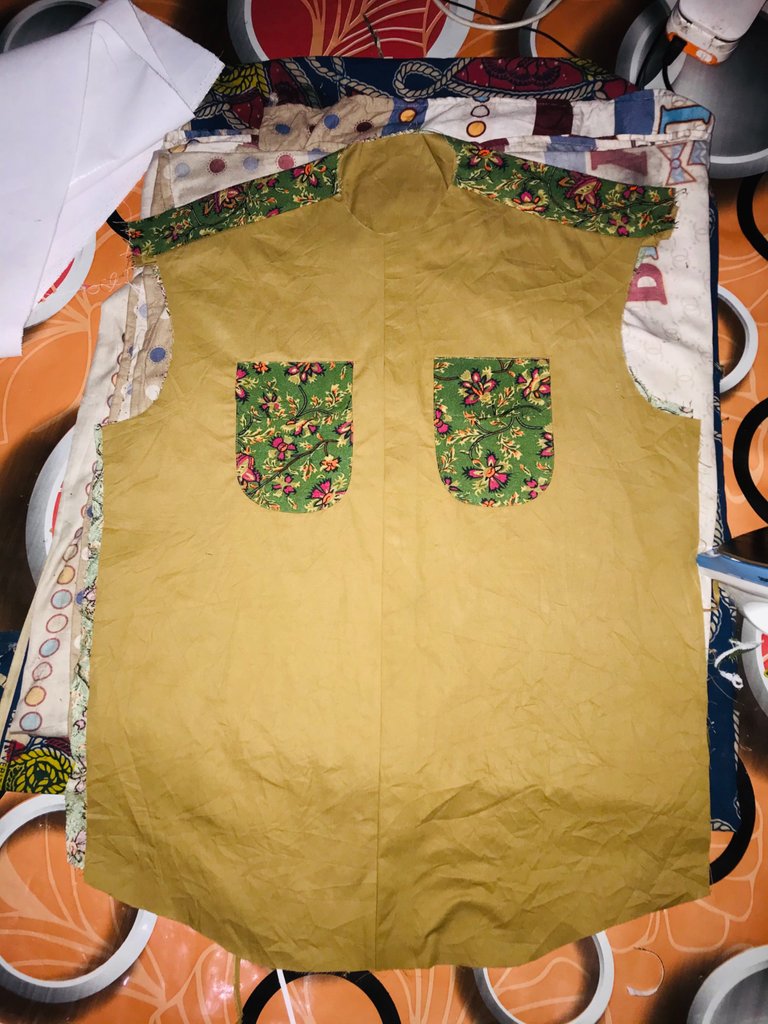
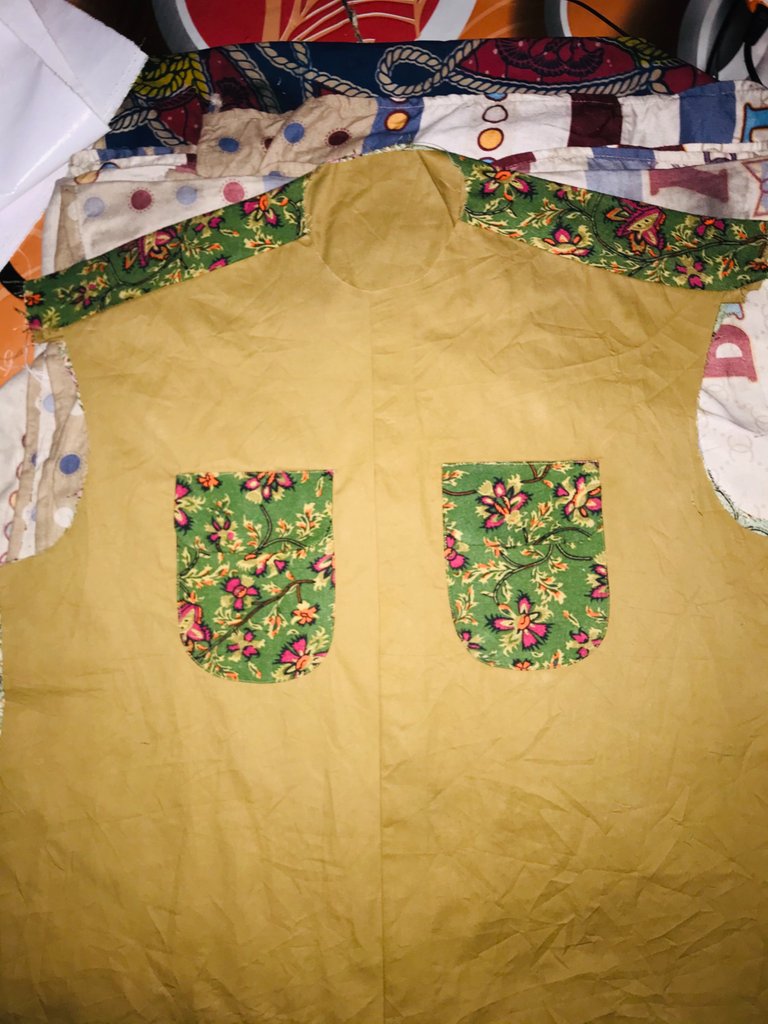
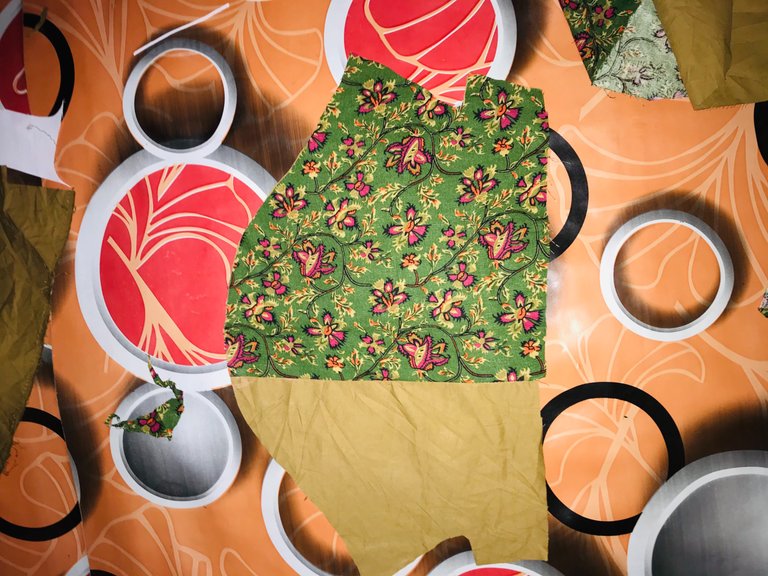
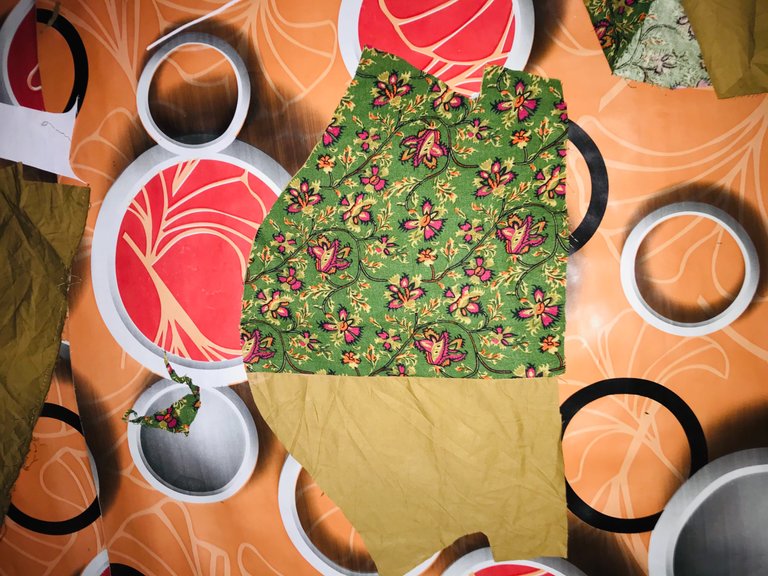
I inserted my both sleeves and I joined the both sides and bend the down part.
Step 5:
I made the collar and I fixed it to the neck and my shirt was ready!!!!
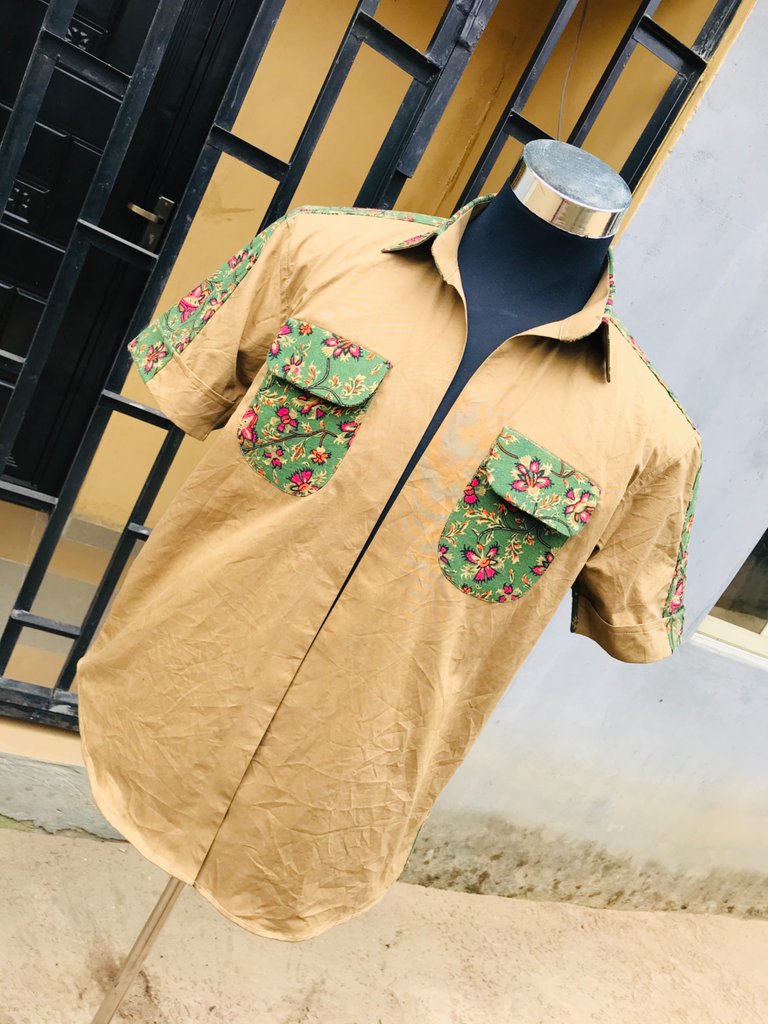
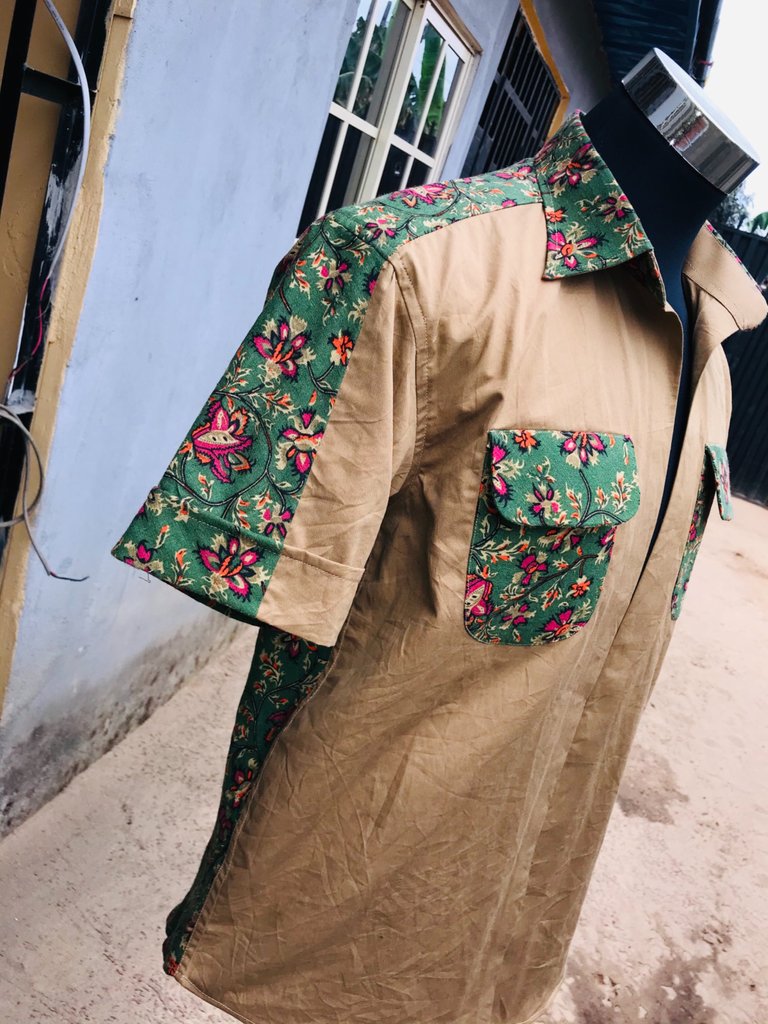
Thanks guys for reading through my post have a prosperous new week ahead and a splendid day at work too. Good vibes 😎.

