Greetings to all the authors of this beautiful community! For some time I had a few pending to do with the crochet theme, sincerely, I postponed all this because I am a procrastinator par excellence, the excuses were that I lacked tools, but this is false, I only lacked the desire, fortunately, I finally had them and I have brought something that I love how it has been despite the difficulties presented.
¡Saludos a todos los autores de esta hermosa comunidad! Desde hace algún tiempo tenía unos cuántos pendientes por hacer con el tema del crochet, sinceramente, aplazaba todo esto porque soy procrastinadora por excelencia, las excusas eran que me faltaban herramientas, pero esto es muy falso, solo me faltaban las ganas, por fortuna, al fin las tuve y he traído algo que me encanta como ha quedado a pesar de las dificultades presentadas.
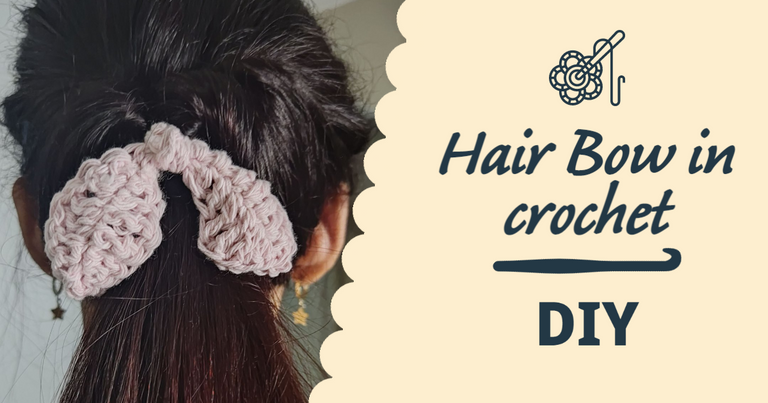
I know not everyone knows this, but my mom, @sofitere, taught me to knit when I was about 10 - 11 years old approximately, so among the things I know how to do, knitting is one of them. A few months back, my mom sent me a box of crochet knitting supplies, and honestly, I had done very little, but here I go. No excuses, today I bring you a simple hair bow that you can make with whatever you have to knit. The pattern is very simple, and for the materials, you will only need three essential things.
Sé que no todos saben esto, pero mi mamá, @sofitere, me enseñó a tejer cuando tenía como 10 - 11 años aproximadamente, así que entre las cosas que sé hacer, tejer es una de ellas. Unos meses atrás, mi madre me envió una caja con materiales para tejer a crochet y sinceramente había hecho muy poco, pero aquí voy. Sin excusas, hoy les traigo un sencillo lazo para el cabello que pueden hacer con lo que tengan para tejer. El patrón es muy sencillo, y los materiales, solo necesitarás tres cosas esenciales.
Materials:
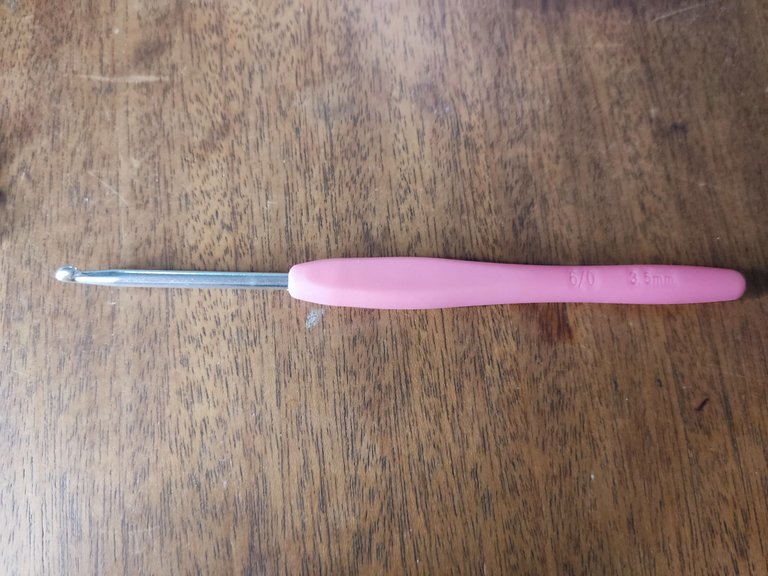
- 6 mm needle.
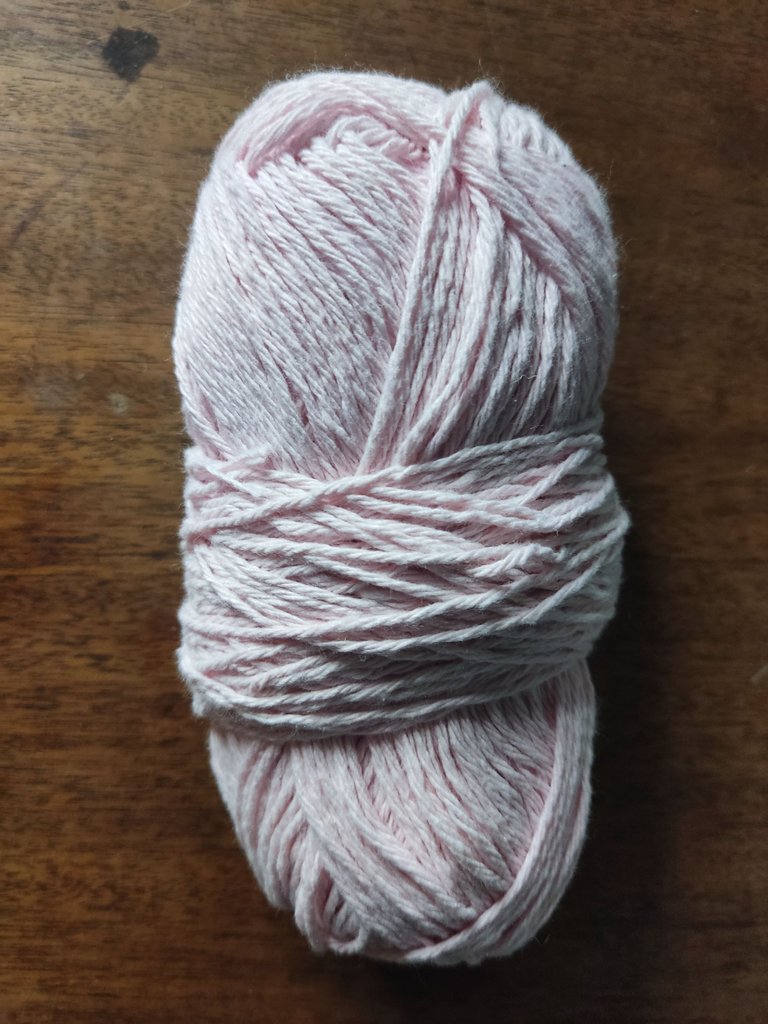
- Pale pink haberdashery thread (Sorry, I don't have any details about the thread, only that it is as thick as wool and has many strands.
- Hair tie).
- Scissors.
- Wool needle.
Materiales:
- Aguja de 6 mm.
- Hilo de mercería rosa pálido. (Lo siento, del hilo no tengo ningún detalle, solo que es tan grueso como una lana y tiene muchas hilachas.
- Liga para el cabello).
- Tijeras
- Aguja lanera
 |  |
|---|
We begin
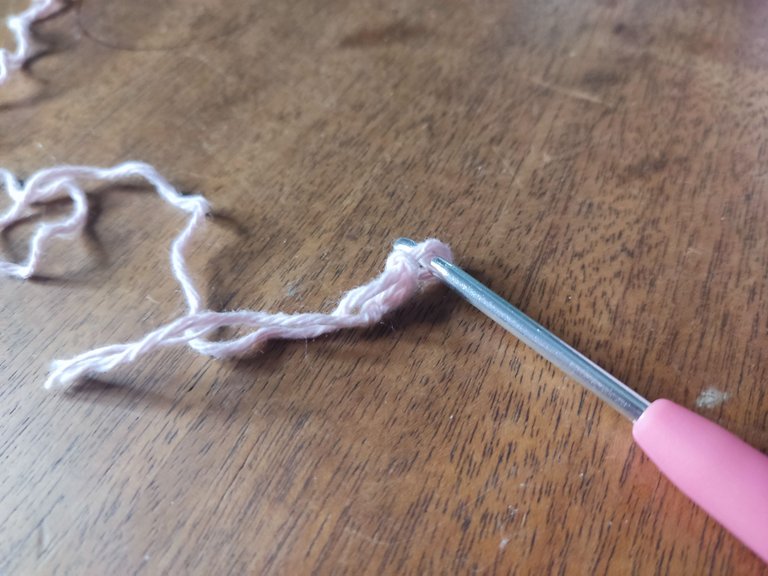
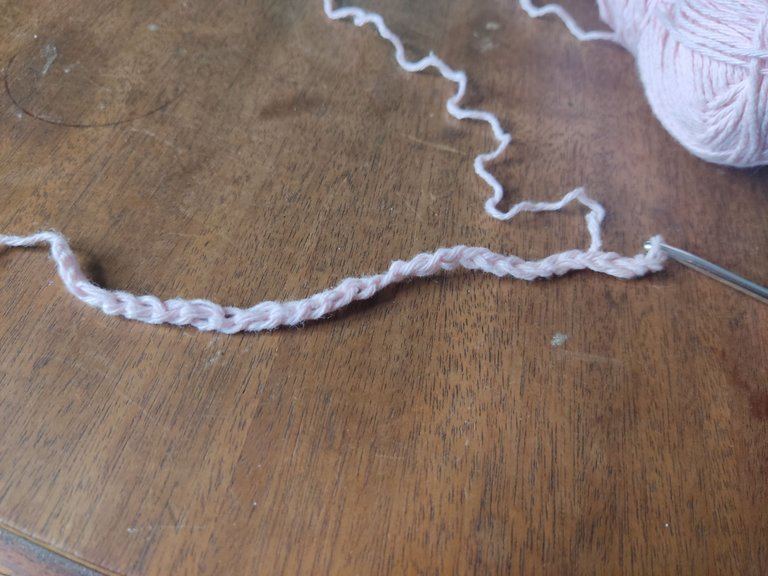
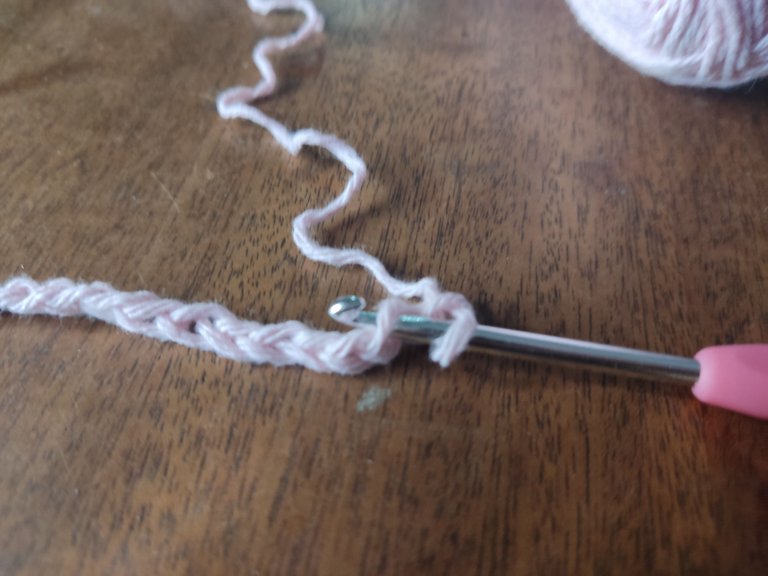
We will start with a chain of 27 stitches. When we have this, we will knit single crochet in stitch 26.
Empezamos
Iniciaremos con una cadeneta de 27 puntos. Cuando tengamos esto, haremos un punto raso en el punto 26.
 |  |  |
|---|
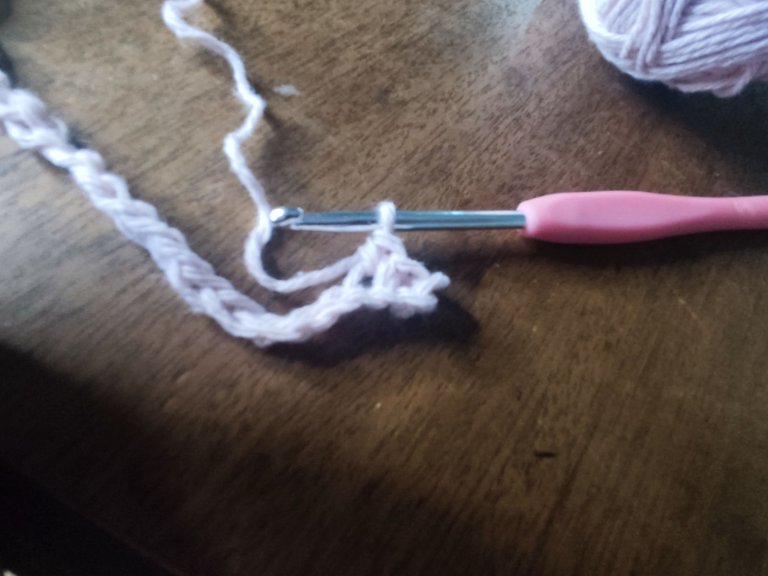
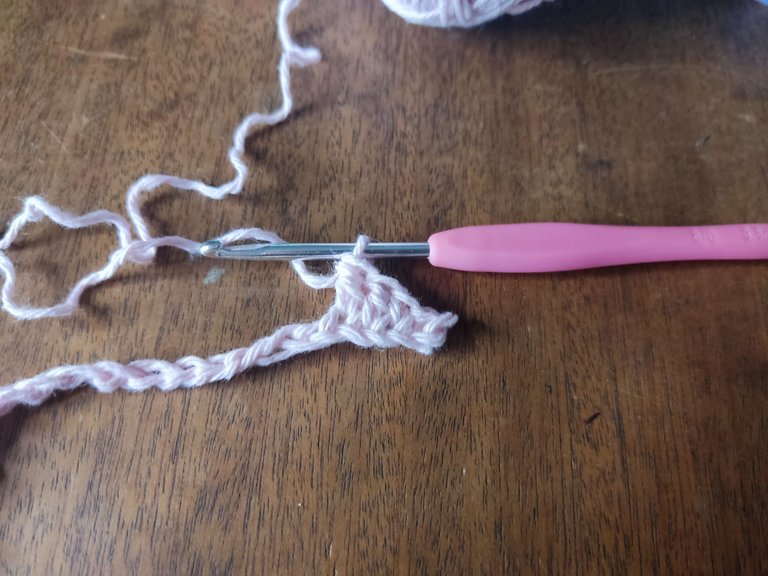
The next steps will be in each stitch of the main chain, for both rows. We knit single crochet, followed by two double crochets, and then two double crochets.
Los siguientes pasos serán en cada punto de la cadena principal, por ambas vueltas. Hacemos un punto bajo, seguido de dos puntos altos, y luego dos puntos dobles.
 |  |  |
|---|
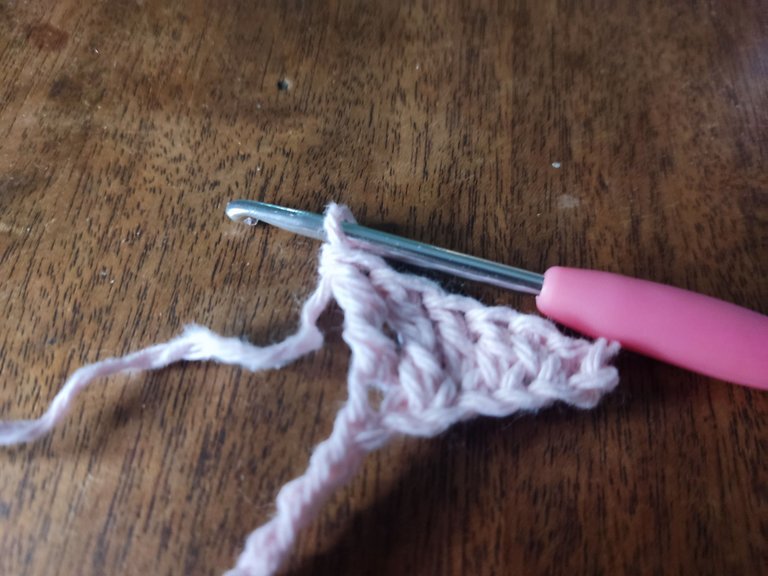
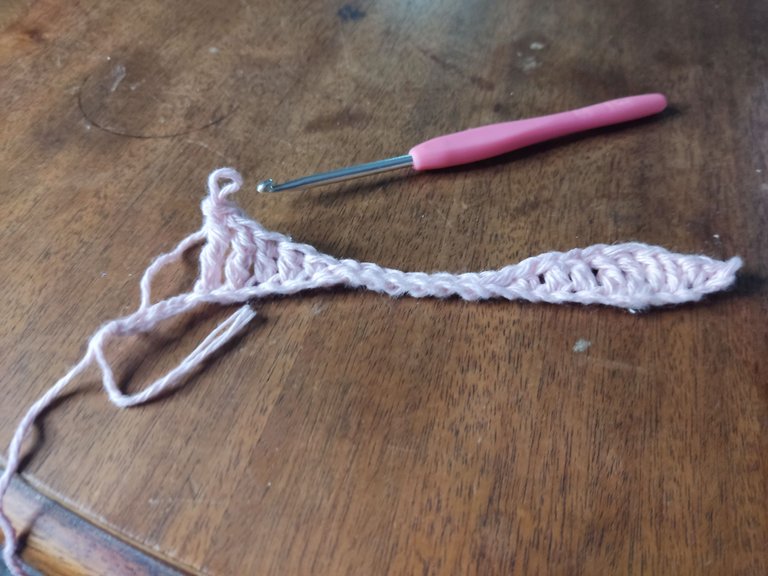
We continue with two double crochet and one single crochet. Then we continue with 8 single crochet stitches.
Seguimos con dos puntos altos y un punto bajo. Luego continuamos con 8 puntos rasos.
 |  |  |
|---|
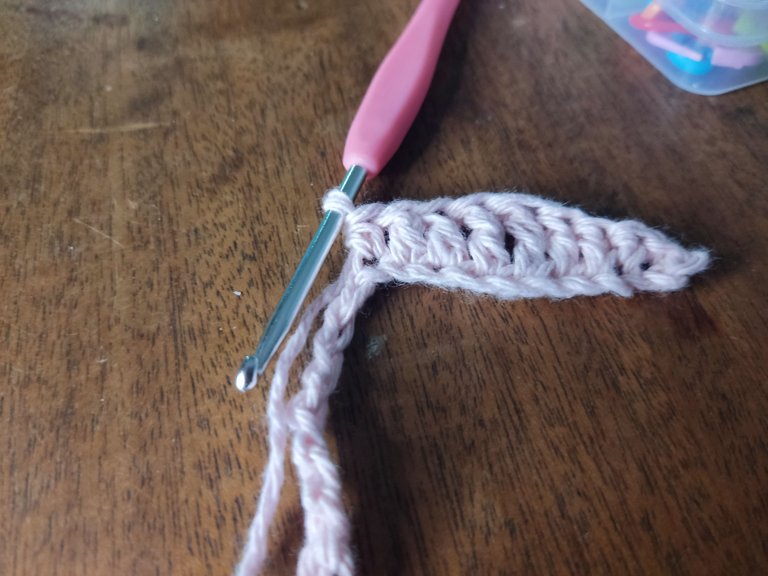
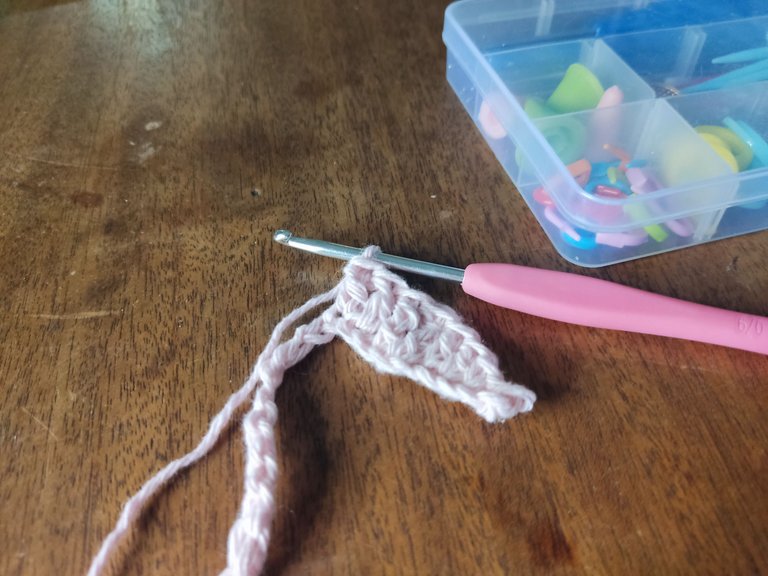
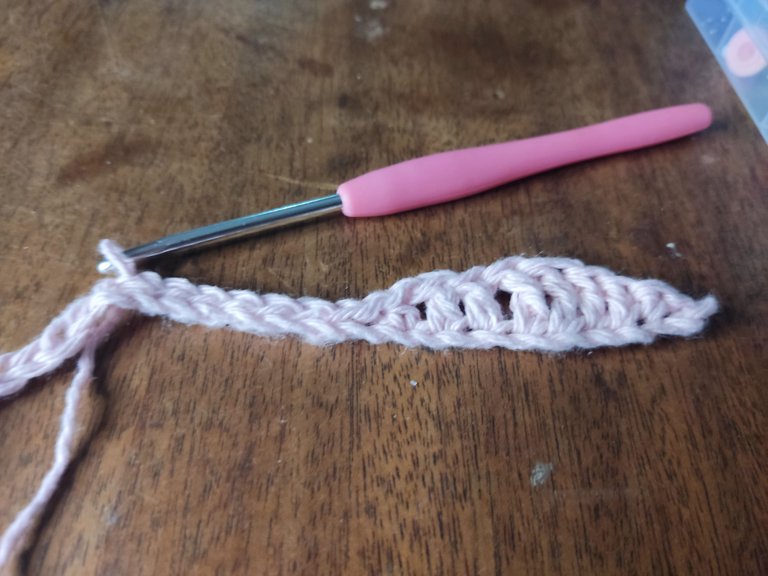
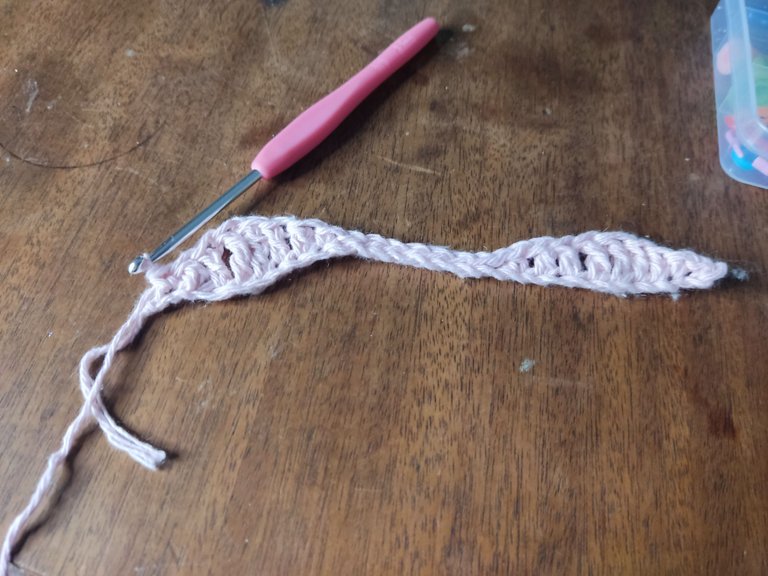
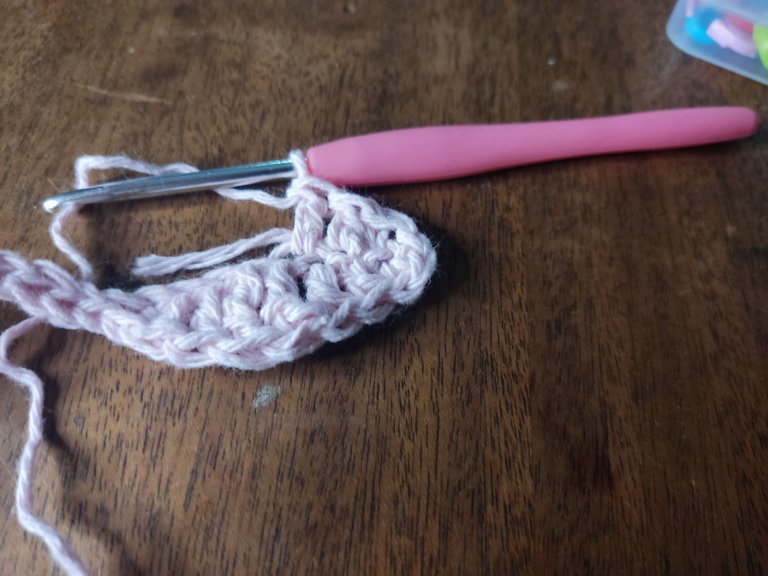
At the next end, we continue with the formula of the previous end: single crochet, followed by two double crochets, and then two double crochets. When we reach the end, we start on the other side of the chain with single crochet and repeat everything we did in the previous row, being careful to hide the yarn left over from the first end.
En el siguiente extremo, seguimos con la fórmula del extremo anterior: un punto bajo, seguido de dos puntos altos, y luego dos puntos dobles. Cuando lleguemos al extremo, empezamos por el otro lado de la cadeneta con un punto raso y repetimos todo lo que ya hicimos en la vuelta anterior, teniendo cuidado de ir escondiendo el hilo que sobraba del extremo inicial.
 |  |  |
|---|
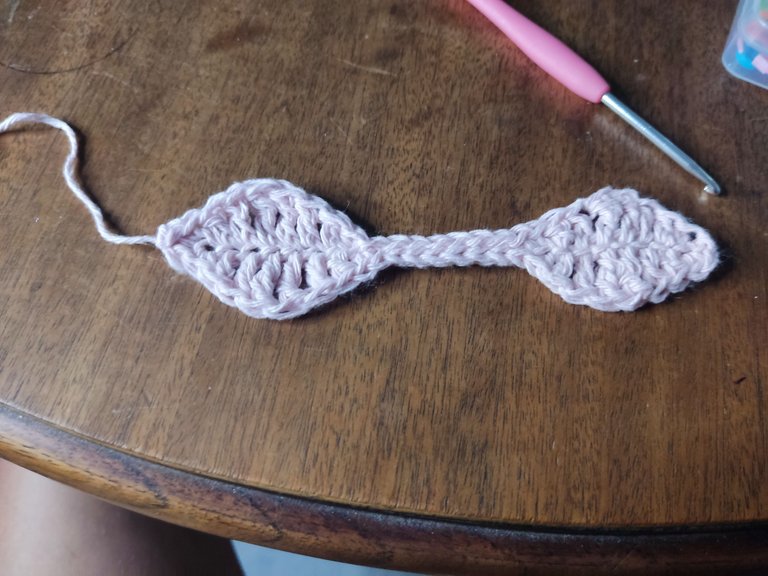
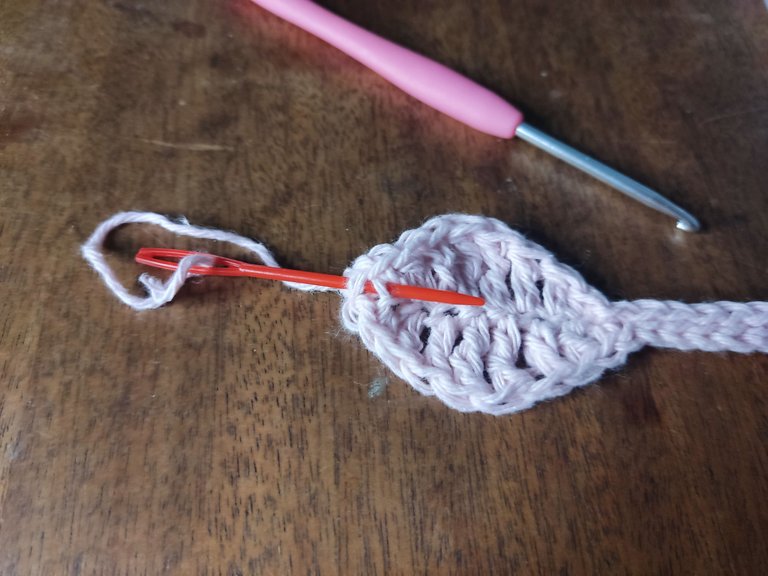
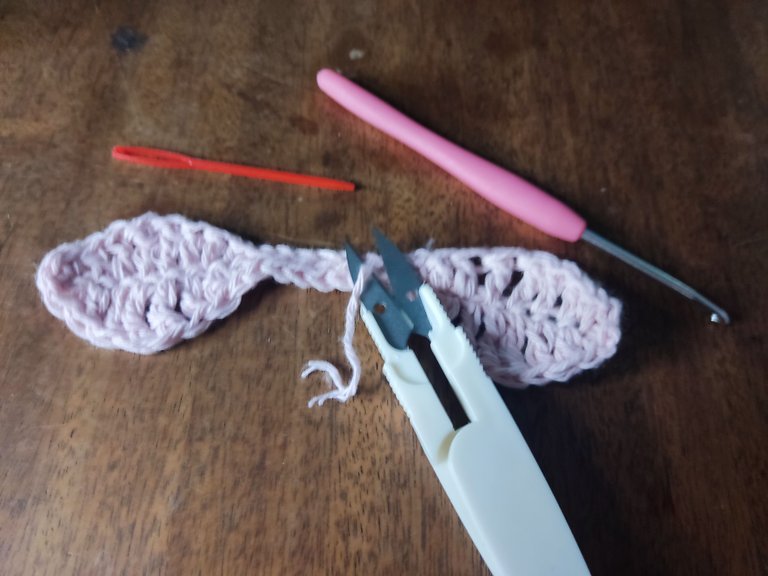
At the end of the round, we will notice that we already have the two loops of the loop, and now we have to finish off the weaving with a wool needle, hiding the thread in the fabric, and cutting the excess thread with a pair of scissors.
Al terminar la vuelta, notaremos que ya tenemos las dos oreas del lazo y ya nos queda es rematar el tejido con una aguja lanera, escondiendo el hilo en el tejido y cortar el exceso de hilo con una tijera.
 |  |  |
|---|
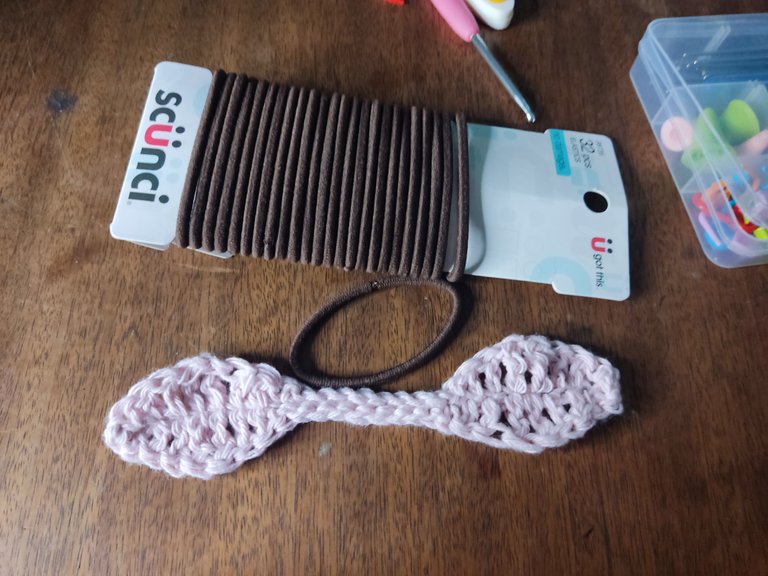
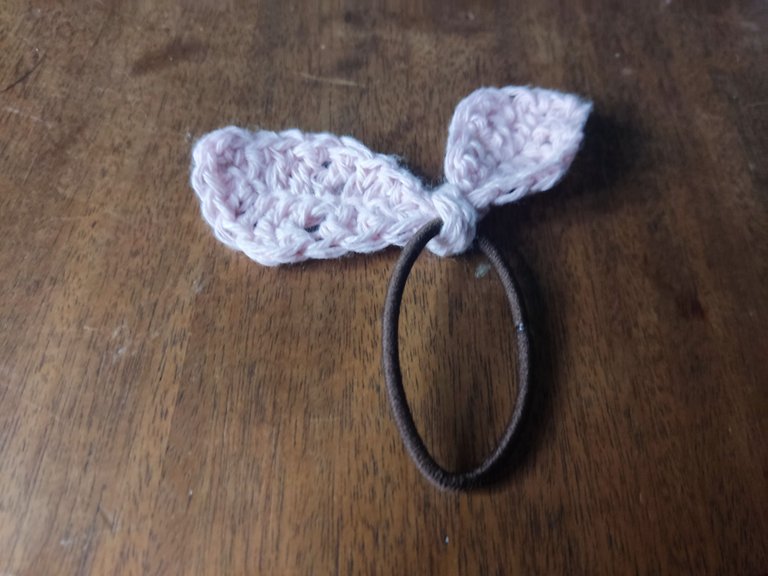
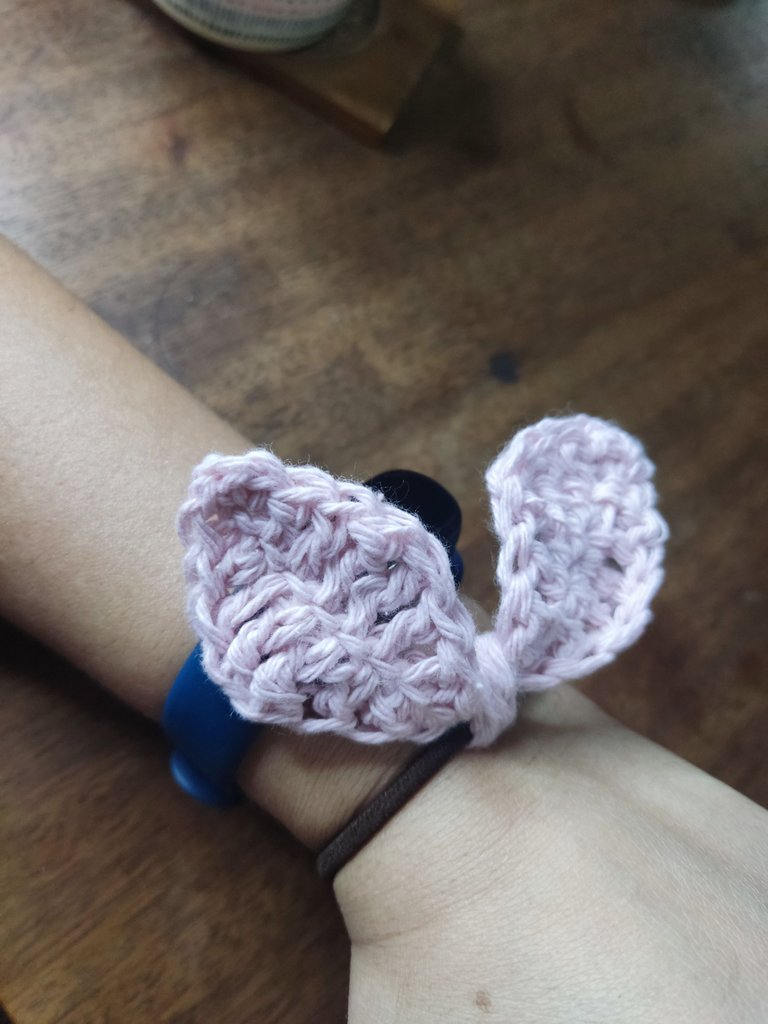
Then, we take a hair tie and simply knot the ribbon around it and that's it, we have a lovely ribbon to decorate our hair or simply use it as a bracelet. What I love about this is that if the hair tie breaks or stretches (which happens quite often) we can simply change the hair tie.
Luego, tomamos una liga para cabello y simplemente anudamos el lazo alrededor de este y listo, tenemos un lindo lazo para adornar nuestro cabello o sencillamente usarlo como pulsera. Lo que me encanta de esto es que si en dado caso la liga se rompe o se estira (cosa que suele suceder muy a menudo) simplemente podemos cambiar la liga.
 |  |  |
|---|
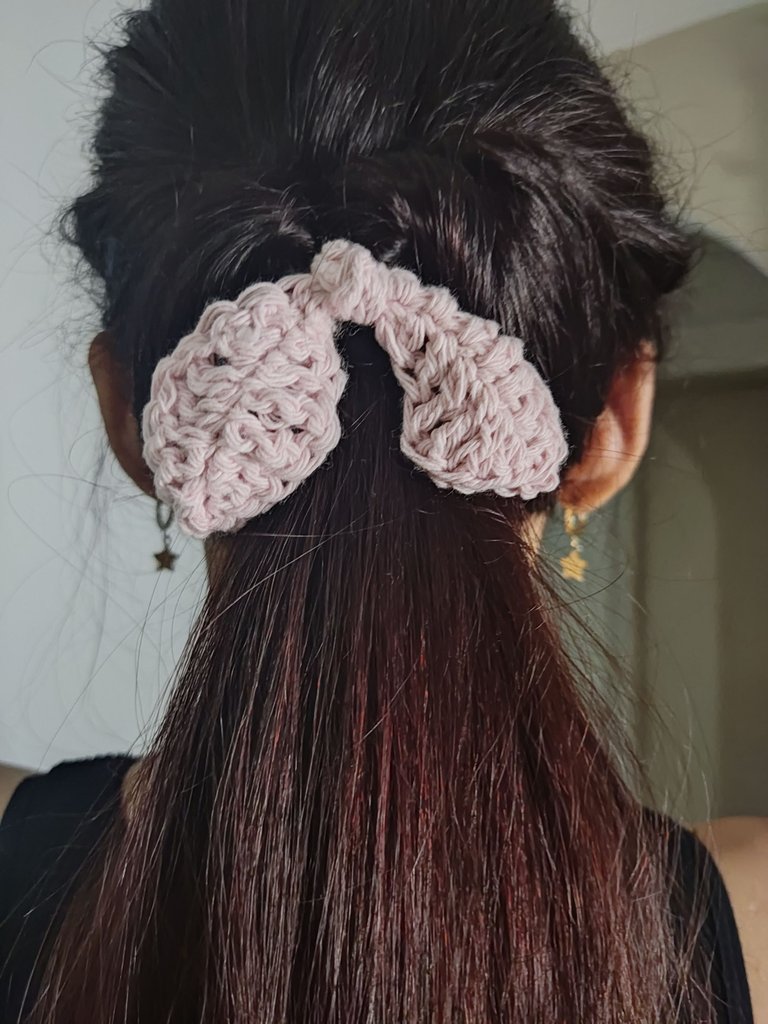
And this post wouldn't be complete if I didn't show you how it looks on my hair. Luckily, this time I had my hair done, so my sister made me a hairstyle to show how cute it looks on my hair.
Y este post no estaría completo si no les mostrara como queda en el cabello. Menos mal que esta vez si estaba peinada, así que mi hermana me hizo un peinado para mostrar como queda de lindo en el cabello.
Among the challenges in being able to do this, is that the yarn looks like wool, but it has many strands and tends to fray; however, I was able to control it, and I think it turned out pretty nice despite having gone a few months without picking up a needle. And the other challenge is photographing the knitting, it's tough to focus on something so close, that's another thing I'll be practicing.
What did you think, did you like the design? Soon I will be posting more things because I plan to make several gifts to people I adore and I know they will value the gifts I will make. I send you a big hug and I'll see you soon.
Entre los retos que se presentaron para poder hacer esto, es que el hilo parece una lana, pero tiene muchas hebras y suele deshilacharse; sin embargo, pude controlarlo, y creo que me quedó bastante lindo a pesar de haber pasado unos cuantos meses sin haber tomado una aguja. Y el otro reto es el de fotografiar el tejido, es muy difícil de enfocar algo tan cercano, es otra cosa que estaré practicando.
¿Qué les pareció? ¿Les gustó el diseño? Pronto estaré publicando más cositas, porque tengo pensado hacer varios regalitos a personas que adora y que sé que valoraran los regalos que haré. Les envío un abrazo grande y nos leemos pronto.

- Banner y separadores realizados en https://express.adobe.com/es-ES/sp/
- Footer realizado en Canva.
- Fotofraf[ias con mi POCO X3 Pro.