Hello everyone around here, my dear creative family of Hive Diy! Blessed evening to all, I wish from my heart that the remaining days of this year will be greatly blessed, moreover I hope the new year will be prosperous, bring us happiness, lots of creativity and productivity to continue sharing our handmade arts always.♡
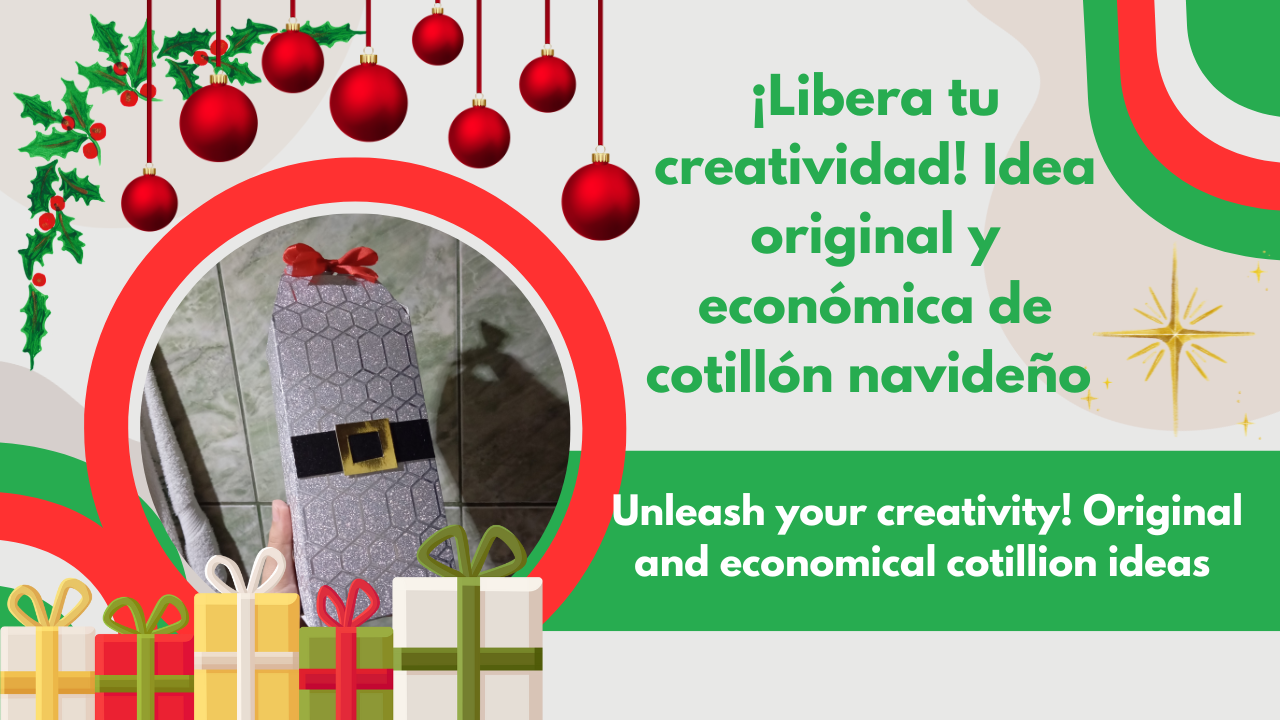
El día de hoy les traigo un tutorial paso a paso de cómo realizar un cotillón en casa, para estás navidades, que nos será útil para hacer regalos o un cotillón en específico. Como siempre les traigo ideas que pueden personalizar a su gusto, que son sencillas de hacer y con pocos materiales, para realizar desde casa.💚
Today I bring you a step by step tutorial on how to make a cotillion at home, for this Christmas, which will be useful to make gifts or a specific cotillion. As always I bring you ideas that you can customize to your liking, which are simple to make and with few materials, to make from home.💚
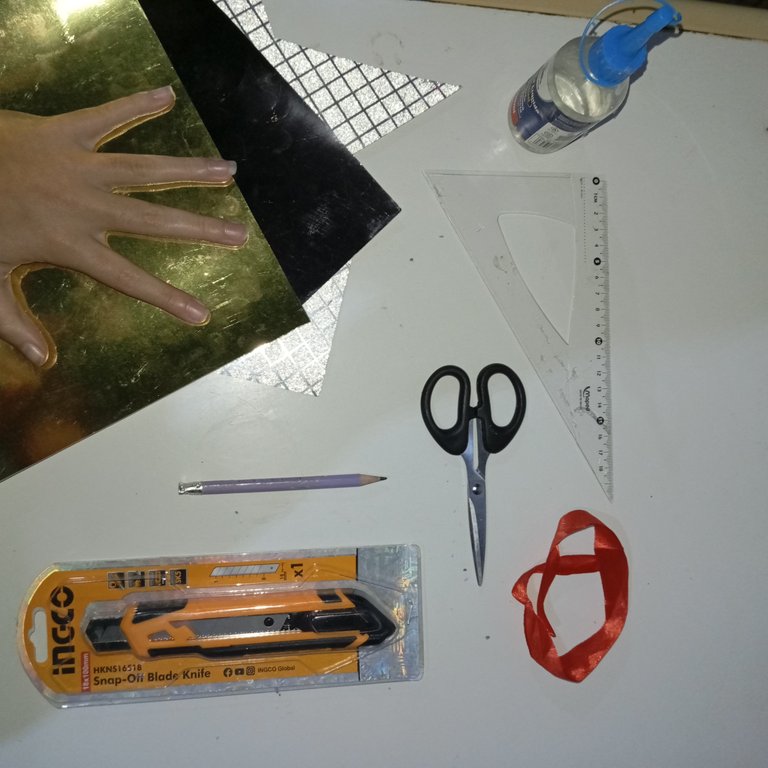
💚✨Materials✨💚
- Cartulinas
- Silicón
- Tijeras
- Lápiz
- Regla
- Exacto/cutter
- Cinta (pequeño trozo)
- Cardboard
- Silicone
- Scissors
- Pencil
- Ruler
- Exact/cutter
- Tape (small piece)
Fuente
♡🎄✨Template✨🎄♡
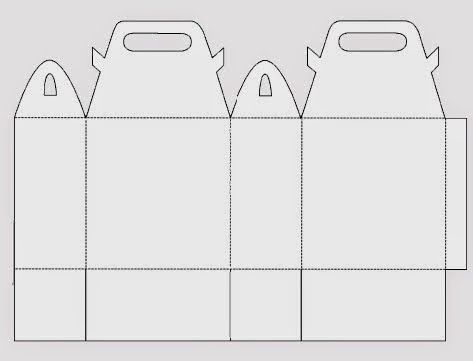
Trabajaremos con esta plantilla, yo en mi caso la ajusté para que fuera un poco más larga, básicamente guiandome con la plantilla hice otra más alargada.
We will work with this template, in my case I adjusted it to be a little longer, basically guided by the template I made a longer one.
♡🎄✨Step by Step✨🎄♡
Paso 1:
Step 1:
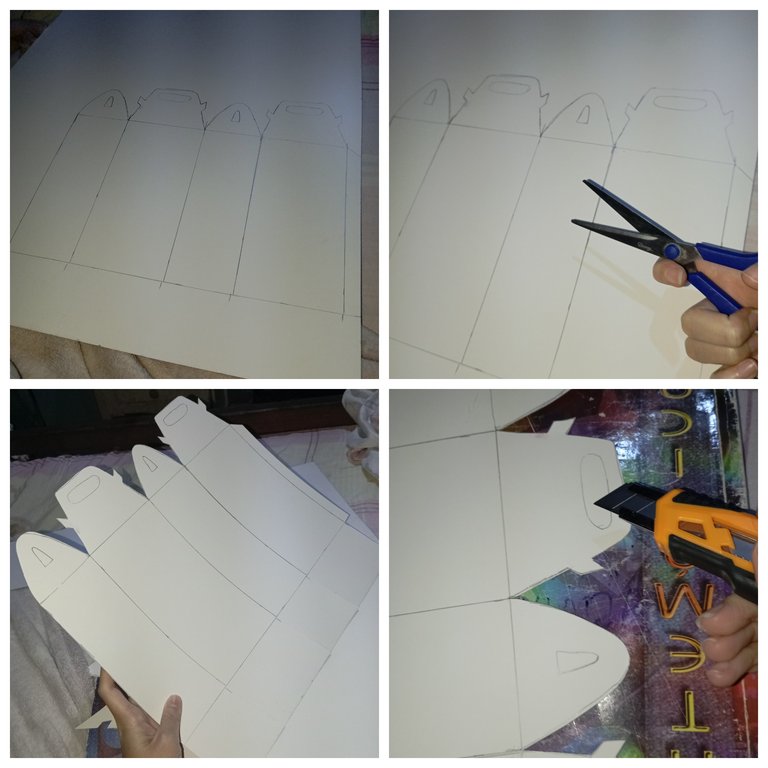
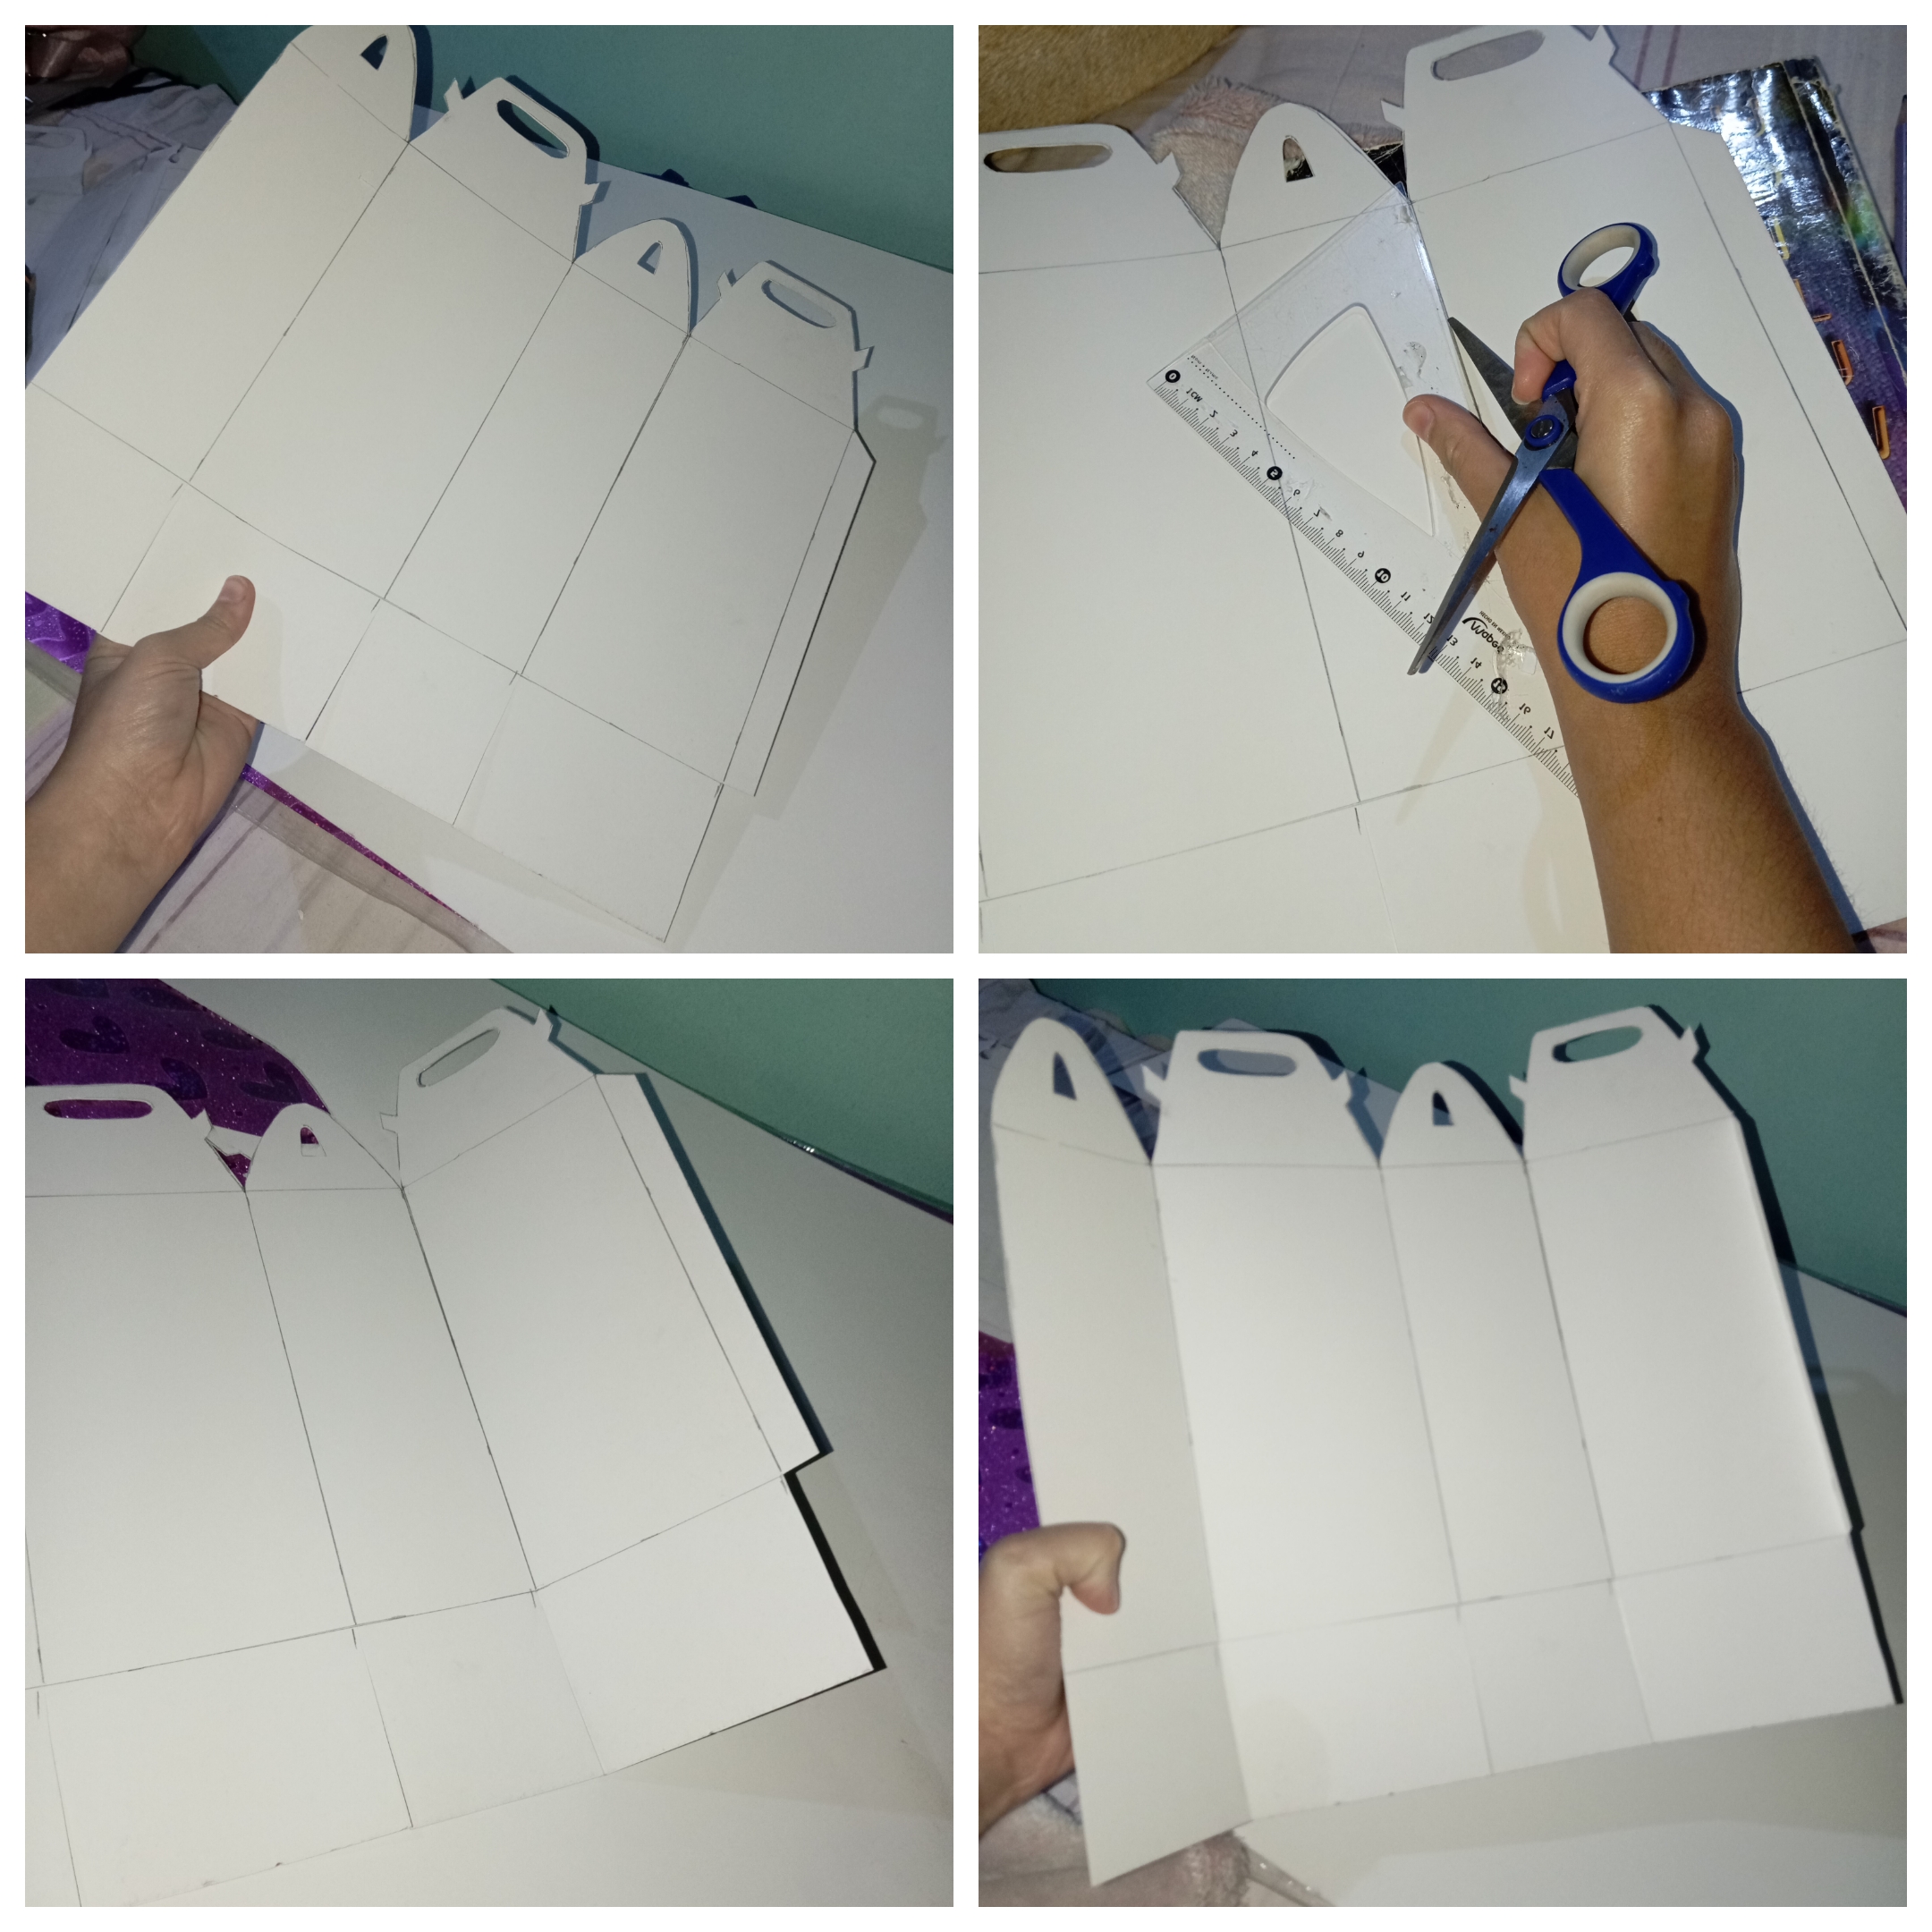
Lo primero que debemos hacer es tener nuestra plantilla a la mano, después tomamos nuestra cartulina principal, que es la que formará el cotillón, le damos la vuelta al revés, colocamos nuestra plantilla encima y pasamos la parte de atrás de la tijera hasta que se traspase el diseñó. Después hay que tomar las tijeras y recortar todo el contorno de la plantilla, también con un cutter recortamos las partes difíciles.
The first thing we must do is to have our template at hand, then we take our main cardboard, which is the one that will form the cotillion, we turn it upside down, place our template on top and pass the back of the scissors until the design goes through. Then we have to take the scissors and cut out all the contour of the template, also with a cutter we cut out the difficult parts.
Paso 2:
Step 2:
Ya con la pieza lista, vamos a apoyarnos de una regla, así la punta de una tijera la vamos a pasar al ras de cada línea, aplicando solo un poco de presión para que se marque bien cada dobles de nuestra plantilla. También cabe señalar que hay que recortar las líneas rectas de abajo hasta el ras de la línea horizontal, ya que estás se deben doblar, a continuación.
Once the piece is ready, we are going to use a ruler, so the tip of a scissors we are going to pass it flush with each line, applying only a little pressure to mark well each double of our template. It should also be noted that we must cut the straight lines from the bottom to the horizontal line, as they must be bent, then.
Paso 3:
Step 3:
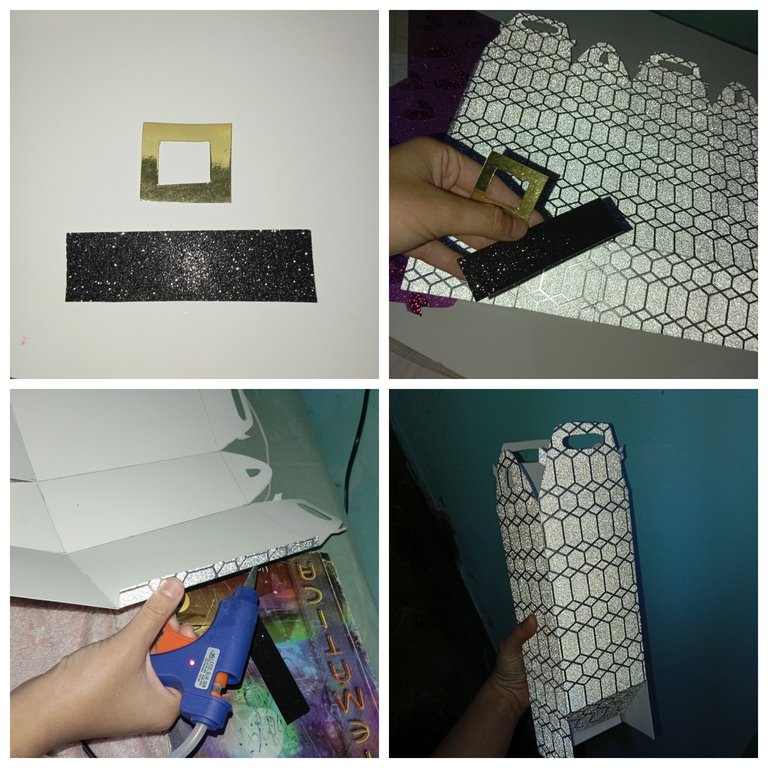
Antes del armado de la cajita, recorté una tira de más o menos 5cm de grosor, con el mismo largo de una parte frontal del cotillón, también recorte una forma de hebilla para que simule el cinturón de Santa este en color de cartulina dorado, así con estas dos piezas pegue primero la tira negra de cartulina en el frente del cotillón e igualmente la hebilla encima.
Before assembling the box, I cut a strip of about 5cm thick, with the same length of a front part of the cotillion, I also cut a buckle shape to simulate Santa's belt, this in gold cardboard color, so with these two pieces I glued first the black cardboard strip on the front of the cotillion and also the buckle on top.
Así, continúe agregando silicón con las pistola de silicón en la pestaña sobresaliente y lo uni al otro extremo, formando la cajita.
So, continue adding silicone with the silicone gun on the protruding flange and attach it to the other end, forming the box.
Paso 4:
Step 4:
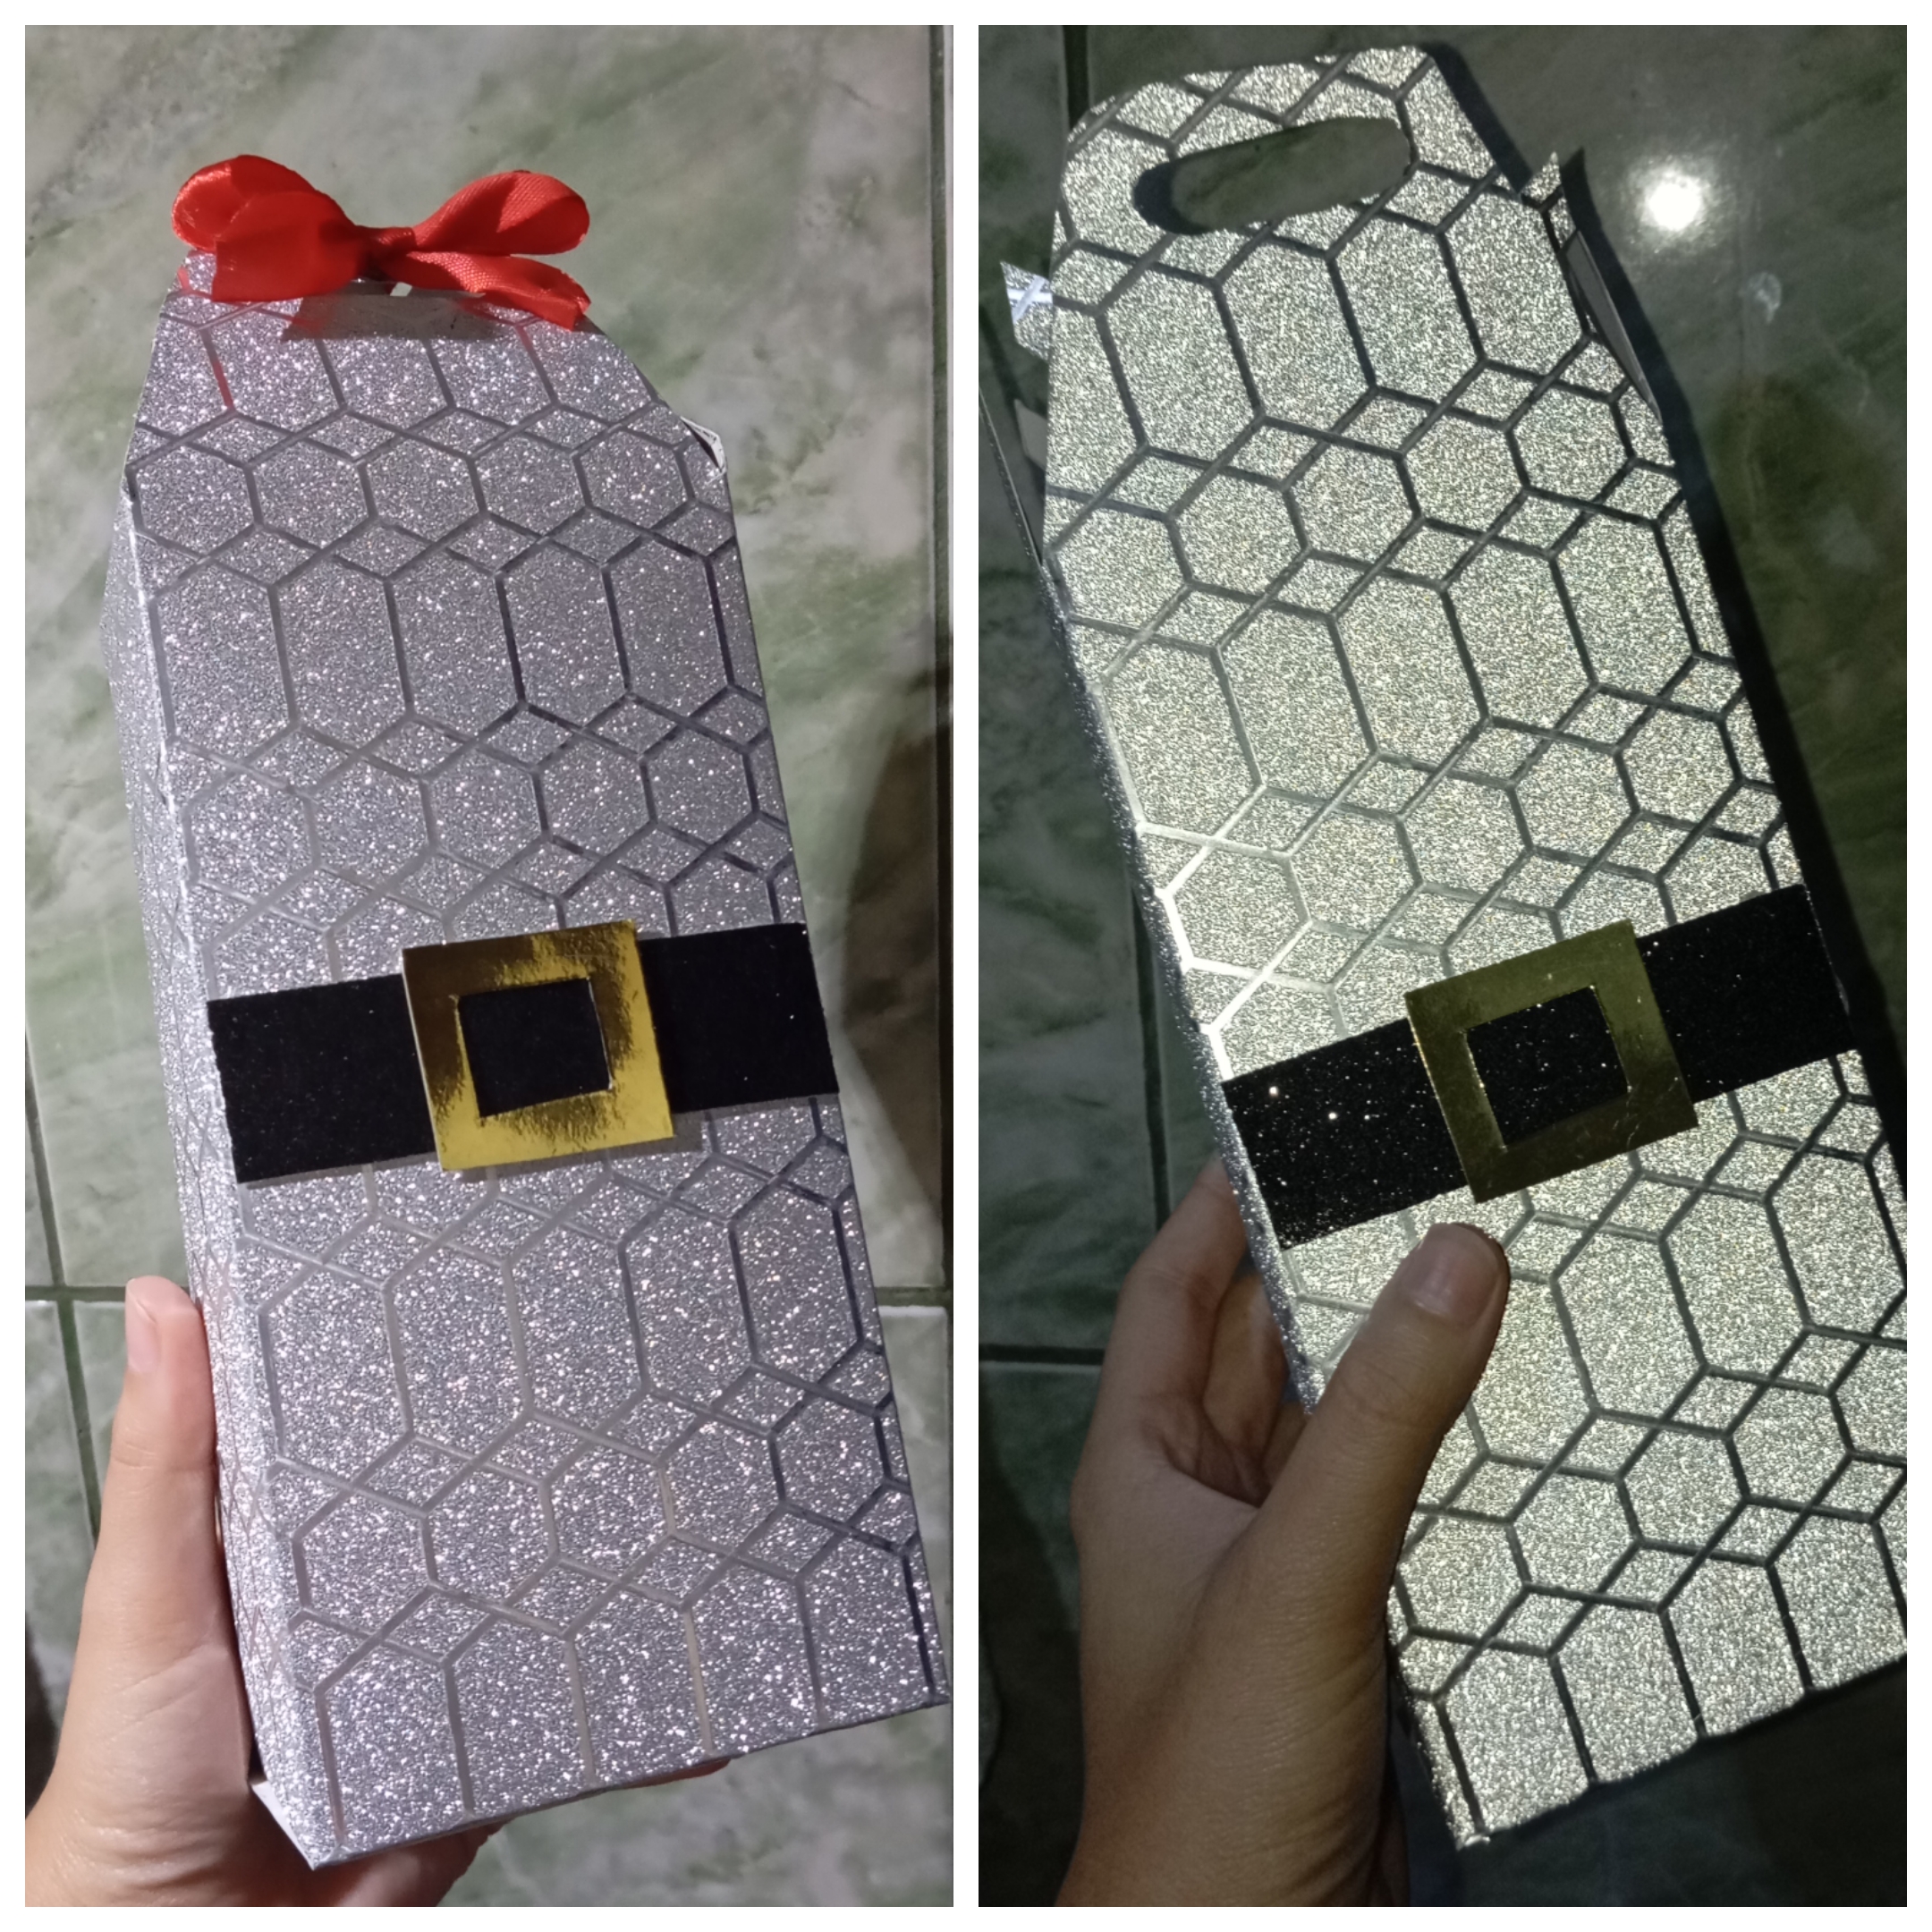
Por último, para terminar este cotillón, pegué las solapas de abajo una sobre otra, sellando así la parte de abajo. También para dar el último detalle, le abrí unos agujeros en la parte de arriba e introduje una pequeña cinta roja, para dar ese último toque con el color tan característico de la navidad, el resultado me encantó.
Finally, to finish this cotillion, I glued the bottom flaps one on top of the other, sealing the bottom. Also to give the last detail, I opened some holes at the top and inserted a small red ribbon, to give that last touch with the color so characteristic of Christmas, I loved the result.
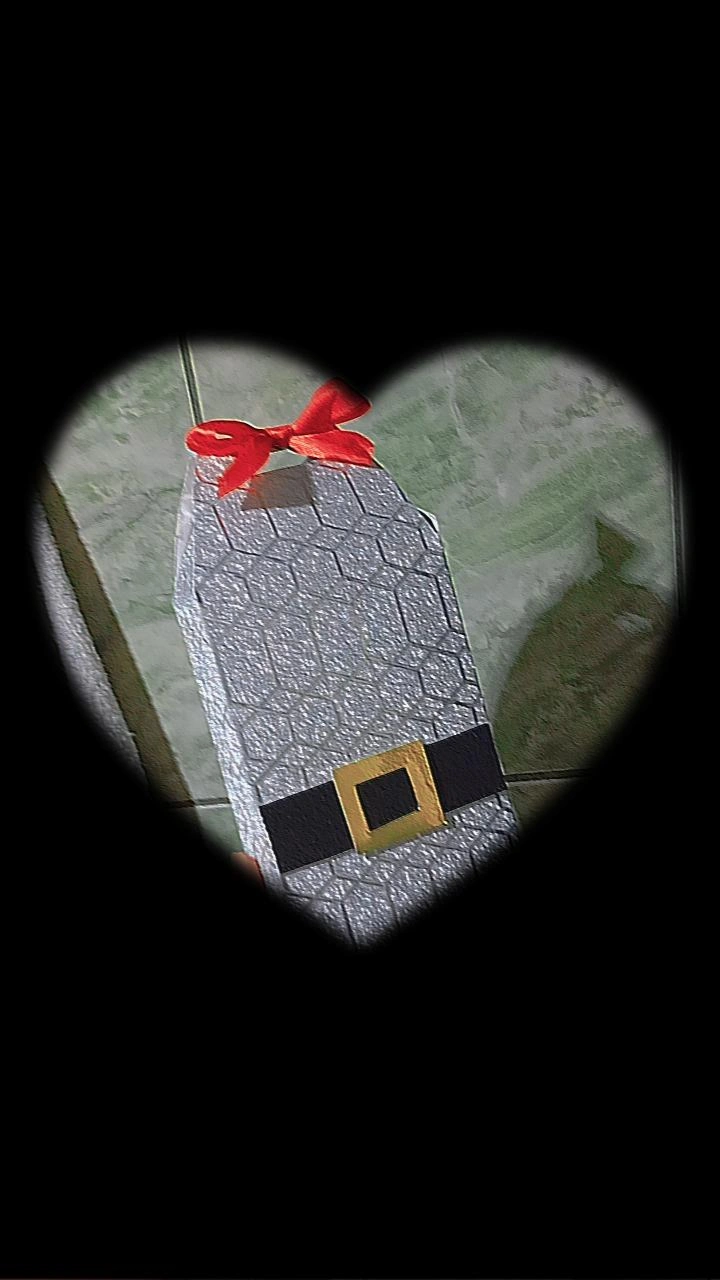
Así es como quedó el resultado final, es una idea bastante fácil y rápida de realizar, a mí me sacó de un apuro a último momento y con esto resolví, pude hacer un cotillón único, listo para agregar dulces y demás cosas, me gustó mucho el proceso y más compartirlo con ustedes, espero les sea útil.💚✨
This is how the final result was, it's a pretty easy and quick idea to do, it got me out of a hurry at the last minute and with this I solved, I could make a unique cotillion, ready to add candy and other things, I really liked the process and more to share it with you, I hope it is useful.💚✨
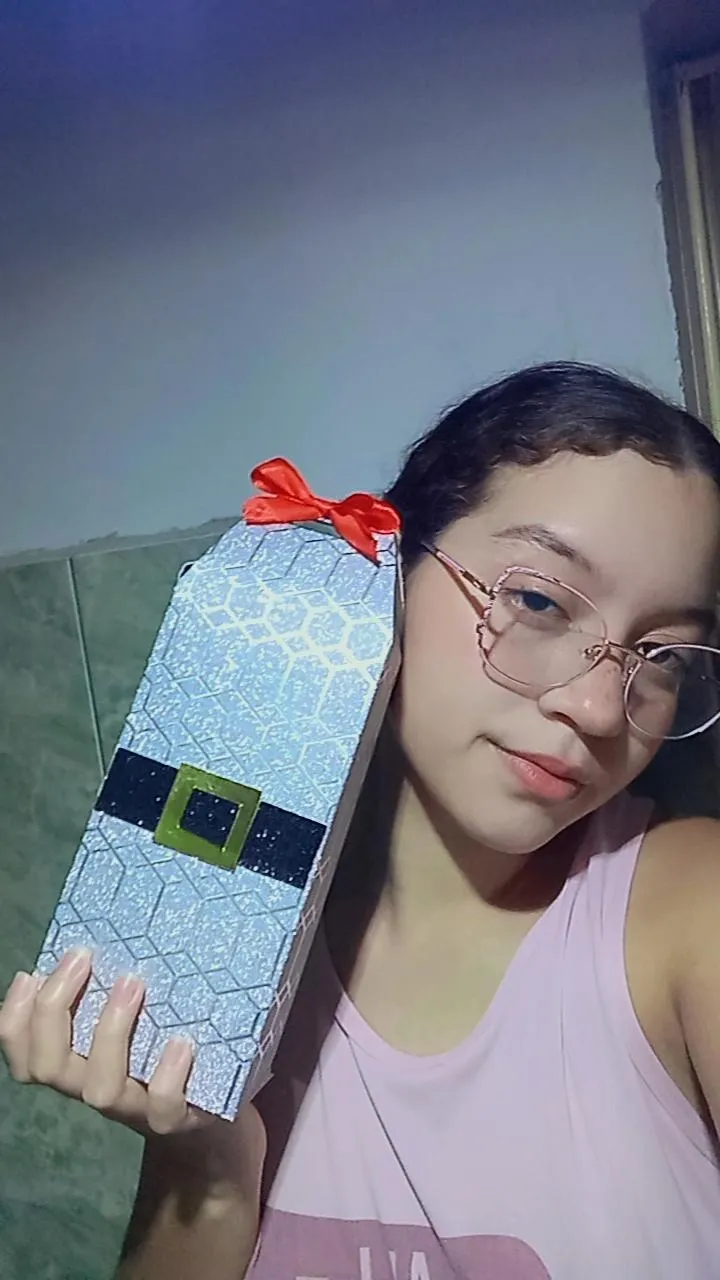
Esto es todo por hoy familia, espero que les guste el resultado, es una manualidad navideña hecha con mucho amor que les puede servir para el final de estás fechas, pronto volveré a compartir con ustedes mis manualidades, tal vez ya para año nuevo, pero en realidad no en muchos días ¡Felíz y próspero año nuevo a mi familia creativa de Hive Diy! Los quiero, que sea un año bendecido y lleno de creatividad.
This is all for today family, I hope you like the result, it is a Christmas craft made with love that can be useful for the end of these dates, soon I will share with you my crafts, maybe already for the new year, but not really in many days. Happy and prosperous new year to my creative family of Hive Diy! I love you, may it be a blessed year full of creativity.
❤️✨¡Gracias por leer! Y felíz año nuevo por adelantado✨💚
❤️✨Thanks for reading! And happy new year in advance✨💚
Photos of my authorship taken from my Xiaomi Redmi 13C phone, edited in the free version of Canva

