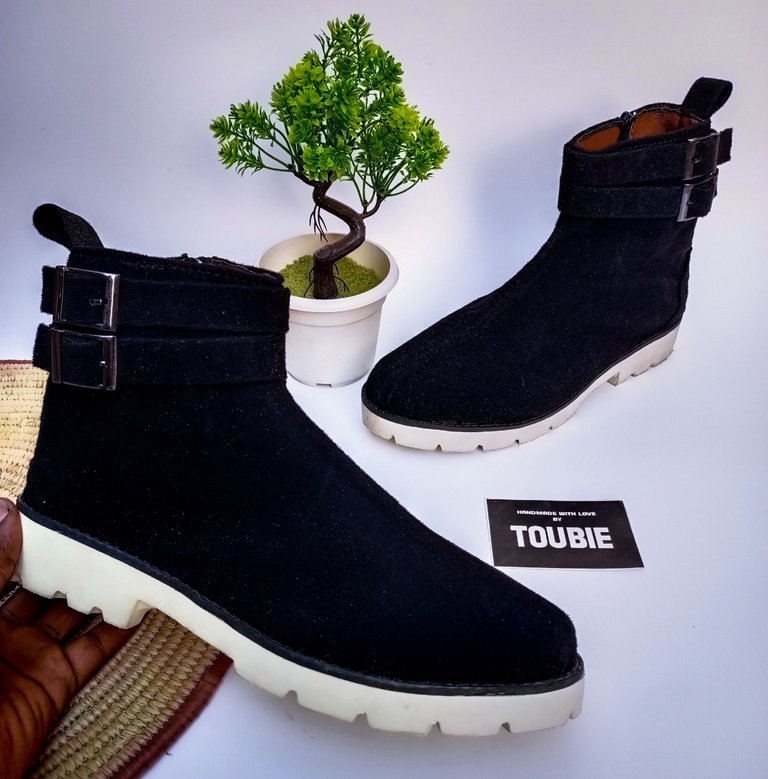
HOW I MADE THIS GORGEOUS BOOT. LETS DO IT TOGETHER

in #hive-1896413 years ago

PSX_20220125_144910-picsay.jpg

Hello wonderful people.
Today, I'll be sharing the processes involved in the making of this boot.
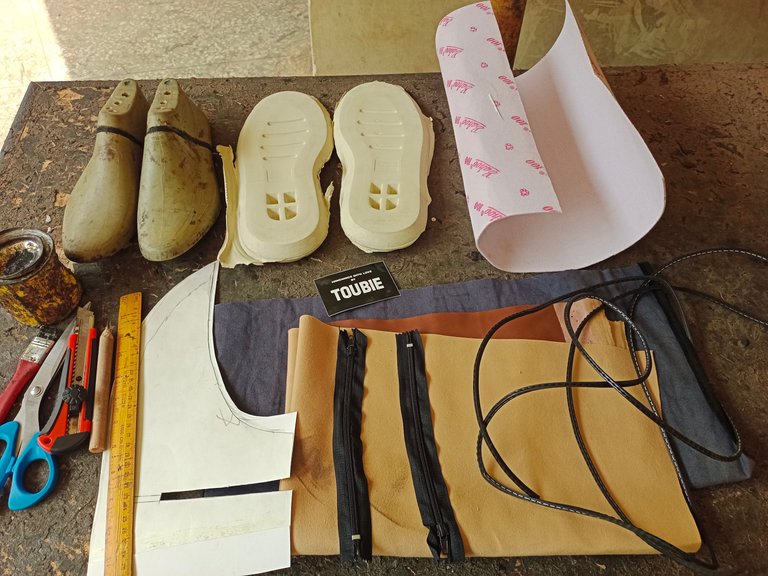
But first, I'd like to start with the materials used

Shoe last
Shoe pattern
Suede
Soft leather
Gum (adhesive)
Sole
Welt
Buckle
Zip
Pencil, ruler, razor, scissors
IMG_20220122_120133.jpg

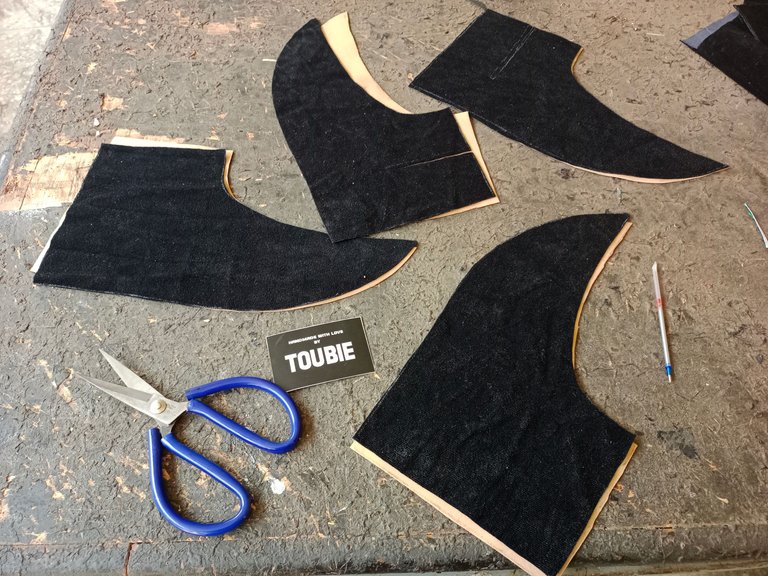
Step 1
Use the pattern (drawn on a paper) to trace the soft leather and the suede.
Remember to turn it while tracing to have for both right and left pairs.
IMG_20220122_142423.jpg

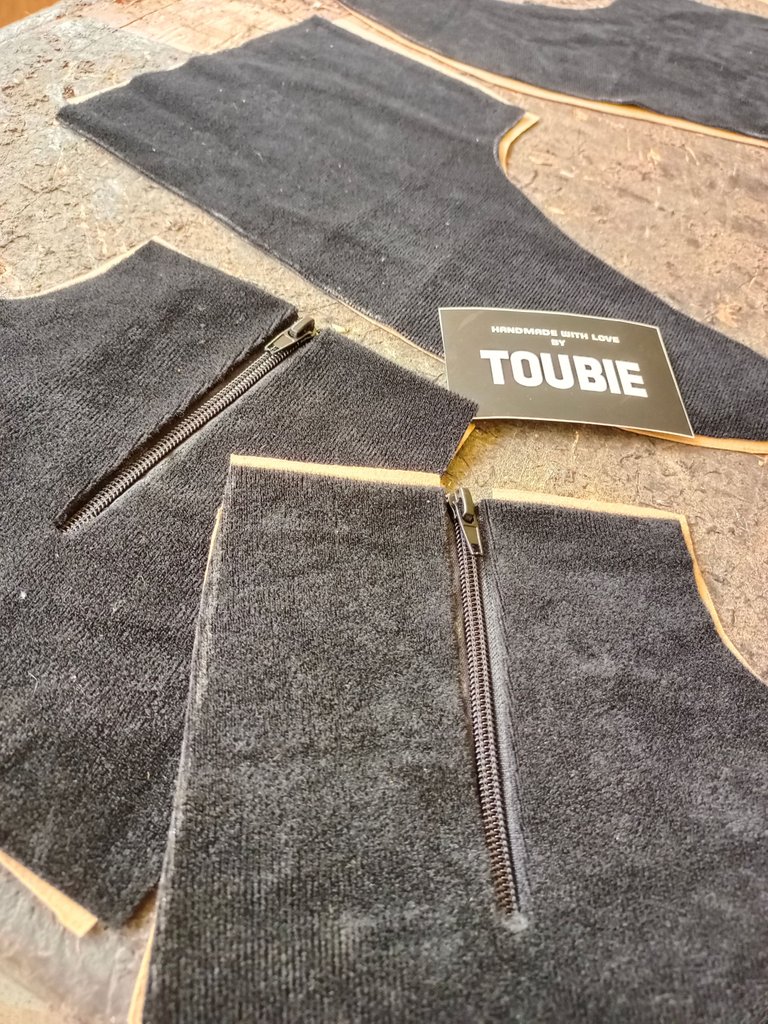
Step 2
Attach a zipper to two parts of the patterns cut out as shown in the picture
IMG_20220122_145139.jpg

Step 3
Fix buckles onto a suede strap measured about 1 inch by 12 inches
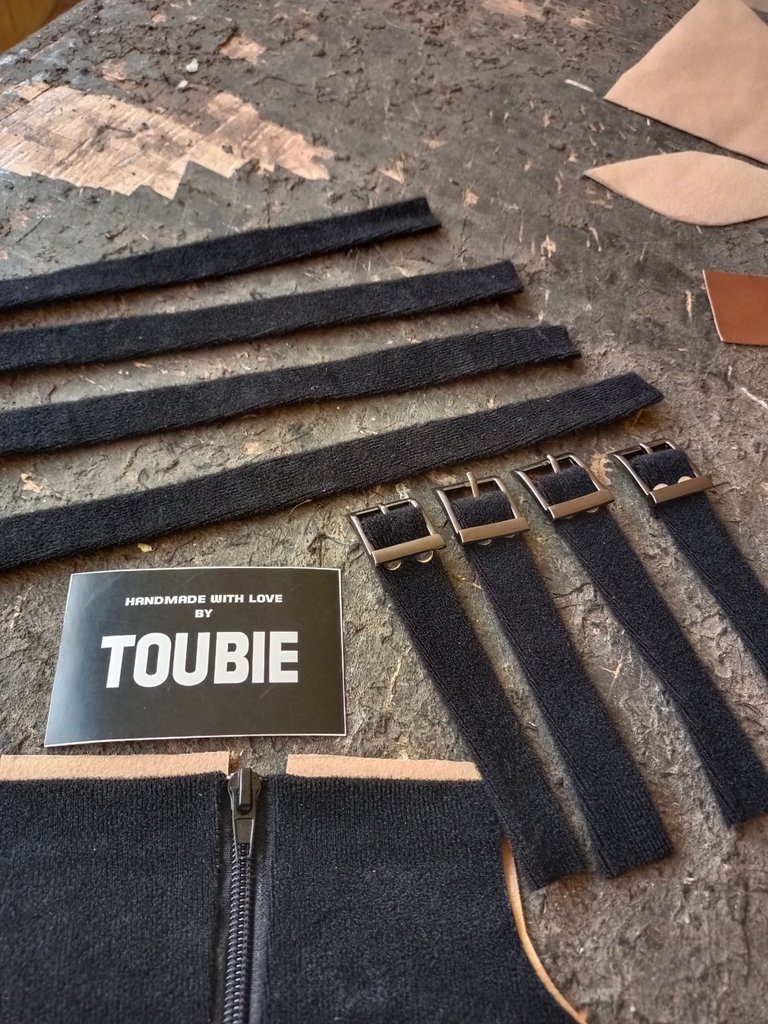
IMG_20220122_153917.jpg

Step 4
Sew the strap onto one part of the cut patterns as shown in the picture below
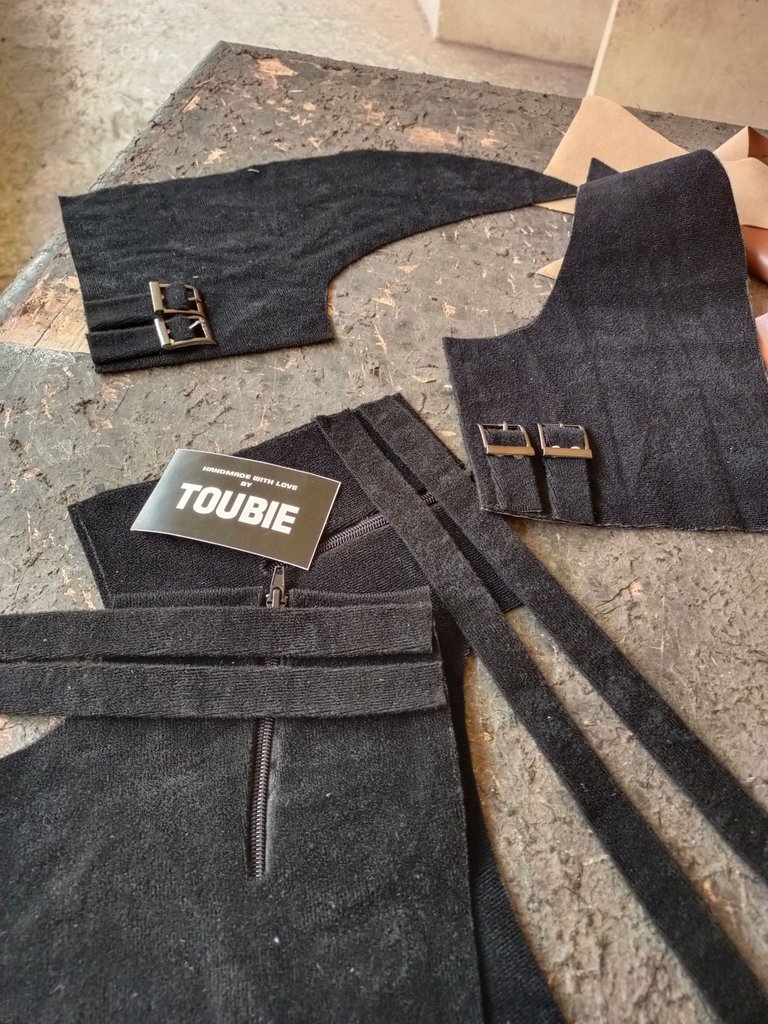
IMG_20220122_155335.jpg

Step 5
Sew the part with a zipper to another one that has no zipper
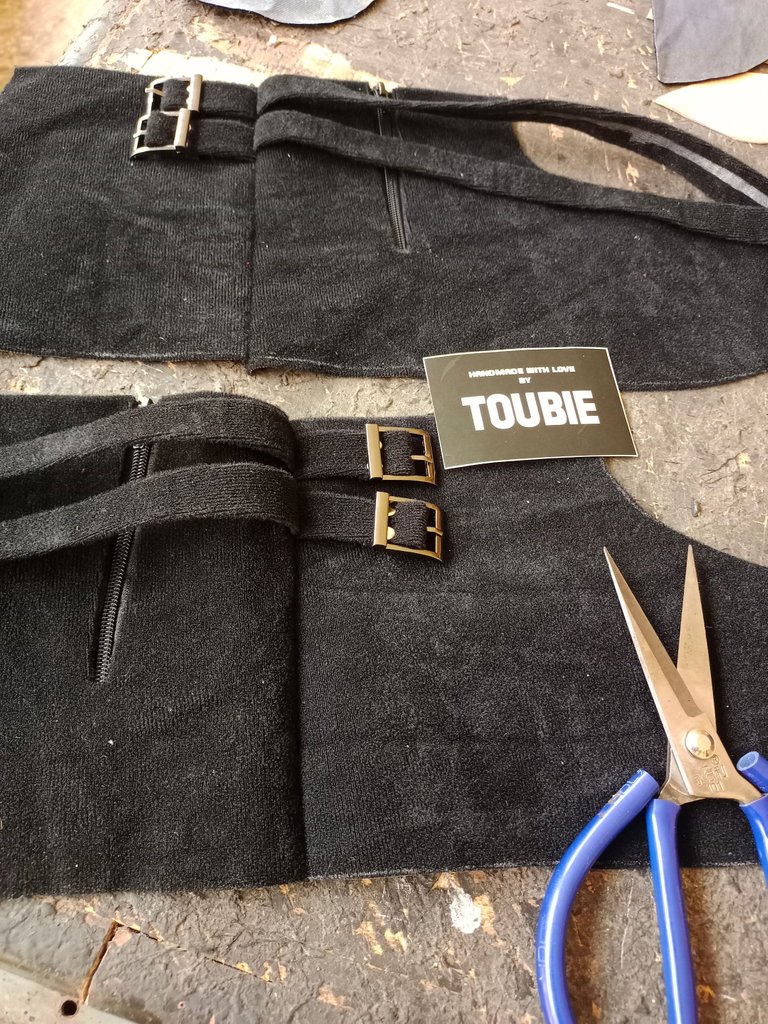
IMG_20220122_161219.jpg

Step 6
Sew a back spine and also sew a pull tab onto the pieces we have. More information in the picture below.
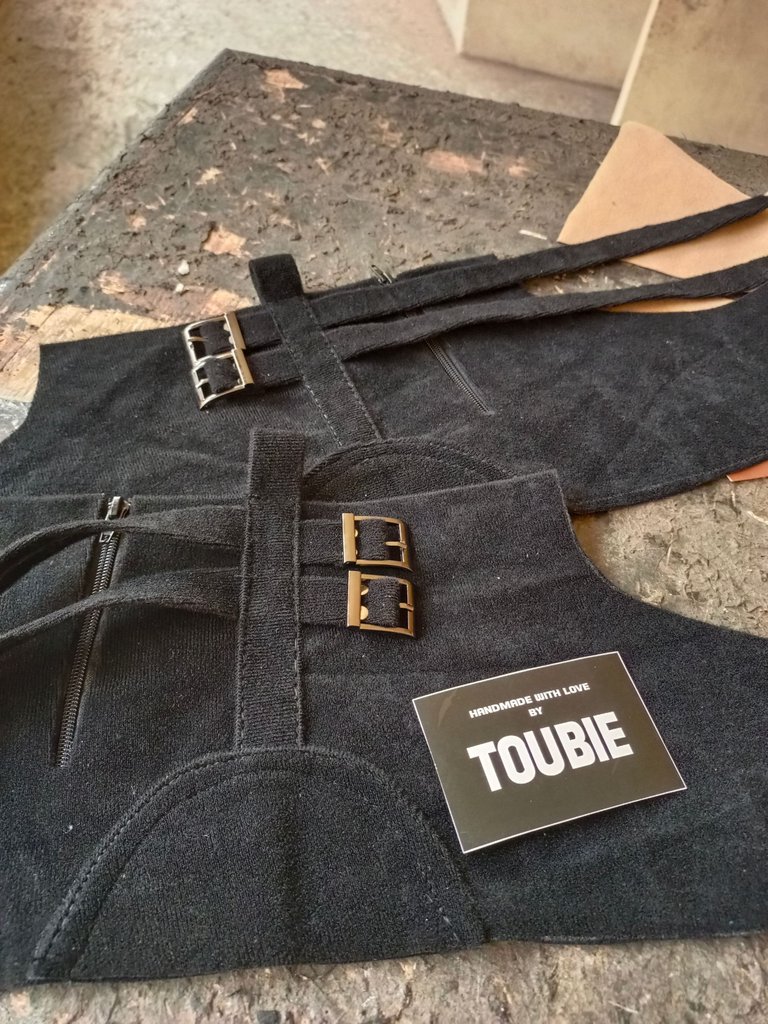
IMG_20220122_164024.jpg

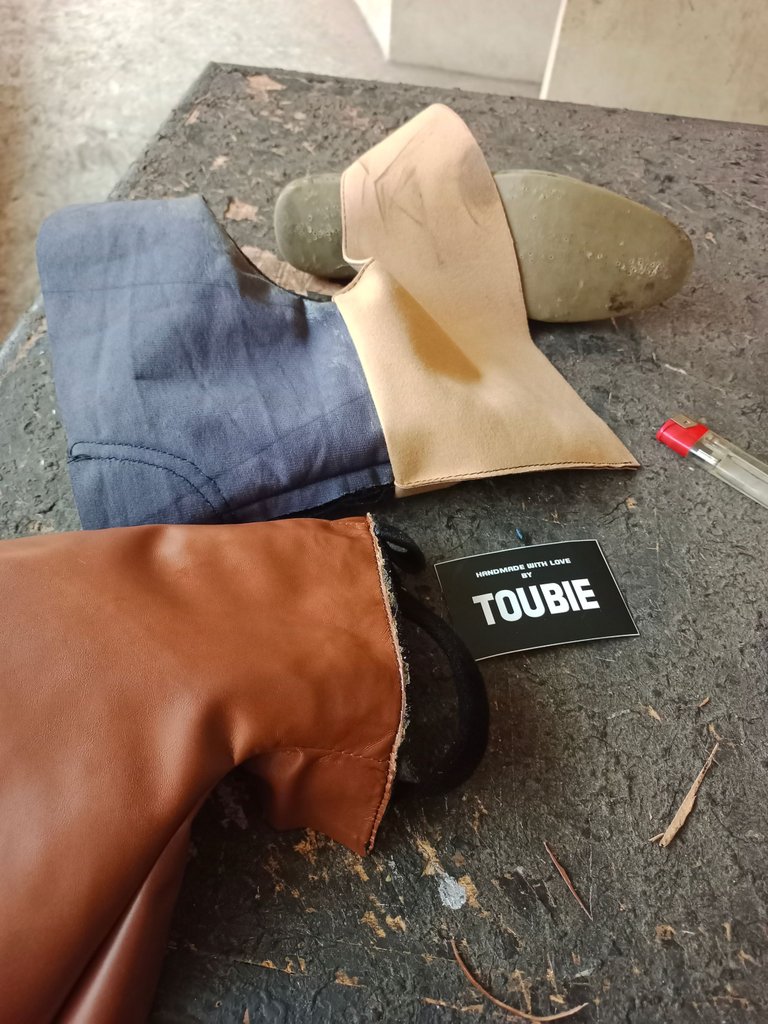
Step 7
Using the adhesive, gum the suede and the soft leather together
IMG_20220122_173118.jpg

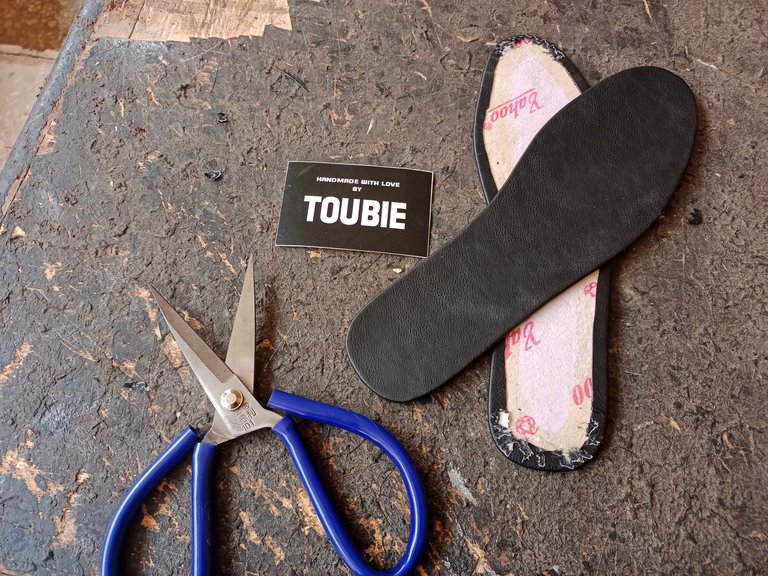
Step 8
Trace the base of your last onto a strawboard and cover with leather. This is the part called the insole
Repeat this for the other pair
IMG_20220123_133254.jpg

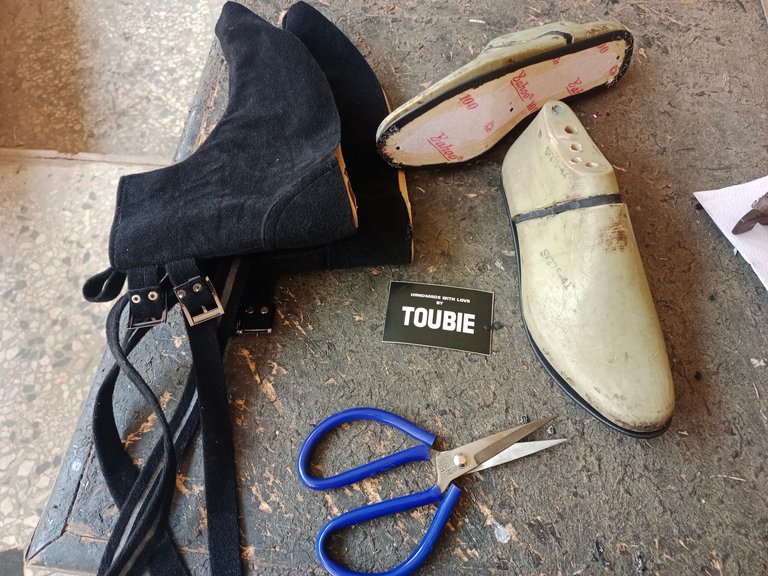
Step 9
Using tack nails, nail the insole to the last as seen in the picture below
IMG_20220123_134155.jpg

Step 10
Apply gum (adhesive) to the insole and apply gum to the already prepared pieces then wait for it to dry for about 10 minutes

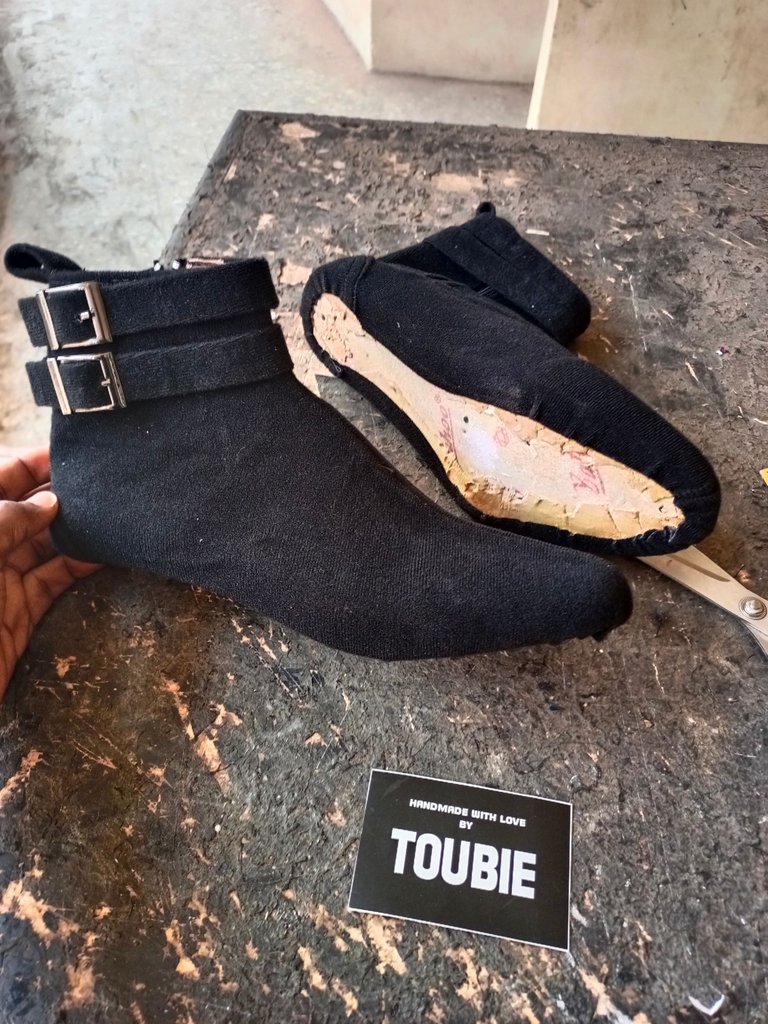
Step 11
Fold the prepared pieces (upper) onto the insole.
IMG_20220123_151246.jpg

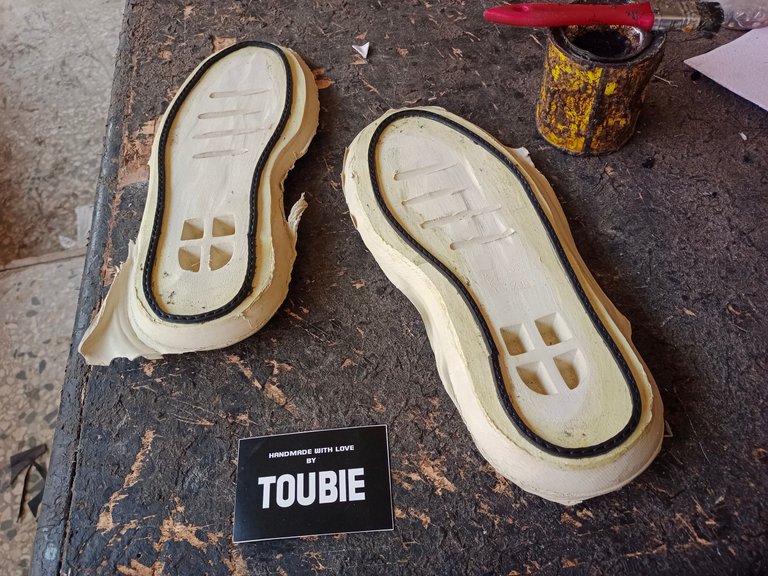
Step 12
Place the folded upper on the sole. Using the adhesive, gum the welt to go round the shoe.
IMG_20220123_154252.jpg

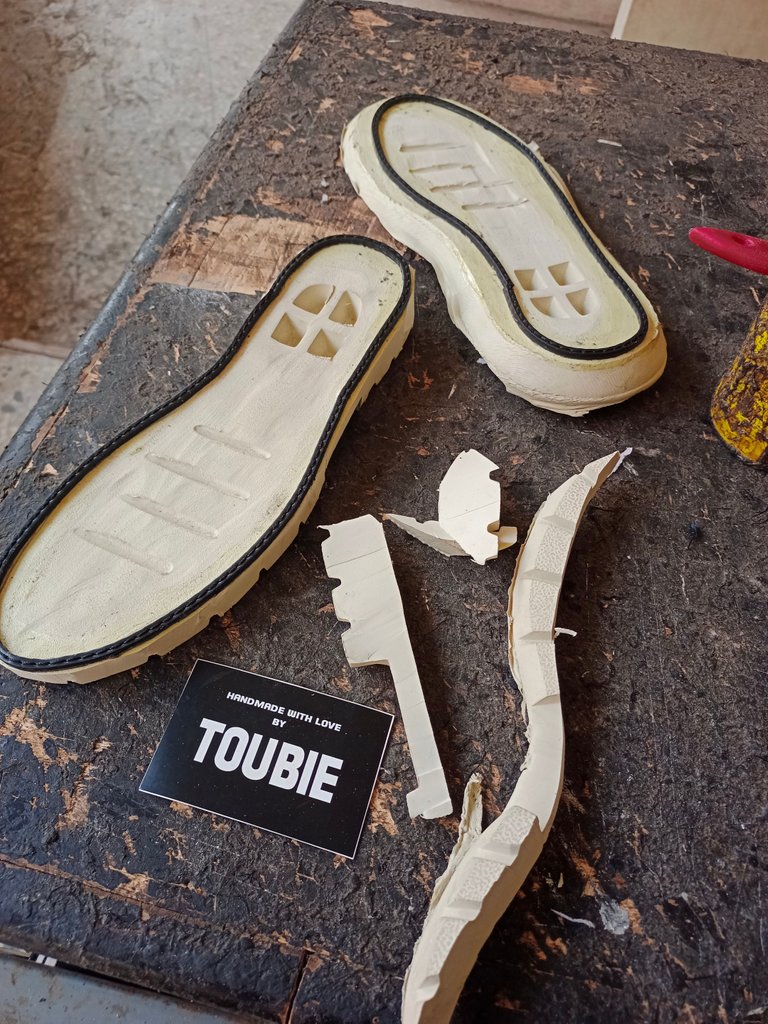
Step 13
Trim the excess.
Use a bench grinder, or a filing machine to smoothen the sides of the shoe. Repeat the same for the second part.
IMG_20220123_154844.jpg

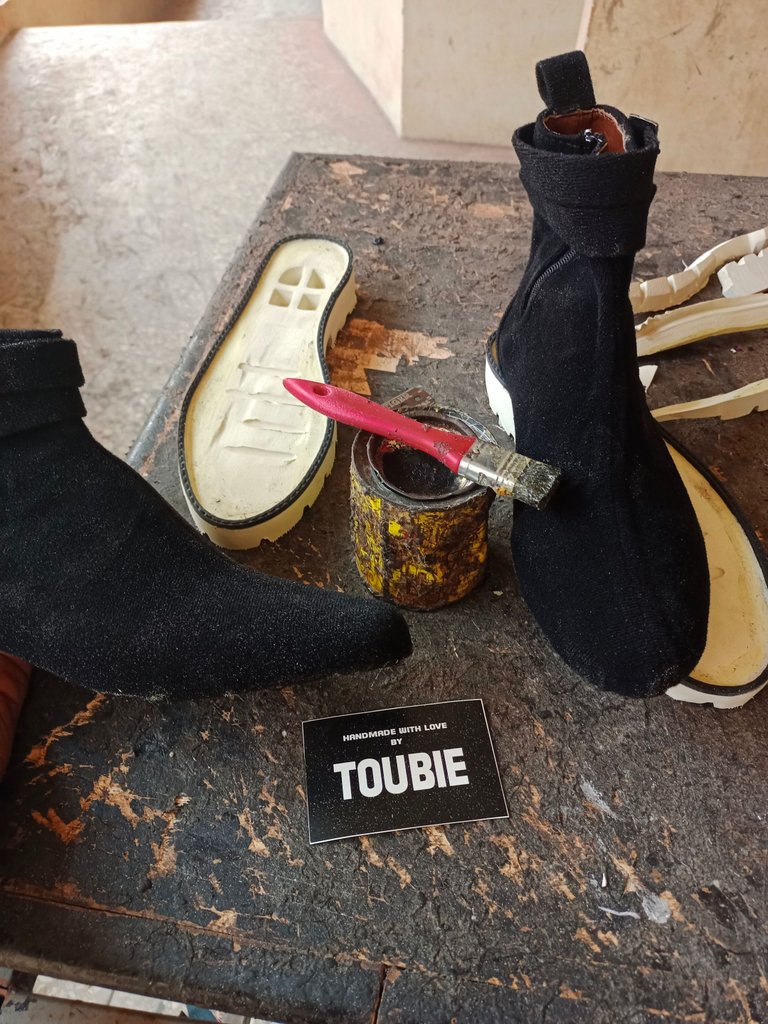
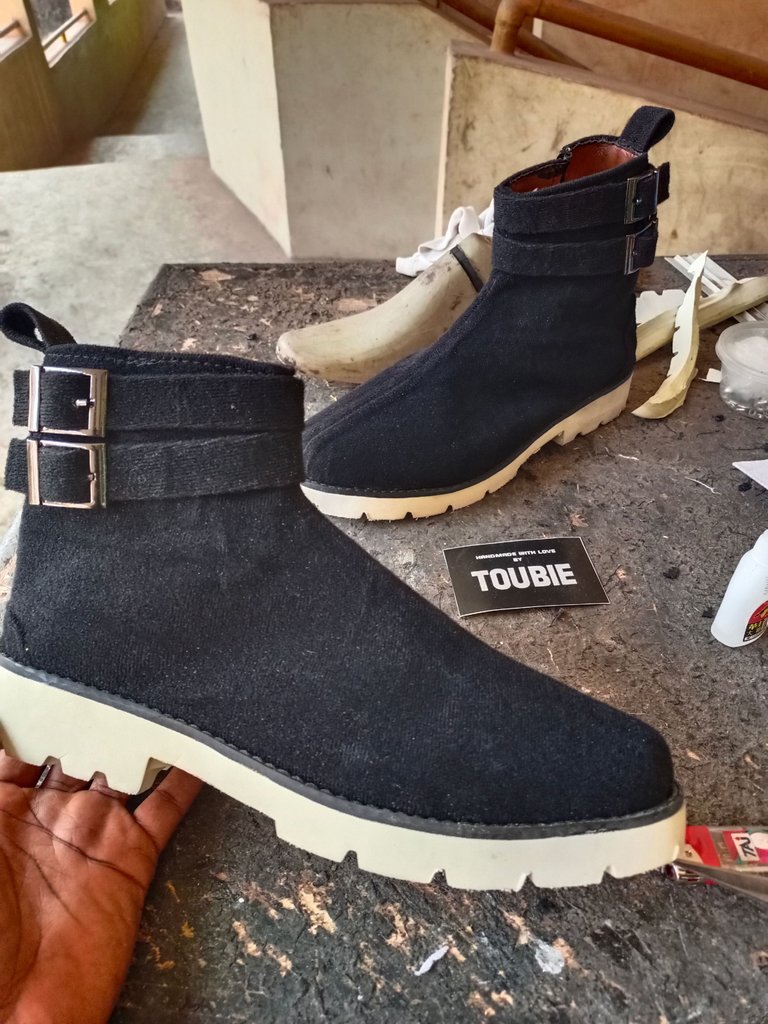
Step 14
Apply gum to the sole and your prepared upper, then attach them together.
Do not forget to remove the nails on the insole before the final attachment.
IMG_20220123_160553.jpg

IMG_20220123_171230.jpg

Step 15
Take a very nice picture!

PSX_20220125_144910-picsay.jpg

Step 16
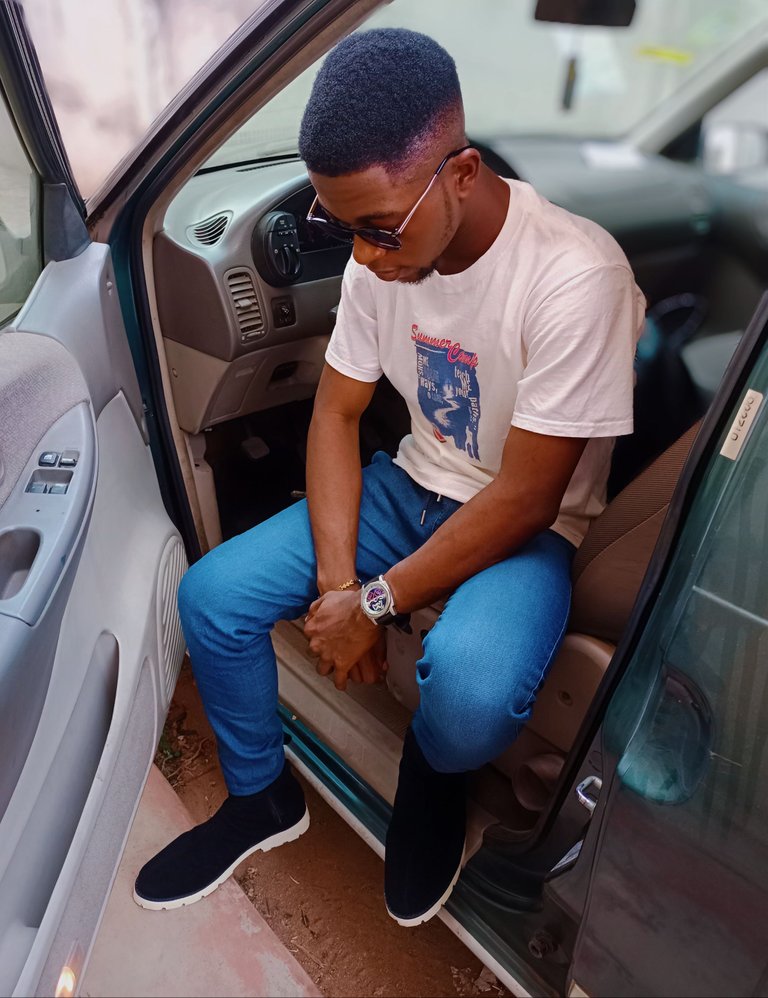
Make one for yourself and don't forget to take a nice picture like I did for myself below. Hope I look great in my boots?
BeautyPlus_20220214123000426_save.jpg

Thanks for reading.
Please feel free to leave a feedback as regards this and I promise to take whatever questions you have and answer the ones I can

BeautyPlus_20220215004353112_save.jpg

Once again, thanks for your time!

Sort:  

This is great. I’ve always loved craft like this because I find it very interesting and satisfying. I remember workshop technology in my uni where I got the chance to work with tools and machines to craft out simple and complex works.
Thank you for sharing this amazing post today @toubie. You’ve brought back some good memories.

Thank you so much. It's always a wonderful thing to create whenever I find the chance to!

Waooo... This as always been one of my heart desired shoes... Omo... Boss you to sabi ohh...
I beg dash me d shoe na...
Smiling
This is nice boss.

Hahaha
Thank you so much

Congratulations @toubie! You have completed the following achievement on the Hive blockchain and have been rewarded with new badge(s):

You distributed more than 400 upvotes.
Your next target is to reach 500 upvotes.

You can view your badges on your board and compare yourself to others in the Ranking
If you no longer want to receive notifications, reply to this comment with the word STOP

Check out the last post from @hivebuzz:

Hive Power Up Month - Feedback from February day 20
Support the HiveBuzz project. Vote for our proposal!
Thank you for sharing this amazing post on HIVE!
  • Your content got selected by our fellow curator @priyanarc & you just received a little thank you via an upvote from our non-profit curation initiative!

  • You will be featured in one of our recurring curation compilations and on our pinterest boards! Both are aiming to offer you a stage to widen your audience within and outside of the DIY scene of hive.

Join the official DIYHub community on HIVE and show us more of your amazing work and feel free to connect with us and other DIYers via our discord server: https://discord.gg/mY5uCfQ !

If you want to support our goal to motivate other DIY/art/music/homesteading/... creators just delegate to us and earn 100% of your curation rewards!

Stay creative & hive on!