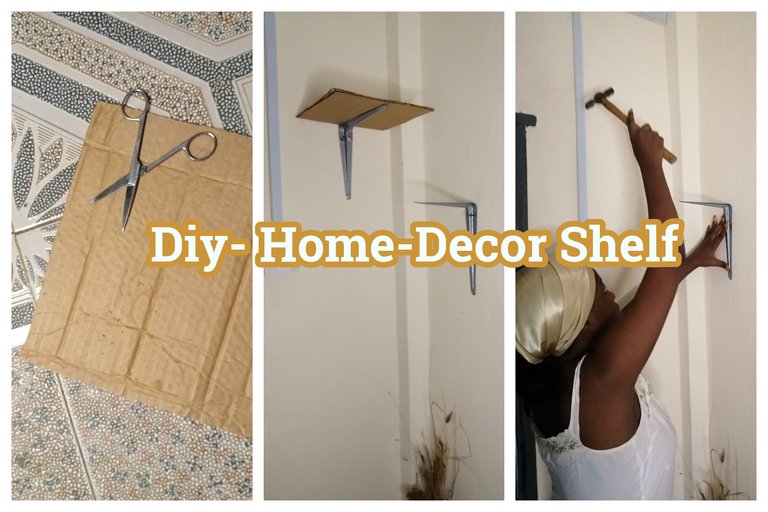
Happy weekend everyone and i welcome you all to another blog tutorial today, i am back with a home industrial diy project, and in today's chapter we a re featuring a step by step process to achieving a home decor floating shelf style design for decorating your home and adding some intretst to a plain space, if you are interested in this diy decor idea read on below
[Esp]
Feliz fin de semana a todos y os doy la bienvenida a otro tutorial del blog de hoy, estoy de vuelta con un proyecto de bricolaje industrial en casa, y en el capítulo de hoy estamos presentando un proceso paso a paso para lograr una decoración casera de estilo estantería flotante para decorar su casa y añadir un poco de intretst a un espacio liso, si usted está interesado en esta idea de decoración de bricolaje sigue leyendo a continuación
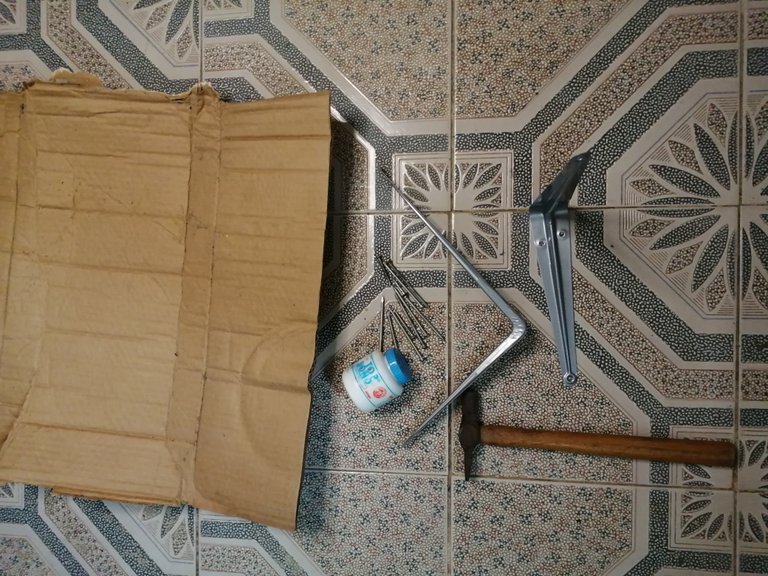
Products Needed
Cardboard carton
Top Glue
Nails
Hammer
Shelf elbow
measuring Tape
Scissors
Productos necesarios
Cartón
Pegamento superior
Clavos
Martillo
Codo de estantería
Cinta métrica
Tijeras
background canvas
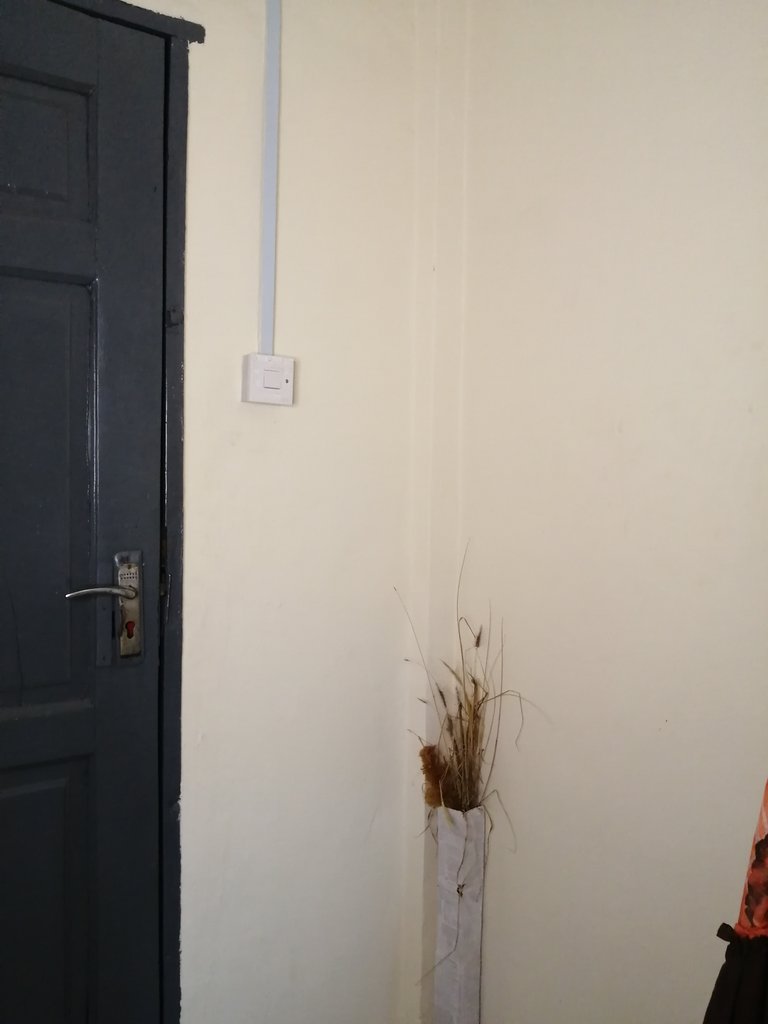
This is the plain wall which i want to add interest to , it has been like this for a while now, a space next to the door entrance and next to my clothing rack.
Esta es la pared lisa a la que quiero añadir interés, lleva así un tiempo, un espacio al lado de la puerta de entrada y al lado de mi perchero.
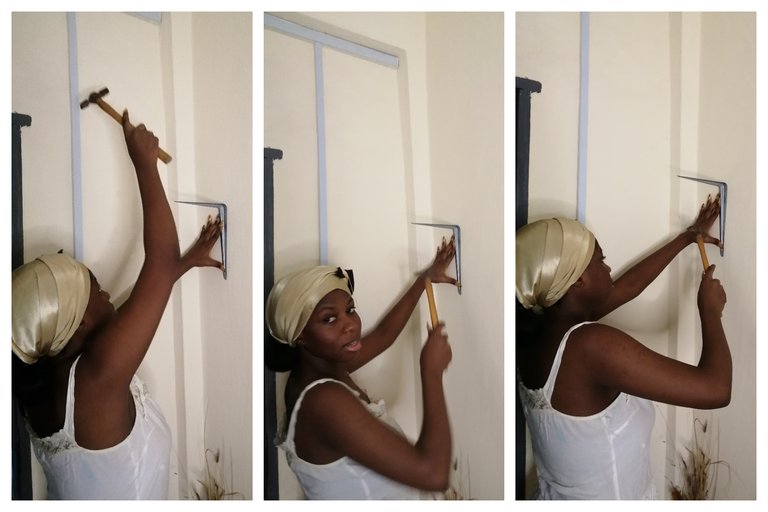
Step 1.
starting off with nailing the elbow bracket to the wall, i ma using a set of tonado nails to drive into the wall with my hammer, this part was sort of difficult but i was able to complete the nailing slowly but surely.
Comenzando con clavar el soporte del codo a la pared, yo ma usando un conjunto de clavos tonado para clavar en la pared con mi martillo, esta parte fue un poco difícil, pero yo era capaz de completar el clavado lento pero seguro.
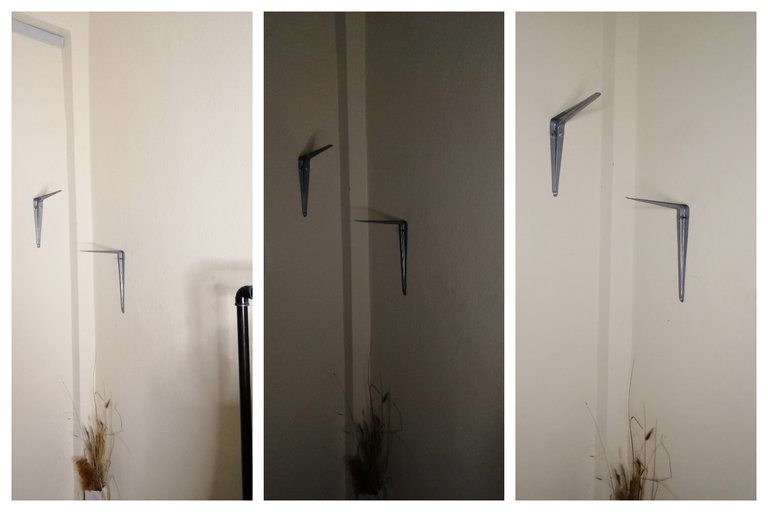
Here is how the elbow bracket looks after nailing through the holes, here you want to make sure it is straigth before completing the nailing.
Asi es como se ve el soporte del codo despues de clavar a traves de los agujeros, aqui usted quiere asegurarse de que es straigth antes de completar el clavado.
Step 2.
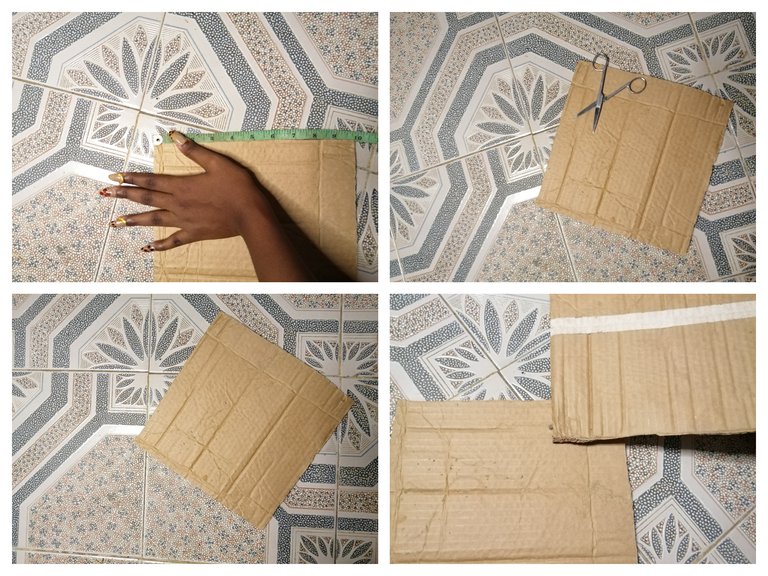
In this next step with are creating a plank like concept using cardboard carton i am going to be layering a few carton on top of each other to provide me thickness, to start off i measure a cardboard size of 1 inches at all sides, cutting it with a scissors, i had made two cardboard of this size for each of the bracket shelf.
En este siguiente paso vamos a crear un concepto de tablón utilizando cartón, voy a poner unos cuantos cartones unos encima de otros para conseguir grosor, para empezar medí un cartón de 1 pulgada por todos los lados, cortándolo con unas tijeras, hice dos cartones de este tamaño para cada uno de los soportes de la estantería.
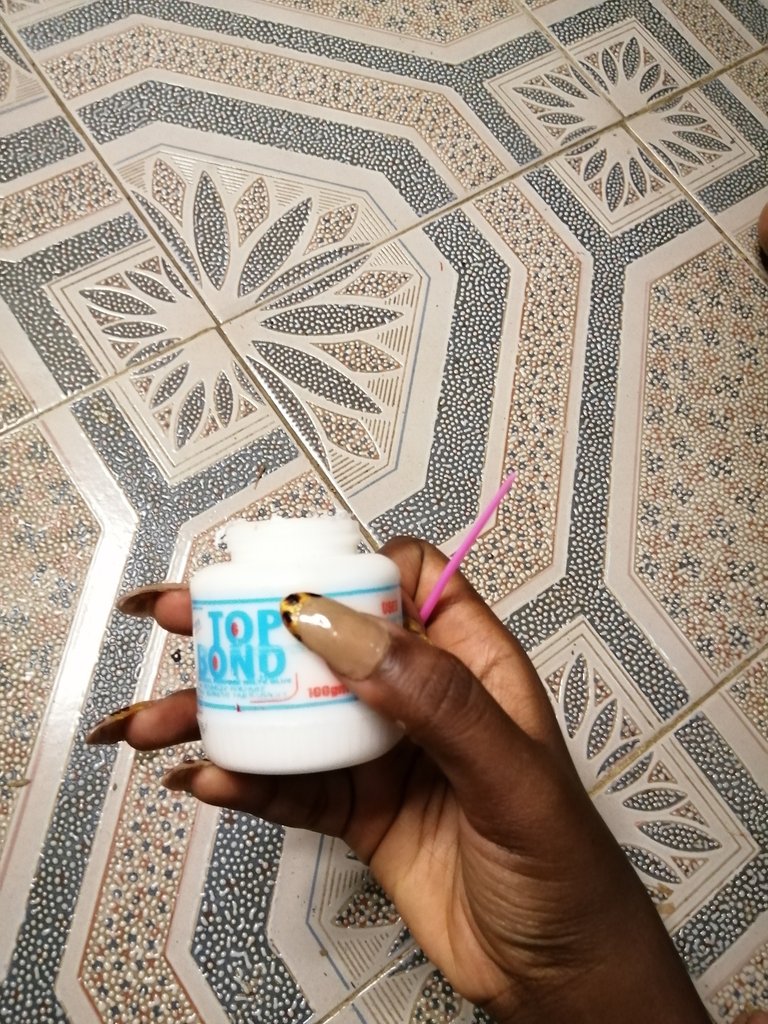
We would proceed to use the paper glue to layer the cardboards together
Step 3.
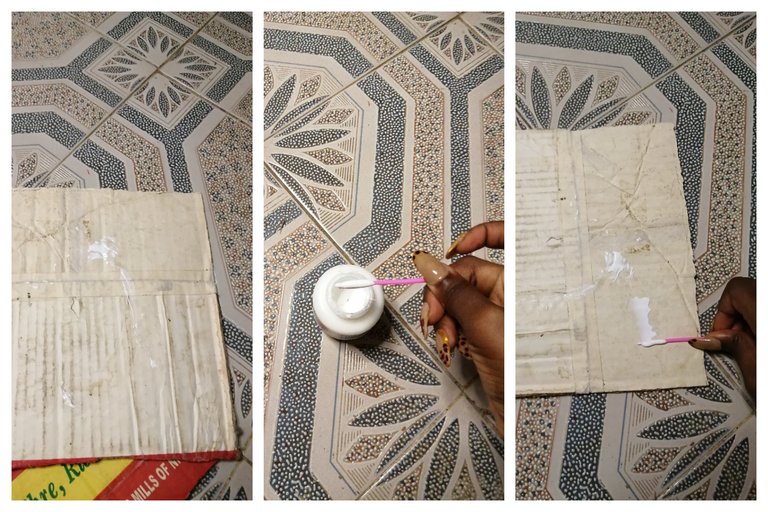
I applied glue to the back of both cardboards coating the entire surface with the glue to achieve a sturdy adherance to each other.
Apliqué pegamento en la parte posterior de ambos cartones cubriendo toda la superficie con el pegamento para conseguir una adherencia firme entre ellos.
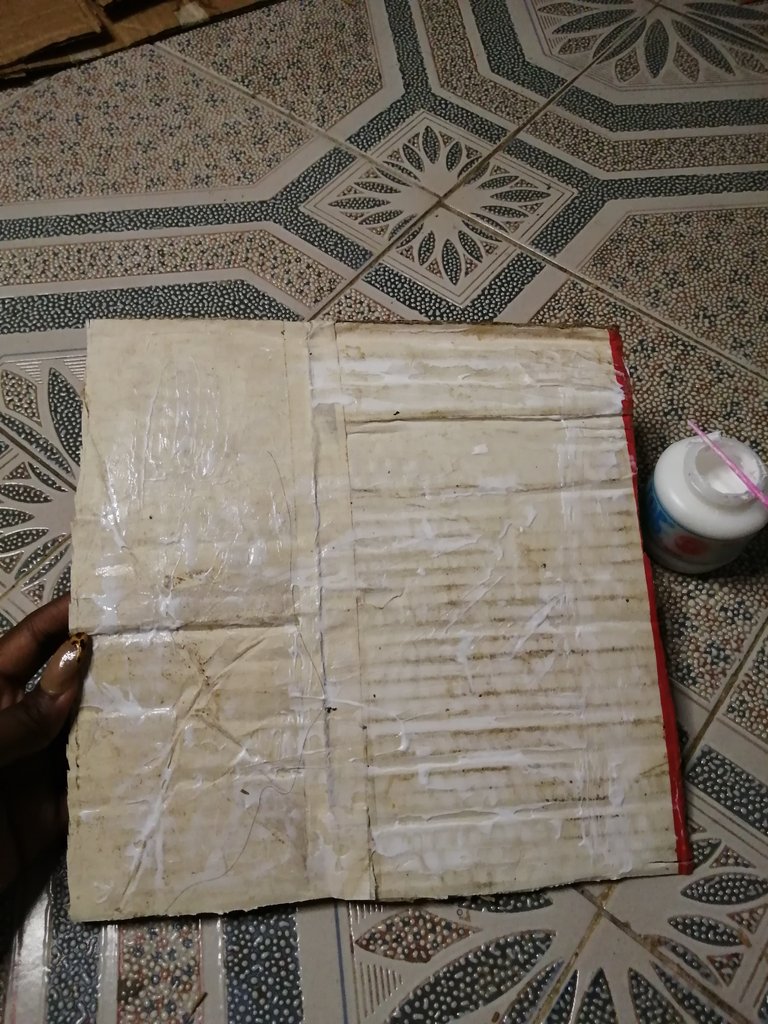
Here is a look of the fully coated cardboard.
Aquí puede ver el cartón totalmente recubierto.
Step 4.
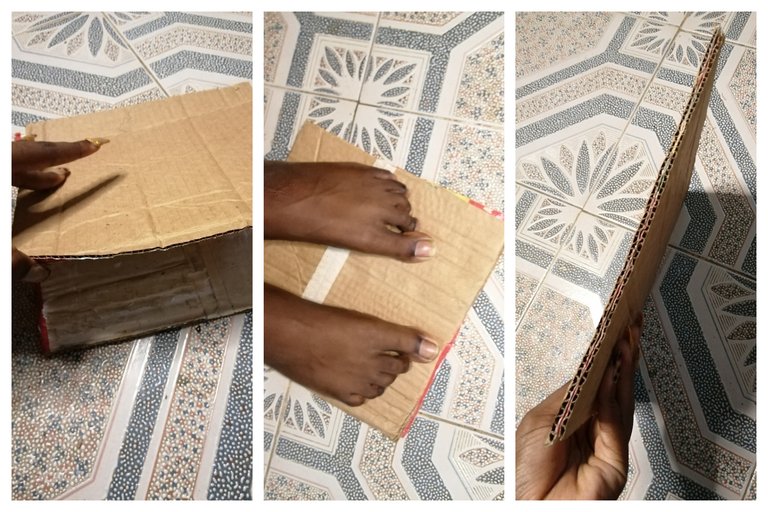
in this step i had layered the cardboards unto eachother after i left i=the glue to get tacky, i then used my feet t step unto the cardboard to apply pressure so that it stick on well.
en este paso me había capas de las cartulinas uno sobre el otro después de que dejé i = el pegamento para conseguir pegajosa, a continuación, utilicé mis pies t paso a la cartulina para aplicar presión para que se pegue bien.
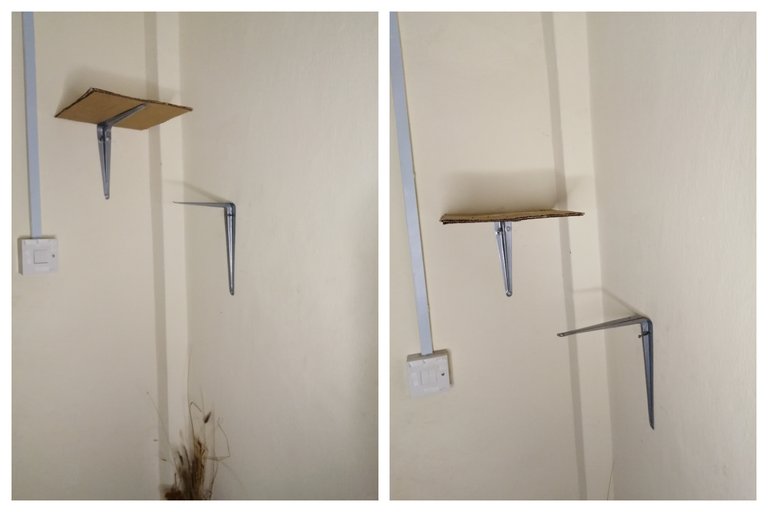
I went ahead to place my first plank unto the elbow bracket.
Seguí adelante para colocar mi primer tablón en el soporte del codo.
Final Look !
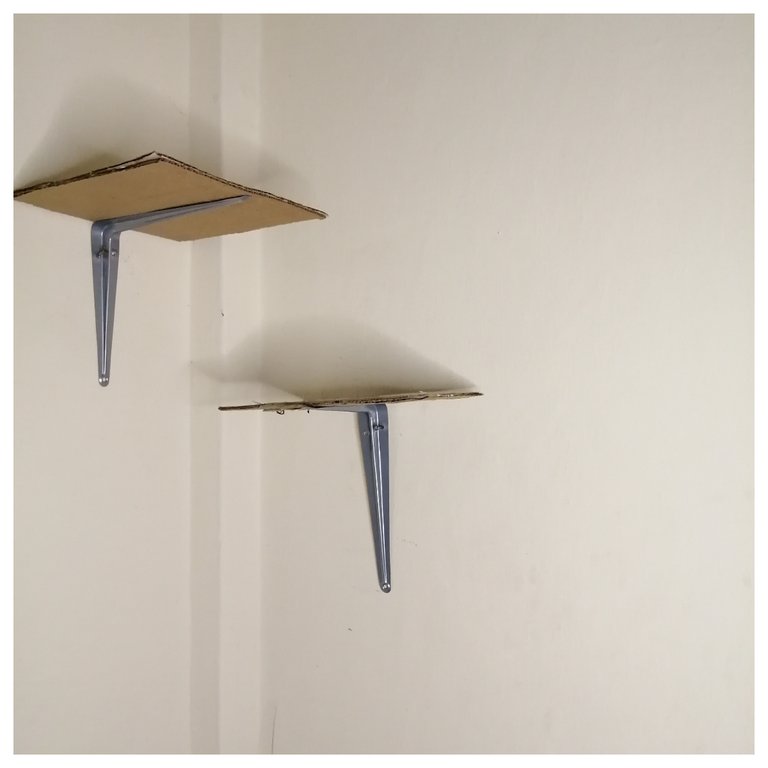
here is the final look of the diy shelf after completing my second plank.
aquí está el aspecto final de la estantería diy después de completar mi segundo tablón.
i cant wait t show you the decor design when i eventually place some decor unto the shelf soon, so i hope you stay tuned.
No puedo esperar a mostraros el diseño de la decoración cuando finalmente coloque algo de decoración en la estantería pronto, así que espero que estéis atentos.
Thank you for stopping by my tutorial today, i hpe i was a ble to inspire you yet again with this simple home decore resource , let me know f you would be trying it out as it really a good incentive to adding intrest to your space or blank wall, leave me your thoughts in the comments below, see you soon.
All images are mine captured on mobile device
Translation is done with DeepL.com
Gracias por pasar por mi tutorial de hoy, espero que yo era un capaz de inspirar a usted una vez más con este sencillo recurso decore casa, hágamelo saber si usted estaría tratando a cabo, ya que realmente es un buen incentivo para añadir interés a su espacio o pared en blanco, déjame tus pensamientos en los comentarios a continuación, hasta pronto.
Todas las imágenes son mías capturado en el dispositivo móvil
La traducción se realiza con DeepL.com

Posted Using InLeo Alpha