Being a “Creative” can be hard sometimes. This is because a creative person always thinks “Why not just make it instead of buying it?.” Fifty percent of the time, the cost of making a certain thing may be more expensive than just purchasing it, but creatives willingly overlook this fact. After all, the satisfaction that comes with inventing a craft matters..yes?
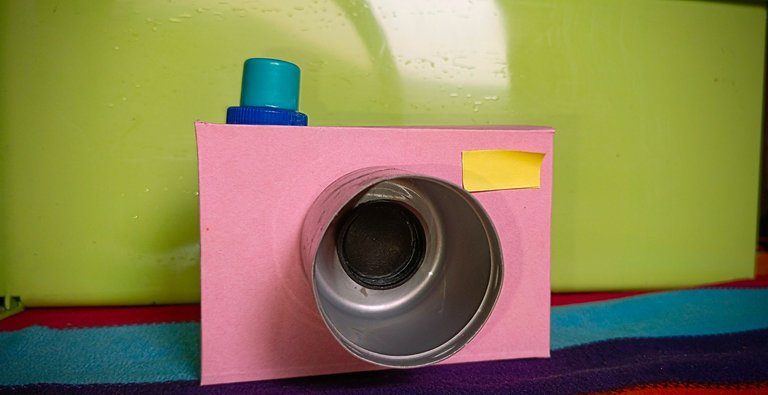
I recently fell into this “why not make it yourself” trap. I have a major project coming up and there are certain details and decorations required for this project. One of these decorations is a camera of any sort. The option to shop for a plastic camera was on the list but making the camera seemed more fun and sounded more ideal. With this idea, I began gathering as many raw materials as I could and when I had gathered all the parts for the project, I got to work.
Materials Needed.
- Coloured paper
- A pair of scissors
- Glue
- Plastic covers of various sizes
- A pencil
- A ruler
Procedure.
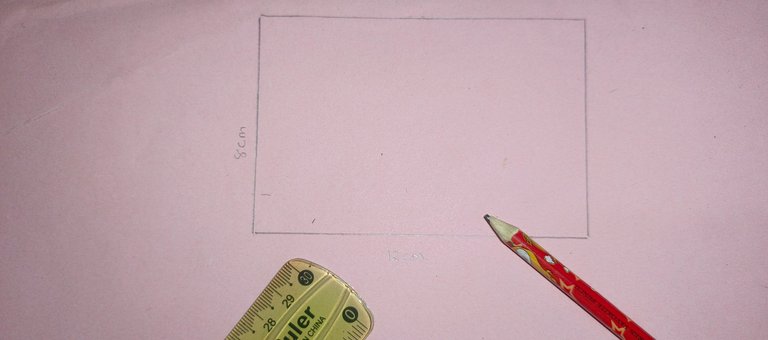
The first thing I did was make a box using the coloured paper. The major project at hand requires sharp colours hence my choice of bright pink. Since I made this camera’s shape from scratch, I did a whole lot of technical drawing of lines.
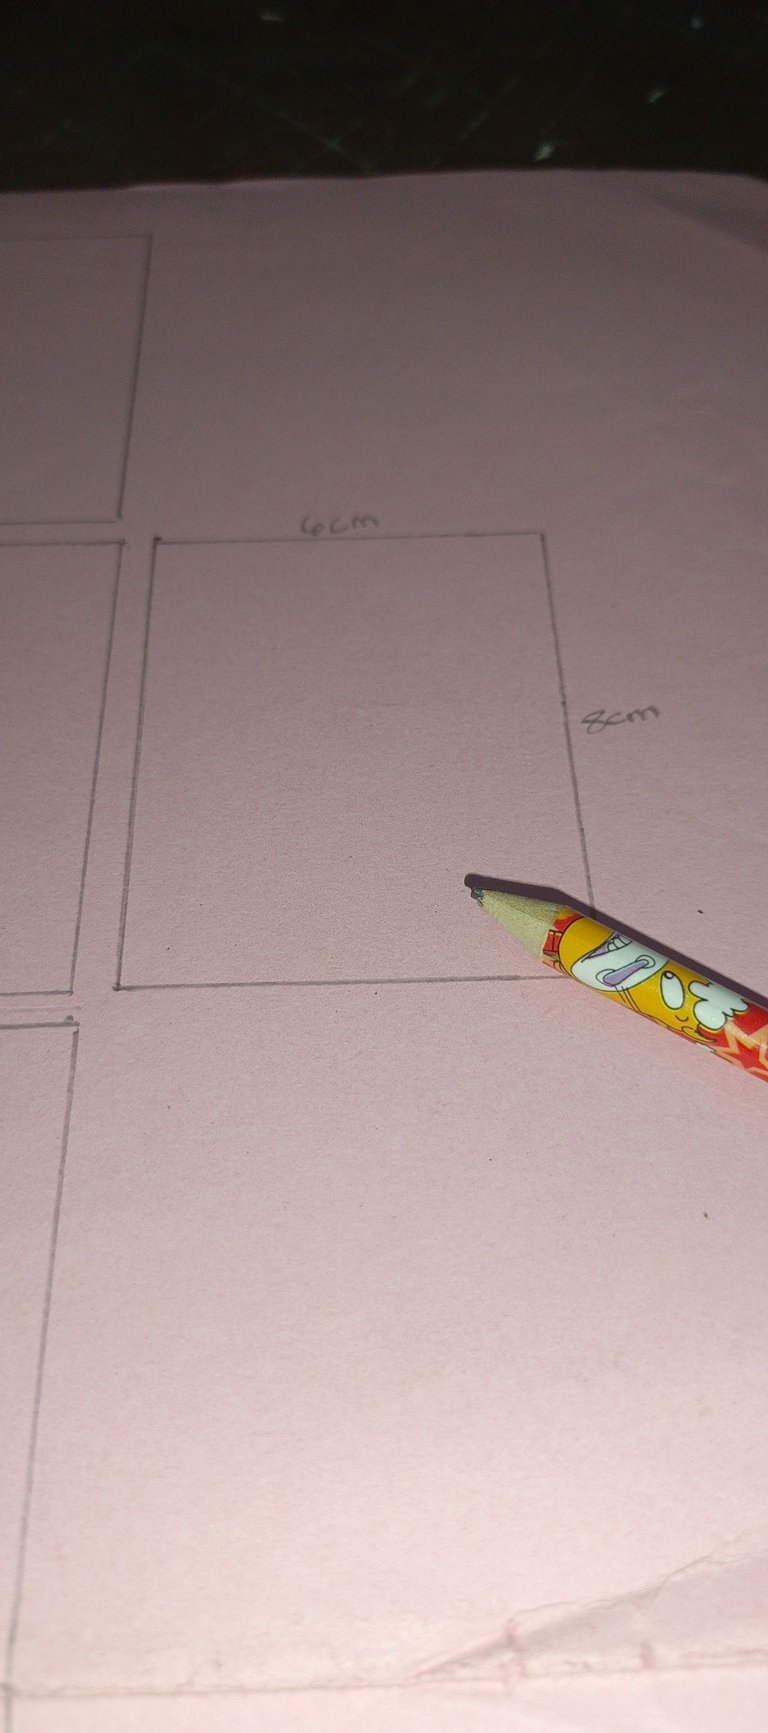
The aim was to draw four semi-rectangles of the same dimension and two other bordering rectangles placed on opposite sides.
For this, I used 12cm by 8cm measurements. Until now, I didn't realize that drawing straight lines isn't the easiest of tasks when one is all tensed up.
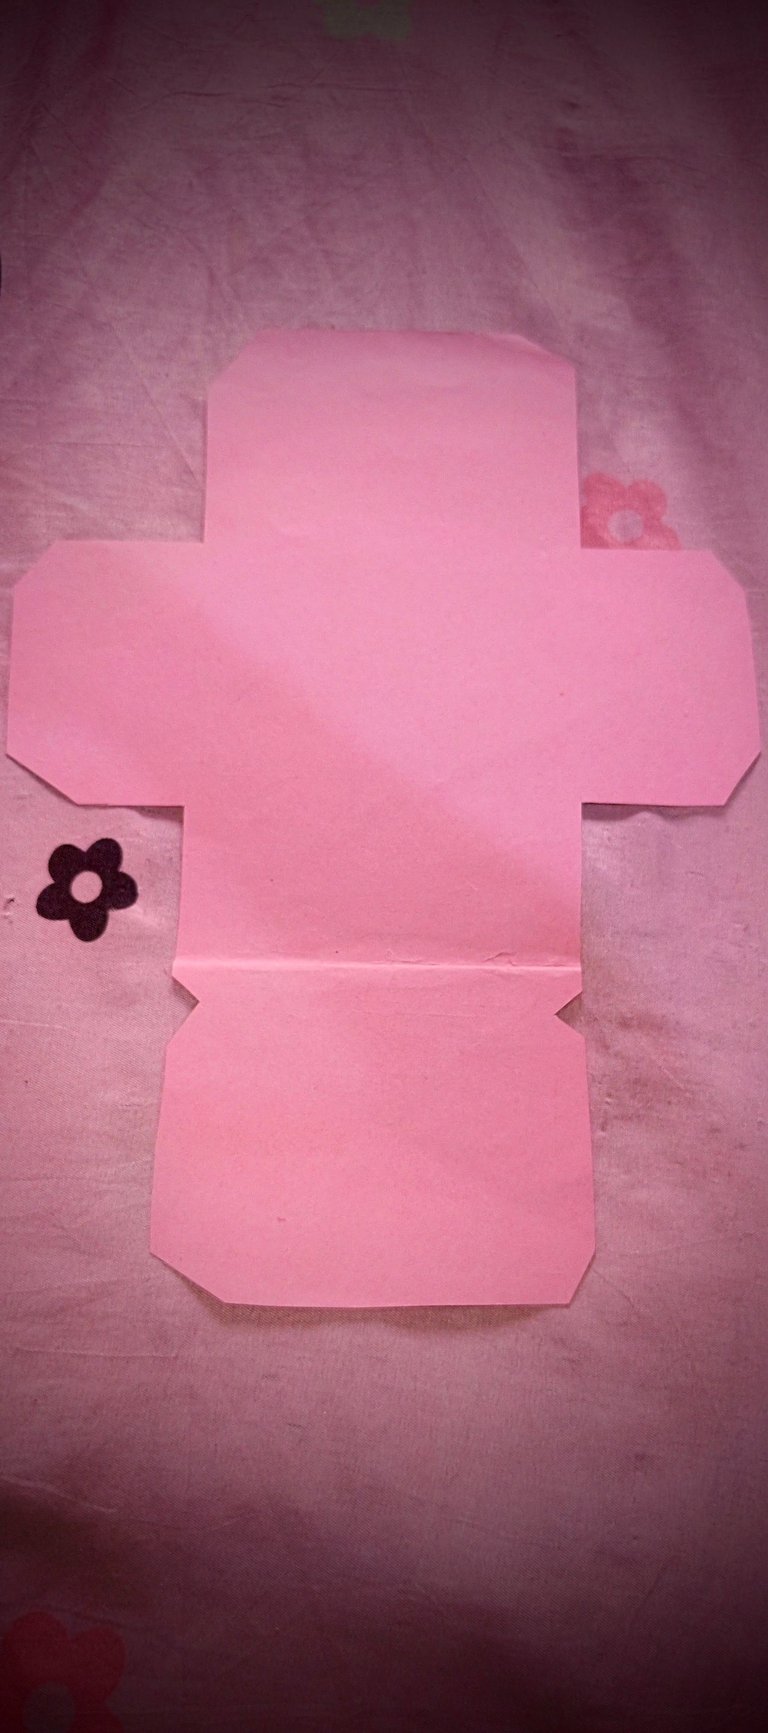
Once I got all the shapes in place, it was time to gently carve out the extra paper, leaving about 1.5cm of space between the lines and the edge of the coloured paper. I went on to make little triangles by the corners to aid the folding process.
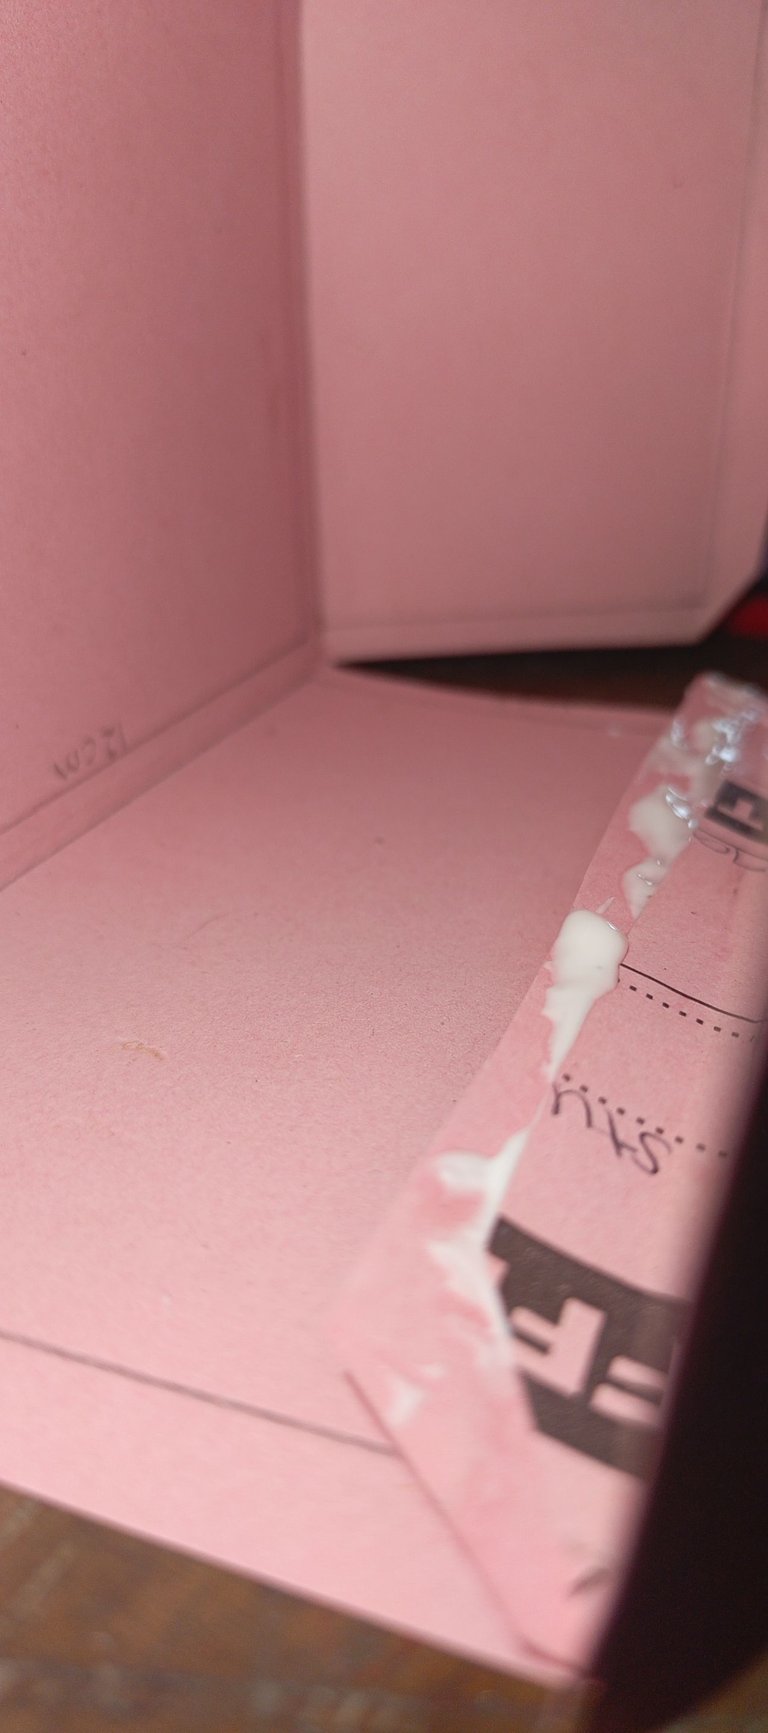
Once I was done with this phase, I went ahead to fold the coloured paper, ensuring the side with the pencil lines were folded inside. Afterwards, I glued the edges and allowed it to dry. Courtesy of the weather, the glue dried up really quickly, making it easier for me to proceed.
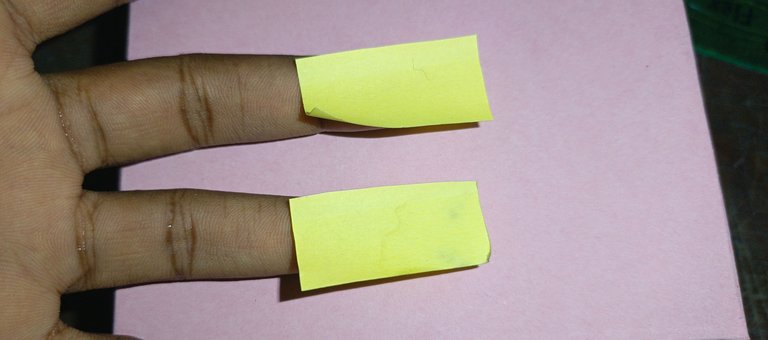
The next thing I did was to add these yellow pieces of paper to the top right corner of the camera. This was to give additional detail to the camera at the end of the day.
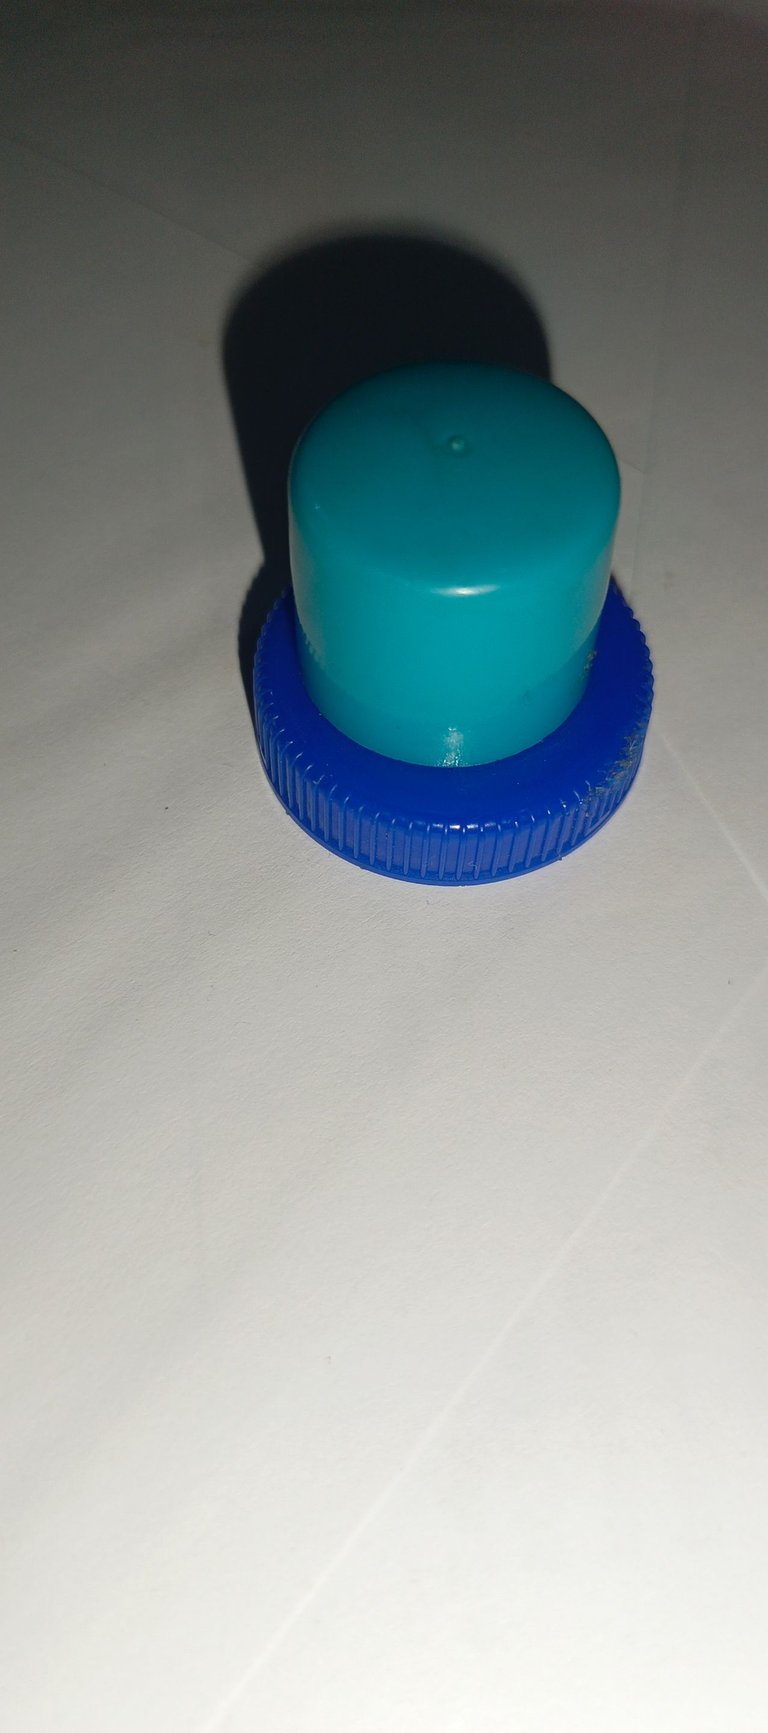
Next, I attached the shutter button. The shutter button is made up of two different shapes; a flat circle and a one-sided closed cylinder. I placed the two shapes on each other and glued them together before attaching them to the body of the camera.
After this, it was time to add the lens of the camera. I was a bit technical while choosing a shape and colour for the lens. Lens have some form of optical illusion when looked at and I tried my best to replicate this with the materials I had; paying great attention to the colour.
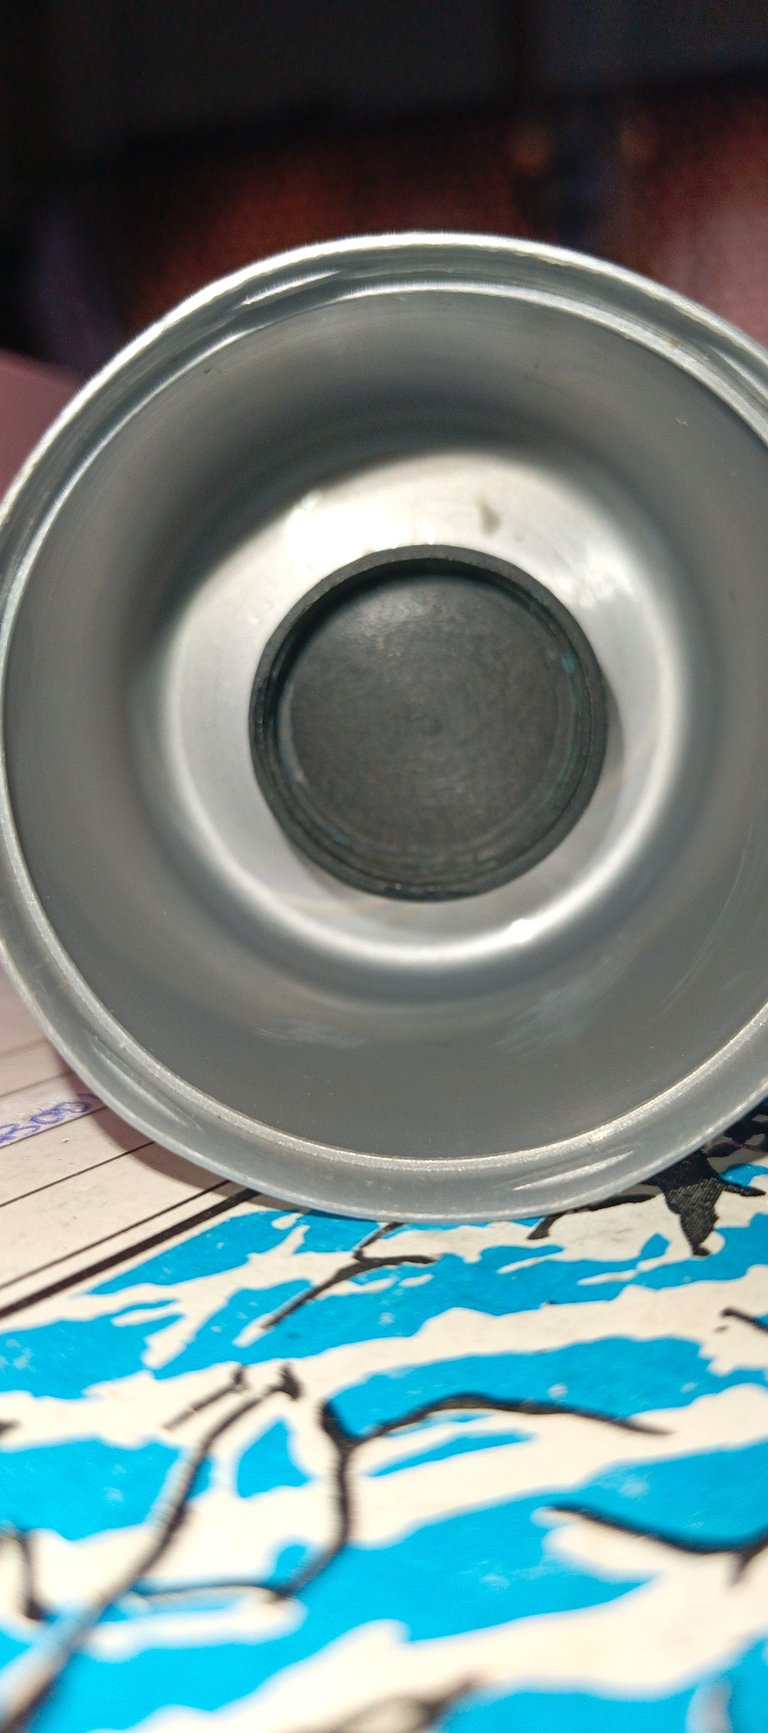
First, I added a little black plastic cover right at the center of the wider grey coloured plastic. Afterwards, I attached the grey coloured plastic to the body of the camera and that was pretty much the end of the project.
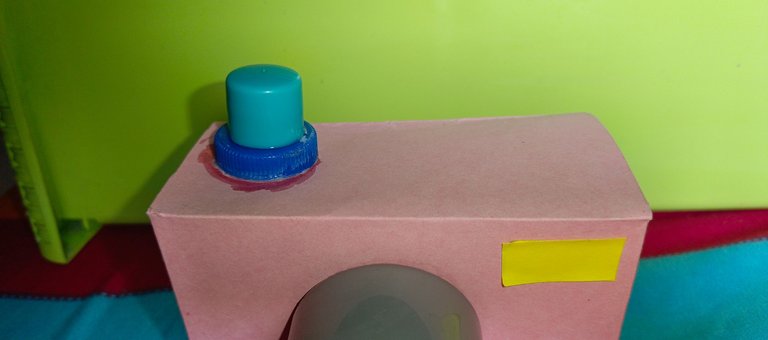
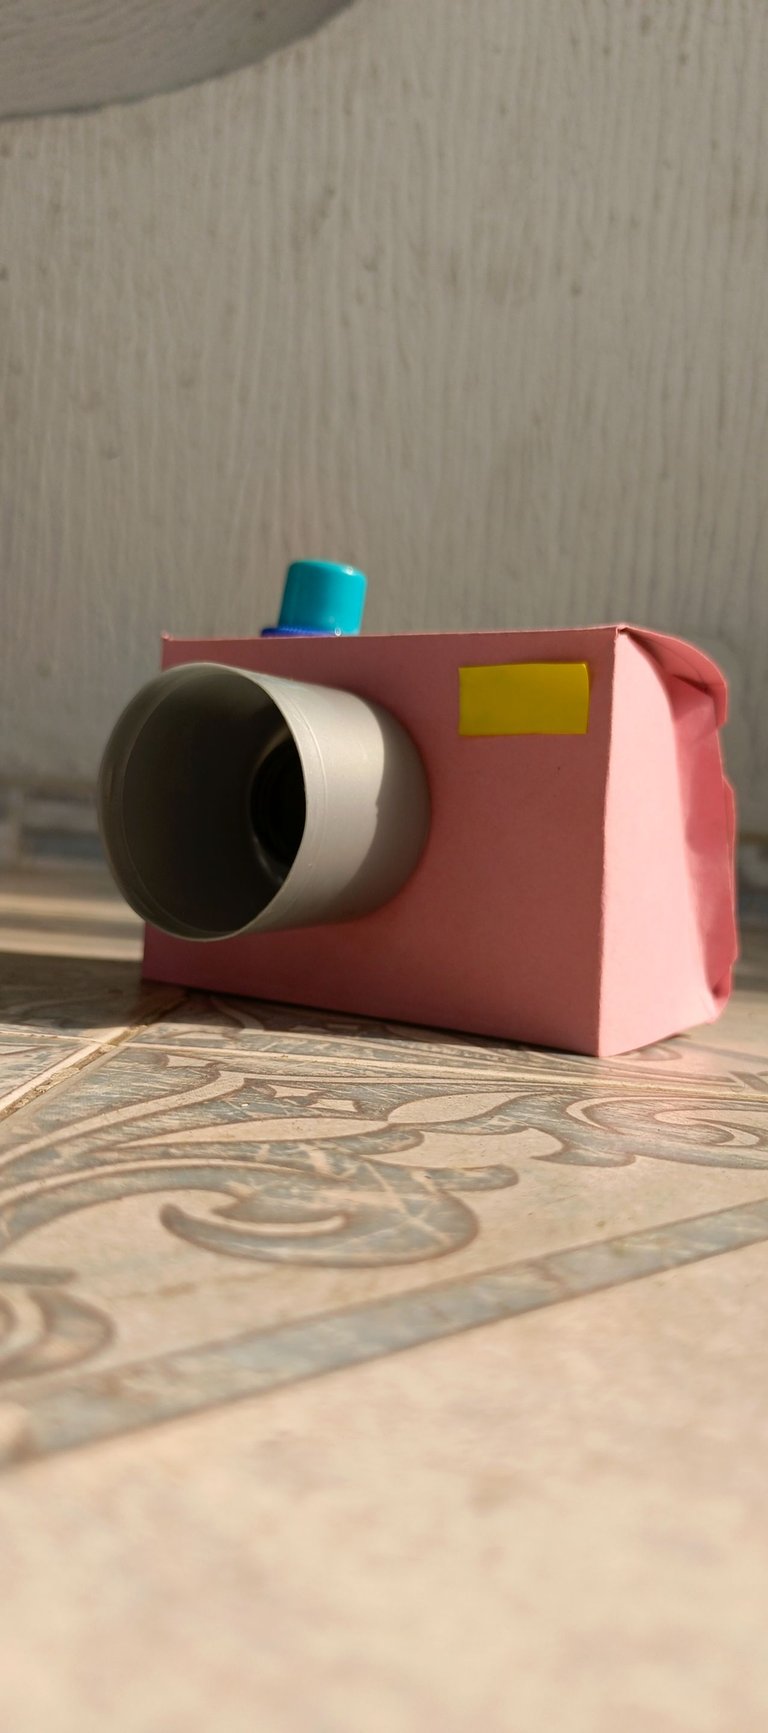
I really loved how it turned out in the end. I showed it to a friend who has an idea of the major project I'm working on and he said it was a perfect fit for the project. What do you think of this camera? Is it too colourful?
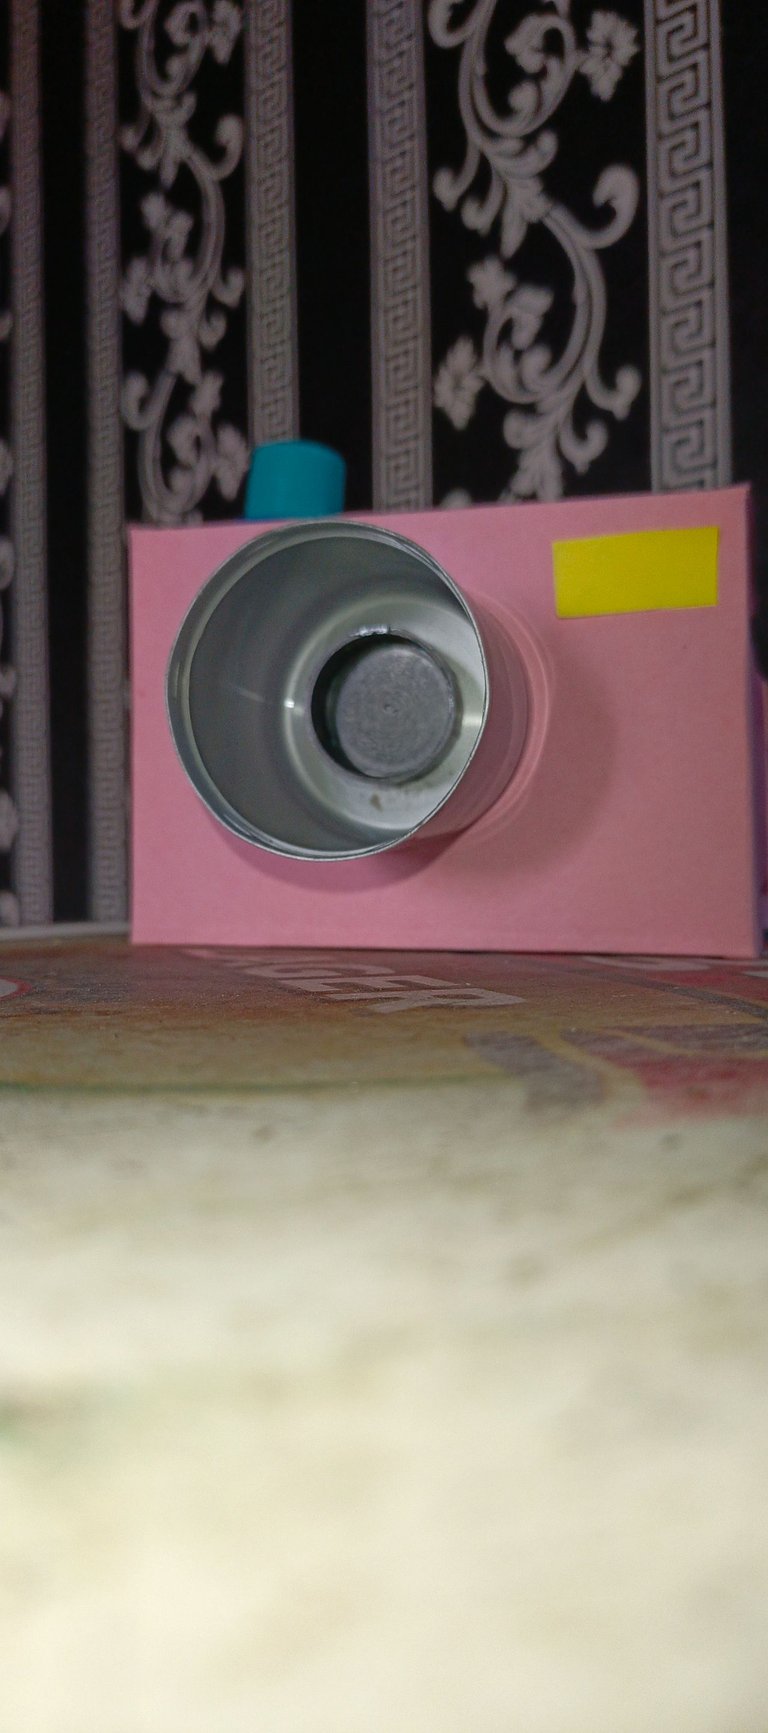
All images used belong to me and were taken with my mobile device
Liebe🤍


