Hello Creatives✨
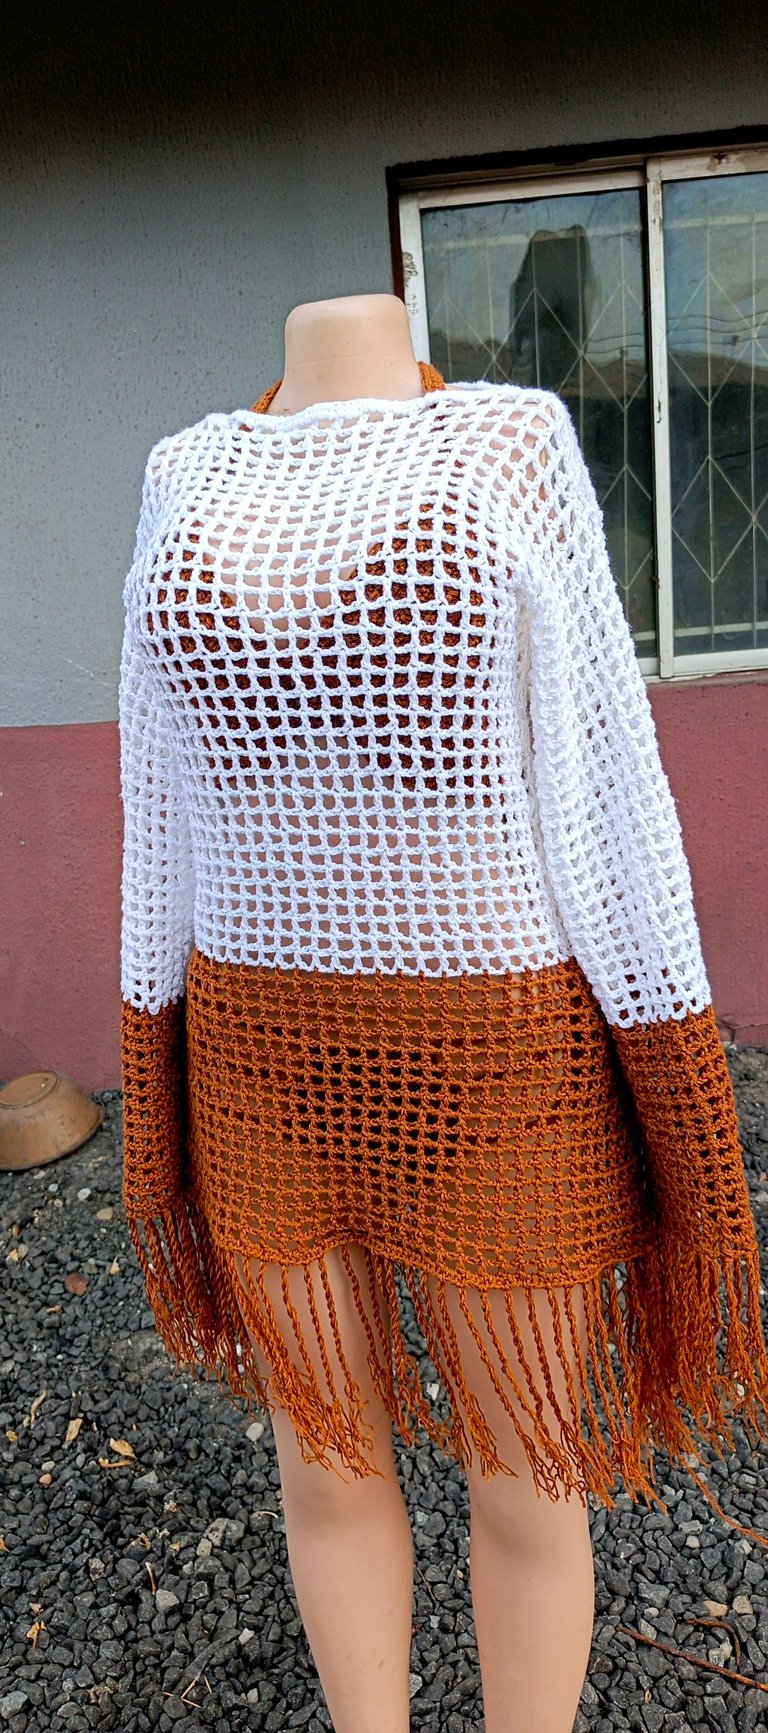
Towards the end of last month, a client placed an order for a three piece crochet beachwear to be delivered early this month. I immediately got to work and within a week, I was done with the three pieces. In case you missed out on the previous pieces you can check out the first piece here and the second here.
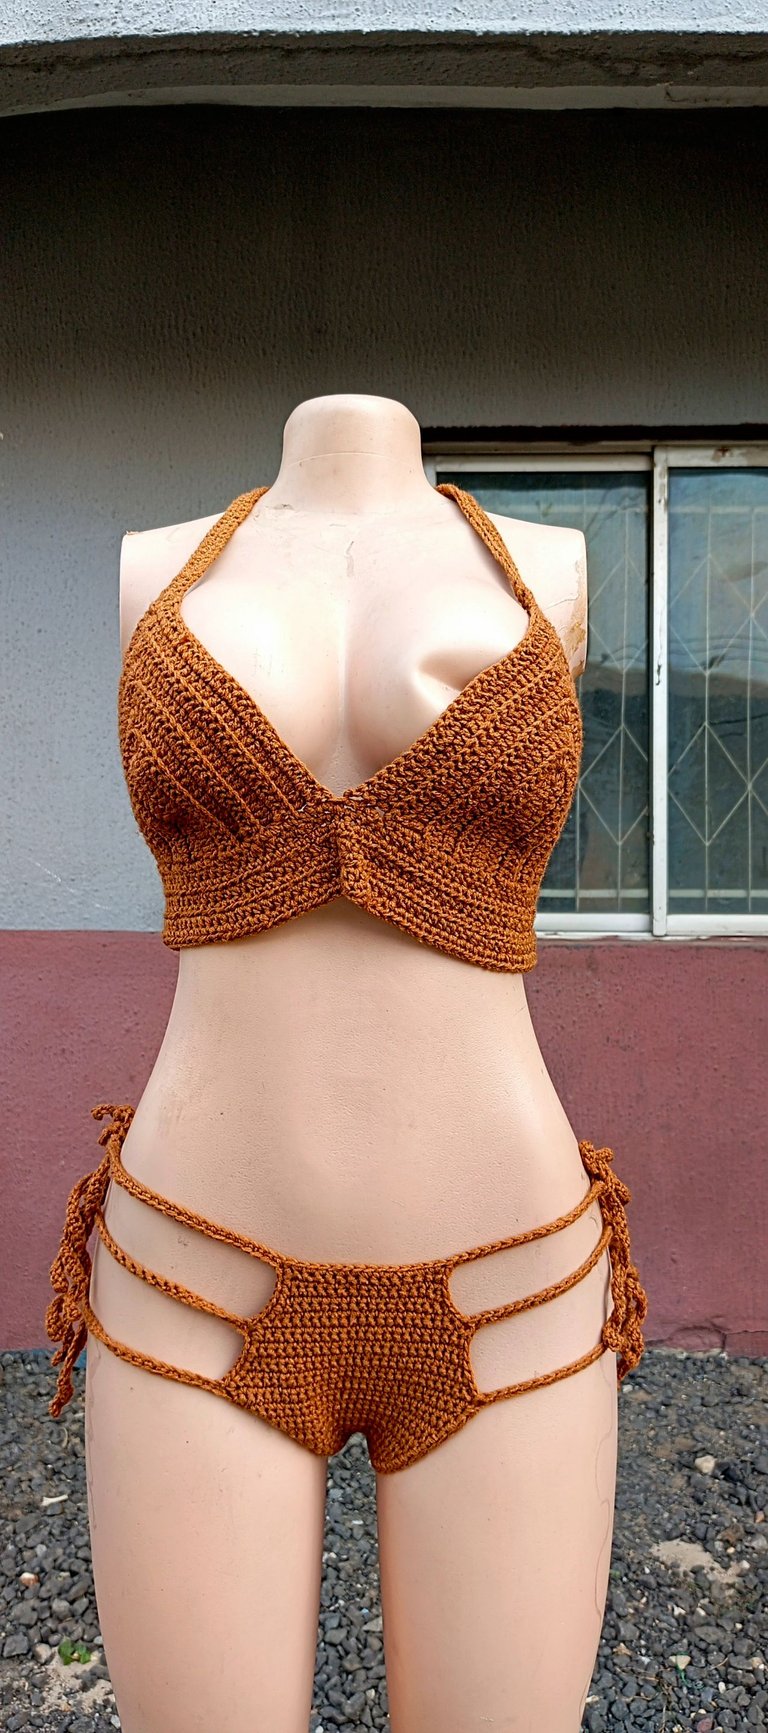
I added some finishing touches to the crochet pieces and then proceeded to deliver it to the client. I have never seen someone get as excited as this client over a crochet wear and this reaction made me very happy.
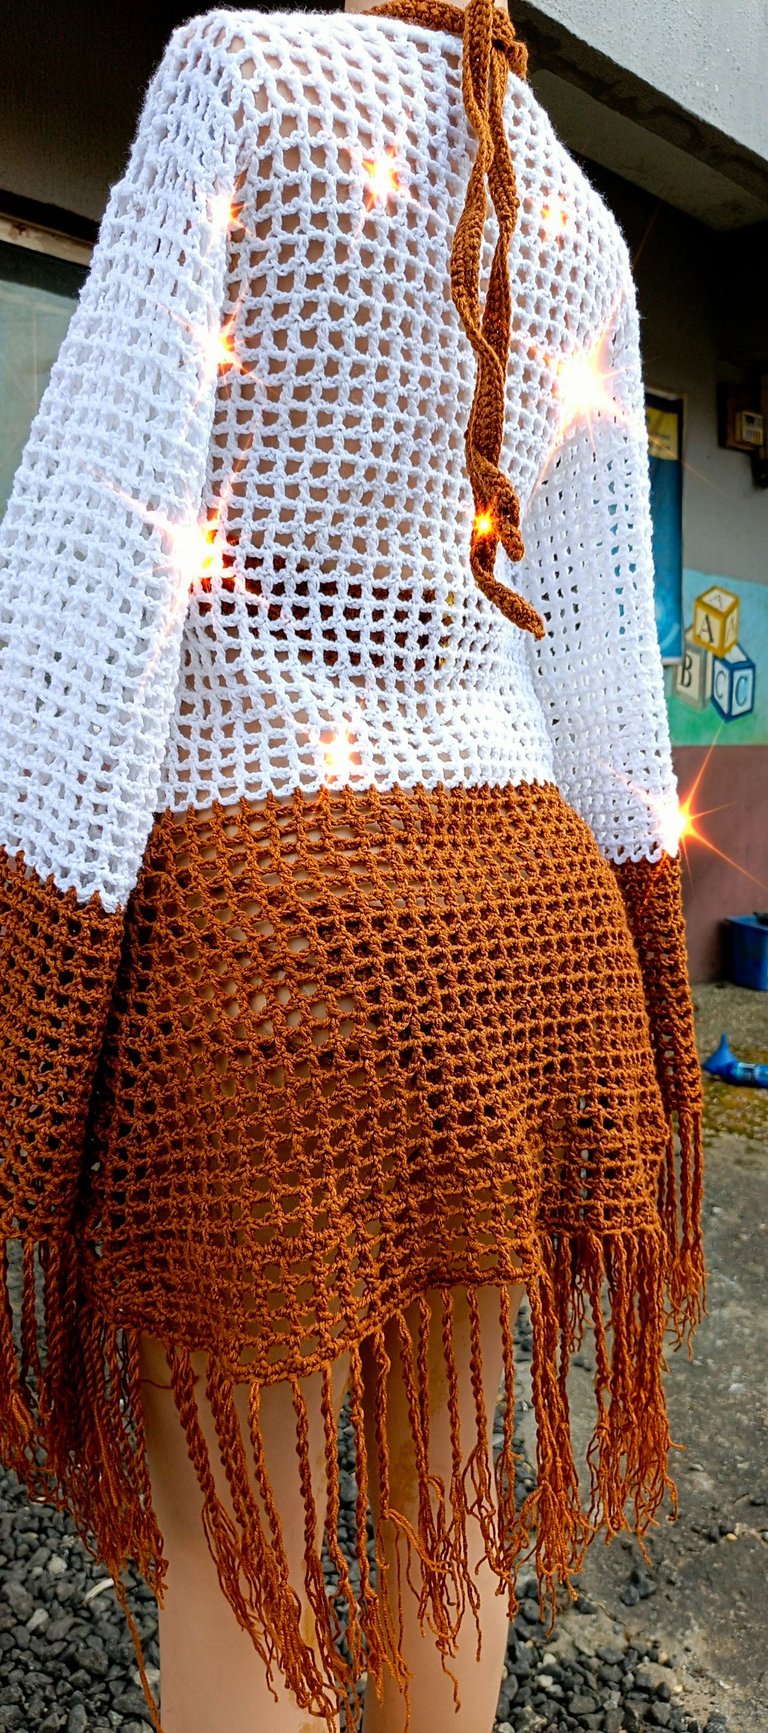
Today, I will be sharing with you the process of making the very last piece of the three piece beach wear. It has been ages since I last questioned my crocheting skills but with this piece, there were moments I sat back to wonder if the client was going to appreciate the final look. Or was I just wasting my time?
Materials Used
- Yarn
- 4.5mm crochet hook
- Measuring tape
- Stitch markers
- Darning needle
- A pair of scissors
Procedure
This crochet beach cover-up was a very direct and straightforward piece to make. With the right measurements and a sketch, I got to work.
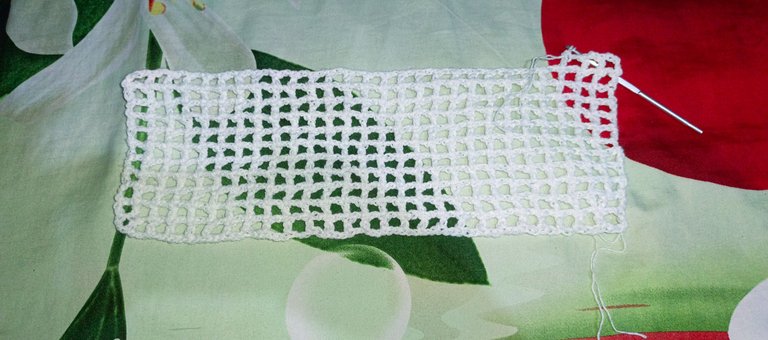
First, I started by making a chain long enough for the front panel of the crochet cover-up. With this measurement, I made about twenty two rows of mesh crochet stitches. These rows spanned the entire trunk(from shoulder to umbilicus).
To make the mesh stitches, I made a chain of two, skipped two stitches and placed a double crochet stitch into the third space. I repeated this pattern till the end of the row. At the end, I made five chains instead of two, turned my work and continued the initial pattern. The extra three chains at the end served as a chain two plus a turning stitch.
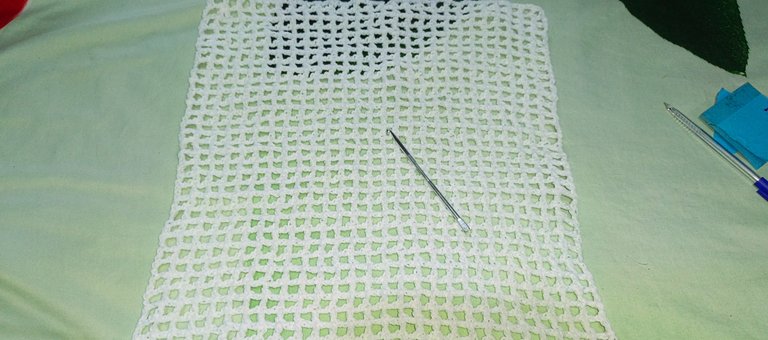
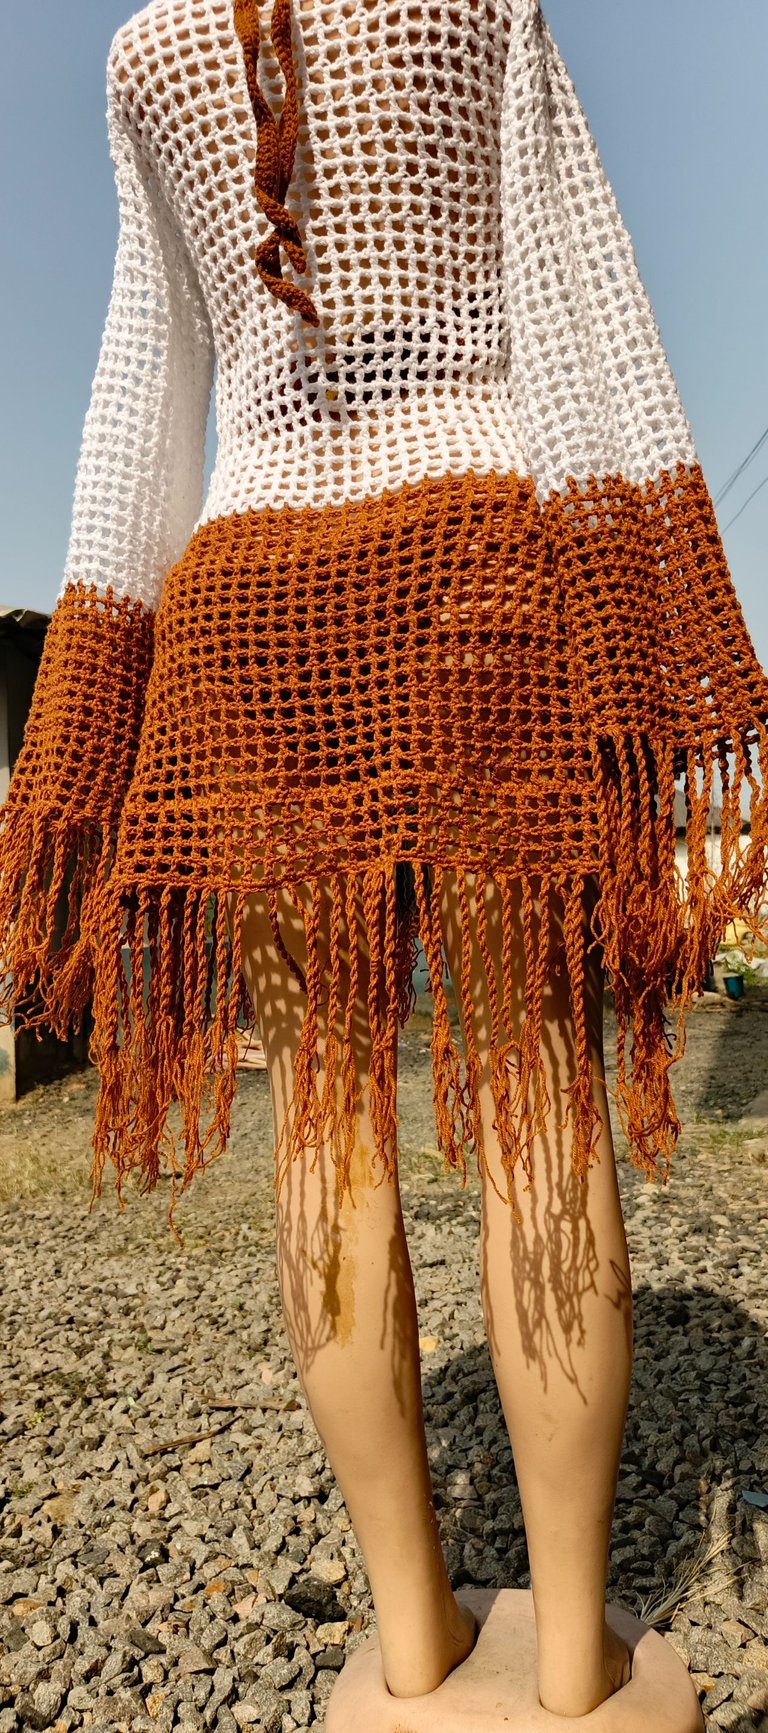
Once I got to the twenty second row, I changed the yarn color as I was going to be making increases to accommodate the client's hips.
With the new yarn, I made increases after every two rows. Once I got the desired length for the front panel, I secured my end and cut off the remaining yarn.
Ps: I repeated the same exact pattern for the back row but after I took the dress for fitting, the client asked that I add about two extra inches to the back panel as her butt was lifting the back panel up. I did as she instructed.
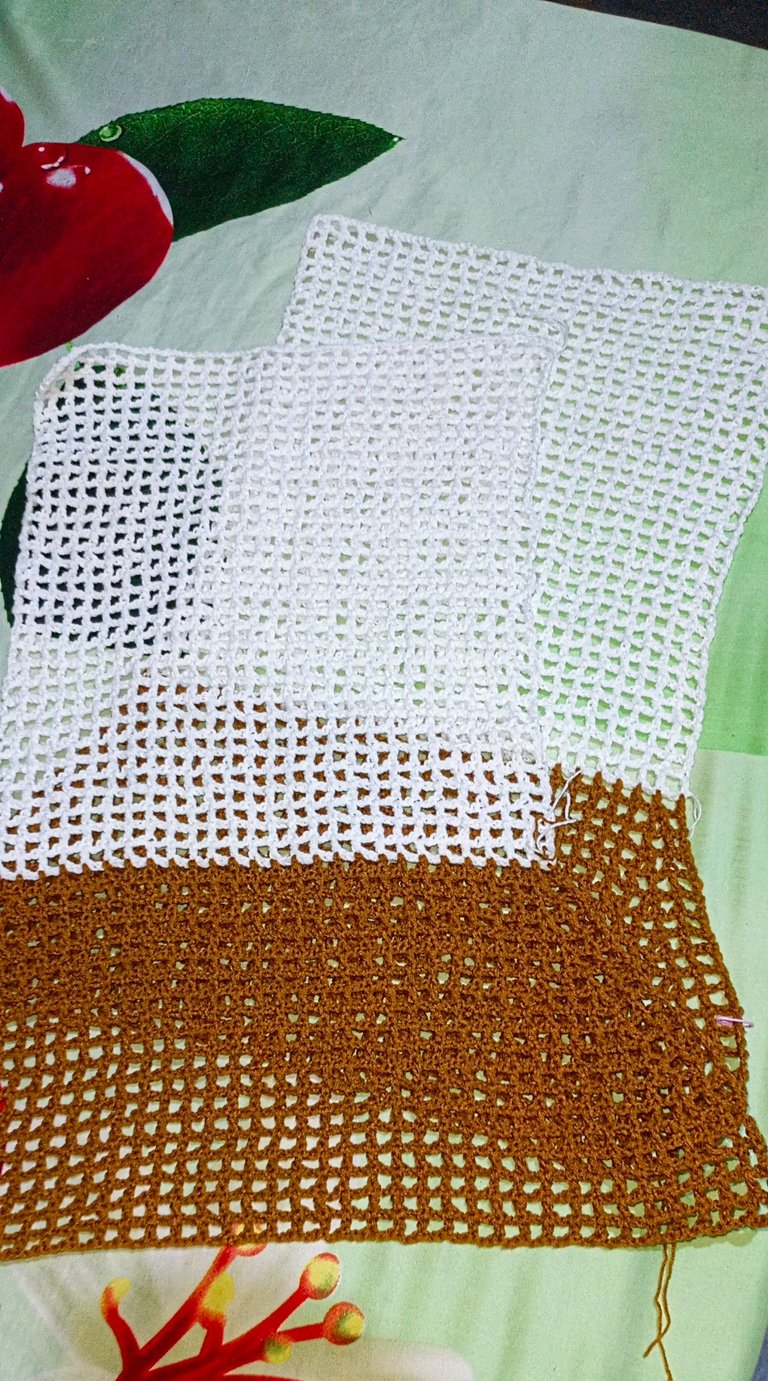
After I got both panels, it was time to couple them. Most people use darning needles for this part but to ensure that the dress doesn't disassemble, I used single crochet stitches.
When I got to the part I marked off for the arms, I pretty much repeated the same mesh pattern; chain five at the beginning of each row and chain two within each row. I repeated this round and round until I reached the desired length for the arms.
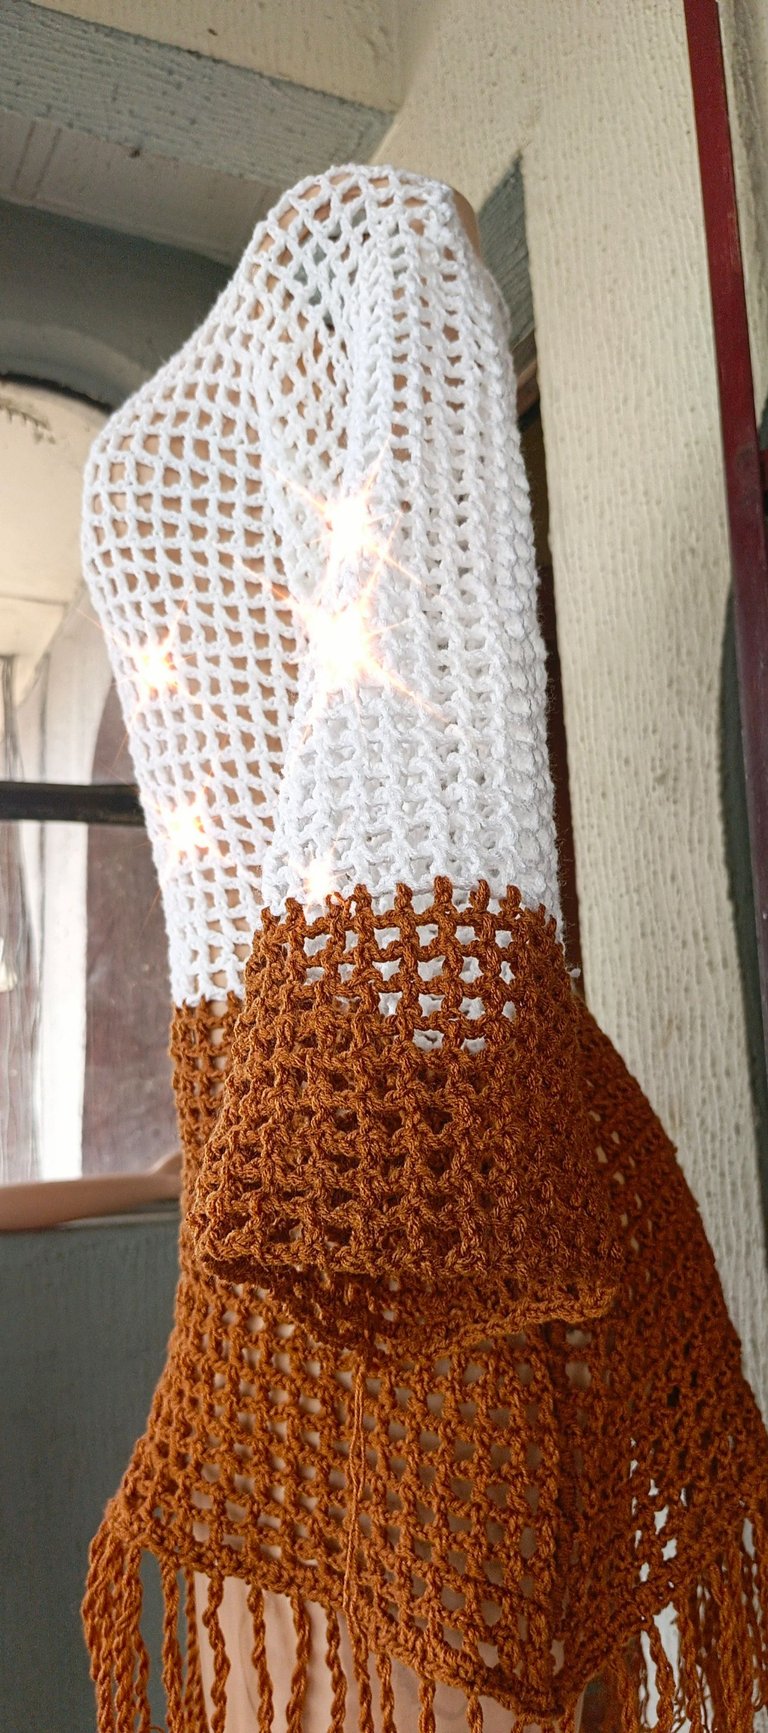
The client specifically requested that the arms of the dress shouldn't just stop at her wrist and I took this into consideration.
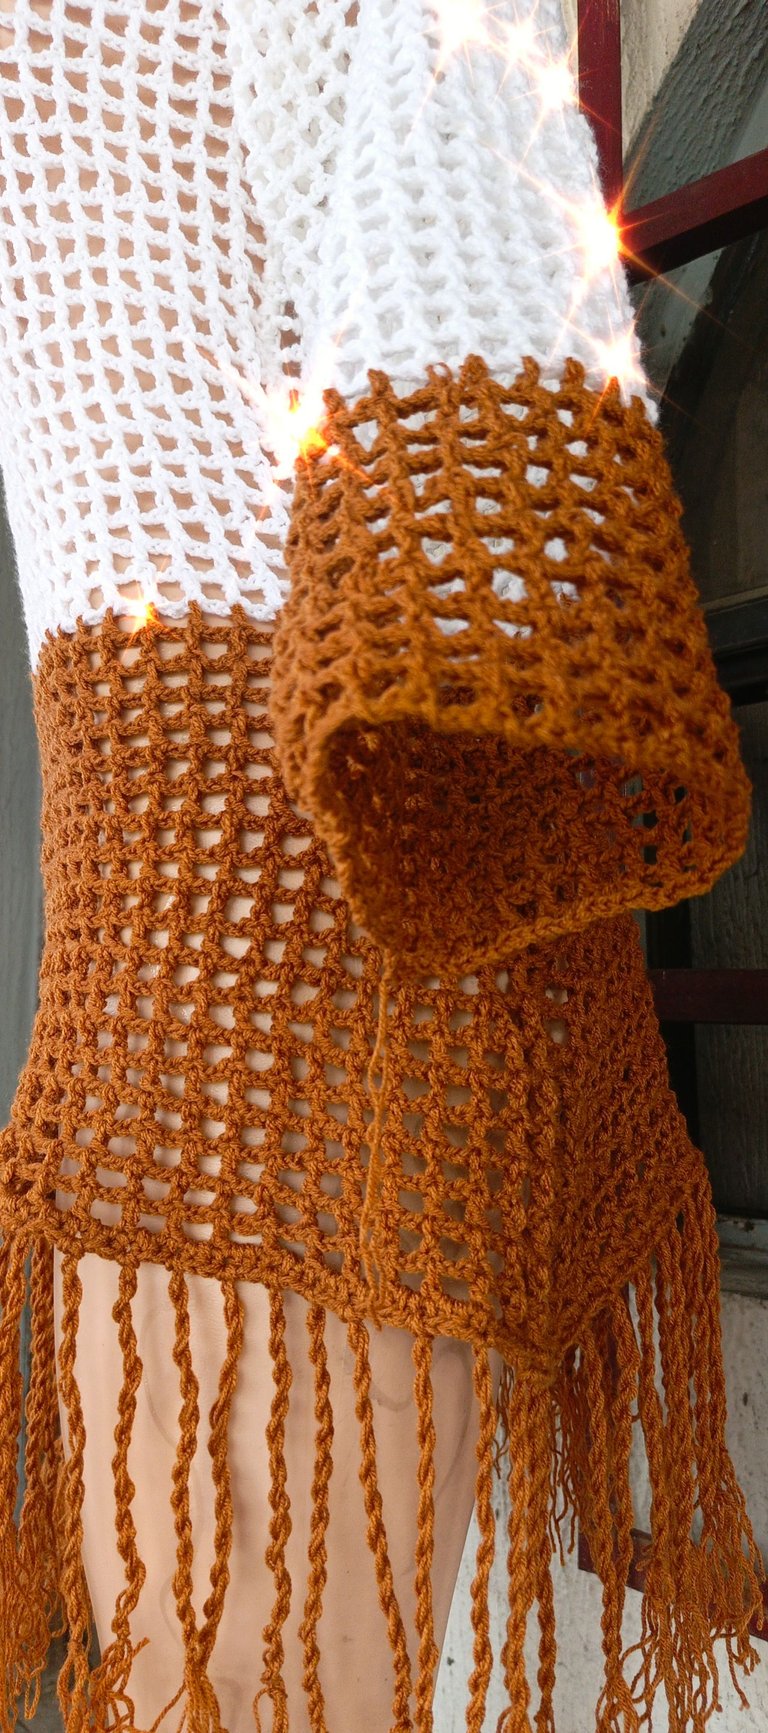
With both arms of the dress out of the way, I started adding the base tassels. To get the tassels, I measured ten inches using the yarn. I inserted three strands folded in half into every line. Once the strands were secured, I braided them into twists and tightened the end. I repeated this for every single tassel.
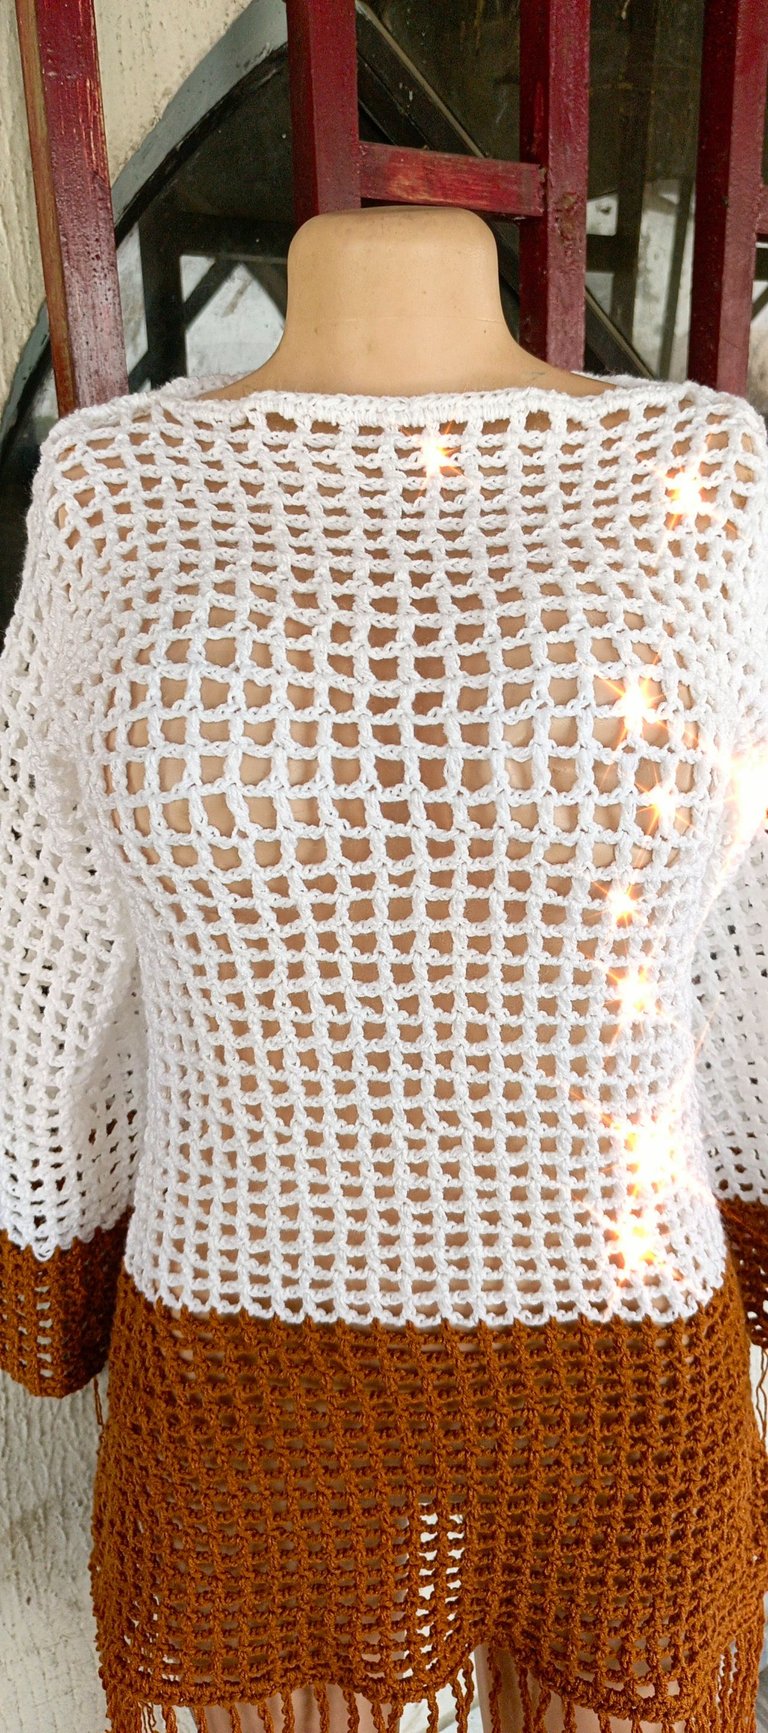
The initial aim was to trim off the edges but when the client saw the edges looking a bit rough, she loved them that way. So all I had to do was sew in the loose ends using my darning needle and I was pretty much done with the dress.

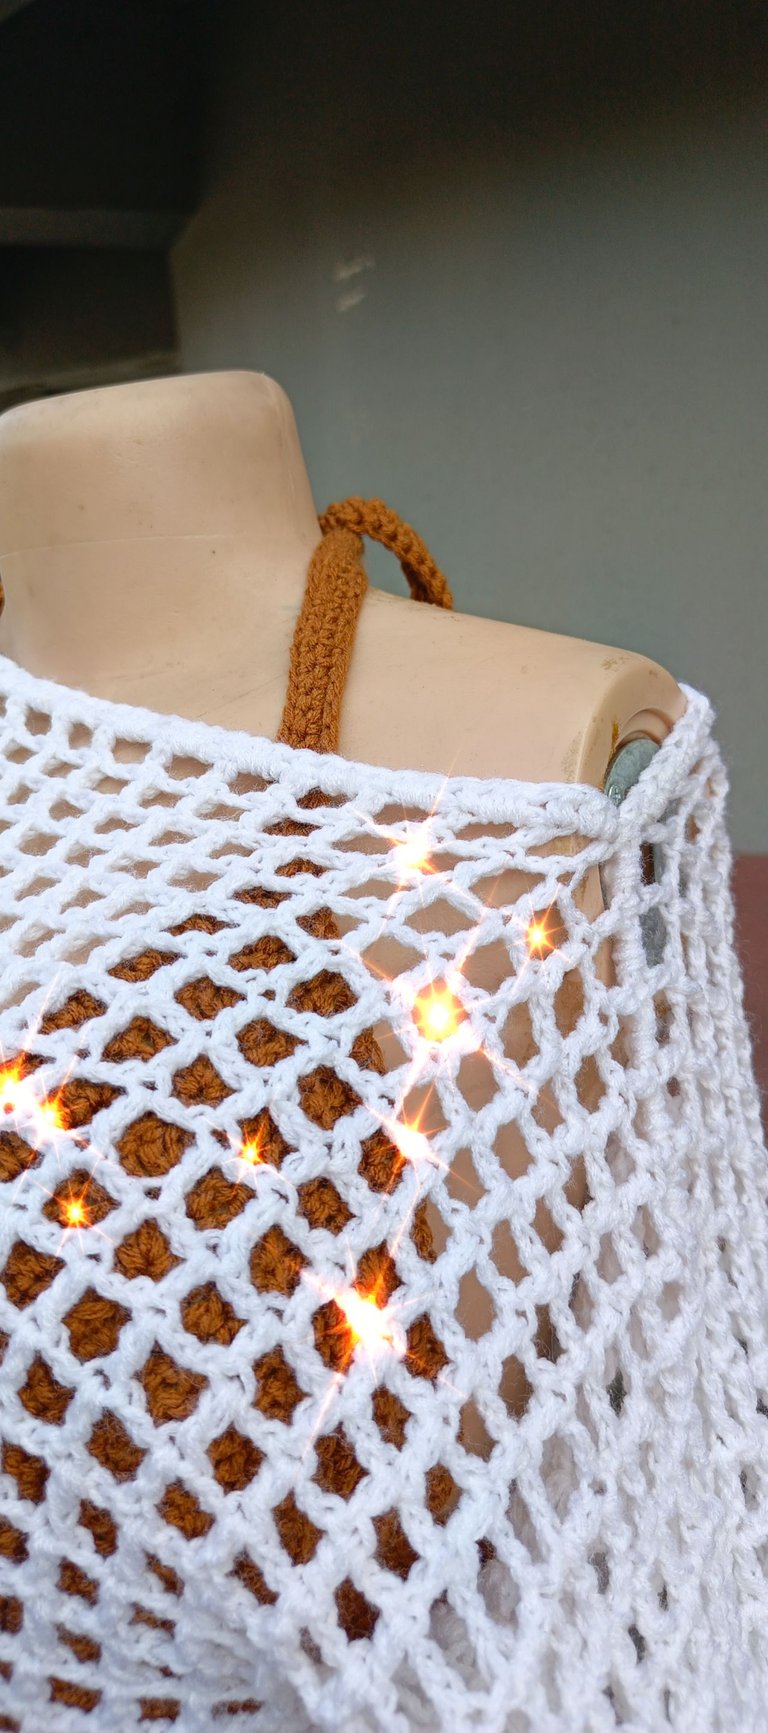
First off, I would like to say that I love expressive clients. Clients who actually tell you what they do and do not like. This makes crocheting a bit less stressful because I wouldn't have to be making so many adjustments. My first official client was a very expressive client right from the start. She told me the colours she wanted me to use(even when the colour combination didn't sit right with me), checked in regularly to see how the project was going and even referred a few other clients to me. In general, she was actively involved in the process and I loved that about her.
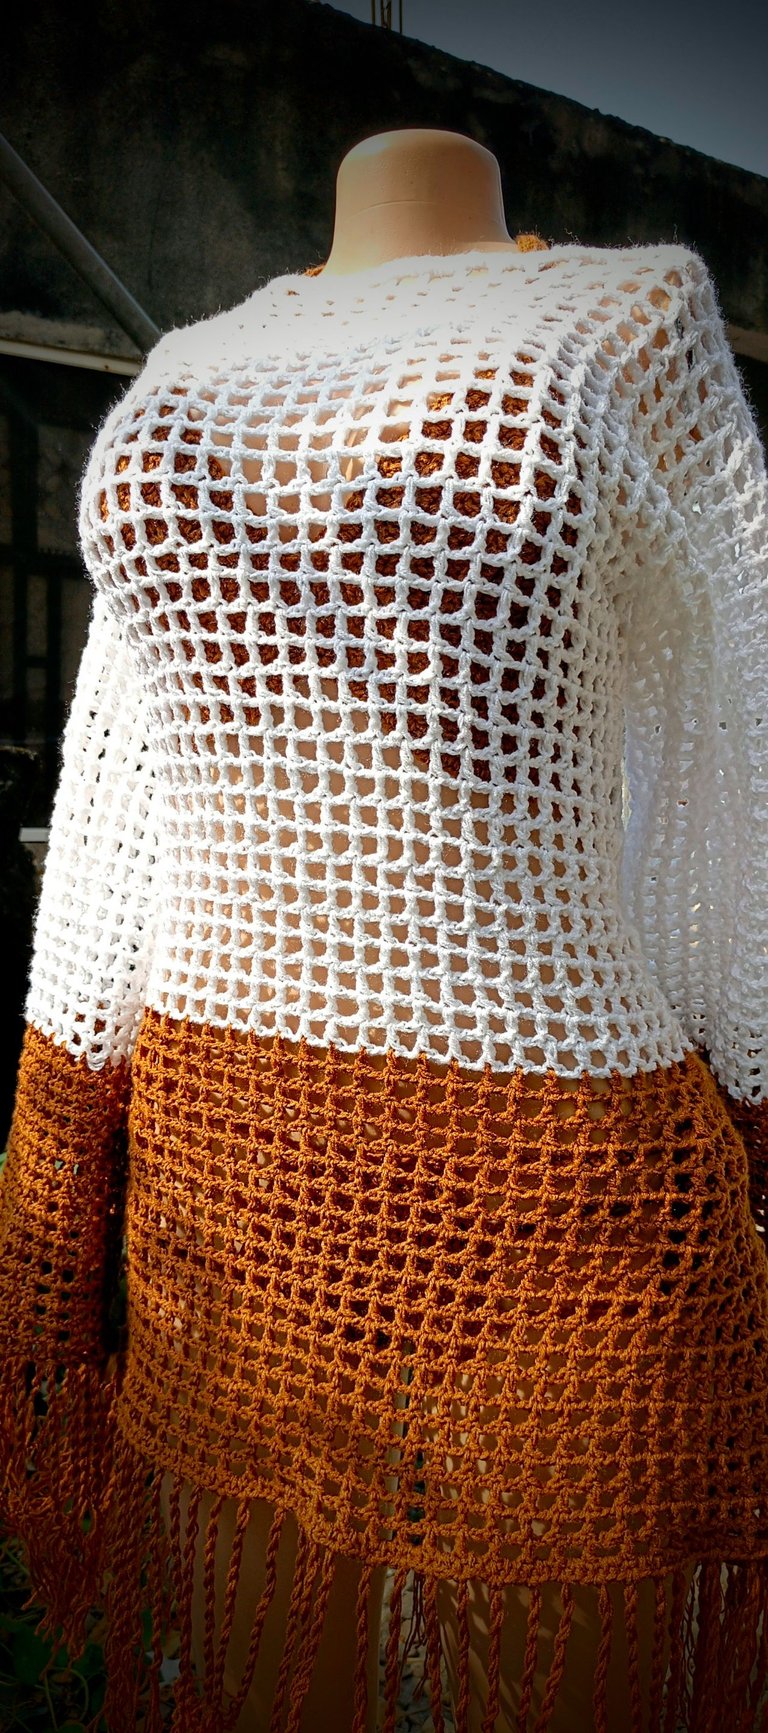
Also, I love how excited she was about the beach set. The day I went to deliver the beach set, she had some friends over and the friends were just admiring how lovely the pieces looked on her. With the amount of praises she got, she didn't even want to take the dress off anymore. Now that was a very satisfied client and I'm glad I was able to craft the pieces to her liking.
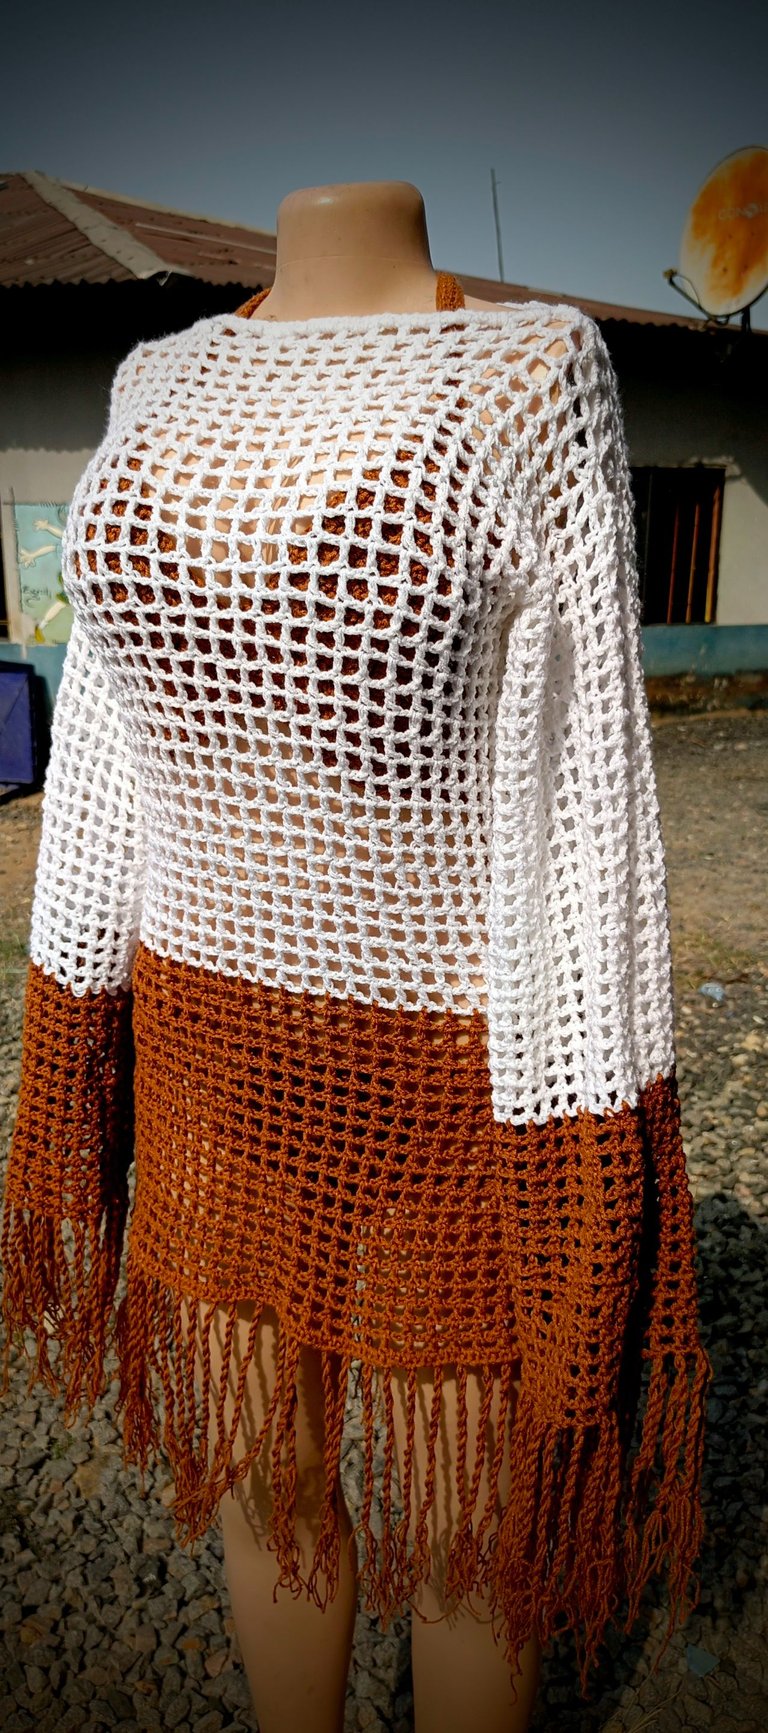
All images belong to me and were taken with my mobile device except stated otherwise.
Liebe🤍
