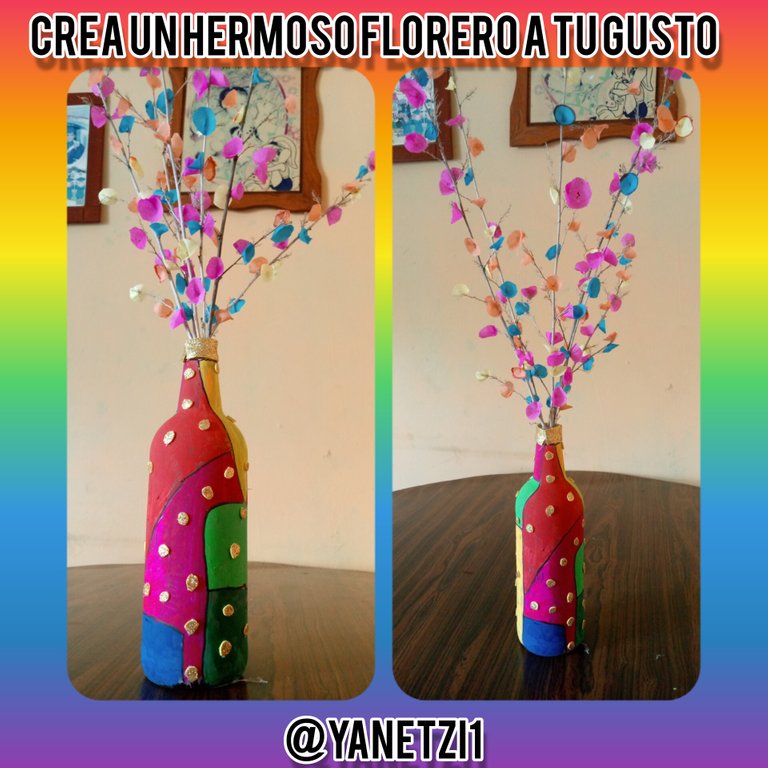
Hola mis queridos amigos de esta increíble comunidad de Hive Espero que todos esten bien les mando muchas bendiciones del Dios del Universo Gracias por siempre estar apoyandome me siento muy bien porque estoy inspirada y eh creado un hermoso florero para lucir en nuestras casas ,y para decorar un comedor muy buena idea hasta para obsequiar .
Aqui les estare presentando los materiales y los paso a paso hecho en el presente .
Materiales utilizados en la elaboración de la creación del Florero
- Botella de Vidrio
- Papel Crepe azul, ,naranja,amarillo,rosado.
- Tijera
- Pintura al frio Rosada ,Azul , Amarillo,Rojo ,Verde ,Fuscia .
- Foamy Escarchado Dorado
- Silicon
- Marcador
Paso 1
Lo primero que vamos a hacer es tomar el papel crepe y pues picarlos en círculos 4 de cada color en este caso amarillo azul rosado y naranja claro ,
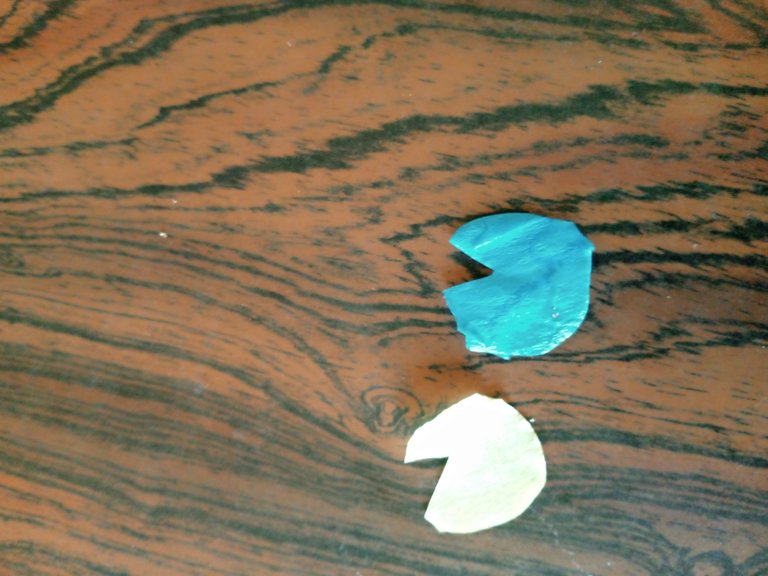
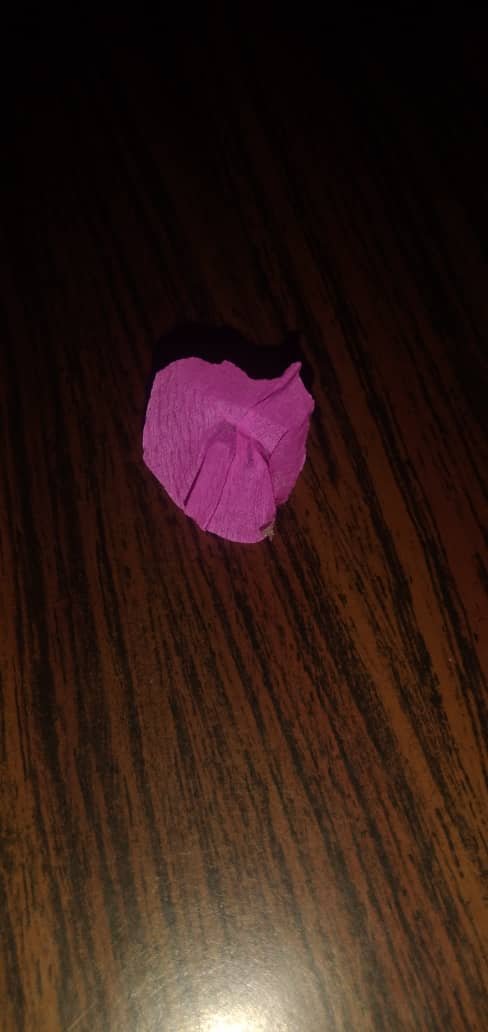
Estos deberán quedar así de este modo y con la Tijera seguidamente le vamos a hacer este pequeño trozo .
Después lo que haremos es con in poquito de pega agregamos doblamos y ya quedará de esta forma .
Paso 2
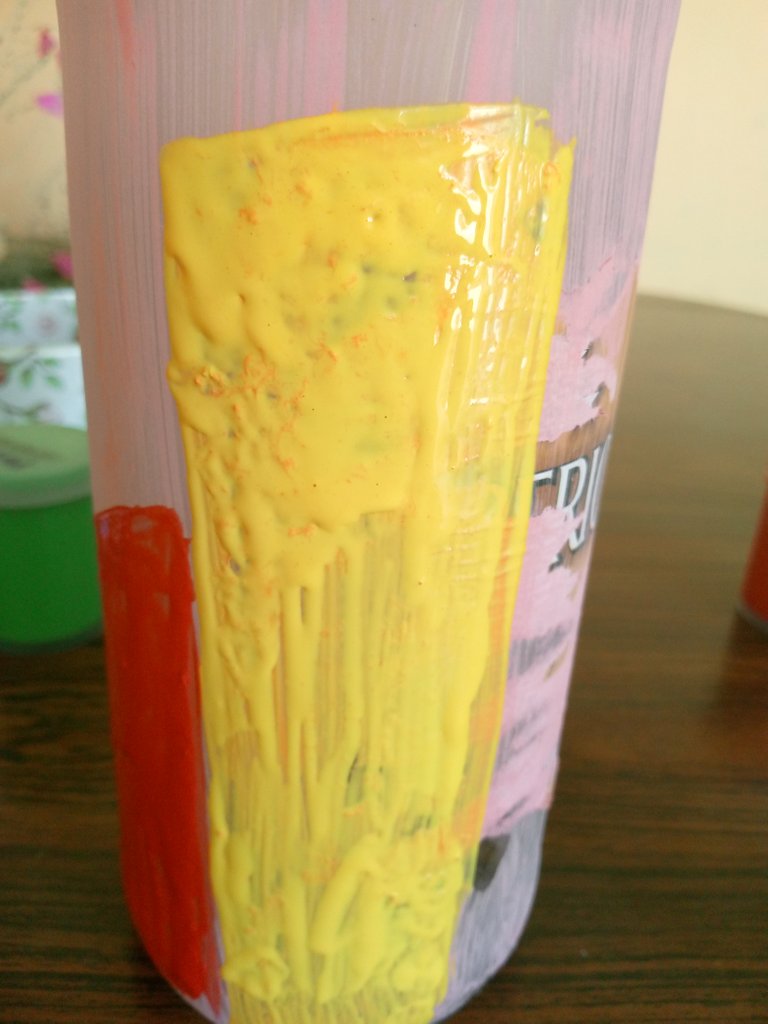
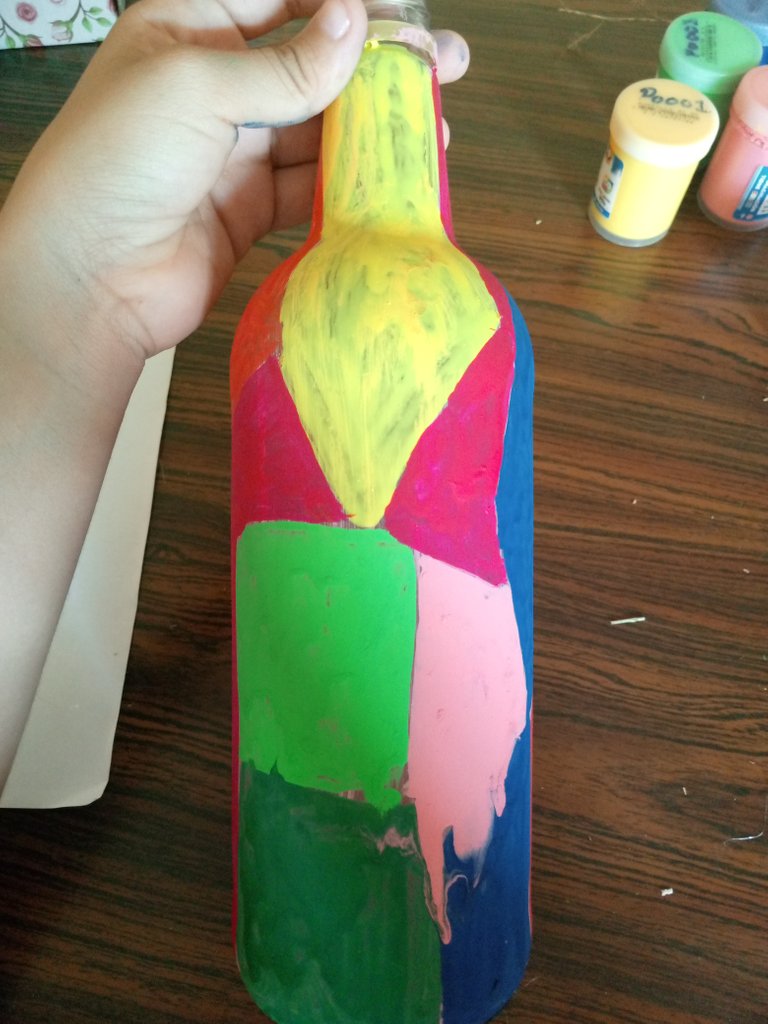
Tenemos la botella de vidrio ya lista para comenzar a pintar lo primero que vamos a hacer es con el pincel 🖌 vamos a ir pintando de color rojo un pequeño cuadro seguidamente viene color amarillo y pues después color verde siempre haciendo o pintando desigual y de diferentes color .
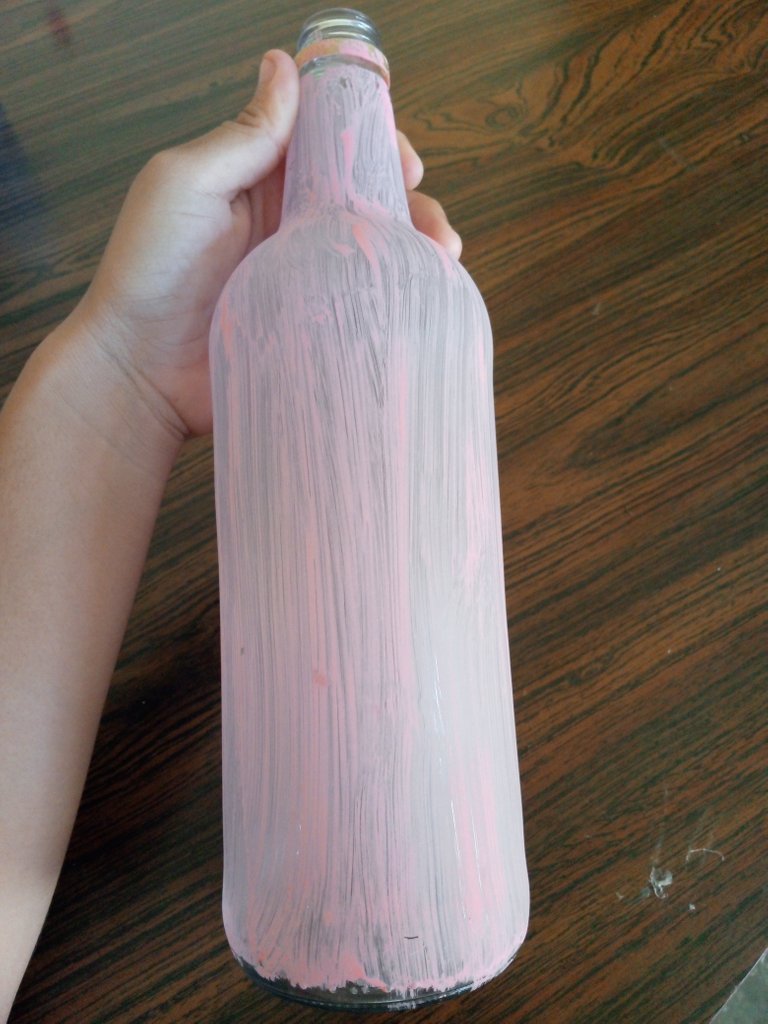
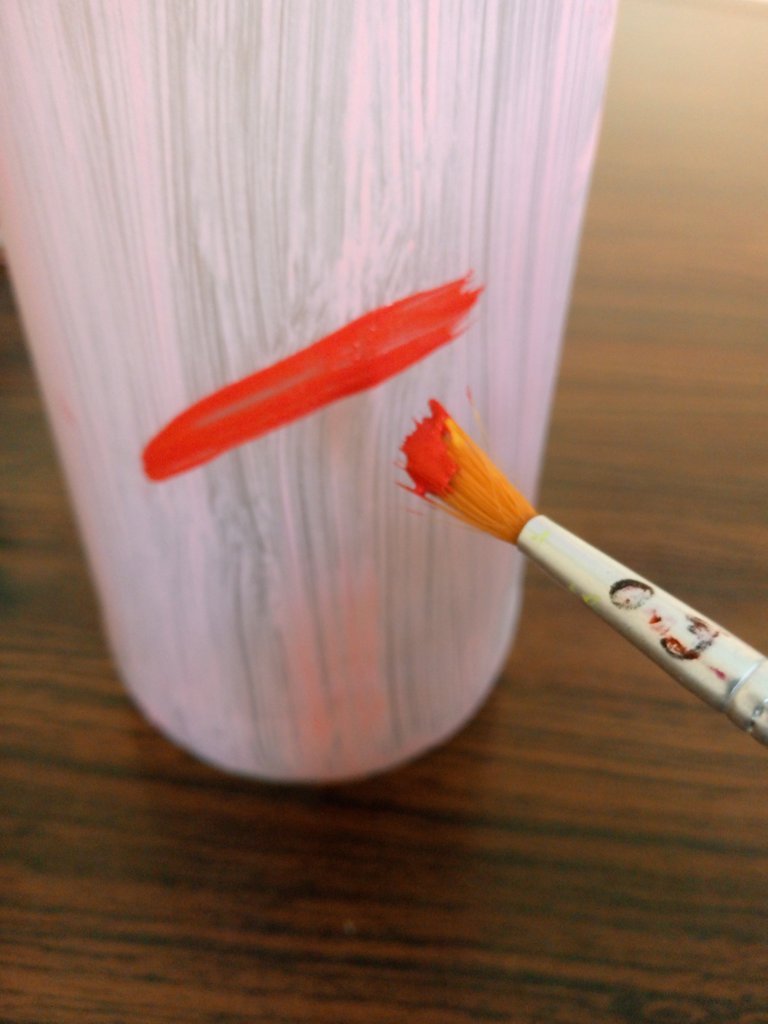
Siempre pintando cuidadosamente para evitar que se mezclen los colores y quede mal pintado siempre dejando un poquito de espacio porque a la final de pintar toda la botella se va a delinear de este modo .
La ciencia de adornar la botella es pintarla de diversos colores y que quede modo divertido para que así de vida a la mesa donde ira puesto.
Paso 3
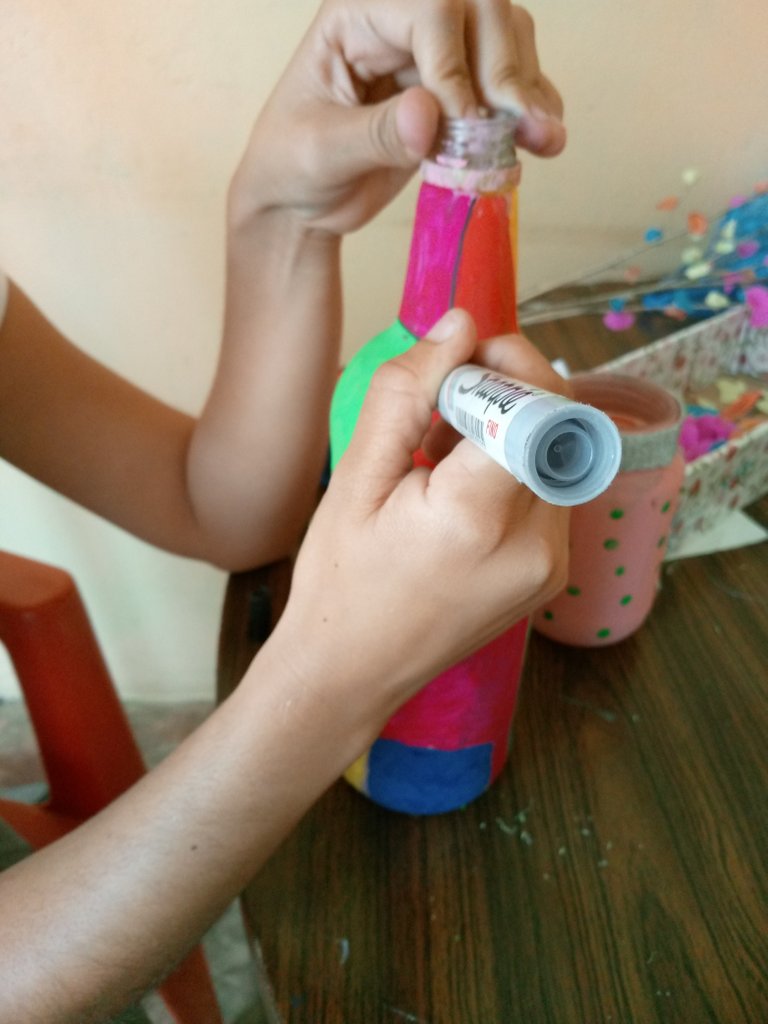
Con el marcador lo iremos delineando poco a poco todo subrayado en negro .
Paso 4
Ahora lo que vamos a hacer es tomar las ramas y vamos a ir pegandoles las flores siempre una después de la otra y de diferentes colores .
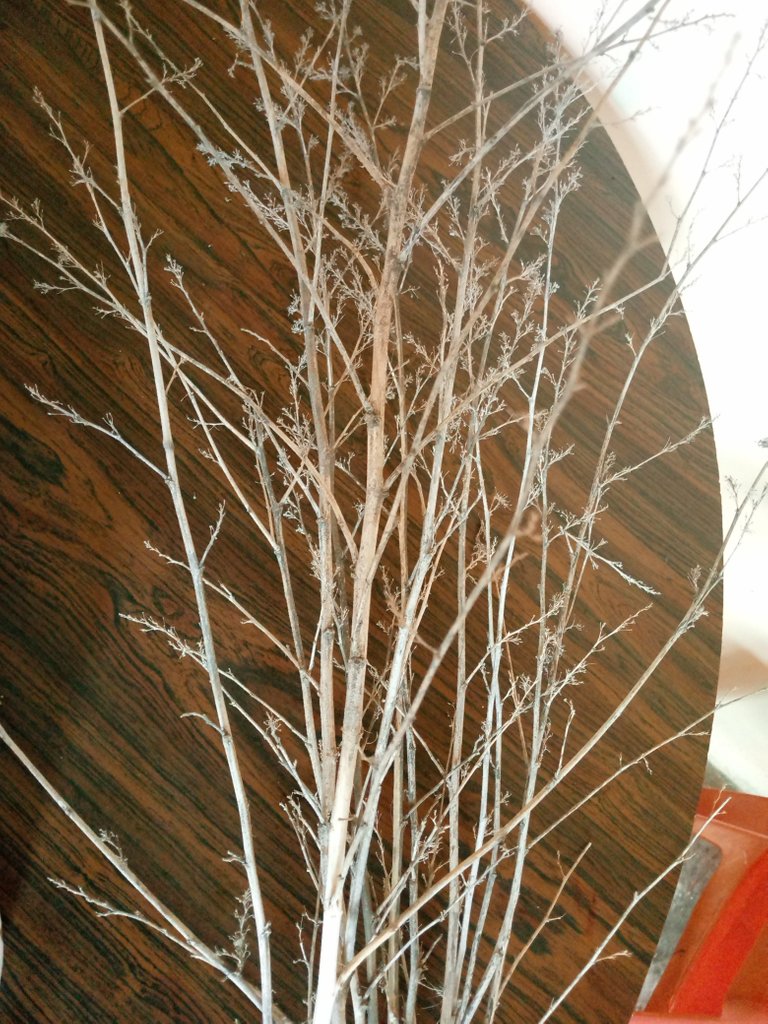
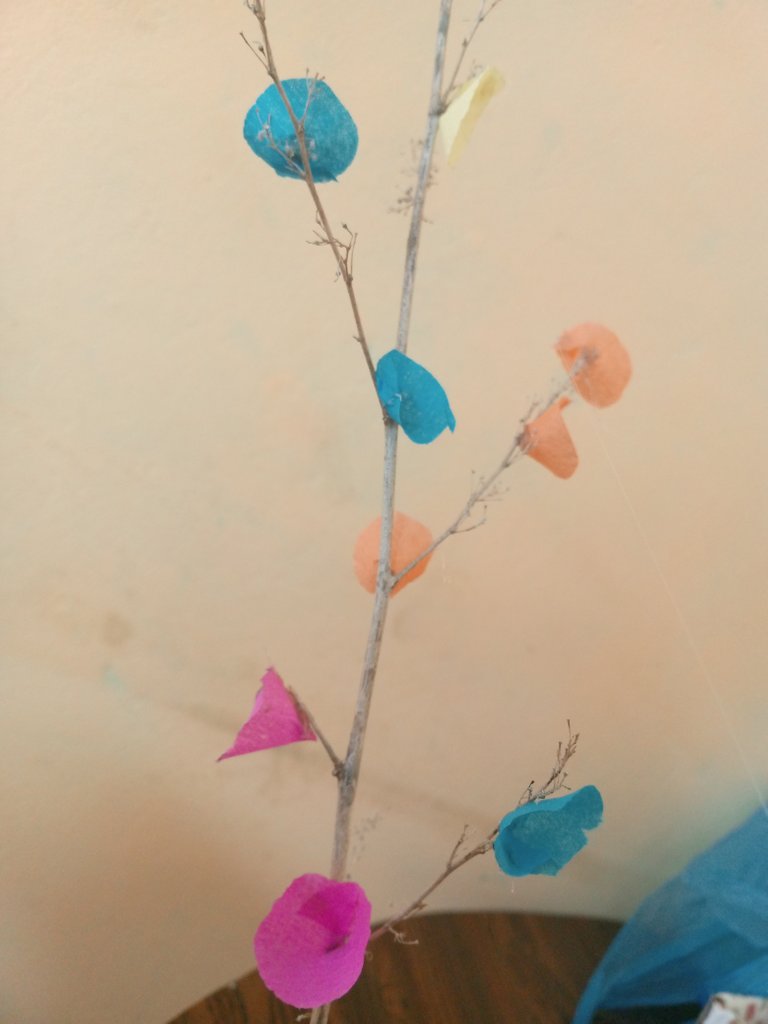
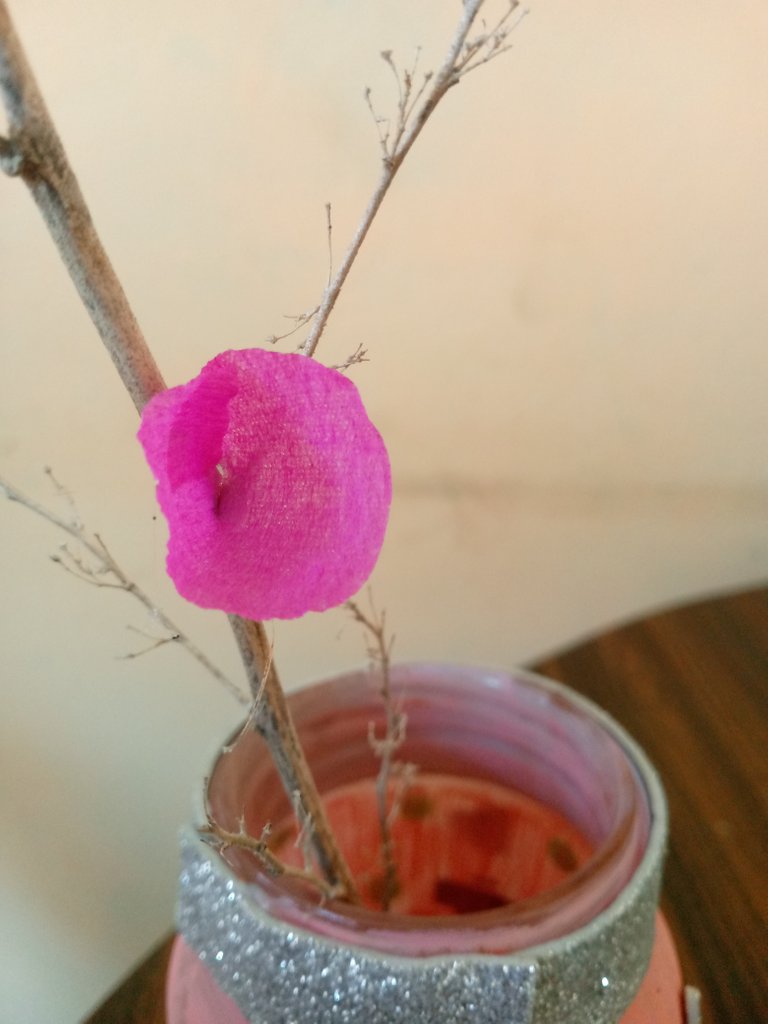
Siempre debemos pegarlas bien para que así pueda quedar segura .
Fueron las seis ramas que utilize poniéndoles las flores.
Paso 5
Ahora con el foamy escarchado vamos a recortar una pequeña tira y esa se las vamos a ir pegando alrededor de la botella .
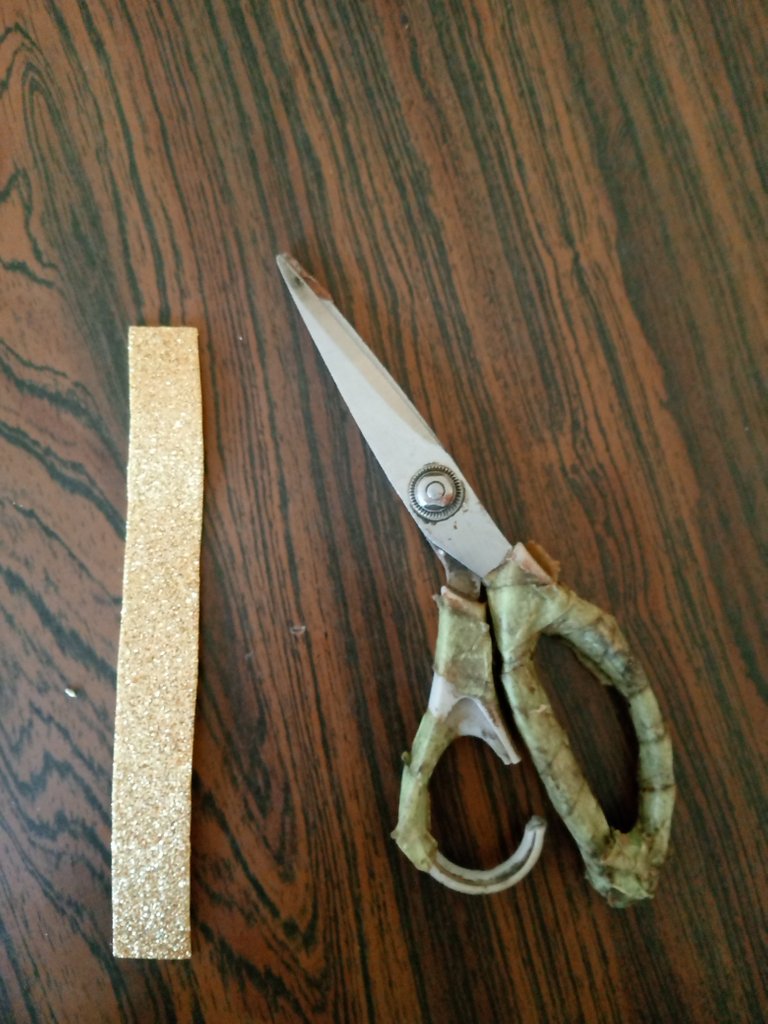
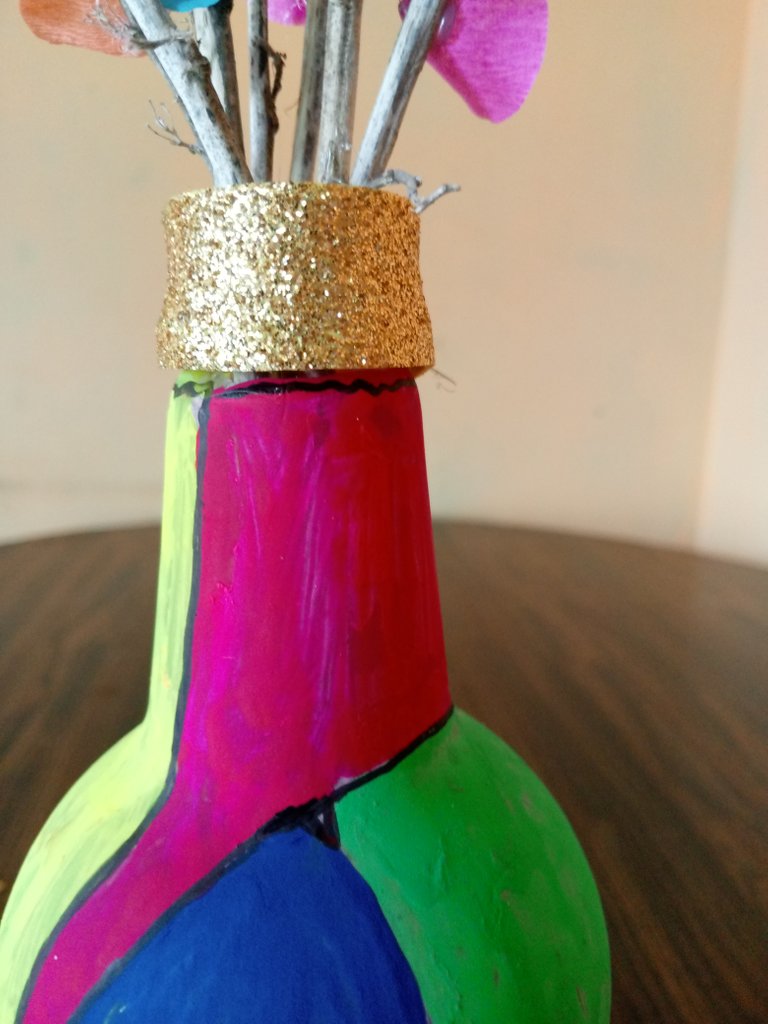
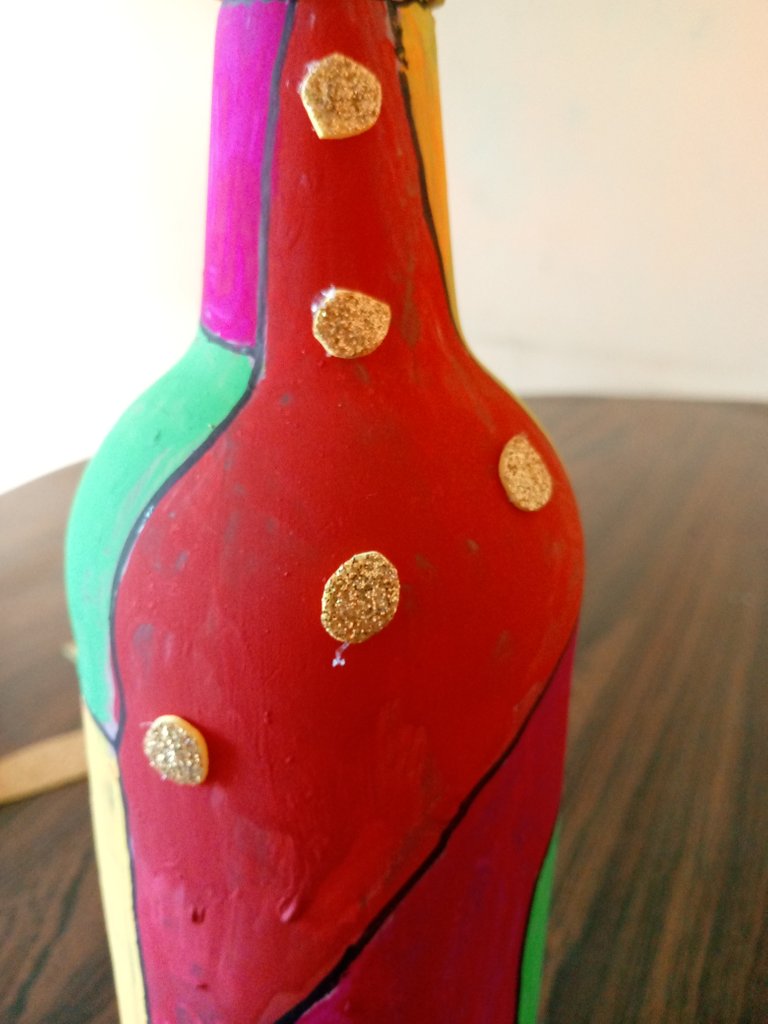
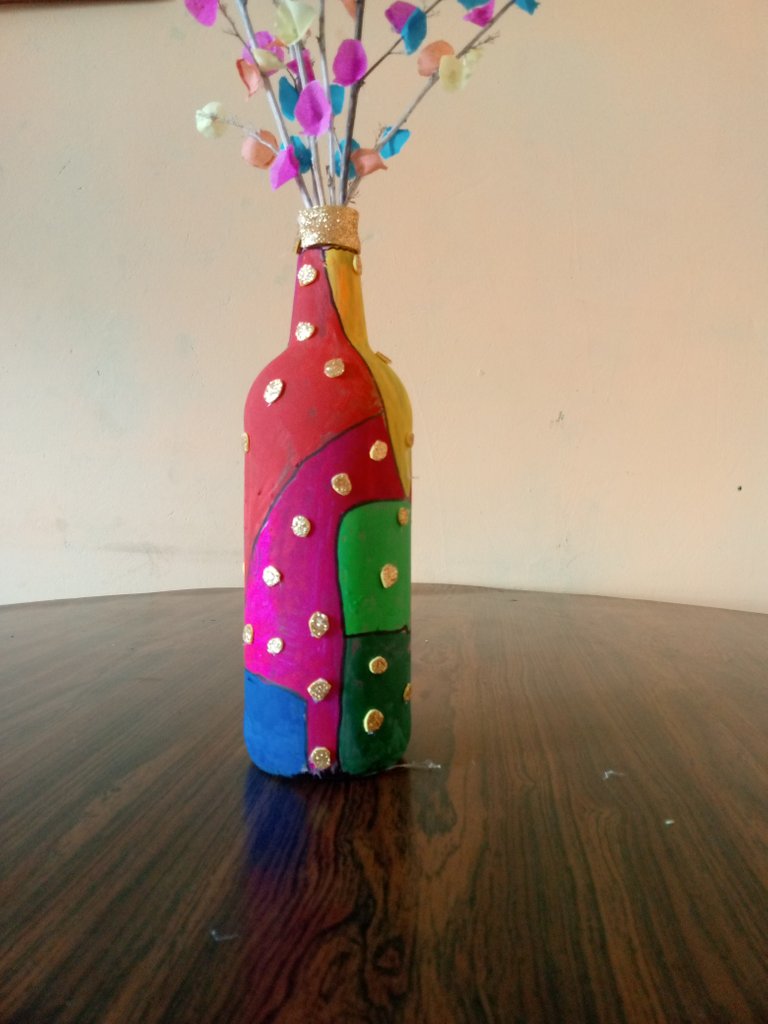
En la parte de bajo de la botella con el mismo foamy escarchado dorado vamos a hacer pequeños círculos que esos con silicon lo vamos a ir pegando en la parte inferior de la botella .
Paso 6
Ahora después se van colocando poco a poco las ramas ya lista y de este modo quedará.
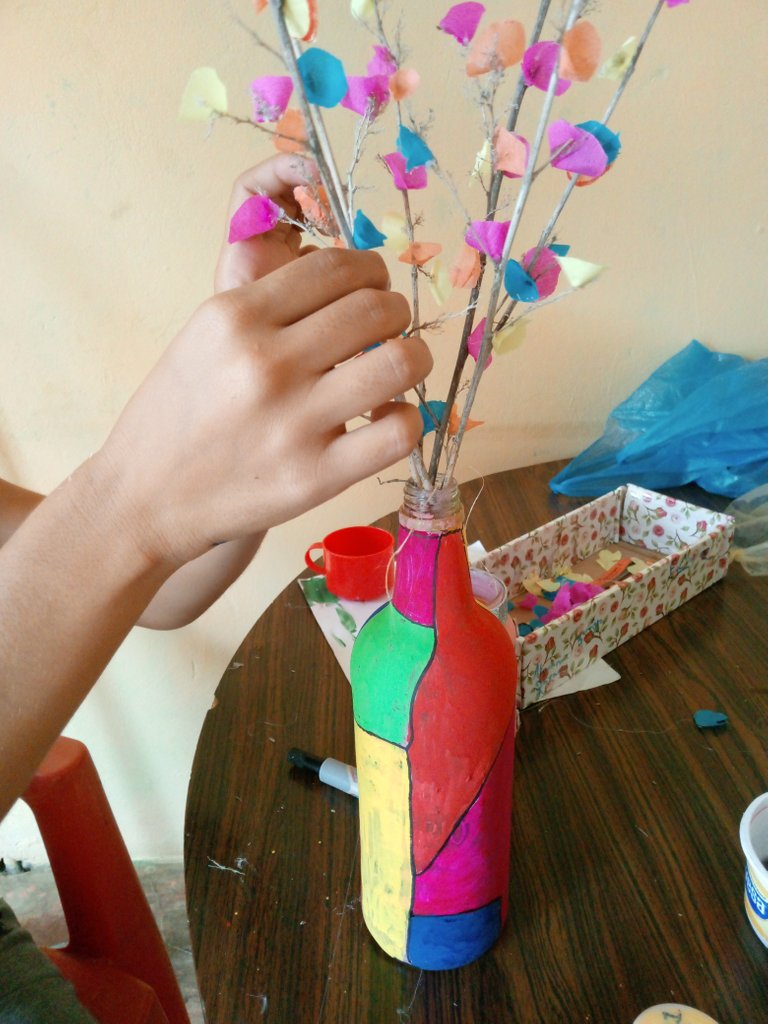
Aquí tenemos nuestro hermoso Florero de botella de Vidrio Ideal para decorar nuestros comedores o salas .
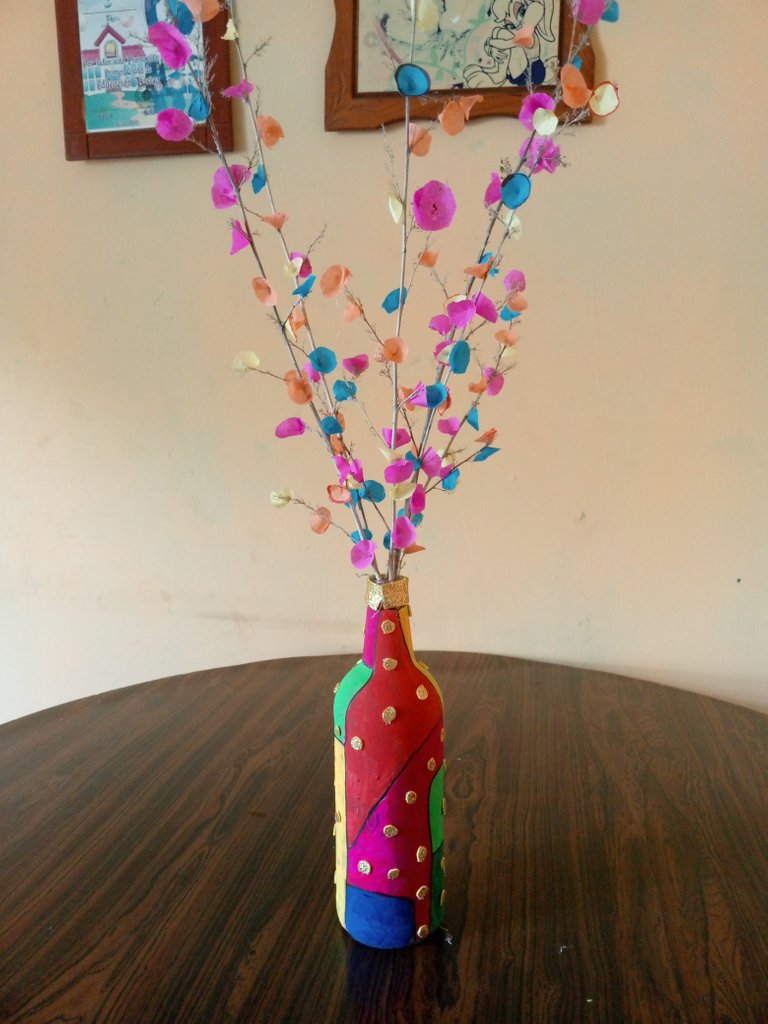
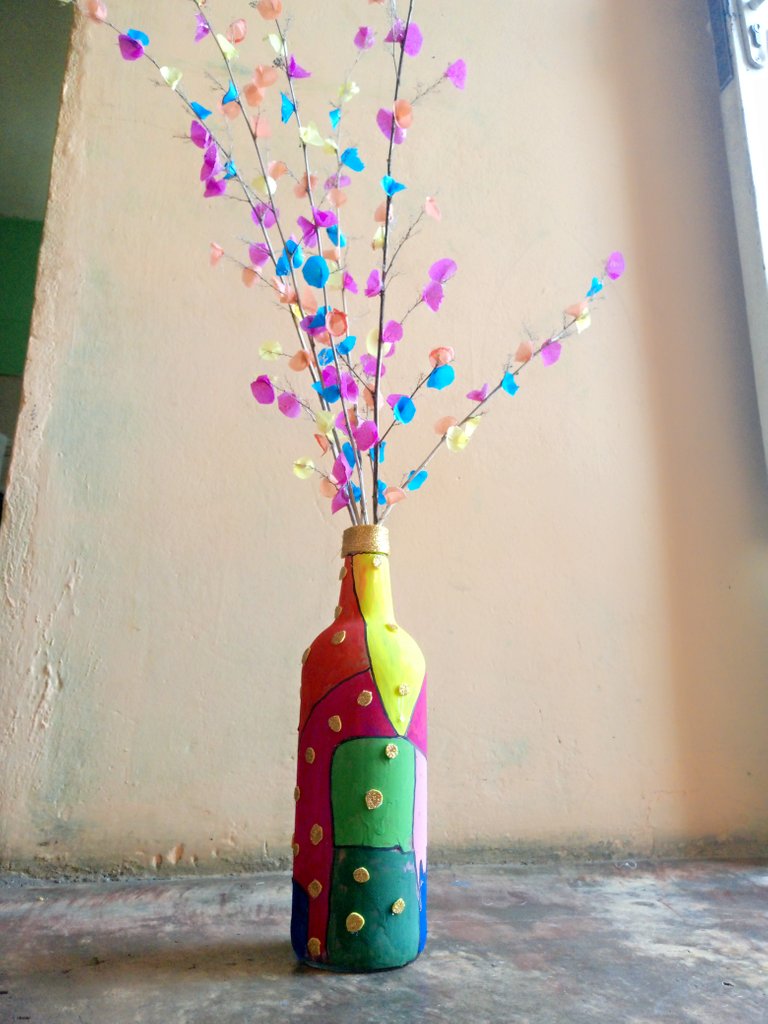
A mi me encanta todo lo relacionado con las flores los adornos y este es uno de mis preferidos espero que sea de mucho agrado y pues que puedan crear un hermoso florero como es este .
Espero sus Comentarios les mando muchas bendiciones del Dios del Universo Éxitos y prosperidad para todos
- Las fotos fueron tomadas por mi teléfono celular tecno spark Go 2023 y son de Mi Propiedad .
- Traductor Utilizado DeepL traslater
- Las fotos son editadas mediante la aplicación editor de fotos polish y los separadores fueron editados en canva.

Hello my dear friends of this incredible community of Hive I hope everyone is well I send you many blessings from the God of the Universe Thank you for always being supporting me I feel very good because I am inspired and I have created a beautiful vase to show off in our homes, and to decorate a dining room very good idea even to give as a gift .
Here I will be presenting the materials and the step by step done in the present.
Materials used in the elaboration of the creation of the Vase
- Glass Bottle
- Crepe paper blue, orange, yellow, pink.
- Scissors
- Cold Paint Pink, Blue, Yellow, Red, Green, Fuscia.
- Gold Frosted Foamy
- Silicone
- Marker
Step 1
The first thing we are going to do is to take the crepe paper and then chop them into circles 4 of each color in this case yellow blue pink and light orange,


These should look like this and then with the scissors we are going to make this small piece.
Then what we will do is with a little bit of glue we will fold and it will look like this.
Step 2
We have the glass bottle ready to start painting the first thing we are going to do is with the brush 🖌 we will go painting red color a small square then comes yellow and then green color always making or painting uneven and different color.


Always painting carefully to avoid that the colors are mixed and it is badly painted always leaving a little space because at the end of painting the whole bottle is going to be outlined in this way.
The science of decorating the bottle is to paint it in different colors and to make it look fun so that it gives life to the table where it will be placed.


Step 3
With the marker we will outline it little by little all underlined in black.

Step 4
Now what we are going to do is to take the branches and we are going to glue the flowers one after the other and in different colors.


We must always glue them well so that they can be securely attached.
They were the six branches that I used by putting the flowers on them.
Step 5
Now with the frosted foamy we are going to cut a small strip and we are going to glue it around the bottle.


In the lower part of the bottle with the same gold frosted foamy we are going to make small circles that we are going to glue with silicone on the lower part of the bottle.


Step 6
Now, little by little, place the branches ready and this is how it will look like.

Here we have our beautiful Glass Bottle Vase Ideal for decorating our dining rooms or living rooms.


I love everything related to flowers and ornaments and this is one of my favorites. I hope you like it and that you can create a beautiful vase like this one.
I look forward to your comments I send you many blessings from the God of the Universe Success and prosperity for all
- The photos were taken by my cell phone tecno spark Go 2023 and are My Property .
- Translator Used DeepL translater
- The photos are edited using polish photo editor application and the separators were edited in canva.


