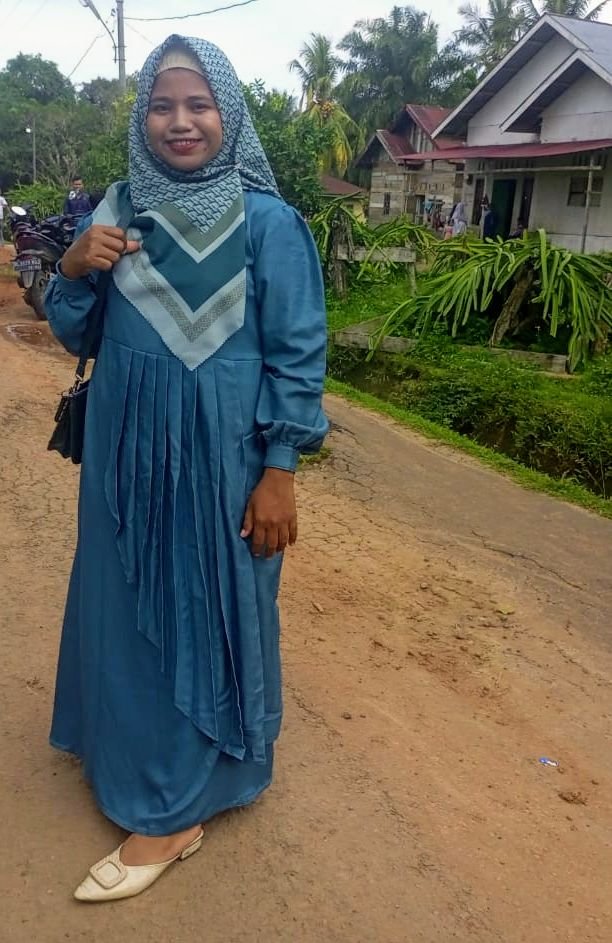
Good evening all my beloved friends in the DIYhub community, first of all, greetings to all friends in this beloved community, hopefully we can all learn and teach together in the diyhub community, this is the first time I have posted the results of my work in the community This, I hope that all my friends here like every post of mine, and that we can learn together, on this occasion I will give a tutorial on sewing a pleated robe, this is the result of my own sewing, I hope that all my friends will also understand because I'm still a beginner and just learning.
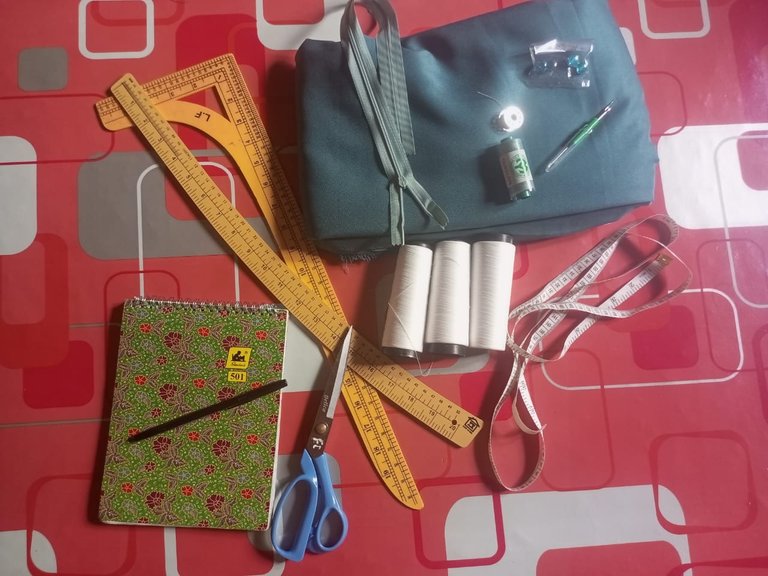
To sew we need several equipment such as cloth, meter, scissors,
threads, needles, rollers and other equipment, while for measuring clothes I use inches, some sewing people in my area also use meters, but I think using inches is an easier way to measure, as my teacher taught me, the point is to Using meters or inches can both produce good clothes, just the measurement method is different. The photo below is the equipment I need to sew a pleated robe.

The first stage is measuring, or also called a pattern, here I sew my own clothes, so I already have my own measurements for sewing, I just take a plain cloth and place it on the floor, then after that I fold the cloth into a rectangle, I folded it into two parts.
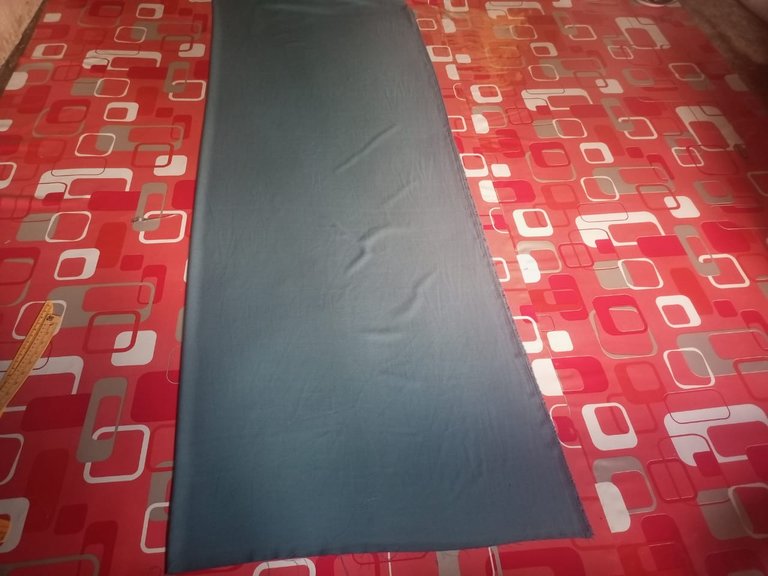
I started printing the size of my pattern with colored chalk so that the cutting process was correct, followed by cutting the fabric according to the size of my shirt pattern, here the fabric is cut between the body and the waist, because I sewed this shirt with a waist cutting shape, as pictured below.
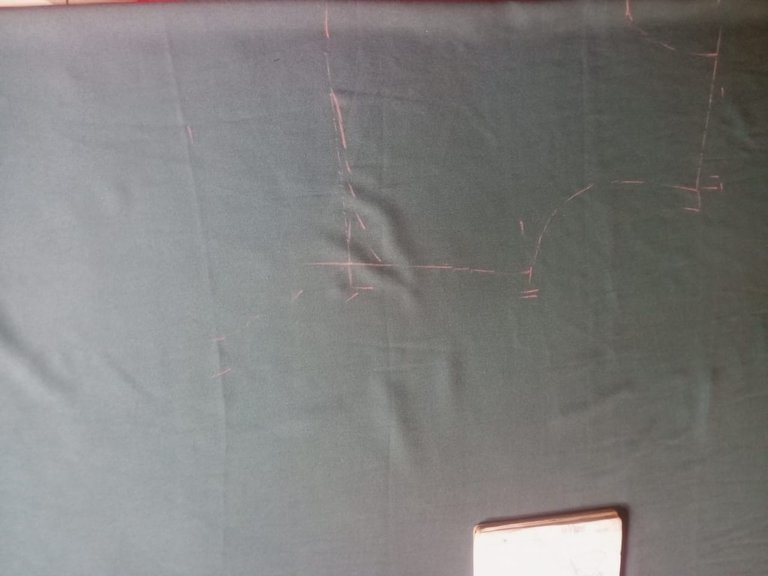
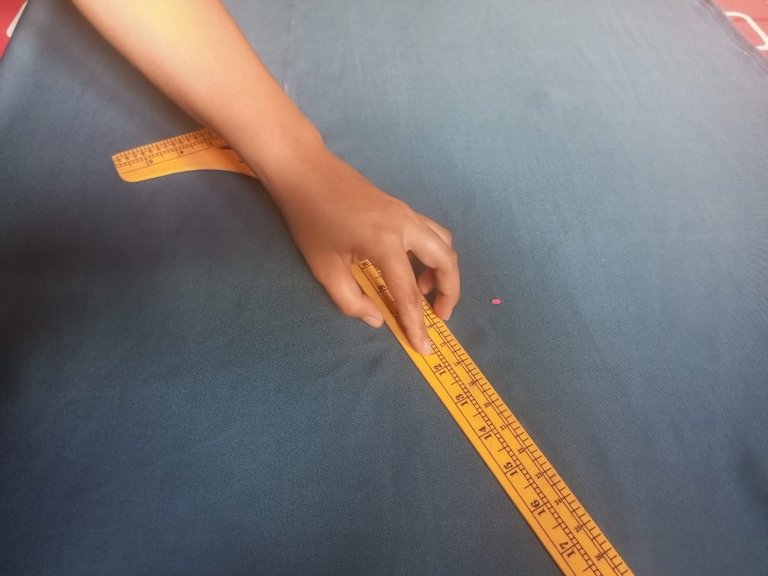
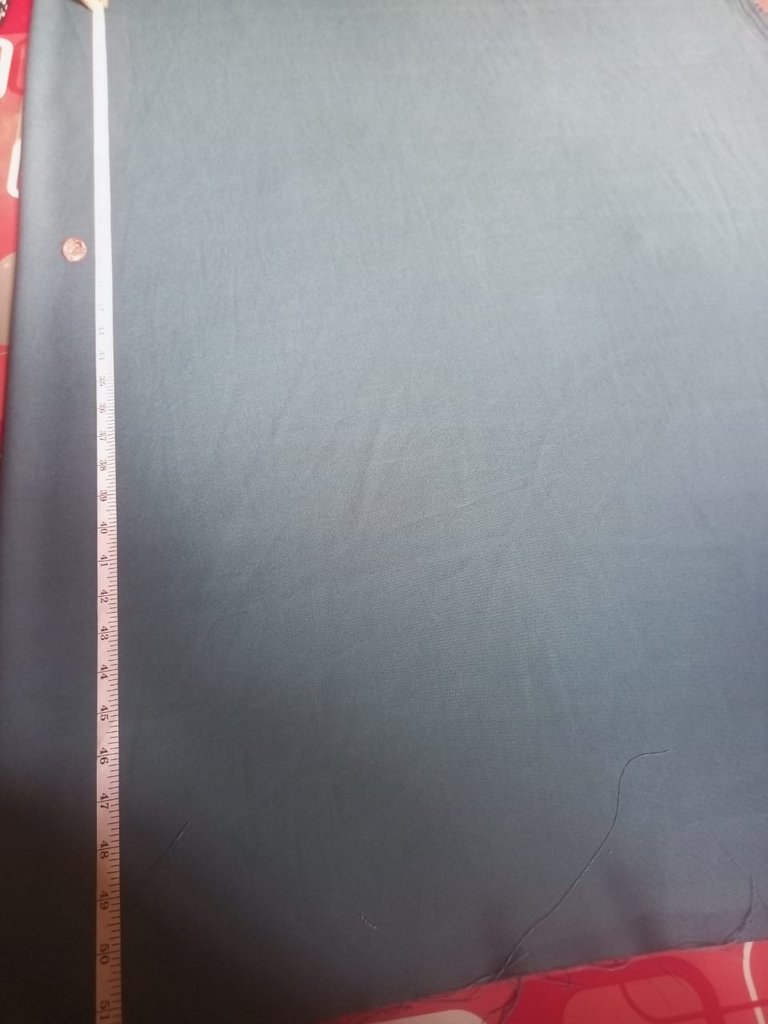
The next stage I made a sleeve pattern that I formed on the fabric, then I cut it.
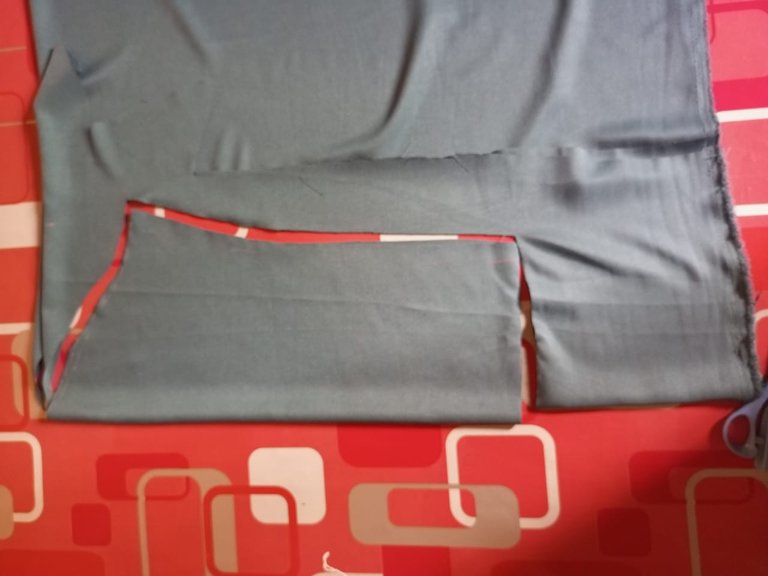
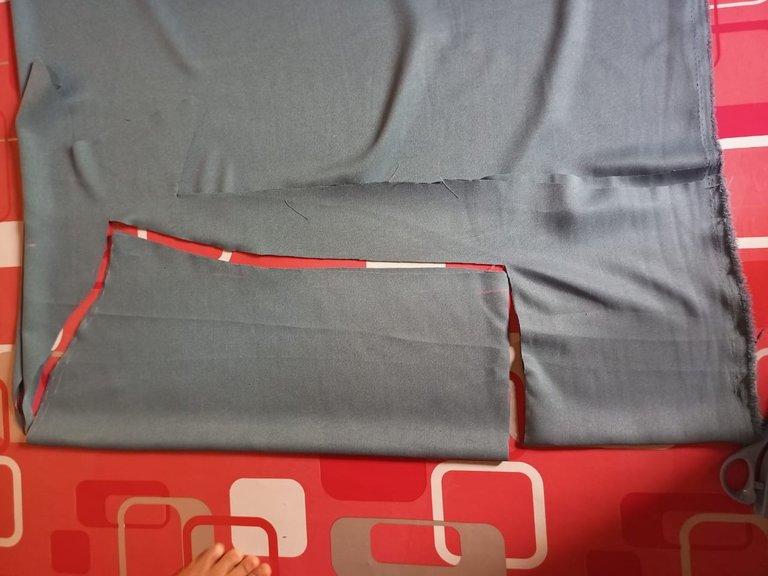
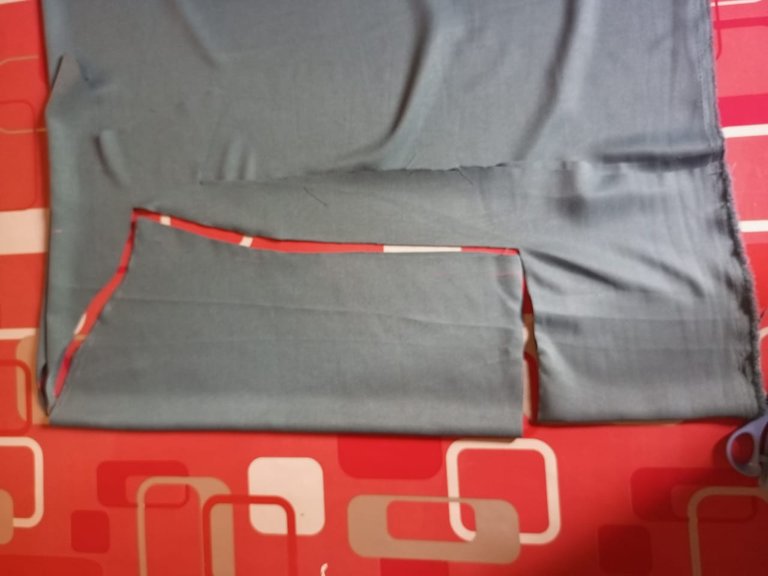
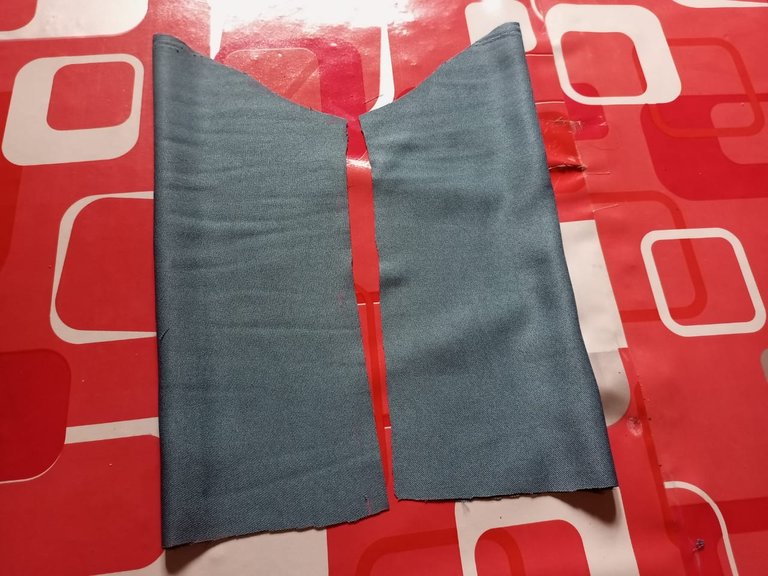
the next stage I cut out the body shape on the fabric.

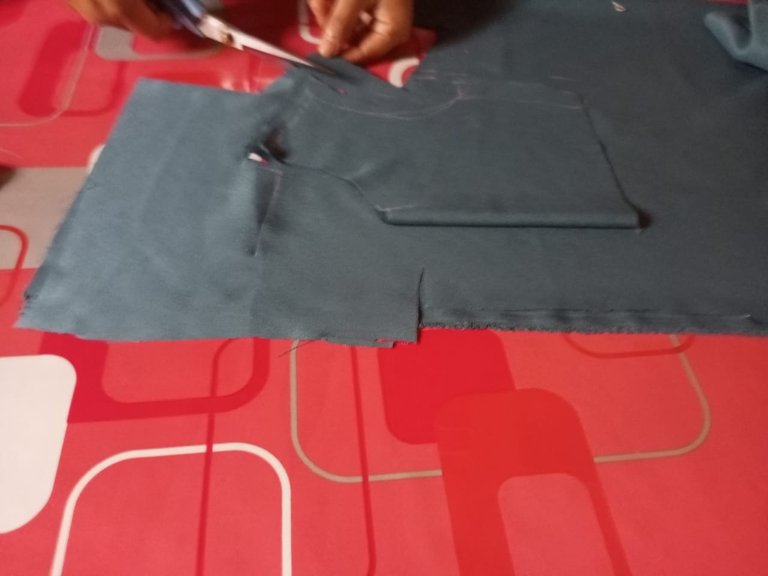
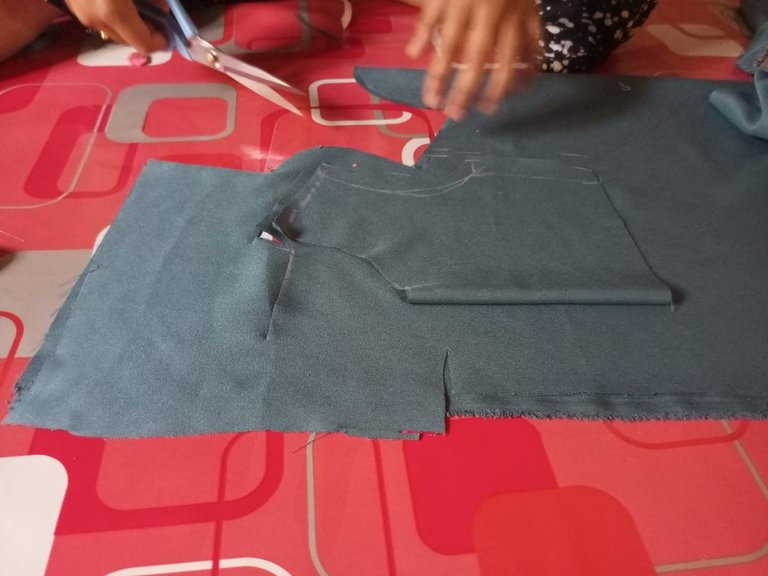
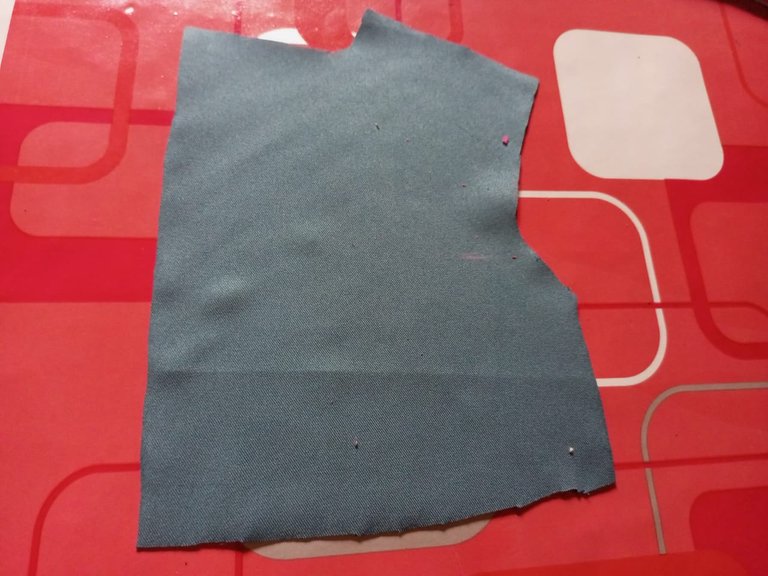
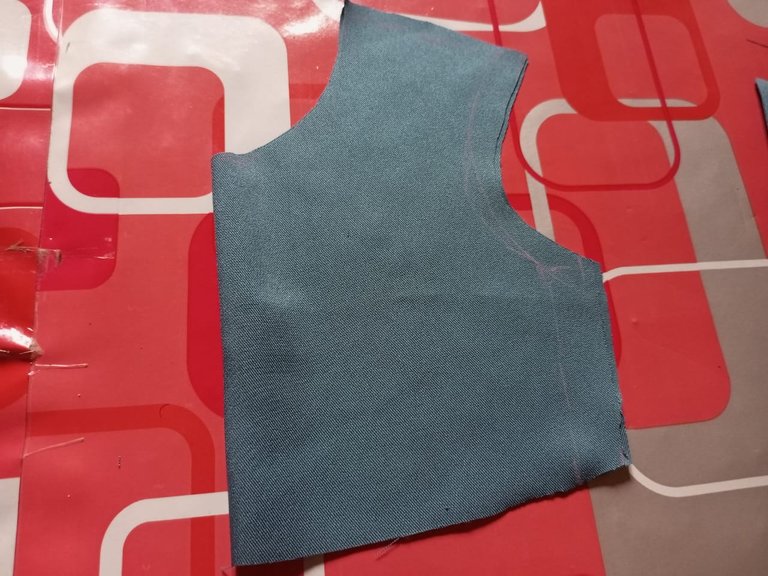
The next stage I made pleats for me to sew together with the clothes.


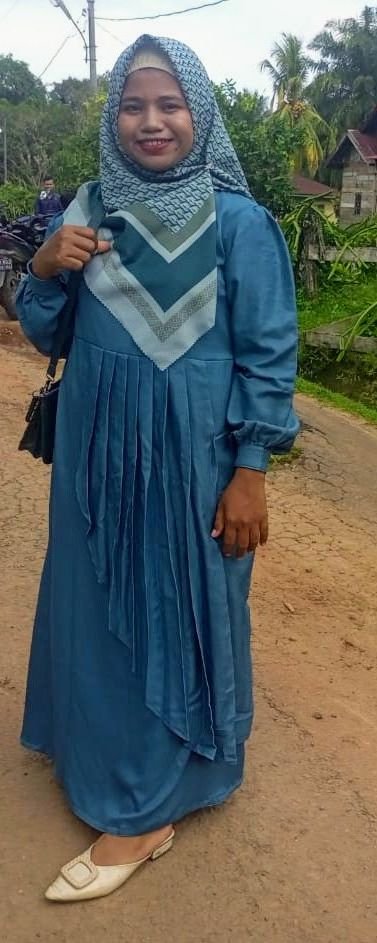
This is after the process of cutting the fabric, I then sewed this robe step by step on a sewing machine, the result is like the one I wore to the party, thank you friends for stopping by my post, I hope you like the tutorial I shared, understand I'm still a beginner. Thank you.


See you again in the next post ☺️


