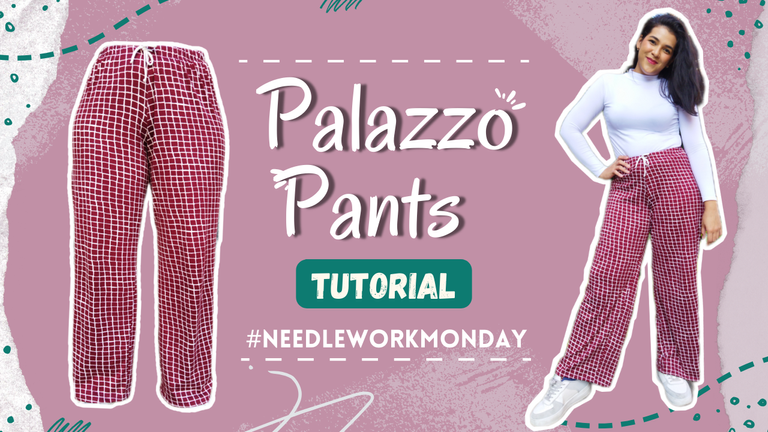
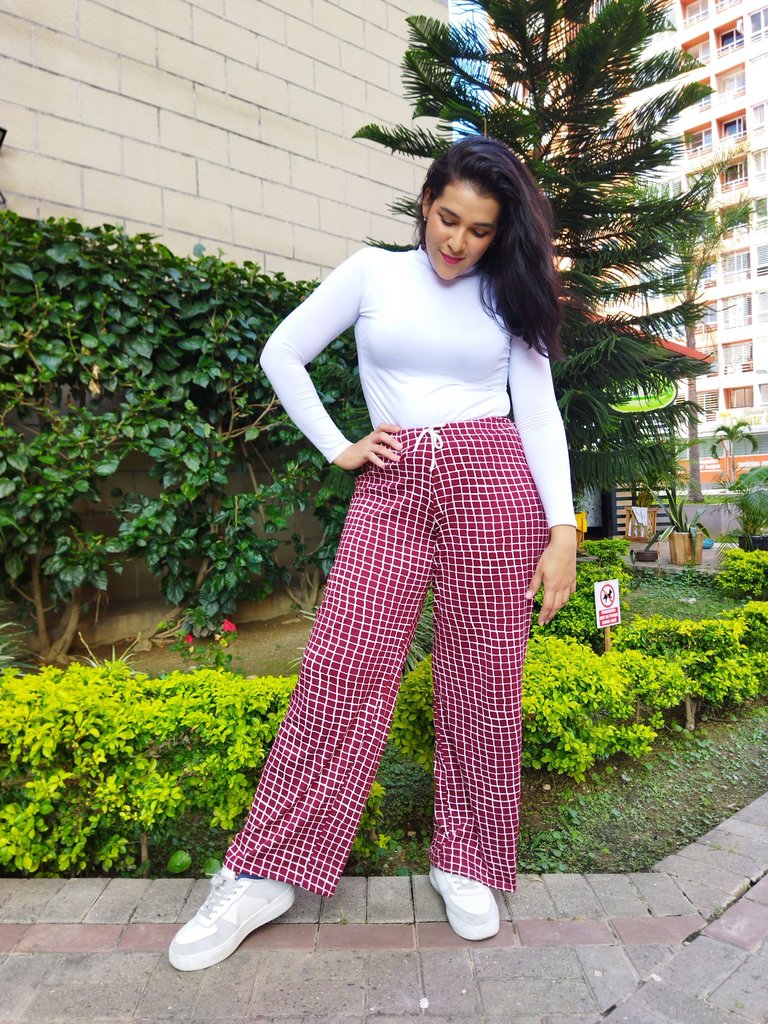
Hola queridos amantes de las agujas y la costura, feliz comienzo de semana y feliz lunes de agujas, ¿Estamos listos para un nuevo proyecto de costura? Yo siempre, hoy estoy feliz de mostrarles uno de los proyectos de costura que me tienen muy orgullosa y es que confeccioné mi primerpantalón Palazzo para los que no saben este es un tipo de pantalón que se caracteriza por tener un tiro alto y ajuste a la cintura además un corté recto desde las caderas hasta las piernas, yo utilicé tela de microdurazno para que el pantalón quedará con bastante movimiento, los invito a ver el paso a paso para elaborar un Palazzo.
Hello dear needle and sewing lovers, happy start of the week and happy needle Monday, Are we ready for a new sewing project? I am always, today I am happy to show you one of the sewing projects that I am very proud of, I made my first Palazzo pants for those who do not know this is a type of pants that is characterized by having a high rise and fit at the waist plus a straight cut from the hips to the legs, I used microdurazno fabric so that the pants will be with enough movement, I invite you to see the step by step to make a Palazzo.
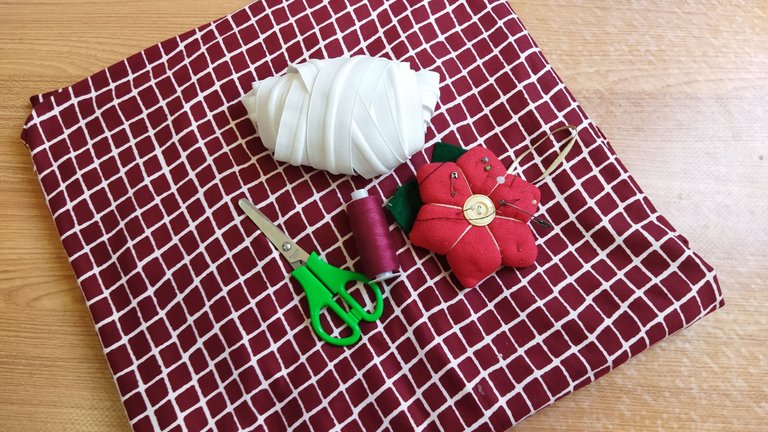
➡️ Necesitaremos: 1 metro de tela Microdurazno, hilo a tono, tijera, elástica con cordón, alfileres, patrón.
➡️ We will need: 1 meter of Microdurazno fabric, matching thread, scissors, elastic with cord, pins, pattern.
Paso a paso. / Step to step.
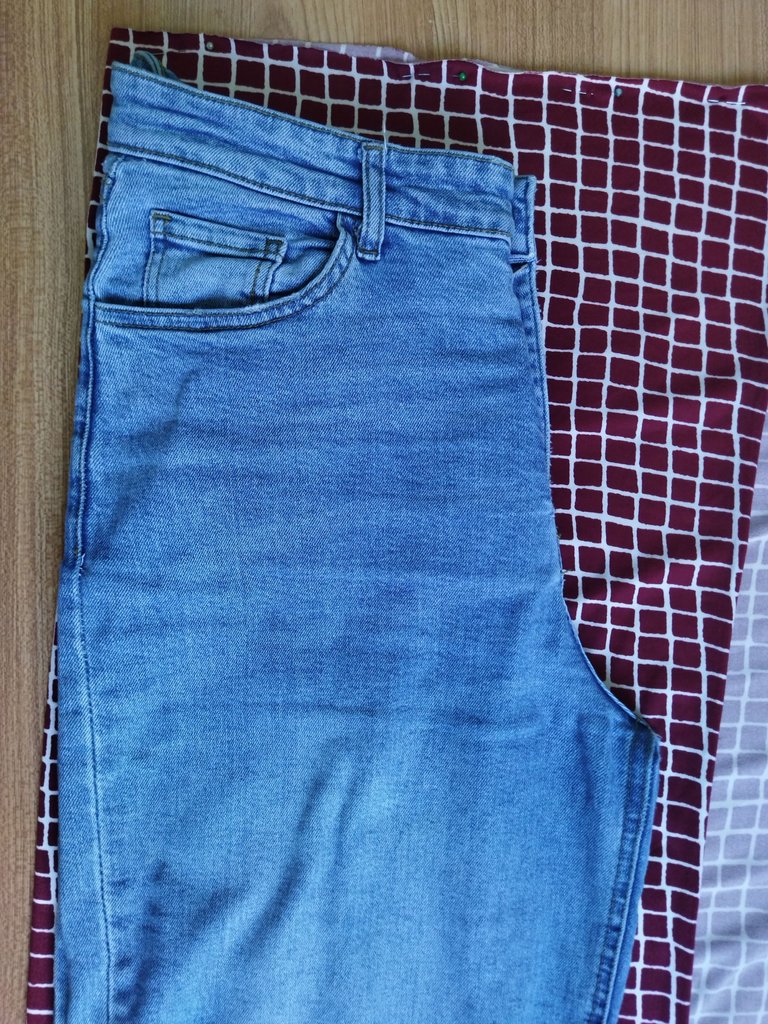
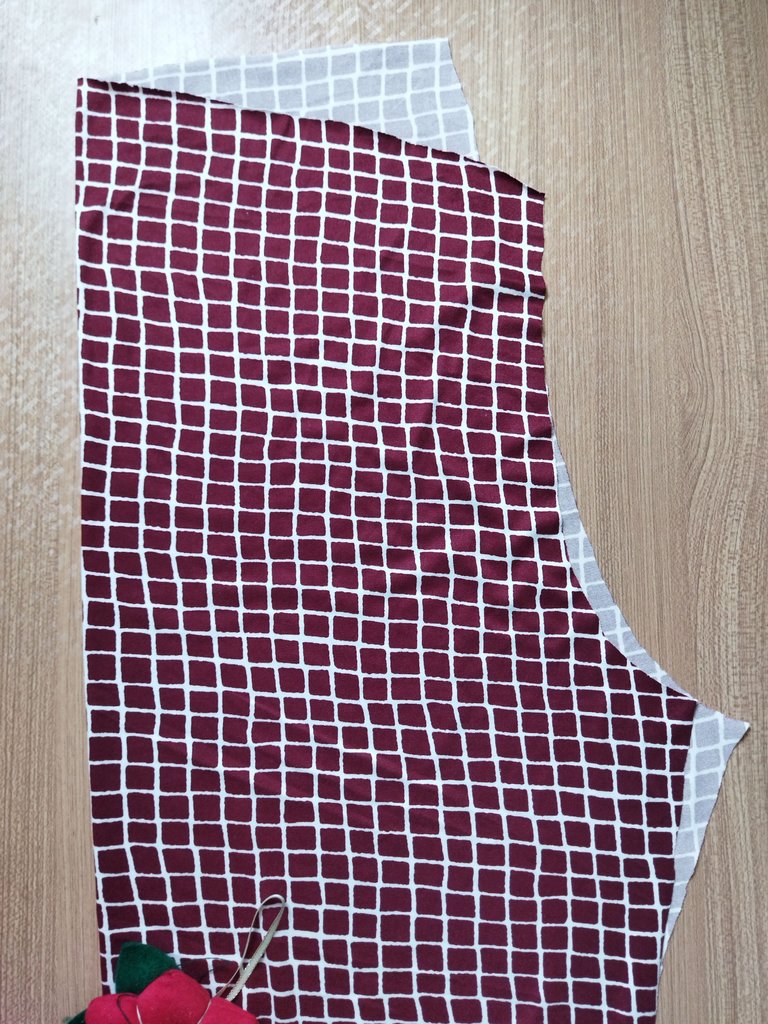
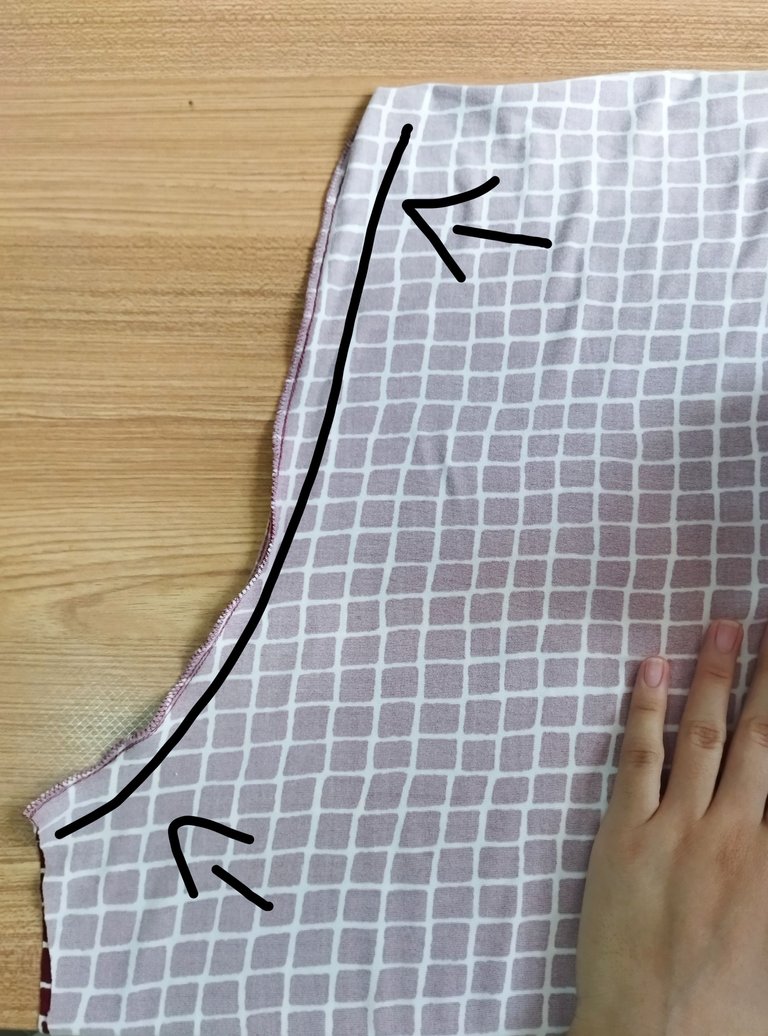
Comencé cortando las dos piezas del pantalón guiandome con un jeans que tengo talle alto, saque las dos piezas que solo se diferencian en los tiros, el tiro trasero es mucho más alto que el delantero, debemos recordar añadir los centímetros de la elástica en la cintura, luego de tener todo cortado me fuí a la máquina de coser y uní los tiros, enfrentando los derechos de la tela, pasé una costura zigzag para un mejor acabado, para finalizar está parte uní las entrepiernas del pantalón y ya tendríamos el 70% de pantalón casi listo, así de fácil.
I started cutting the two pieces of the pants using a jeans that I have a high waist, I took out the two pieces that only differ in the pulls, the back pull is much higher than the front, we must remember to add the centimeters of the elastic at the waist, after having everything cut I went to the sewing machine and joined the straps, facing the rights of the fabric, I passed a zigzag seam for a better finish, to finish this part I joined the crotch of the pants and we would already have 70% of pants almost ready, so easy.
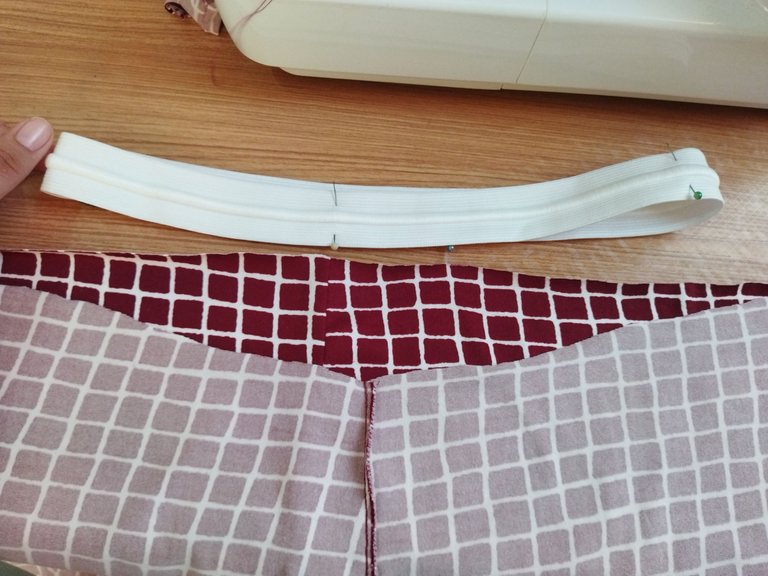
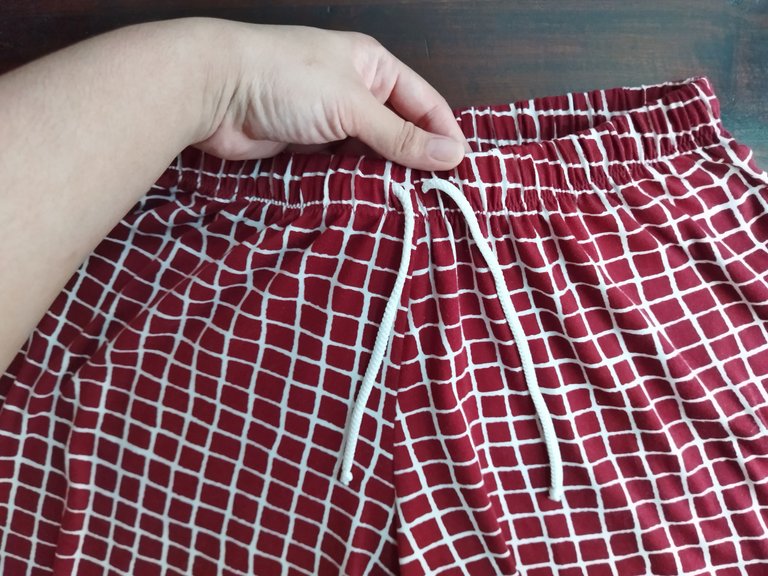
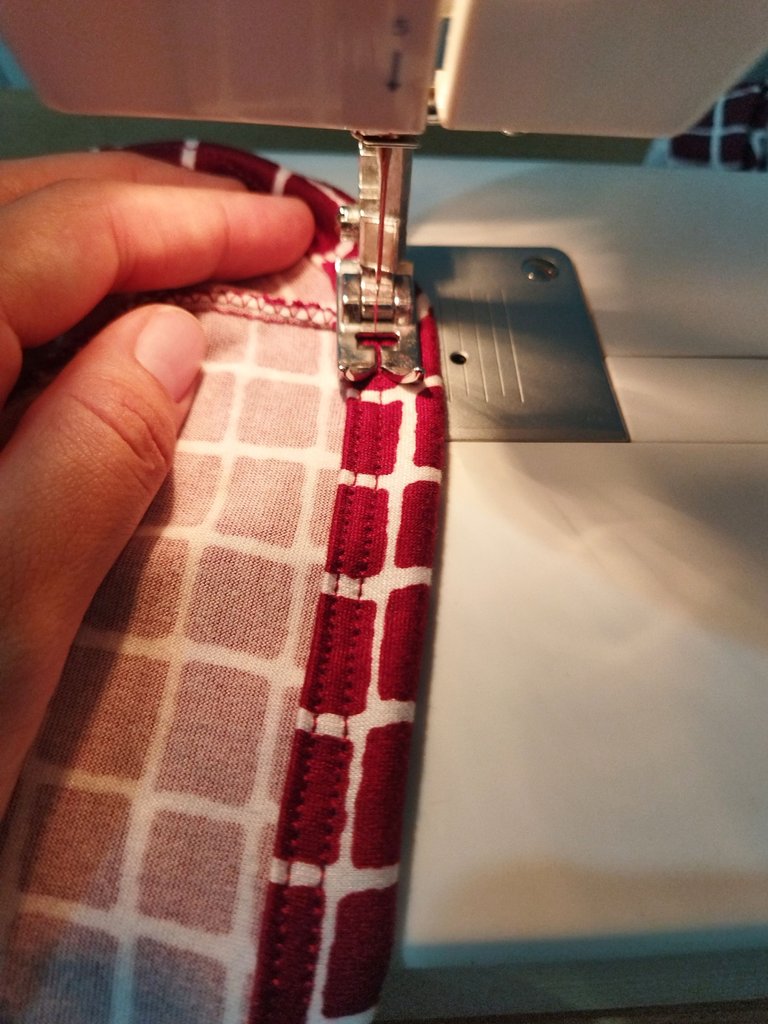
Para la pretina del pantalón usé una elástica de las que tienen cordón interno, así que con la ayuda de una puntada en zigzag, uní la elástica con la cintura del pantalón y luego doblé hacia adentro para luego volver a pasar costura en zigzag y dejar fija la elástica, hice unos pequeños agujeros para sacar los cordones y até las puntas, como último paso para terminar este hermoso pantalón hice los ruedos, con una costura recta doble.
For the waistband of the pants I used an elastic with an internal drawstring, so with the help of a zigzag stitch, I joined the elastic with the waistband of the pants and then folded it inwards and then zigzag stitched it again to fix the elastic, I made some small holes to remove the drawstrings and tied the ends, as a last step to finish this beautiful pants I made the hems, with a double straight stitch.
¡Gracias por leerme, hasta luego!
Thank you for reading me, see you later !


Camera: Xiaomi Redmi 9T. | Separadores: Aquí | Edition: CANVA | Translation: Deepl.com


