¡Hola comunidad de Hive!
Hello Hive community!
Saludos queridos Needleworkers, feliz viernes, ya casi es fin de semana, espero les vaya de maravilla 🤗 muchas buenas vibras para todos ustedes y sus proyectos de costura
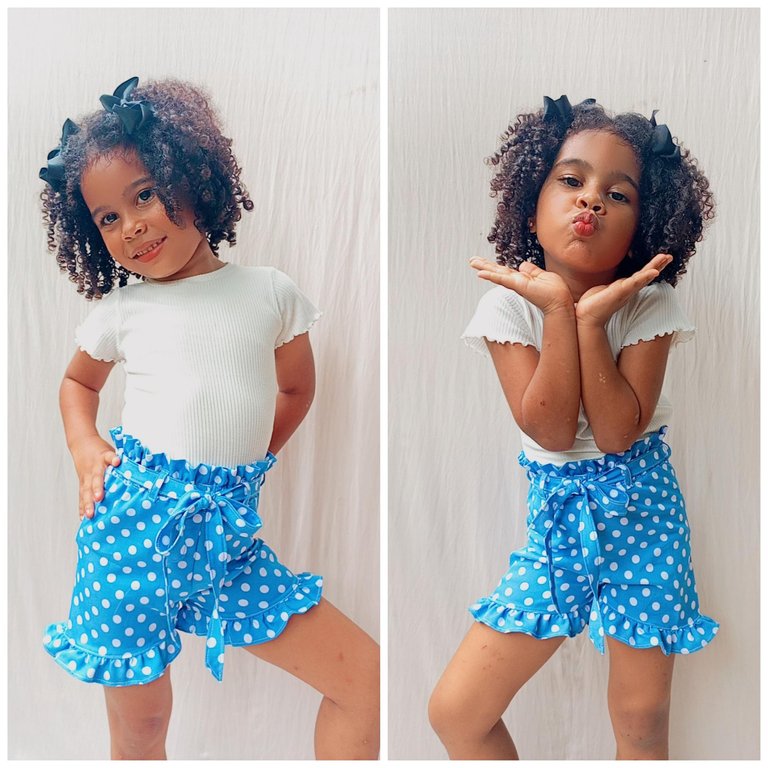
Por acá seguimos confeccionando bellezas, hacer ropa para niñas ciertamente es más difícil que hacer ropa para adultos pero es muy satisfactorio ver a estás bellezas felices con su ropa nueva, en esta oportunidad me tocó realizar un paper pants con volados en las piernas para la coqueta niña Jerusalén, si, así se llama y es una niña muy coqueta, basta mostrarle una camara y ella pone sus mejores poses. Su mami Andrea que es una amiga de mi hermana me encargo este bello short, y aprovechando que vendrían a mi casa a buscarlo le tome algunas fotos a Jerusalén.
Greetings dear Needleworkers, happy friday, it's almost the end of the week, I hope you are doing great 🤗 lots of good vibes for all of you and your sewing projects.
Here we continue making beauties, making clothes for girls is certainly more difficult than making clothes for adults but it is very satisfying to see these beauties happy with their new clothes, this time I had to make a paper pants with ruffles on the legs for the flirty girl Jerusalén, yes, that's her name and she is a very flirty girl, just show her a camera and she puts her best poses. Her mommy Andrea who is a friend of my sister's ordered me this beautiful short, and taking advantage of the fact that they would come to my house to pick it up I took some pictures of Jerusalem.
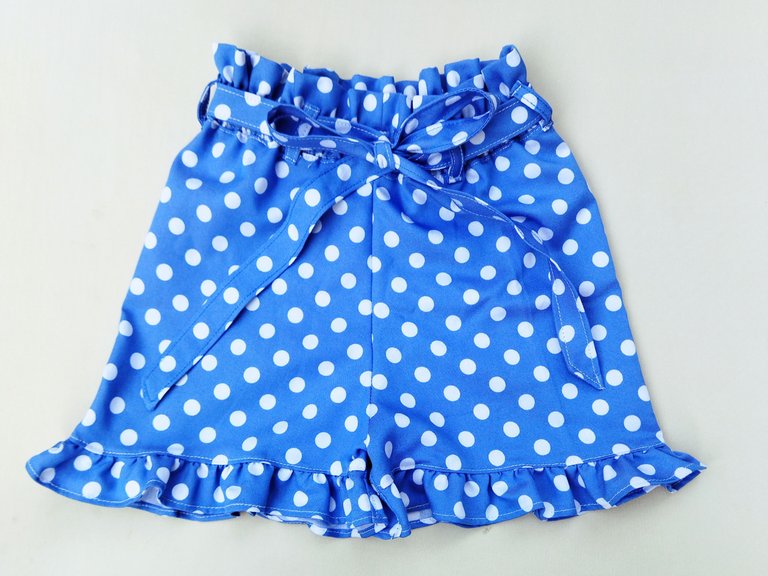
Este lindo short lo realice con tela chambray con estampado de punto blancos, cuando ví está tela de primer momento me encantó y sabía que iba a quedar muy bien para este short, como siempre les dijo dejo estos tutoriales para que les sirva como inspiración y que los puedan realizar en casa. Espero que lo disfruten y si quieres hacerlo ve por tu hilo y aguja y comencemos a trabajar...
I made this cute short with chambray fabric with white knitted pattern, when I saw this fabric at first I loved it and I knew it was going to look great for this short, as always I leave these tutorials to serve as inspiration and you can make them at home. I hope you enjoy it and if you want to do it go get your thread and needle and let's get to work....
🧵🧷🧵🧷🧵🧷🧵🧷🧵🧷🧵🧷🧵🧷🧵🧷🧵
Necesitaremos || We will need
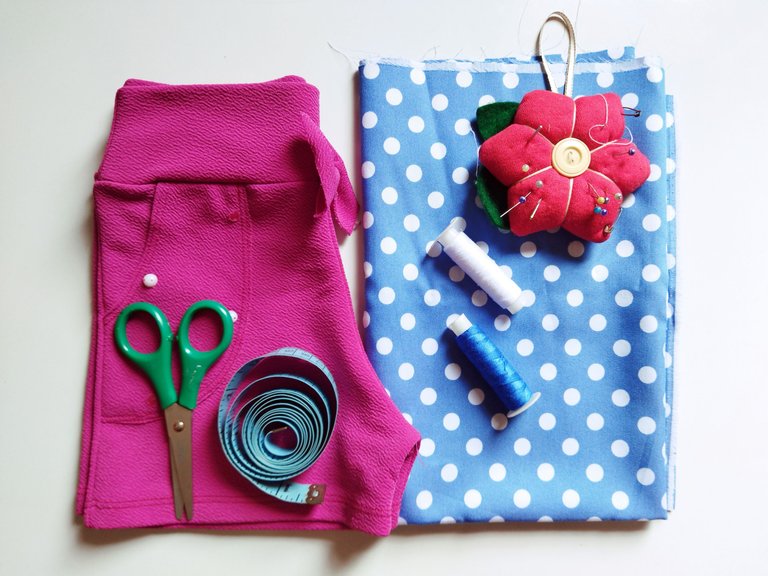
Para este proyecto necesitaremos medio metro chambray estampada, utilicé hilo blanco, Alfileres, cinta elástica de 2cm de abcho, Tijera, Cinta métrica, pantalón molde, Aguja y máquina de coser.
For this project we will need half a meter of printed chambray, I used white thread, pins, 2cm wide elastic tape, scissors, measuring tape, trouser mold, needle and sewing machine.
🧵🧷🧵🧷🧵🧷🧵🧷🧵🧷🧵🧷🧵🧷🧵🧷🧵
Paso 1 || Step 1
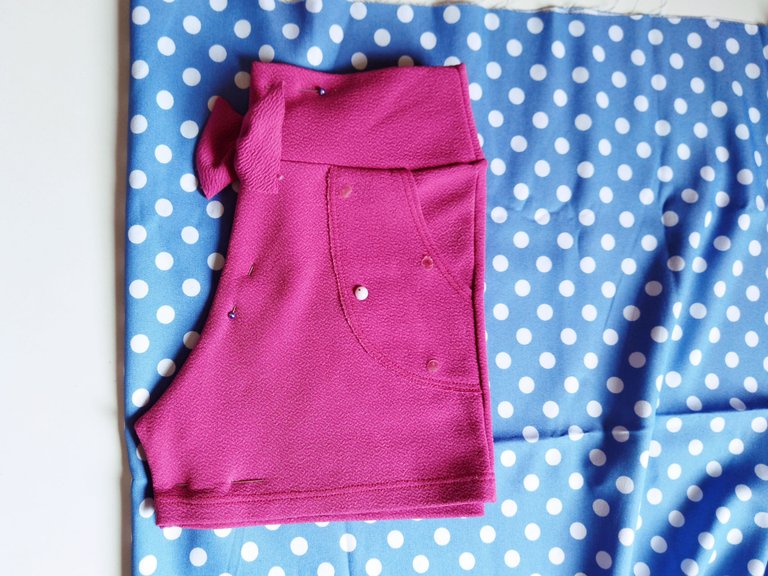
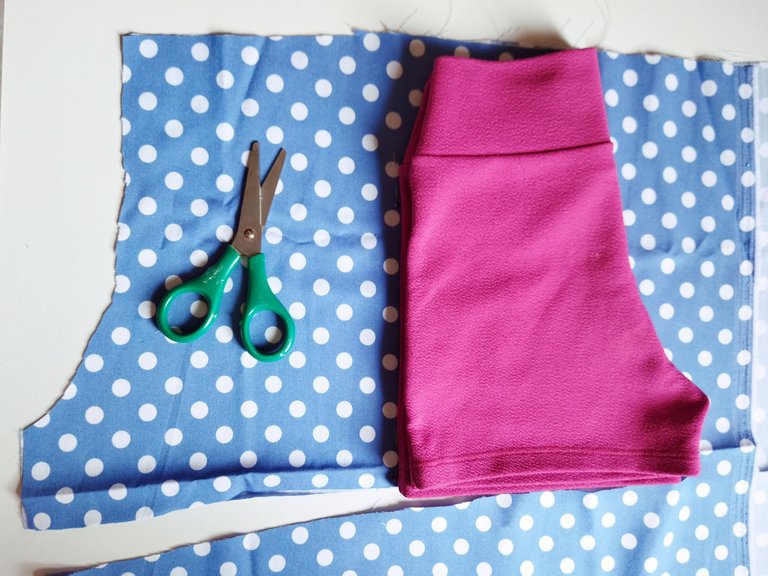
- Comenzamos doblando la tela y colocándola en una superficie plana, el primer paso es colocar el patrón sobre la tela (doble), sujetamos con alfileres para que no se mueva y cortamos el tiro trasero luego sin mover la tela vamos a colocar el short del otro lado para cortar el tiro delantero, para este short necesitamos sacar dos piezas, Debemos tener en cuenta que el tiro trasero del short es más alto y más curvo que el delantero. Recuerda agregar 1 o 2 cm de margen de costura.
- We start by folding the fabric and placing it on a flat surface, the first step is to place the pattern on the fabric (double), we hold it with pins so that it does not move and cut the back draft then without moving the fabric we will place the short on the other side to cut the front draft, for this short we need to take out two pieces, we must take into account that the back draft of the short is higher and more curved than the front. Remember to add 1 or 2 cm seam allowance.
Paso 2 || Step 2
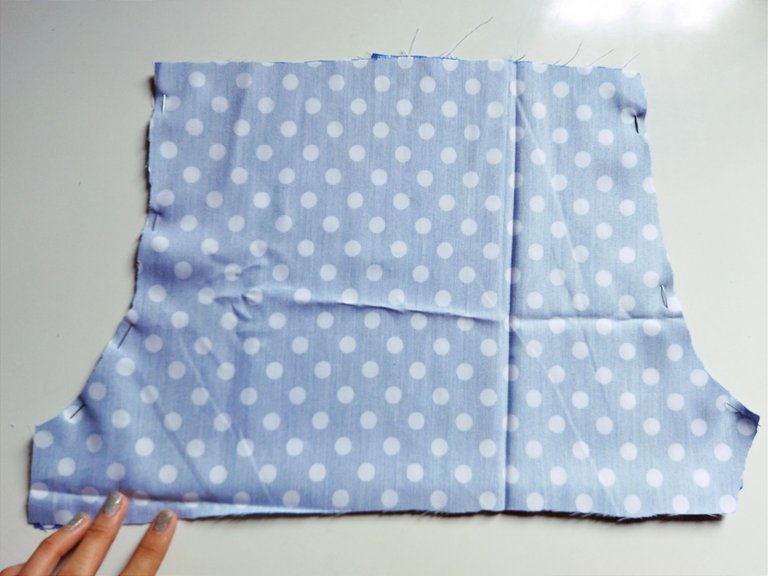
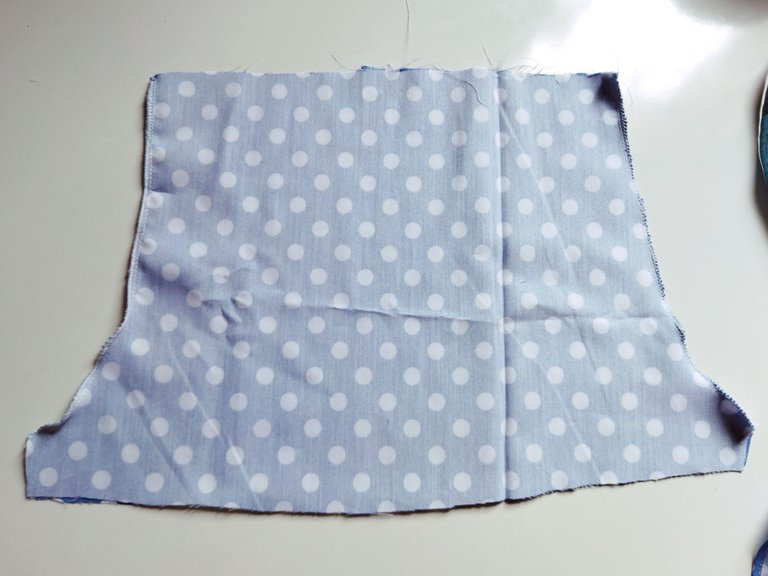
- Vamos a coser y nos toca unir los tiro del short, colocamos las piezas delanteras enfrentando derecho con derecho y pasando costura recta y luego zigzag rematando la costura, lo mismo hacemos para la parte trasera.
- We are going to sew and it's time to join the short's seams, we place the front pieces facing right to right and sew a straight seam and then zigzag finishing the seam, the same thing we do for the back part.
Paso 3 || Step 3
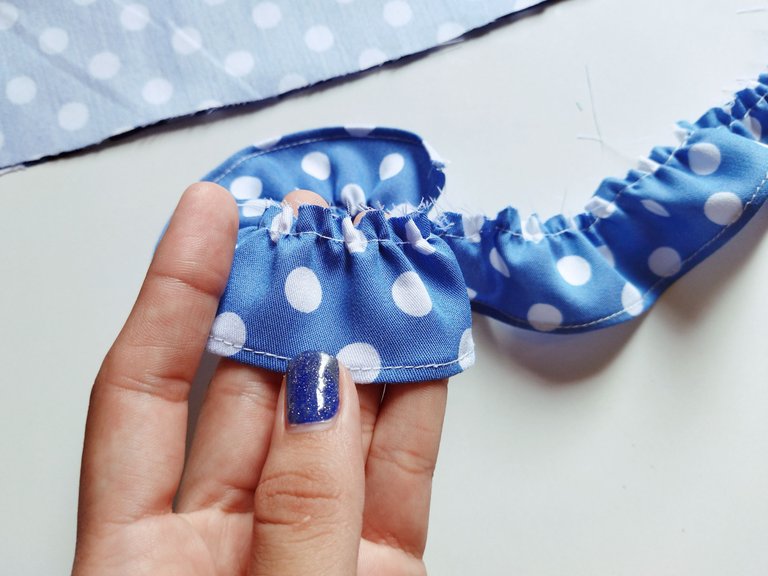
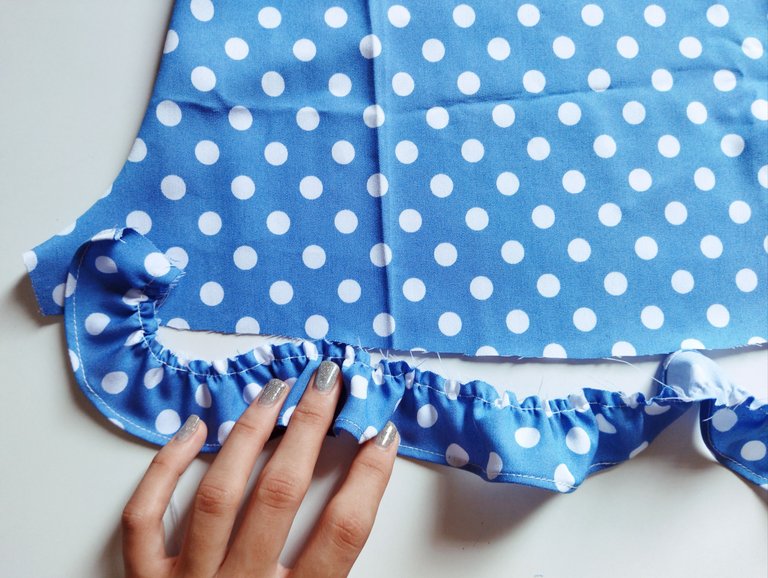
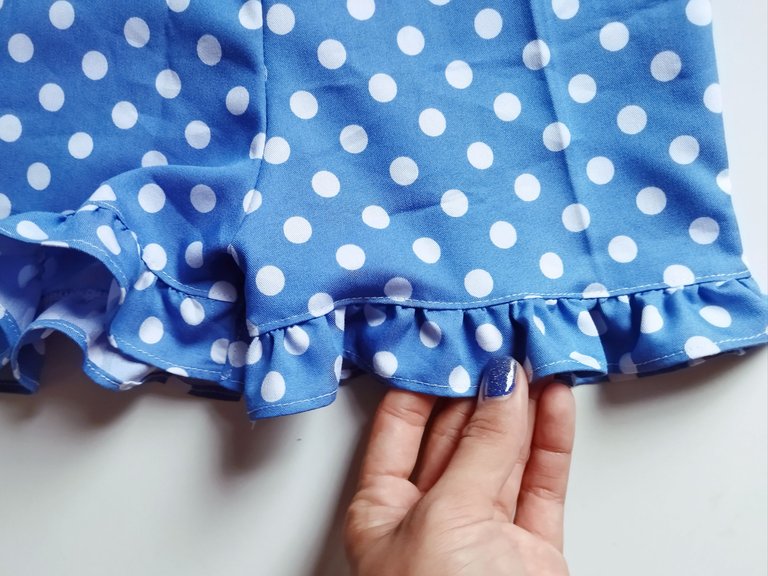
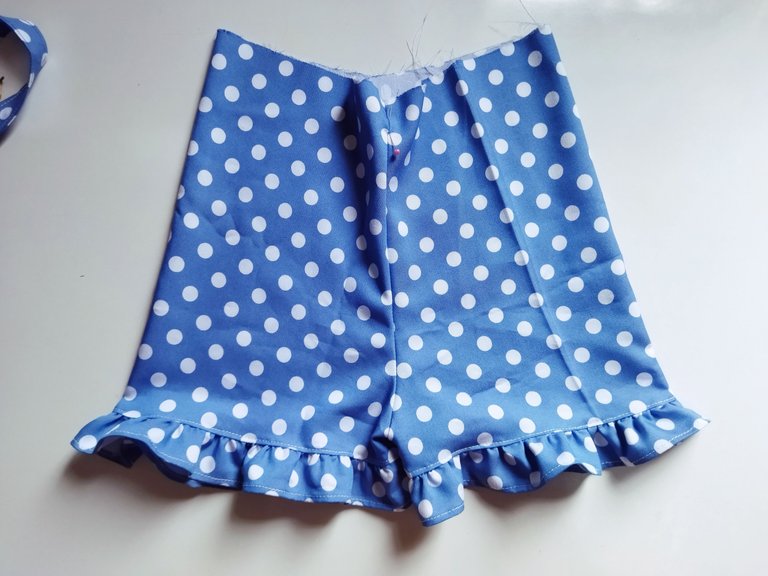
- Cortaremos una tira de 6 cm de ancho, esto es para hacer los volantes de las piernas, procedí haciendo un dobladillo a las tiras solo por unos de los lados, para fruncir las tiras me ayude con la máquina de coser, pasé puntadas anchas y luego hale uno de los hilos, coloqué las tiras fruncidas en la orilla de las piernas del short y las sujeté con alfileres para luego coser con puntada recta y zigzag, por último pisé la costura del faralao por la parte externa a modo de costura decorativa.
- We will cut a 6 cm wide strip, this is to make the ruffles of the legs, I proceeded by hemming the strips only on one of the sides, to gather the strips I helped me with the sewing machine, I passed wide stitches and then pulled one of the threads, I placed the gathered strips on the edge of the legs of the shorts and pinned them and then sewed with straight stitch and zigzag, finally I stepped the faralao seam on the outside as a decorative seam.
Paso 4 || Step 4
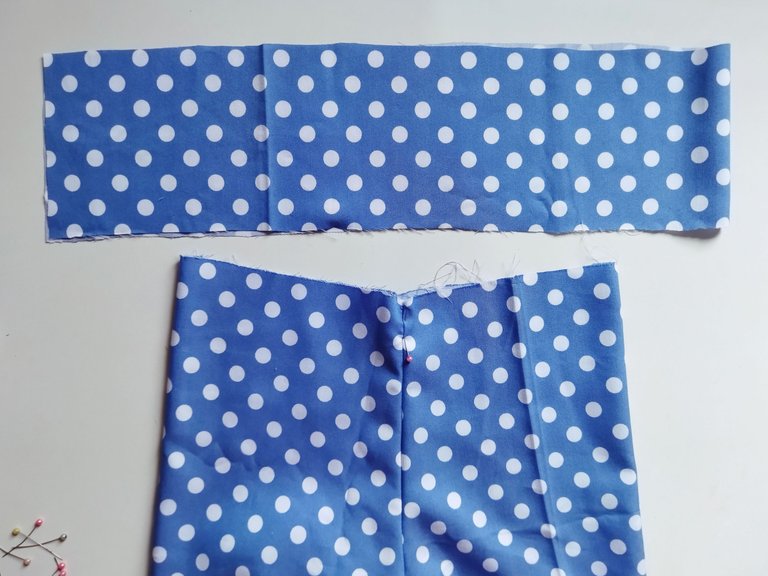
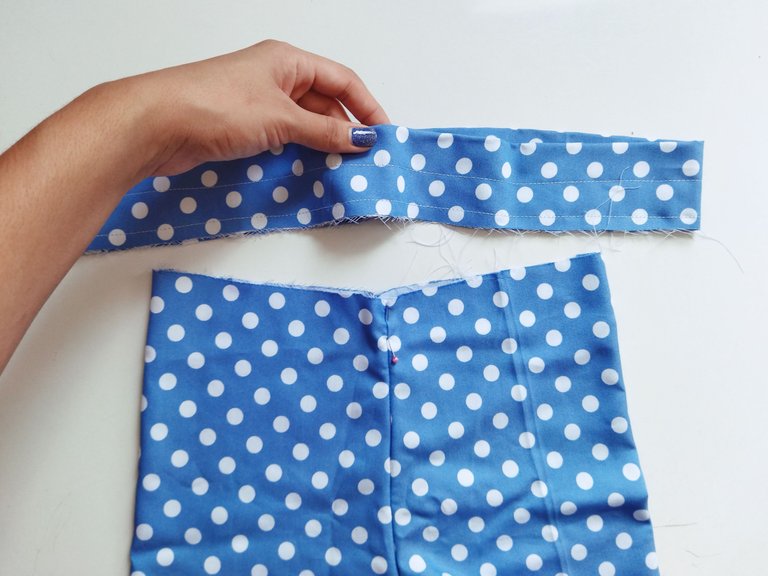
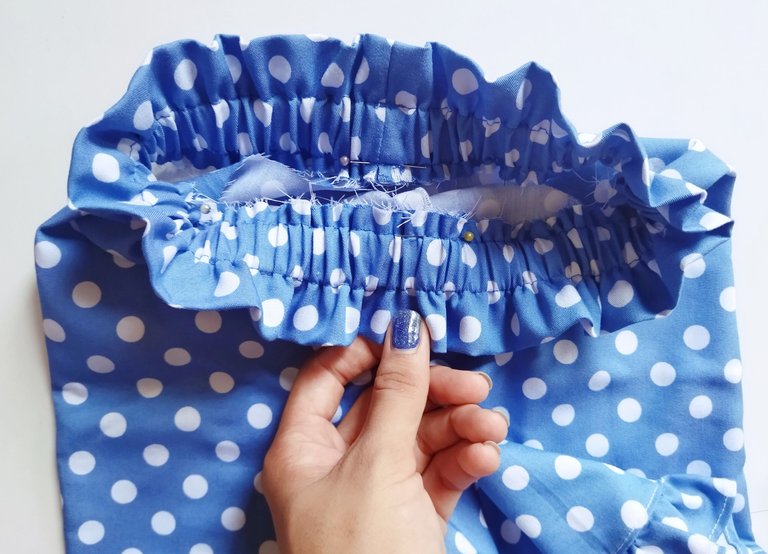
Para la pretina cortamos una tira de 10 cm de ancho, doblamos la tira a la mitad y pasamos puntada recta a 1,5 cm del borde, dejamos una abertura por dónde pasaremos la elástica, repetimos el mismo proceso pasando puntada recta a 2 cm o el ancho que tenga nuestra elástica, ahora metemos la elástica por la abertura que hemos dejado, debemos sujetar una de las puntas de la elástica para que no se nos vaya toda.
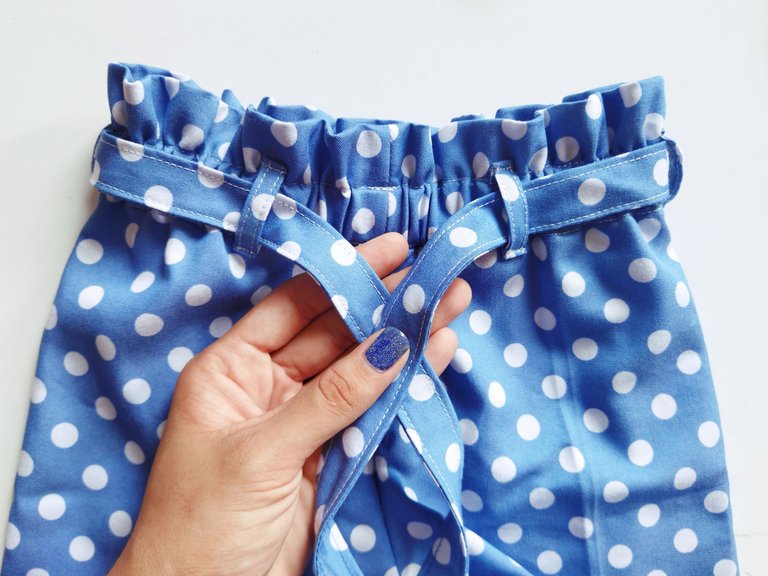
Ahora vamos a unir la pretina al pantalón, coloqué 5 trabillas distribuidas en toda la pretina de pantalón y con los retazos de la misma tela realicé un cinturón.
- For the waistband cut a 10 cm wide strip, fold the strip in half and pass straight stitch to 1.5 cm from the edge, leave an opening where we will pass the elastic, repeat the same process passing straight stitch to 2 cm or the width of our elastic, now we put the elastic through the opening that we have left, we must hold one end of the elastic so that it does not go all.
- Now we are going to attach the waistband to the pants, I placed 5 loops distributed throughout the waistband of the pants and with the scraps of the same fabric I made a belt.
Resultado final.
Final result.
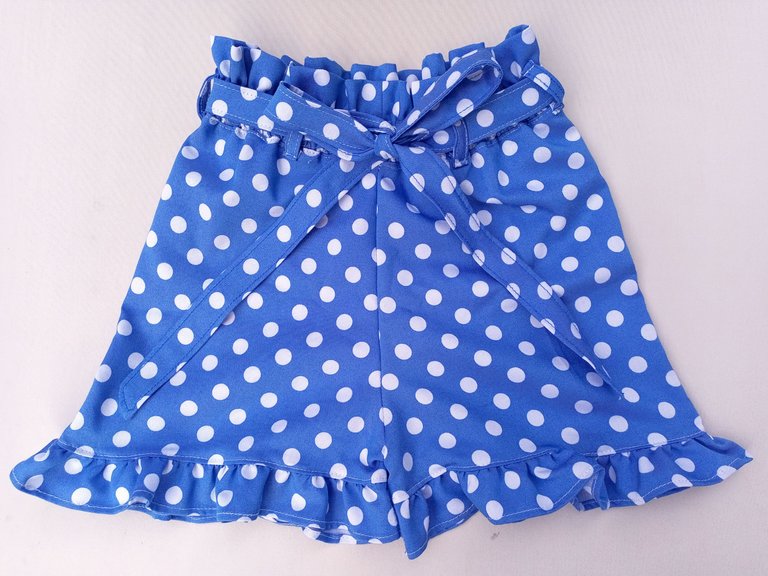
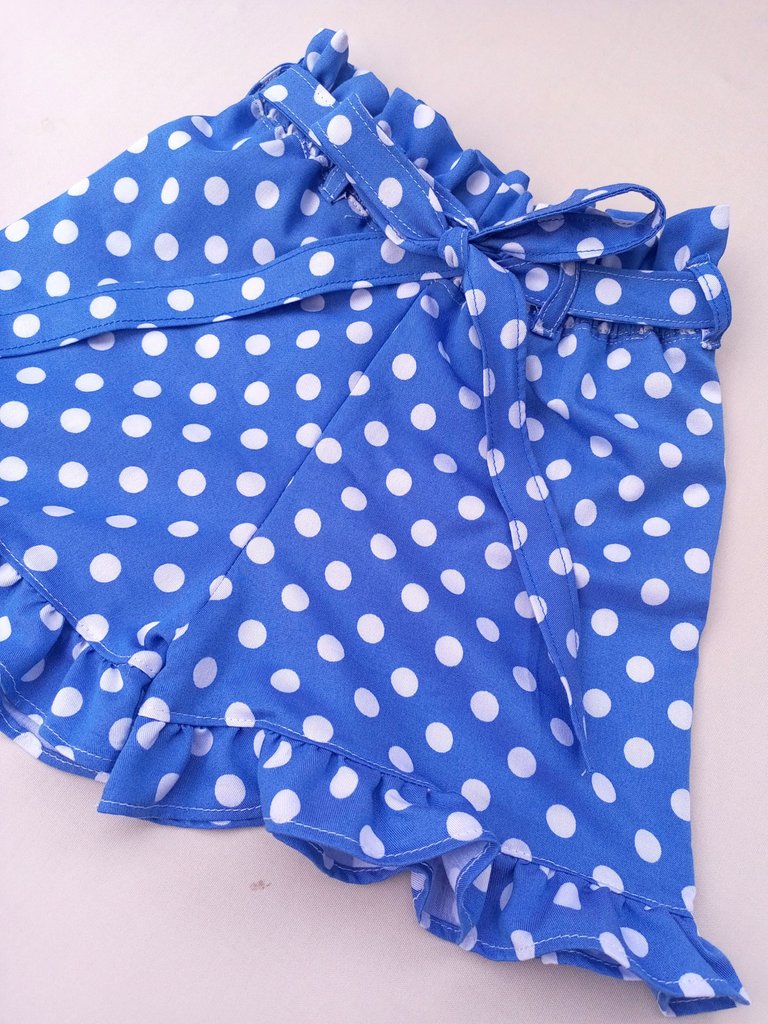
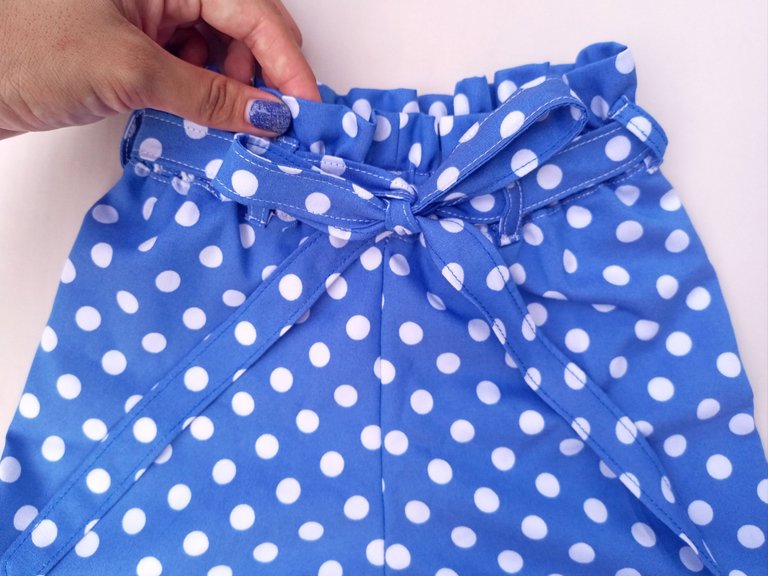
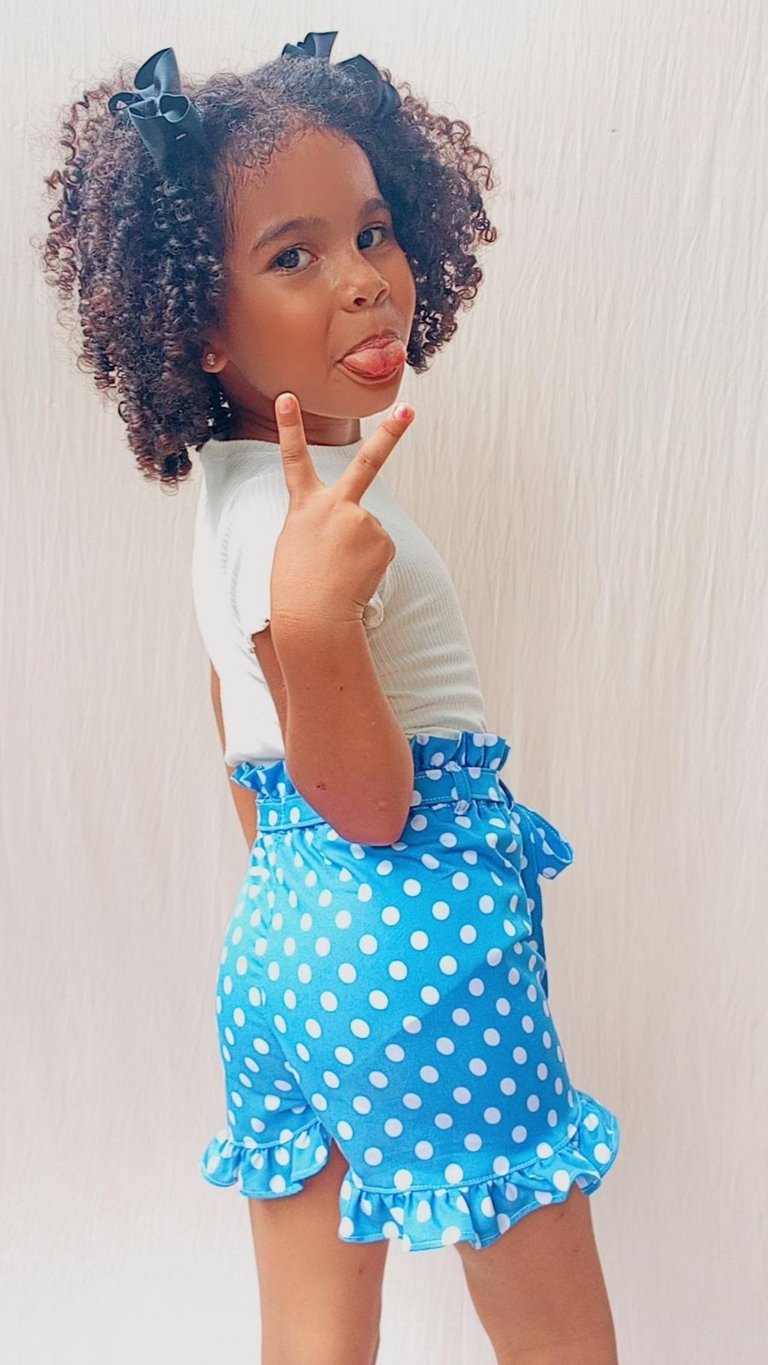
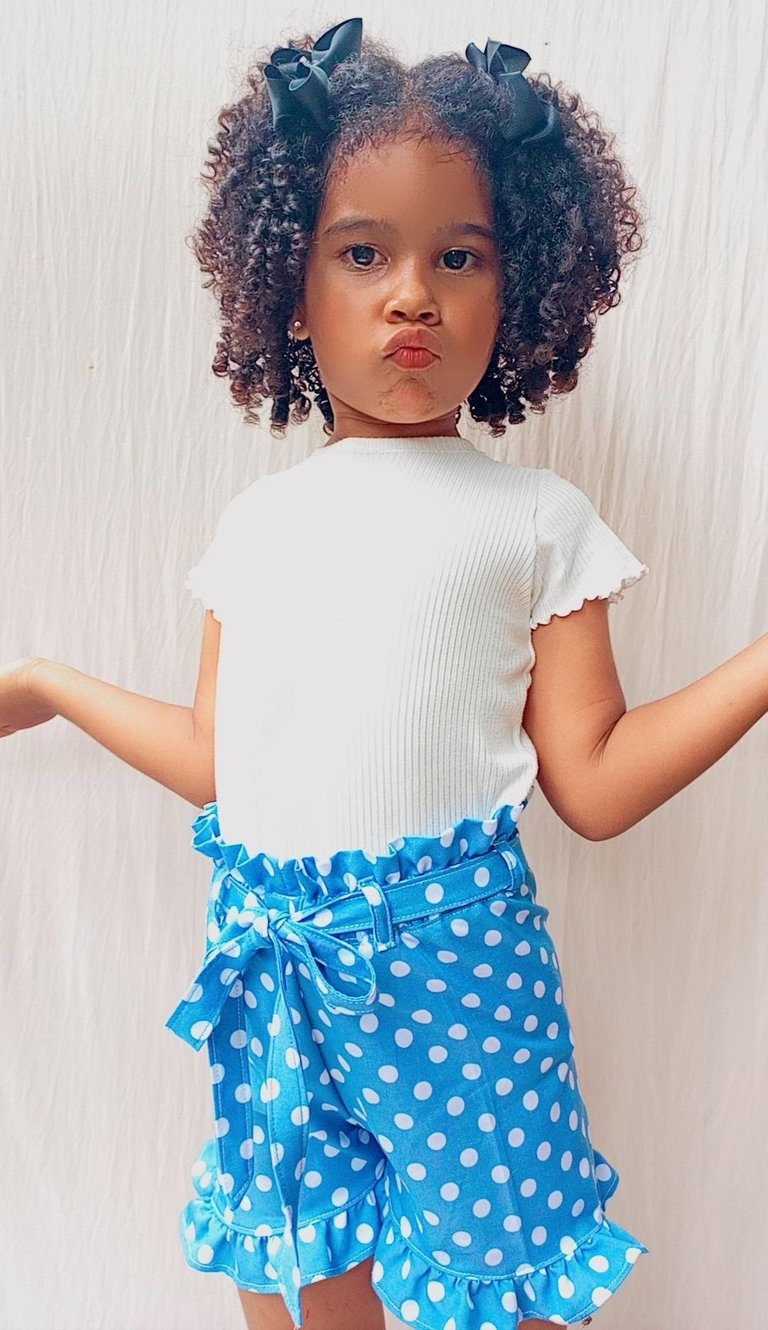
Así quedó el resultado final de este short, a mí me encantó y la modelo que me tocó hoy se robó mi corazón. Espero que les haya gustado, hasta aquí esta publicación, si llegaste hasta aquí mil gracias por leer mi post ❤️🥰 un fuerte abrazo.
This is the final result of this short, I loved it and the model that touched me today stole my heart. I hope you liked it, so far this publication, if you got this far thank you very much for reading my post ❤️🥰 a big hug.
All images are my property / Todas las imágenes son de mi propiedad
Camera: Xiaomi Redmi 9T.
Translation: Deepl.com
