Hello everyone!
First off, I would like to wish everyone a happy new year. I wish everyone the best in this year of 2023.
As this new year arrived, I decided that I would finally start to take drawing much more seriously. I did make a post some time ago where I started learning the basics of drawing (You can check it out here).
Drawing is something that I've always been interested in doing. I started learning how to draw some time ago in 2022, but I couldn't keep up since I was quite busy with University. It was until late of last year that I decided to delve back into drawing.
Normally, I always had an interest in drawing characters. But when it came to learning how to draw them, I would always end up confused because I had no idea of what to improve on. So after thinking for a while, I decided to practice drawing each body part separately, starting with heads first.
I watched a few YouTube tutorials on how to accomplish this and a lot of them seem to be following this approach called the Loomis method to draw heads.
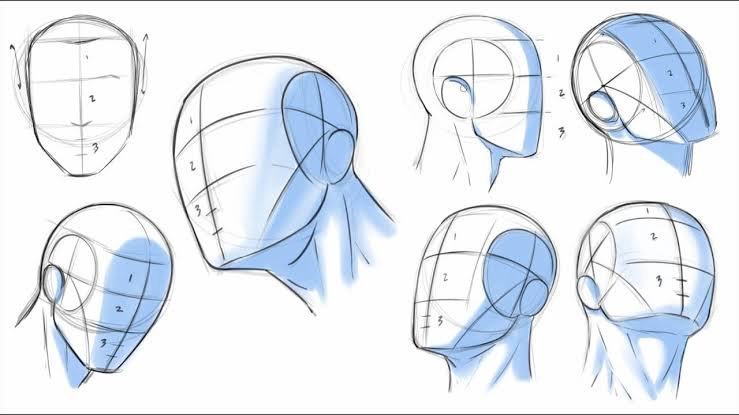
How it goes is that you draw a circle first. I believe this represents the upper area of the skull.
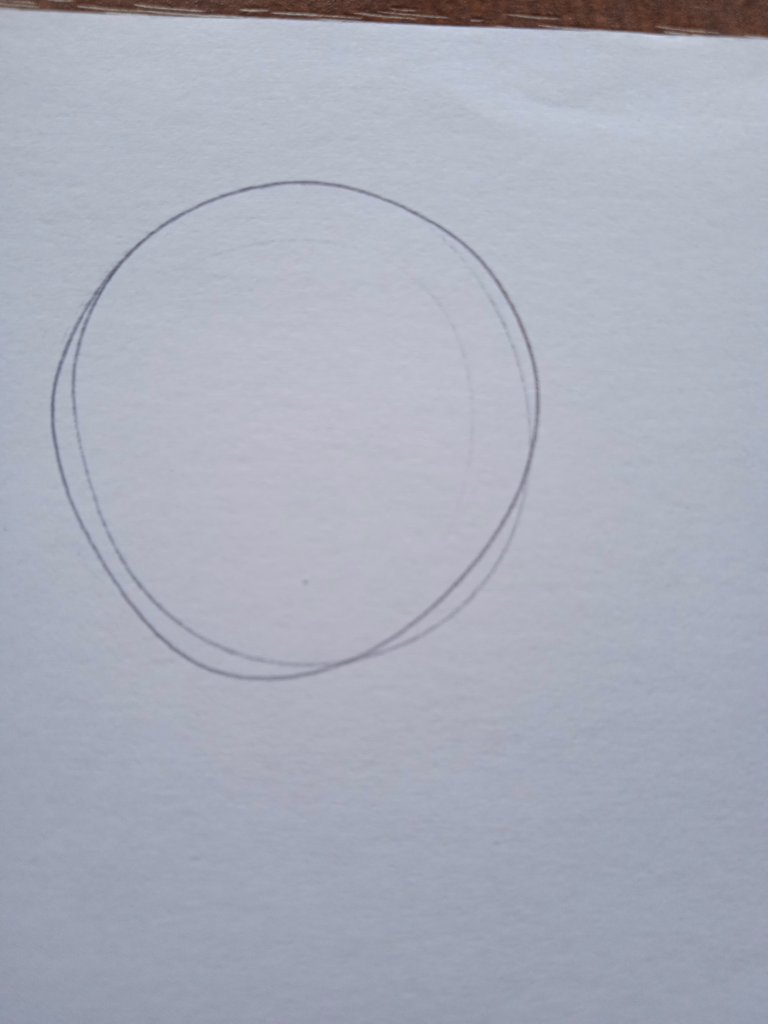
It took me a while to get this right so I ended up drawing a bunch of circles to warm up
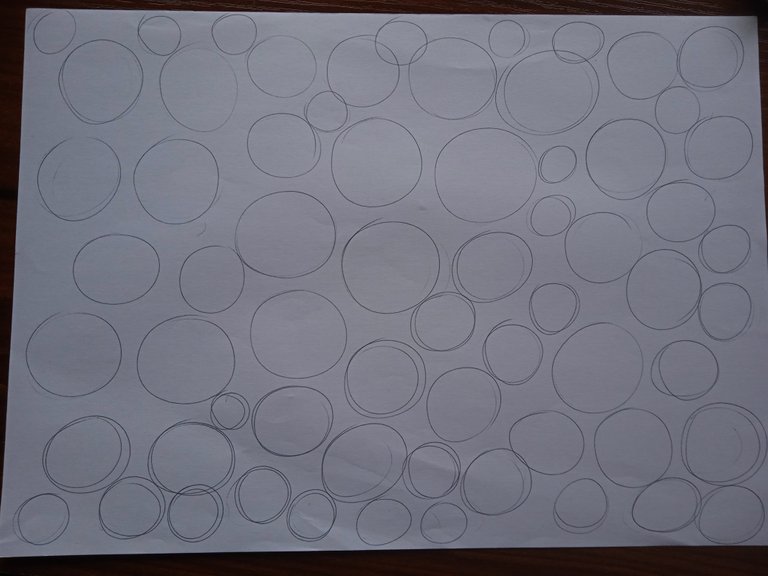
After doing this exercise, I decided to draw the circle that I'll be using for the head. I still don't know how I was messing it up.
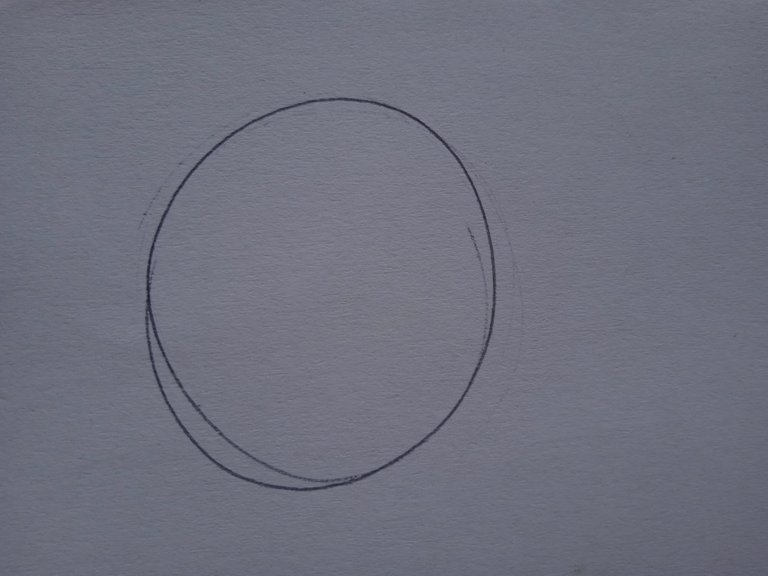
Now the next step is to split the circle in half, both horizontal and vertically.
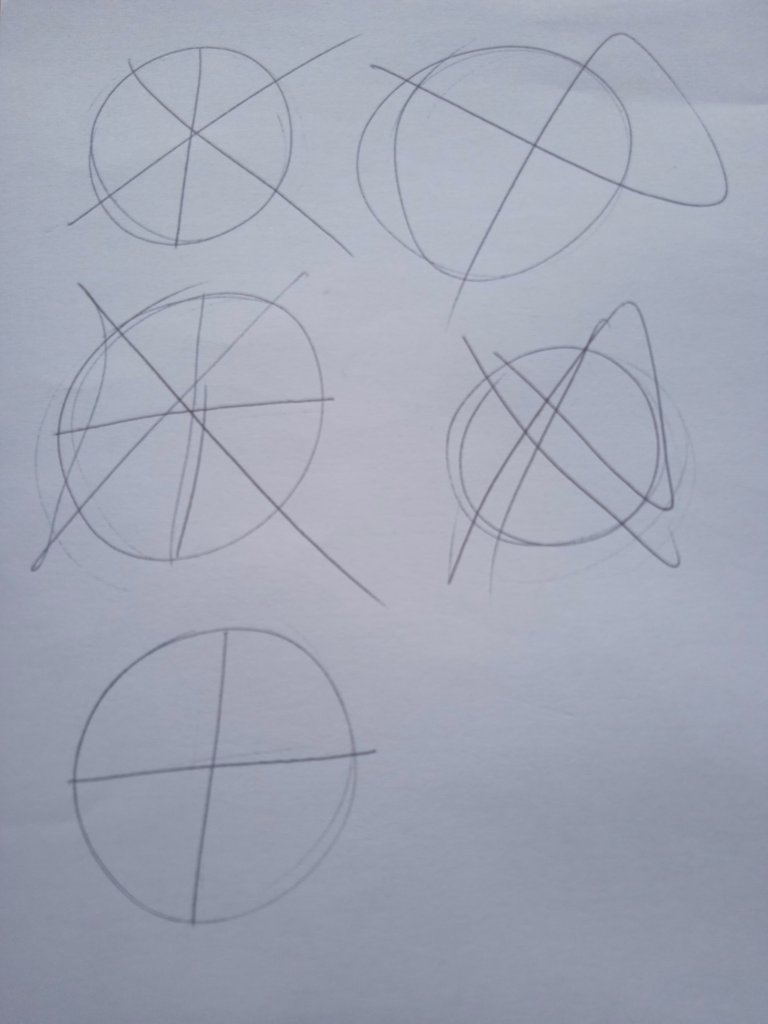
I drew the lines 'straight' since I want the head to be facing forward. If it were facing sideways, upwards or downwards; the horizontal and vertical lines would become ellipses or ovals.
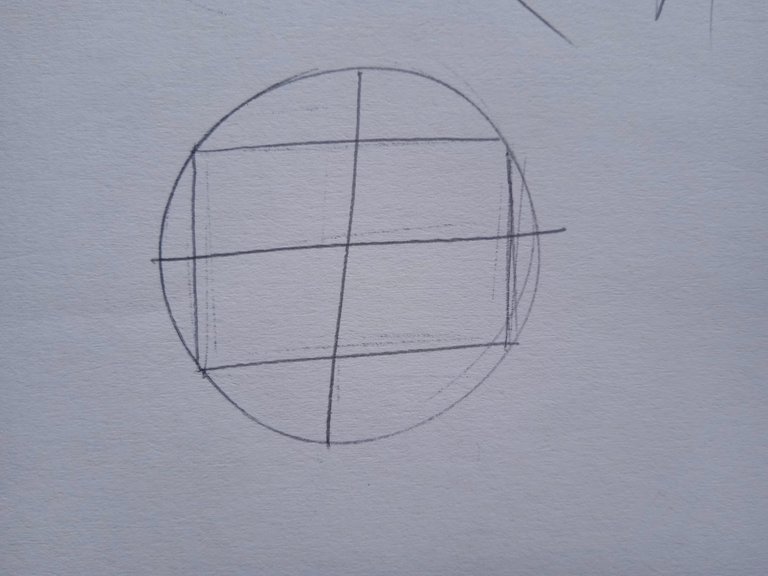
For the next step, I drew a square inside the circle and made sure the edges of the square touch the circle. The two vertical lines of the square will be the sides of the head while the two horizontal lines of the square will represent the hairline and where the nose will stop at (I think).
Just as I explained before, if the head was rotated, the straight lines would be ovals.
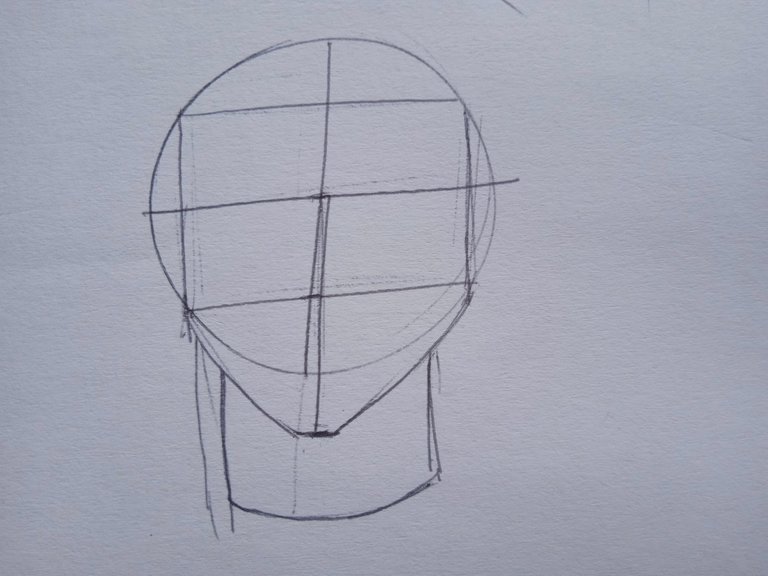
Finally, I extended the central vertical line to mark where the jaw would be. Then I connected the jawline and drew a neck.
After everything, I added ears to see if it would look better.
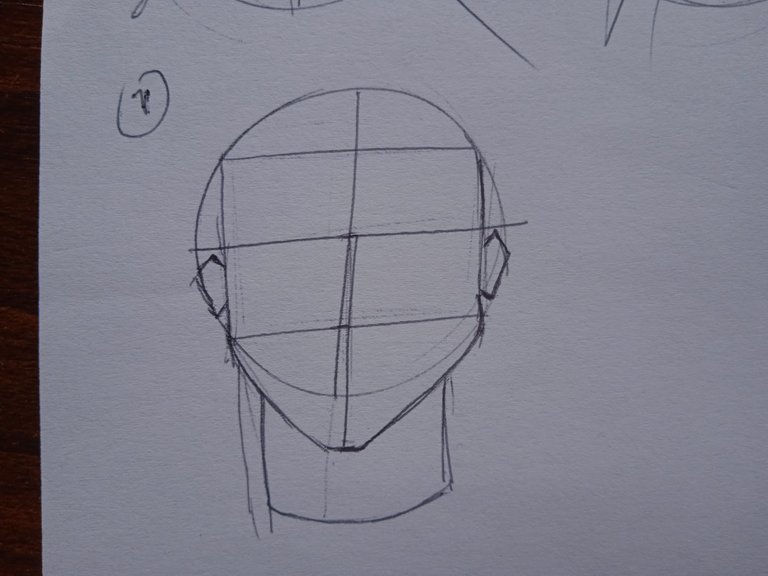
Next, to draw the head at an angle
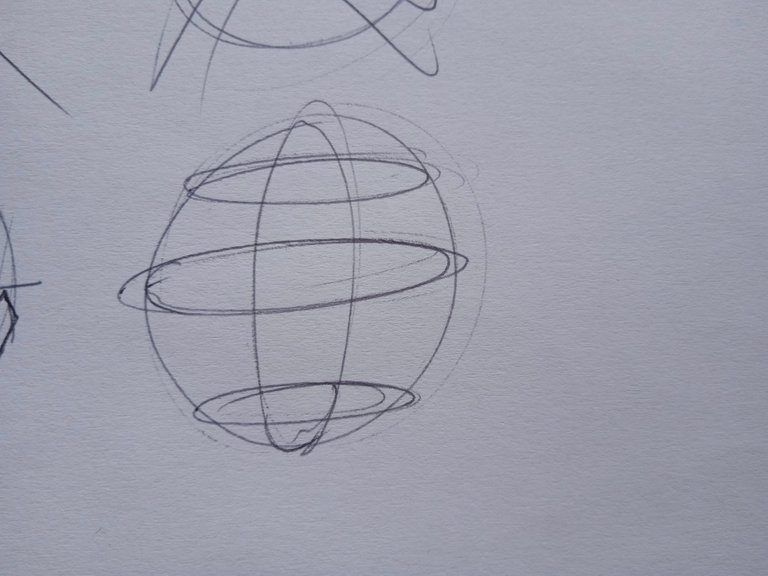
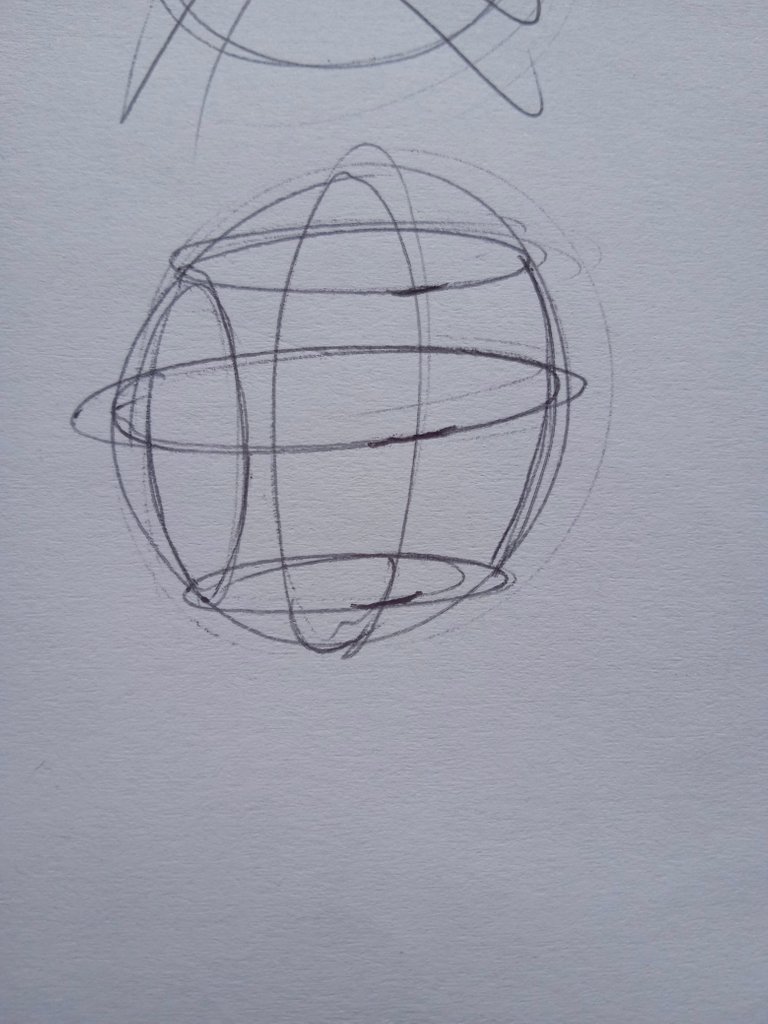
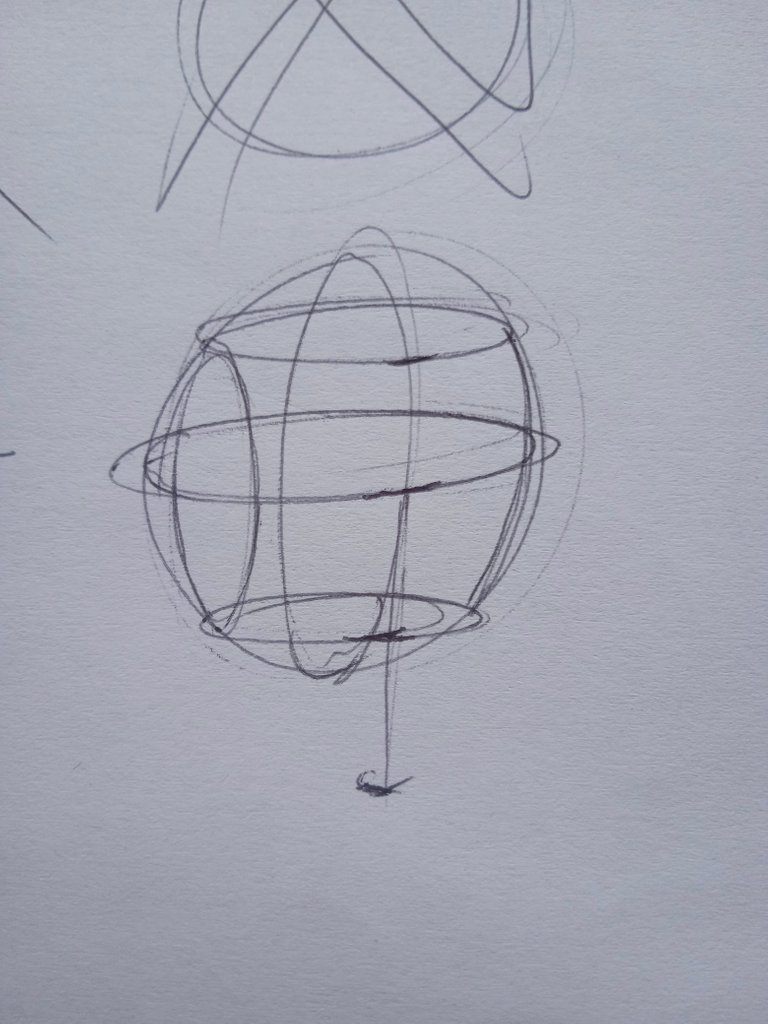
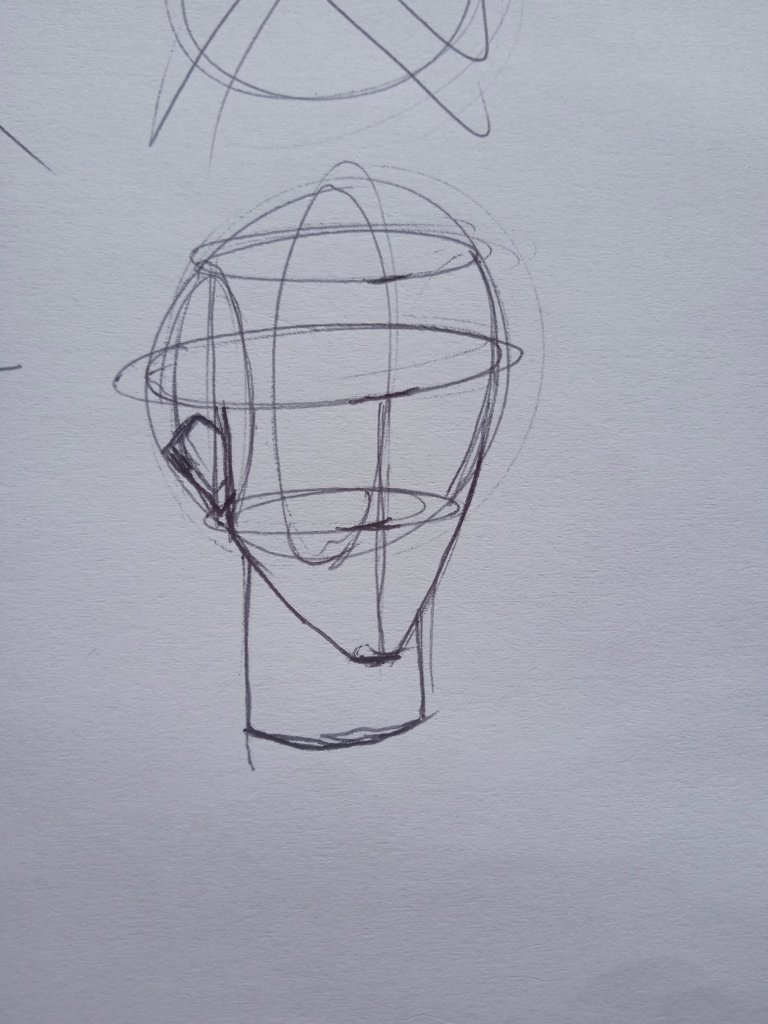
I practiced doing this for a while.
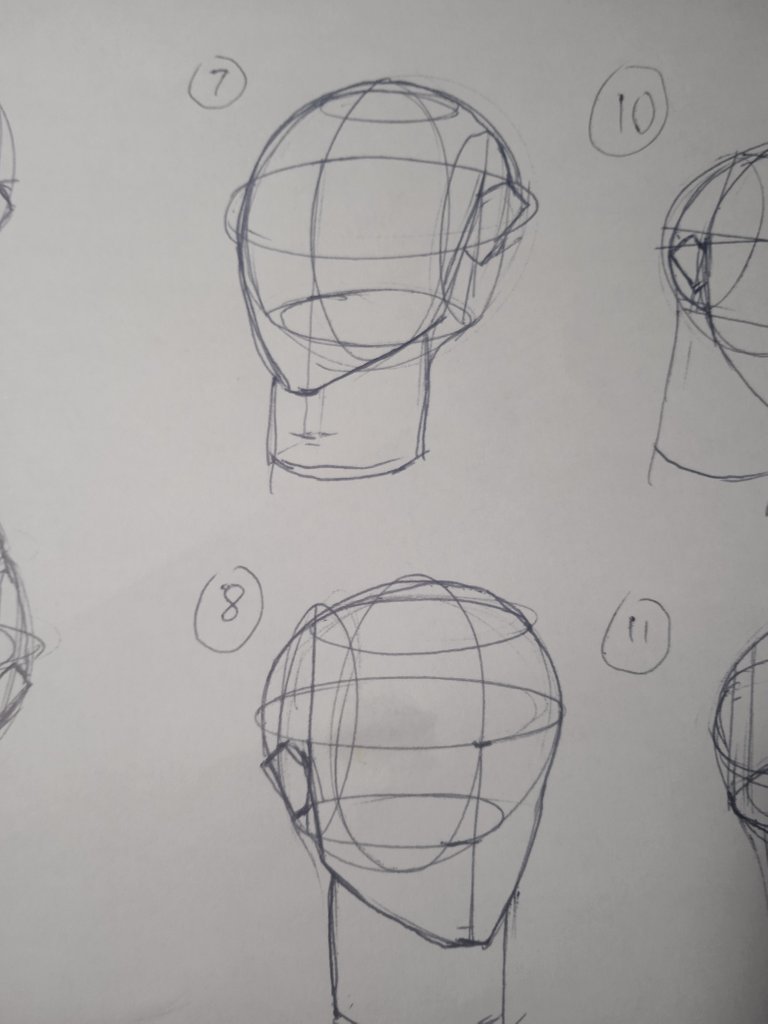
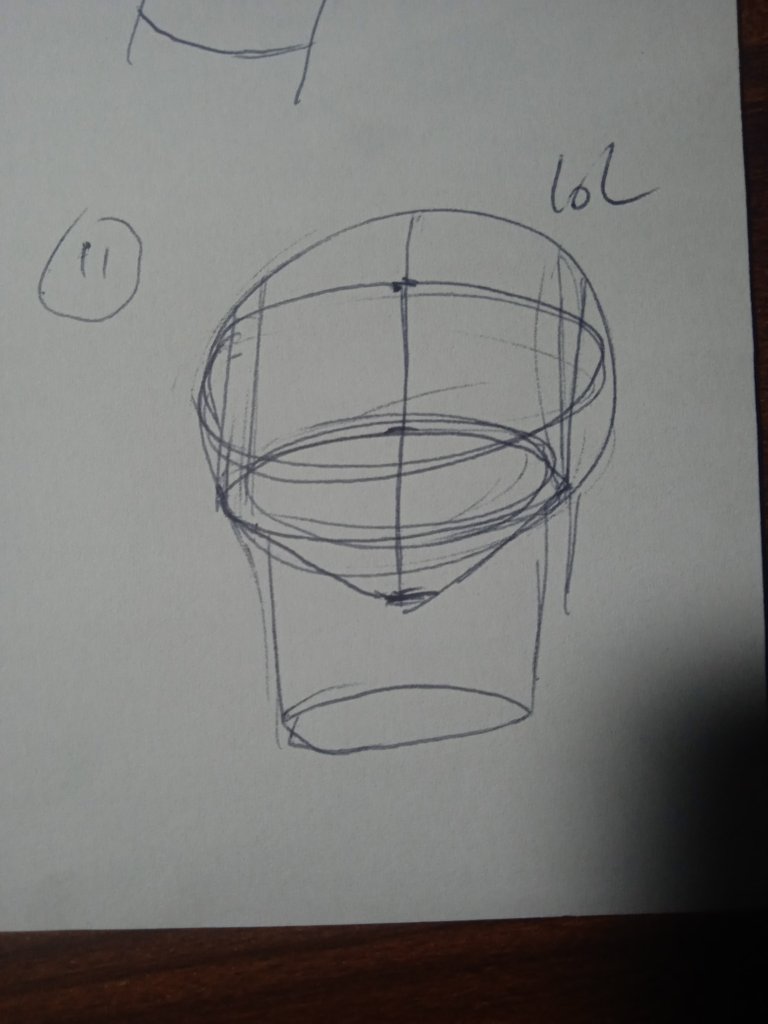
This is everything I did so far.
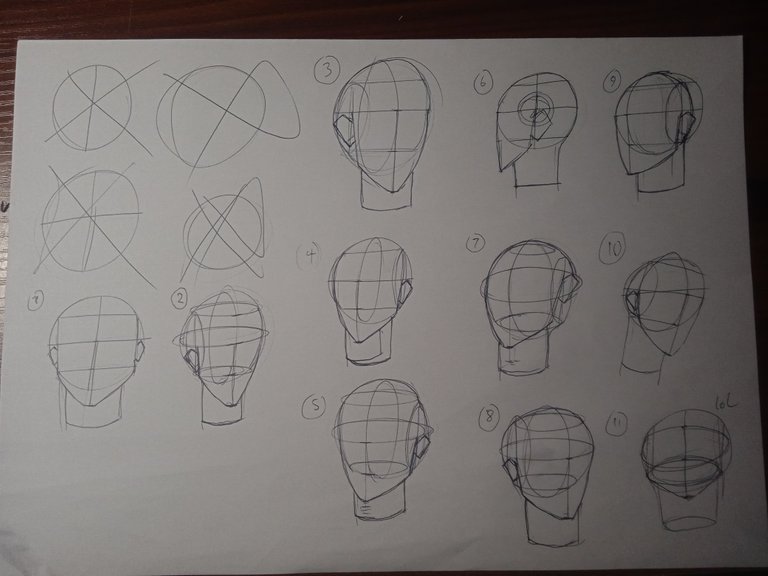
After this practice, I decided to take my head's to the next level.
My plan now was to draw heads and show the areas where the eyes, nose and mouth would go.
When I started, I was doubting that I was doing the right thing. So I had to summon some help from YouTube once again.
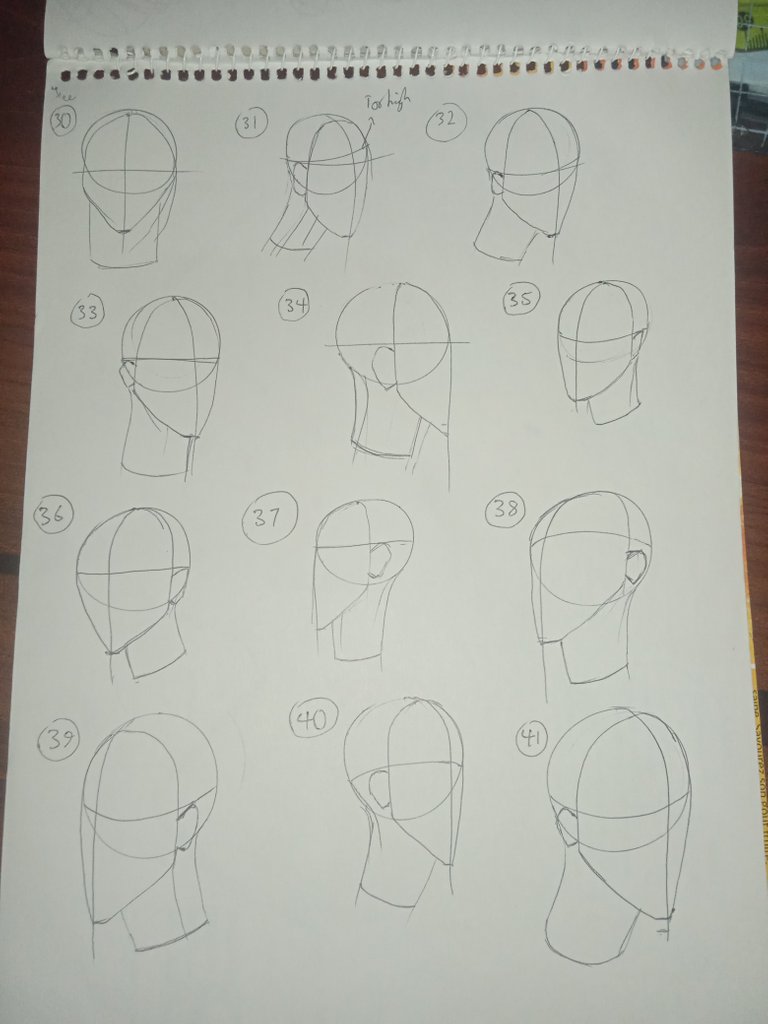
This time, I decided to check out a different artist and the artist had a much simplified approach to drawing heads. I practiced this method to get used to it.
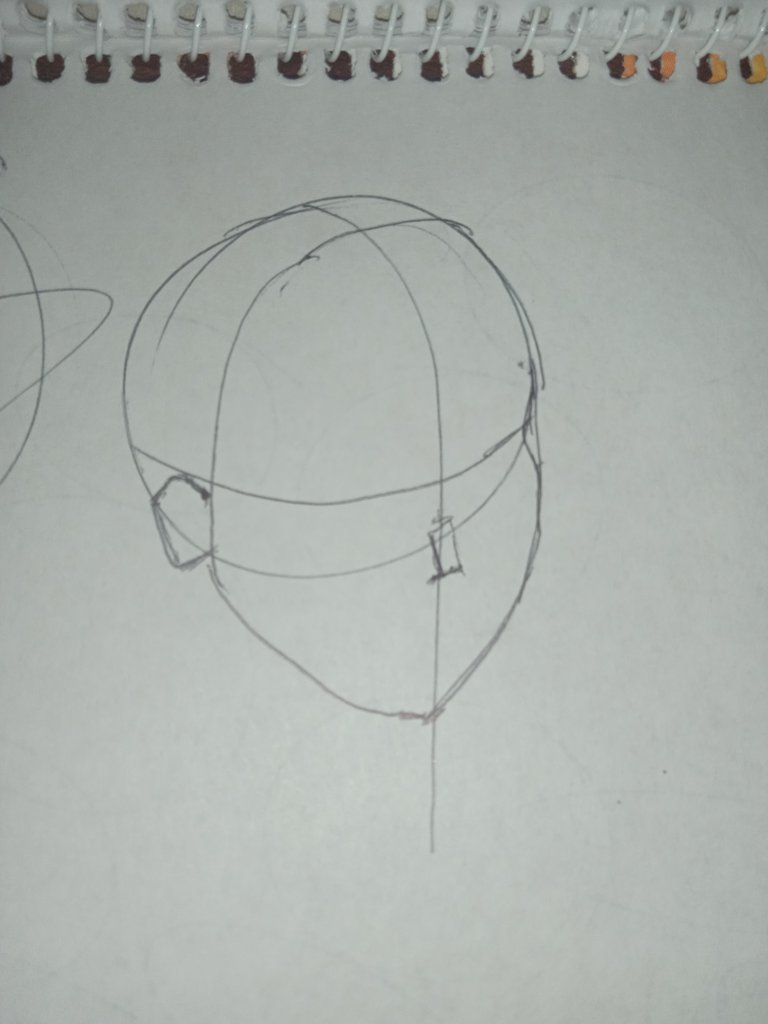
How the artist draws heads is by drawing a circle to represent the skull.
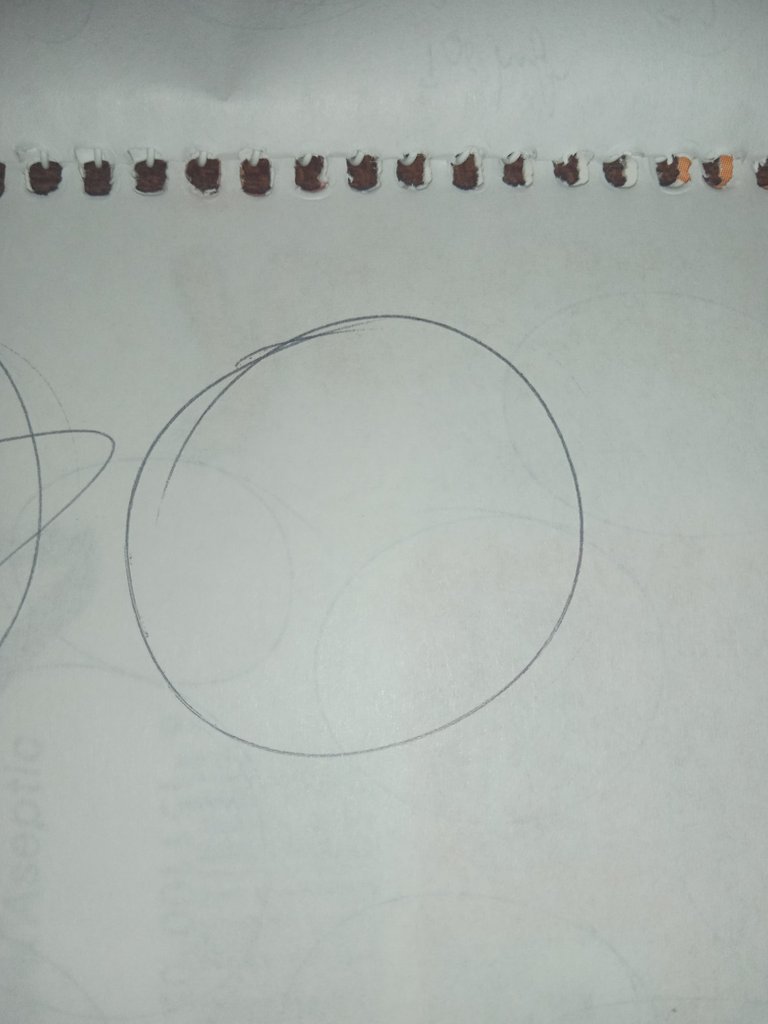
Then guidelines which show the direction the head is looking.
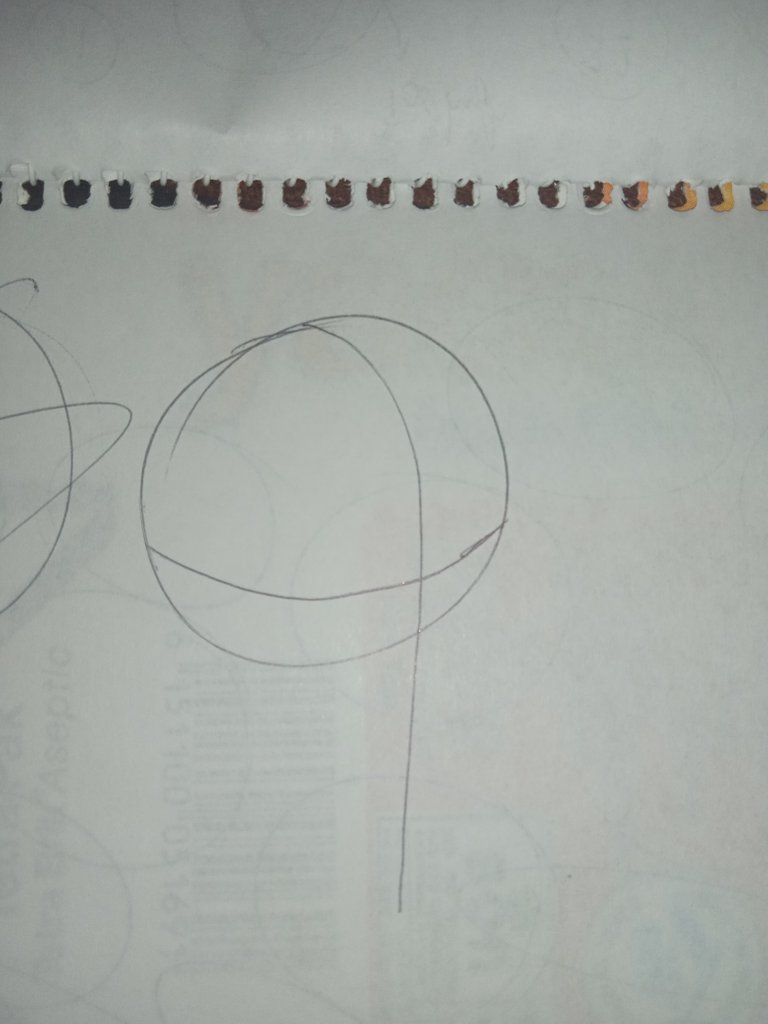
The last step is to draw some sort of mask which represents the face area
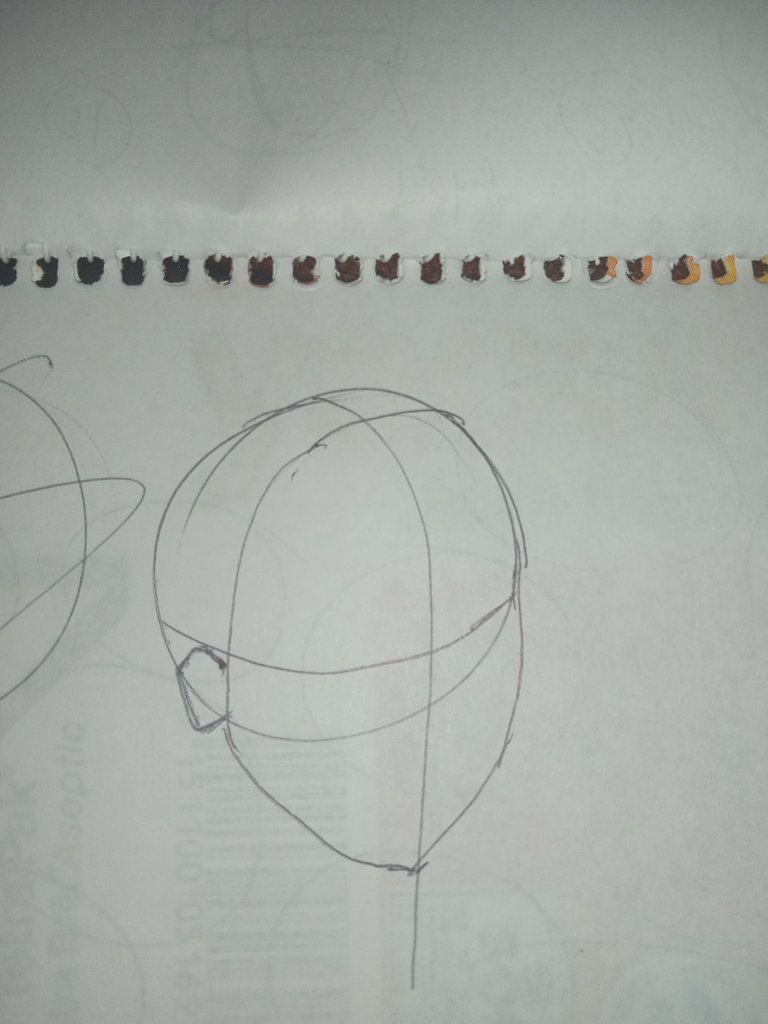
I actually like this approach a lot because it is a lot faster to draw, and neater too. But it is a bit harder for me to make approximations with this method.
Now back to drawing facial identifications.
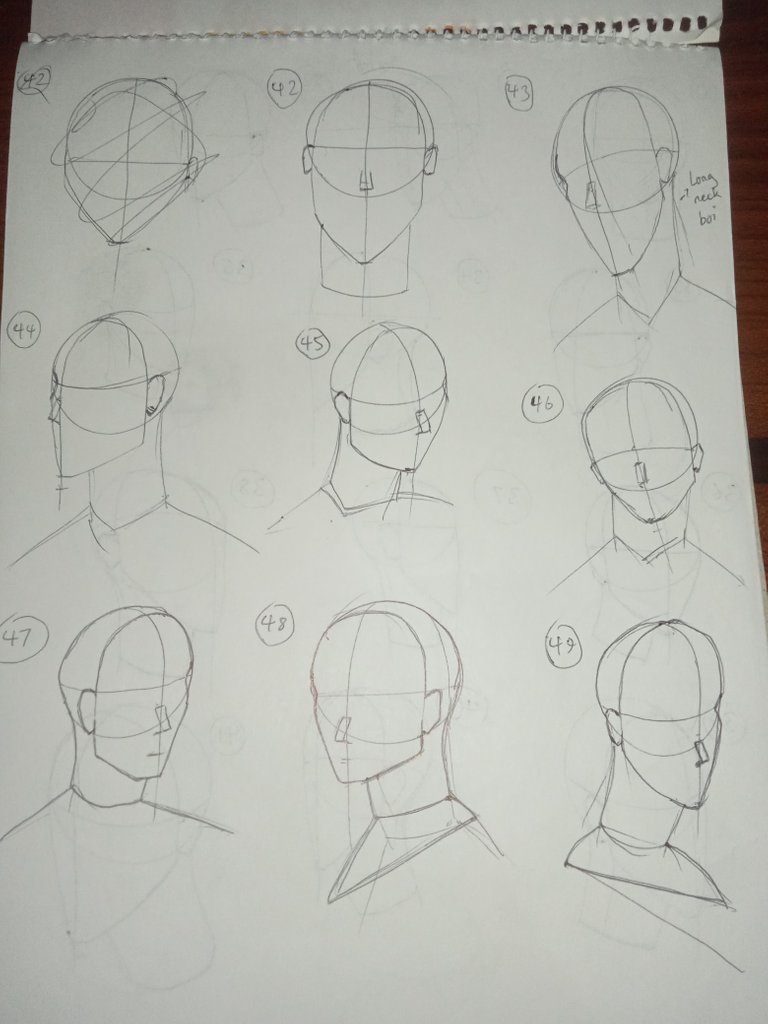
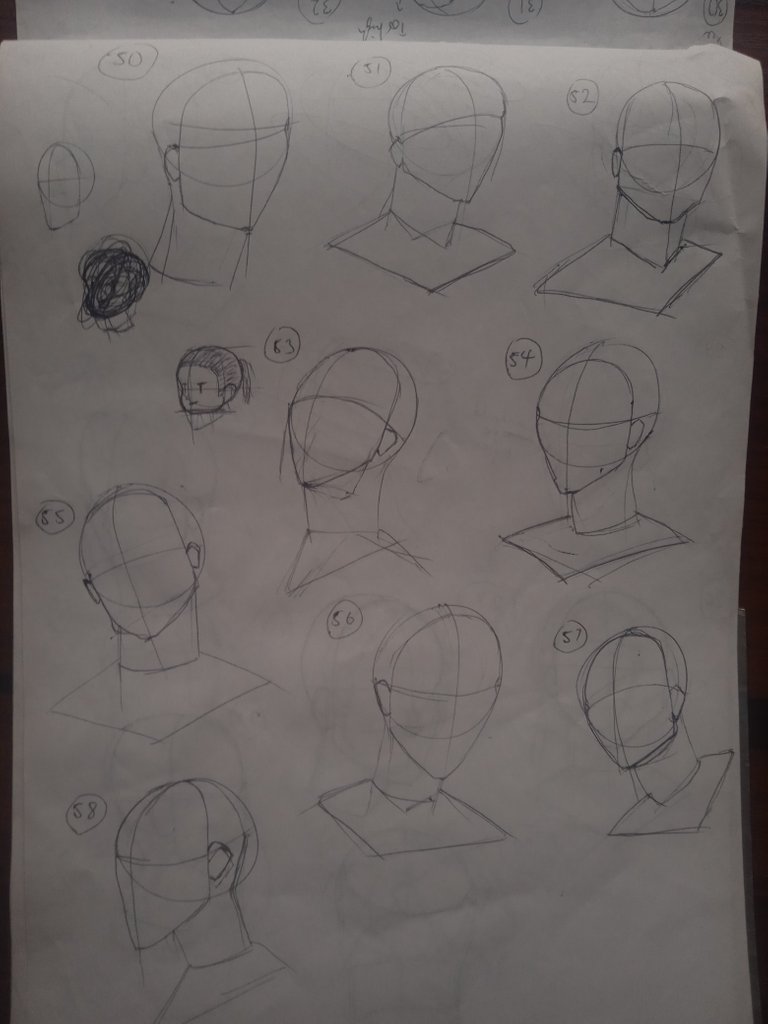
It's now time for the final stage, which is to draw more detailed faces with eyes, lips, noses and hair.
I had to practice drawing the eyes, noses and lips individually to get used to drawing them.
For the eyes, I learnt that they are drawn spherically then the eyelid is drawn around it. So basically, you draw the eyeball first, draw the eyelids, then get rid of the other parts that aren't visible.
This was definitely my favorite part to draw.
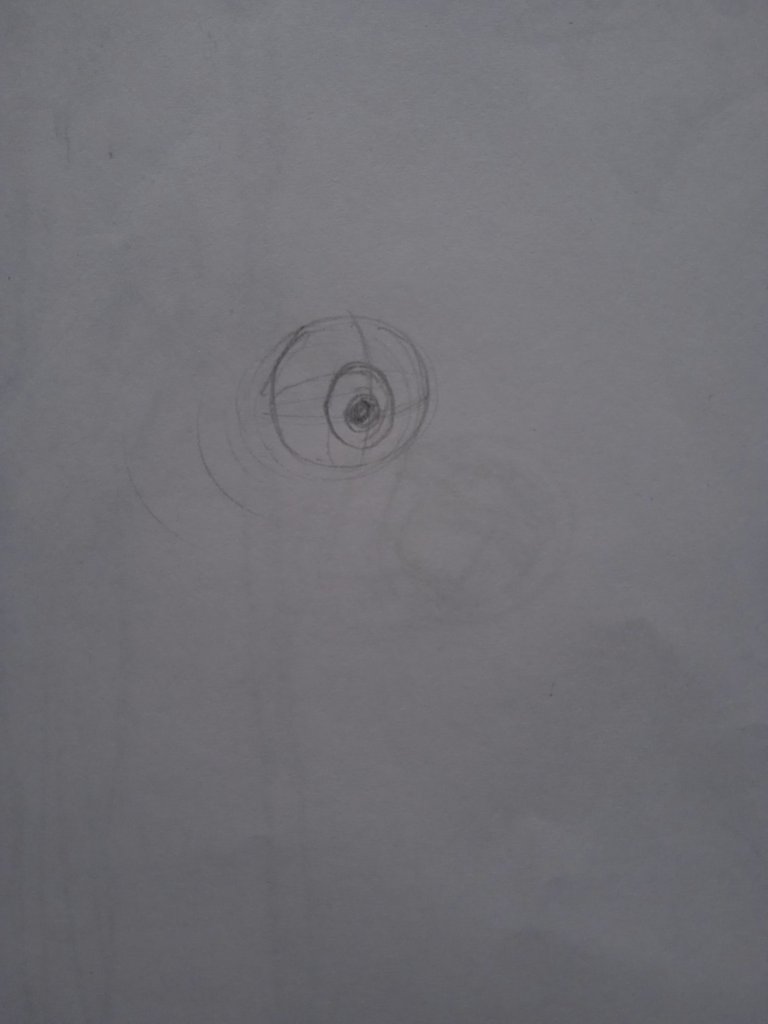
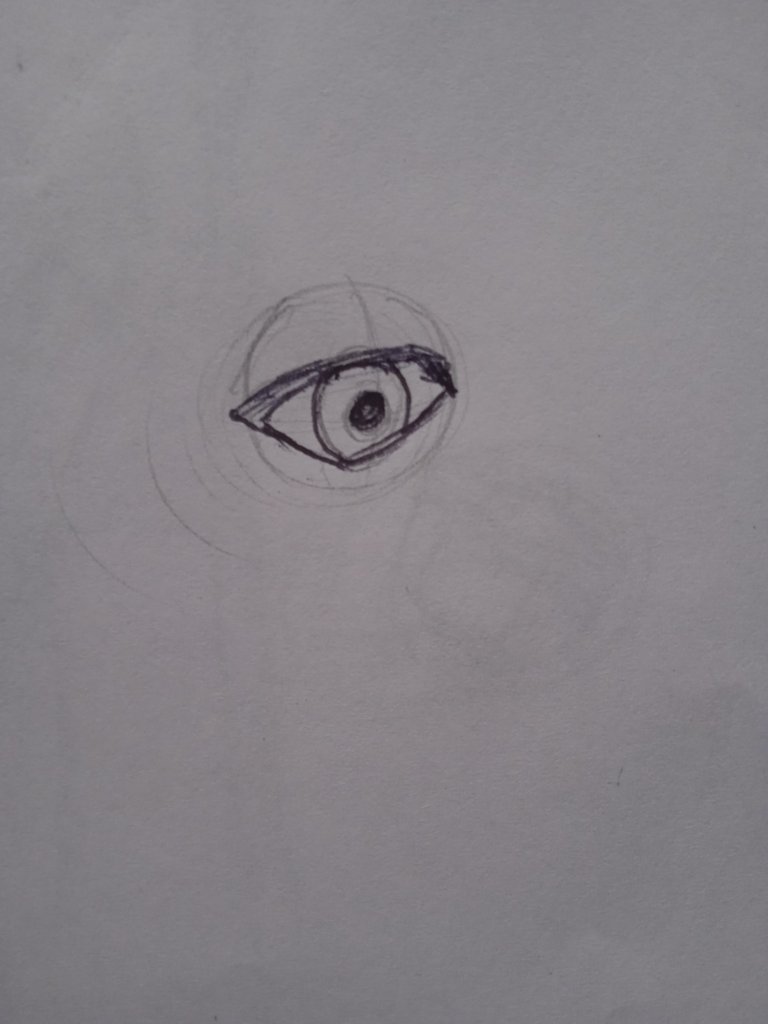
I practiced this in different angles and styles
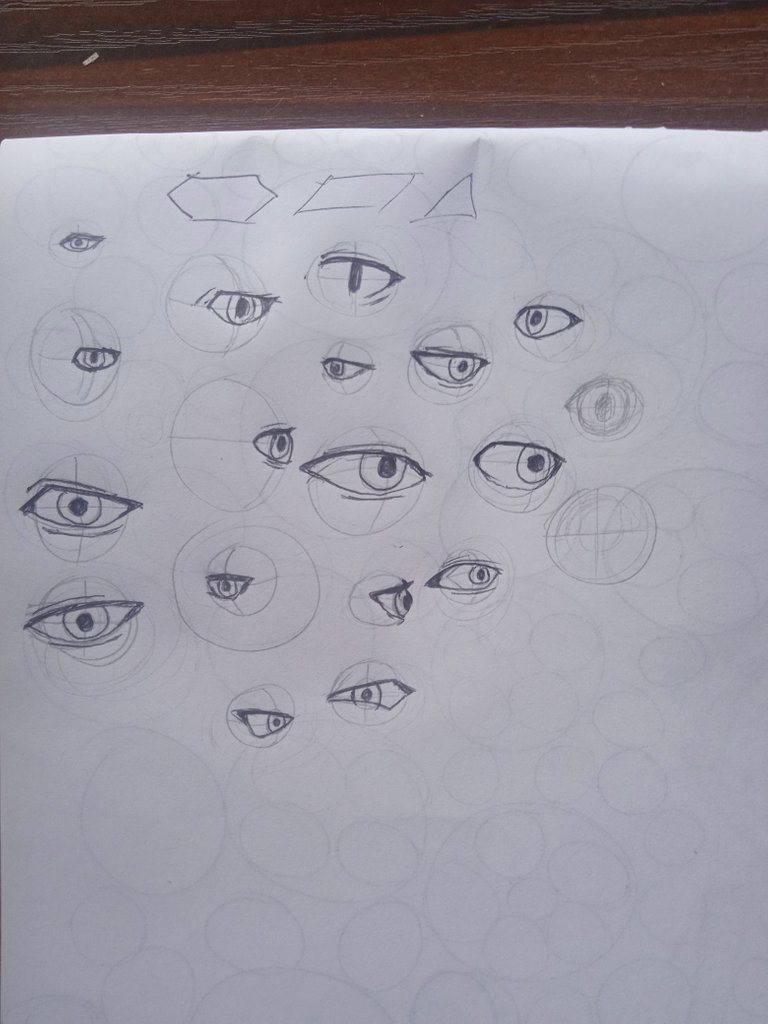
For noses, I wasn't so sure of how to draw it without it looking so weird. What I did was to simplify the nose as a basic shape, then add more details to it.
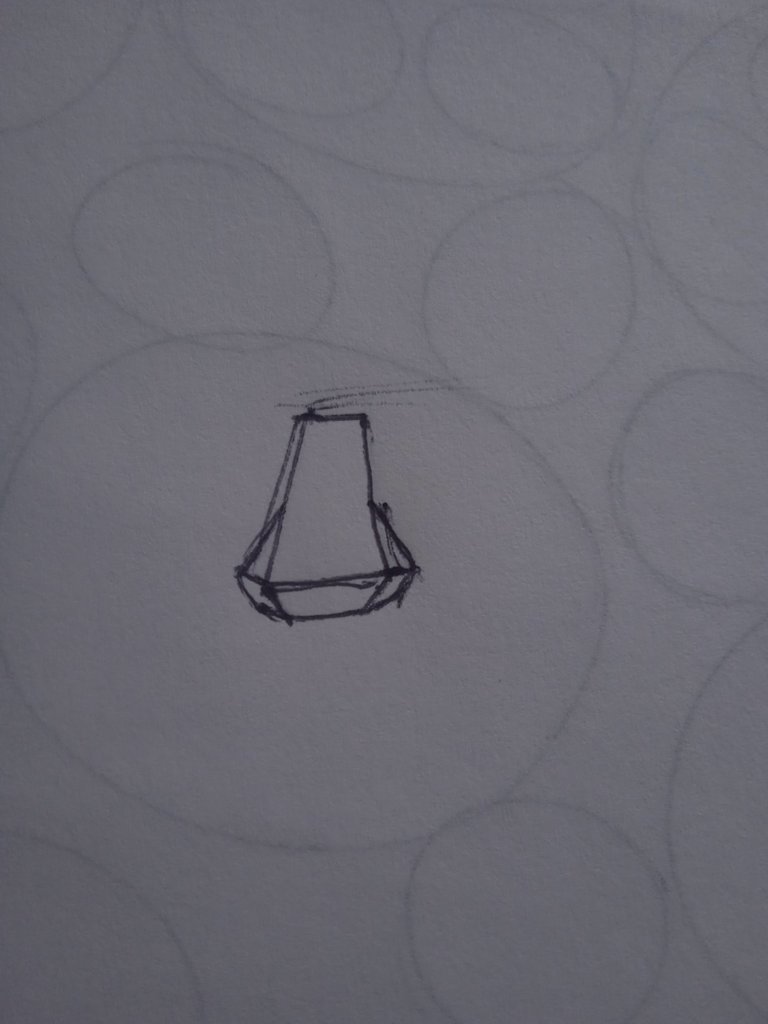
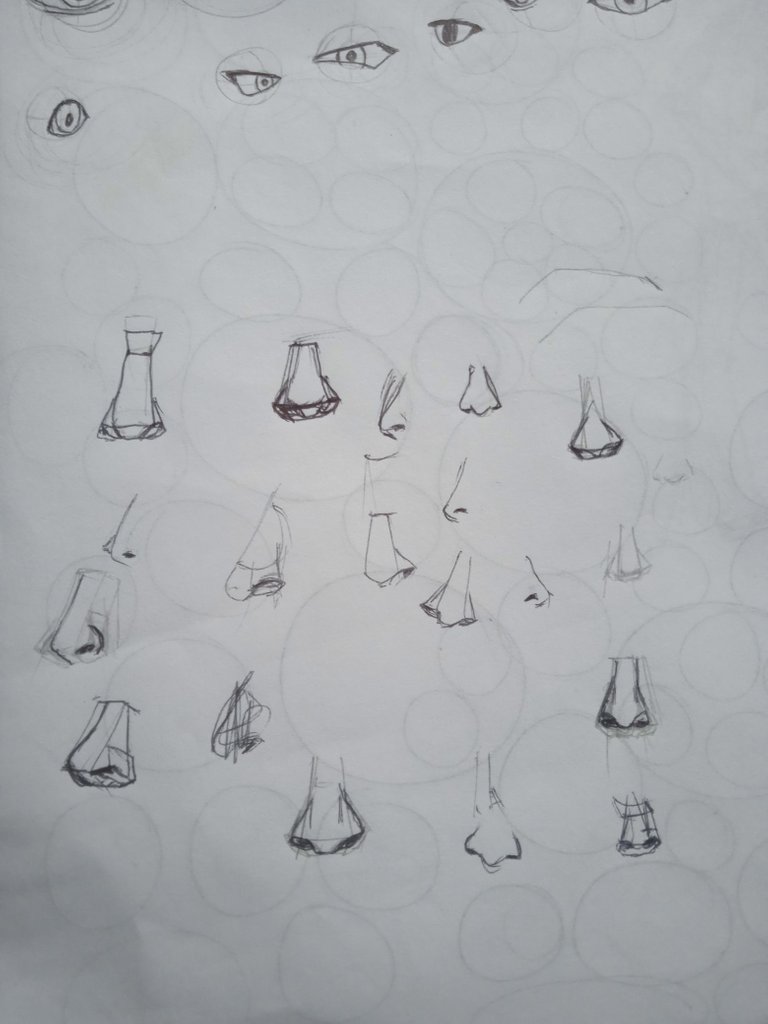
And lips, all I did was to draw a line, draw another line below it to represent the lower lip and a curved line above to represent the upper lip. I definitely didn't know what to do here.
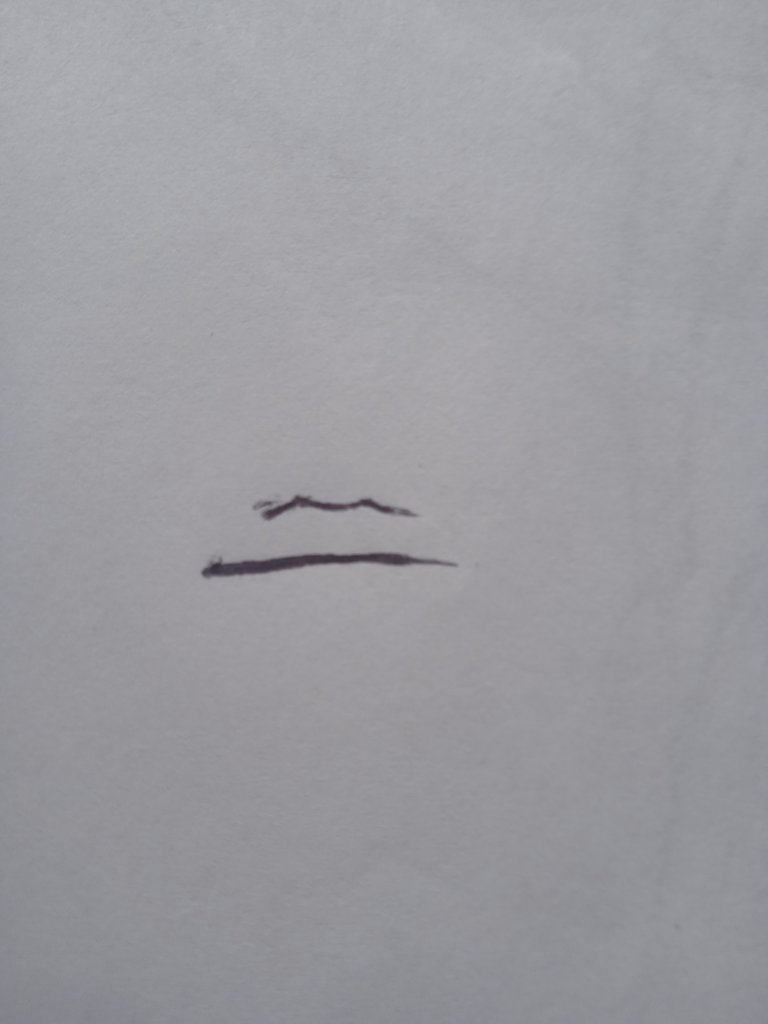
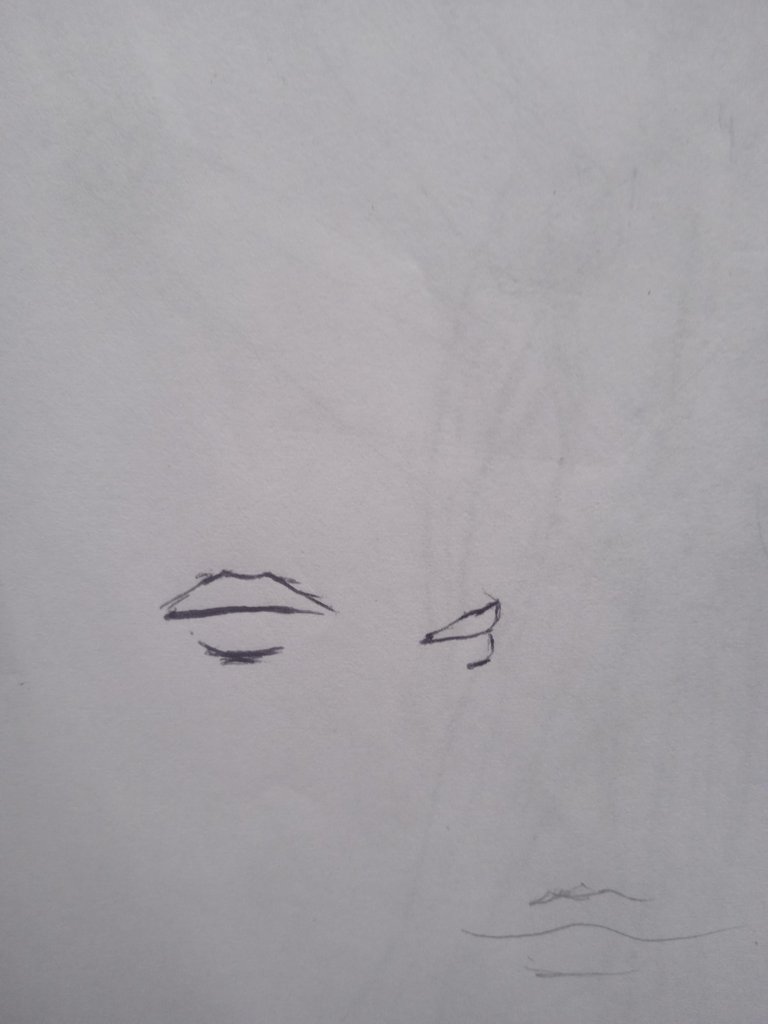
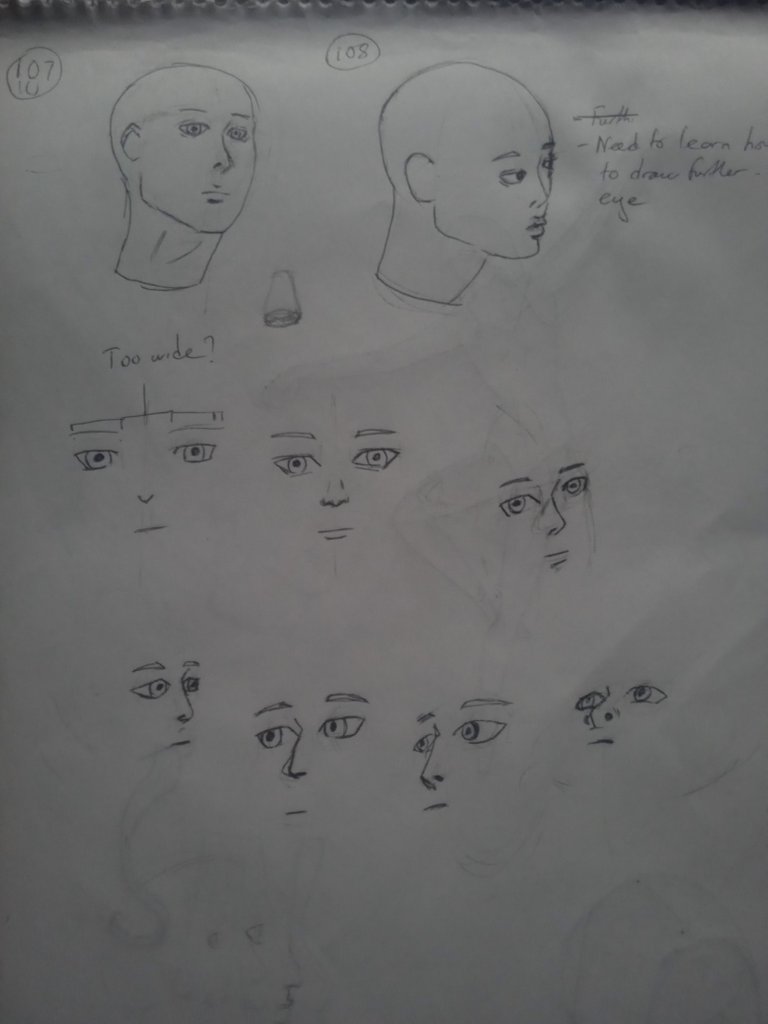
Now to combine all of these things together in a face.
At first, they were all looking cursed.
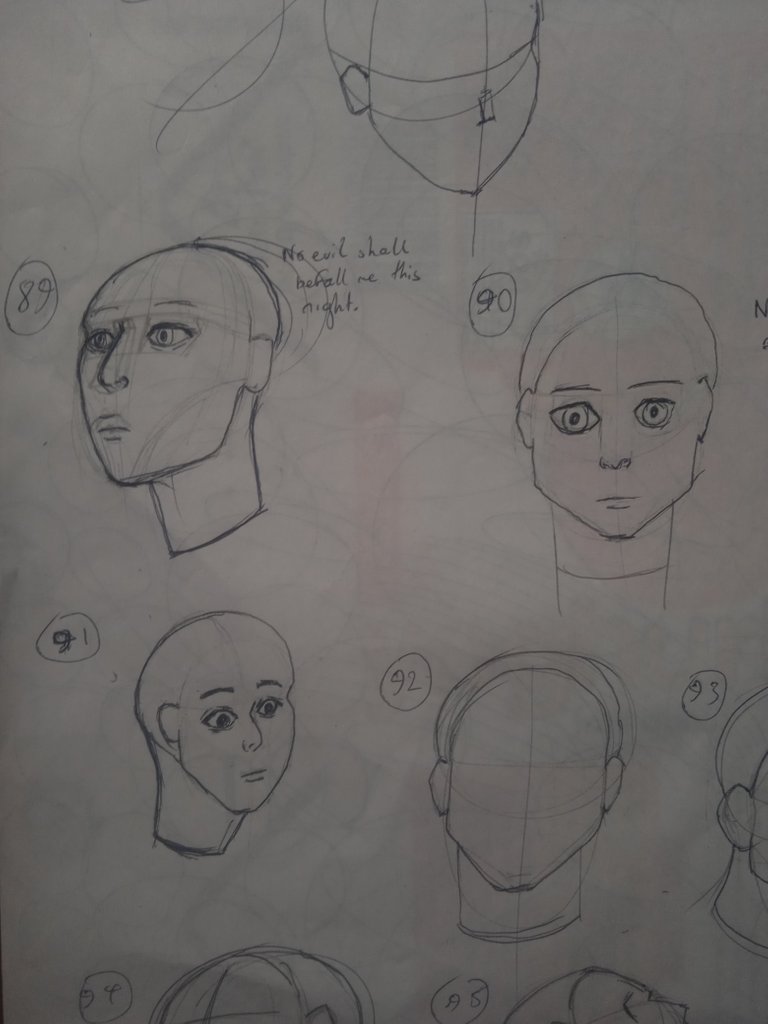
But after a few tries, I think I started to get them right
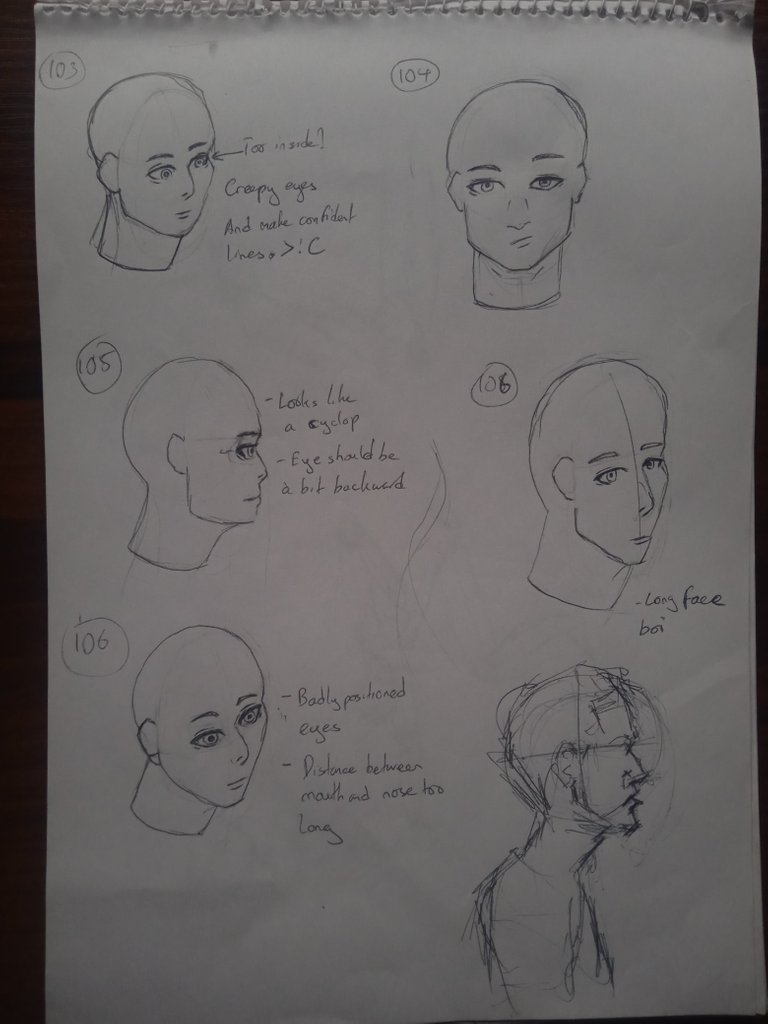
After this set, I spent some time drawing faces only to understand how everything falls in an angle.
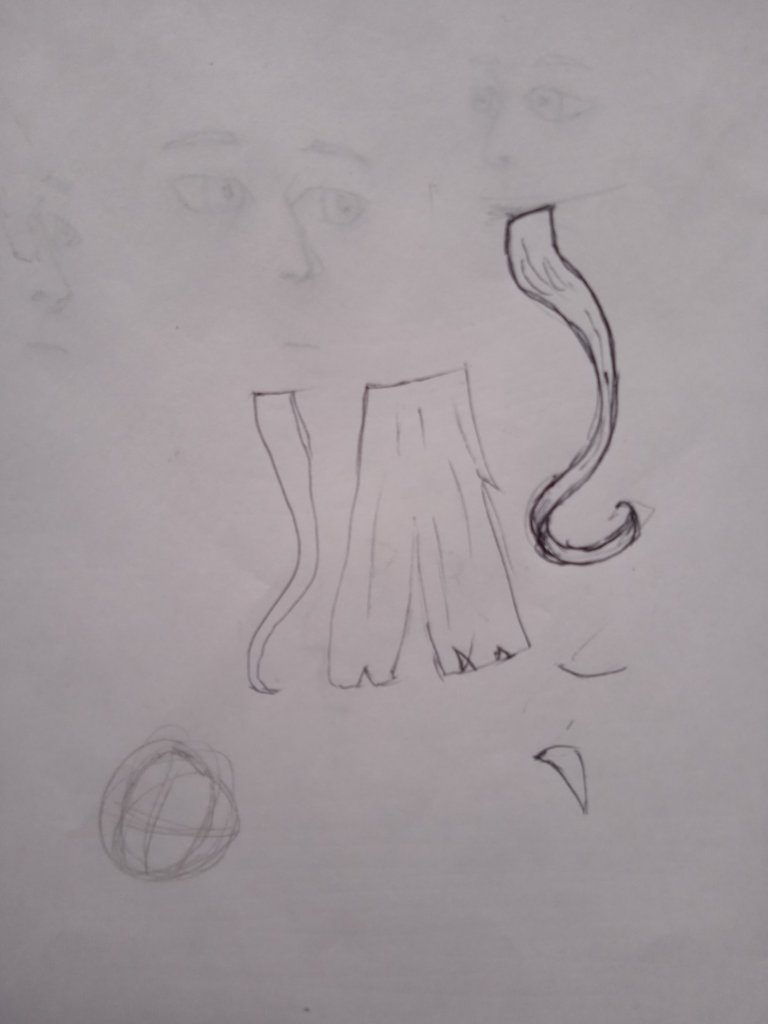
And finally, the hair.
This one wasn't so hard to learn. What I learned was that hair is actually quite chaotic to get very accurately. So the things to mainly keep in mind are the points where hair flows from and the curliness of the hair. The hair can also be drawn as ribbons. More ribbons are used for realistic looking hair, and less are used for cartoony looking hair.
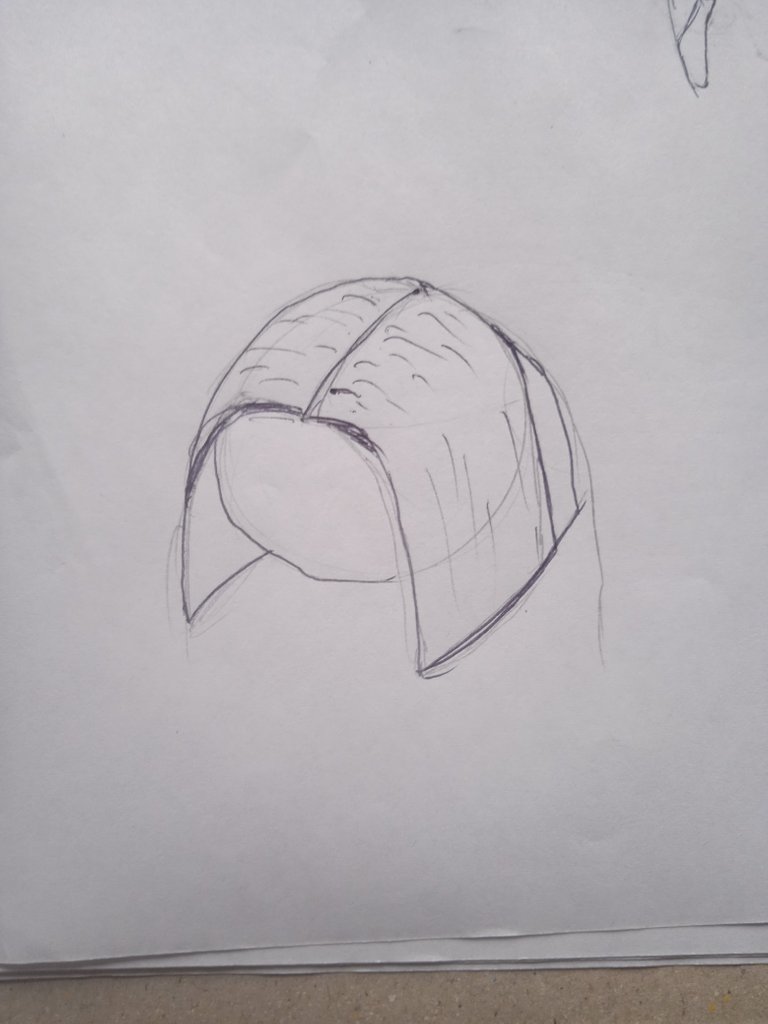
Now, it's time to combine everything together. It was time to see how far I could go after days of training. And these are the results:
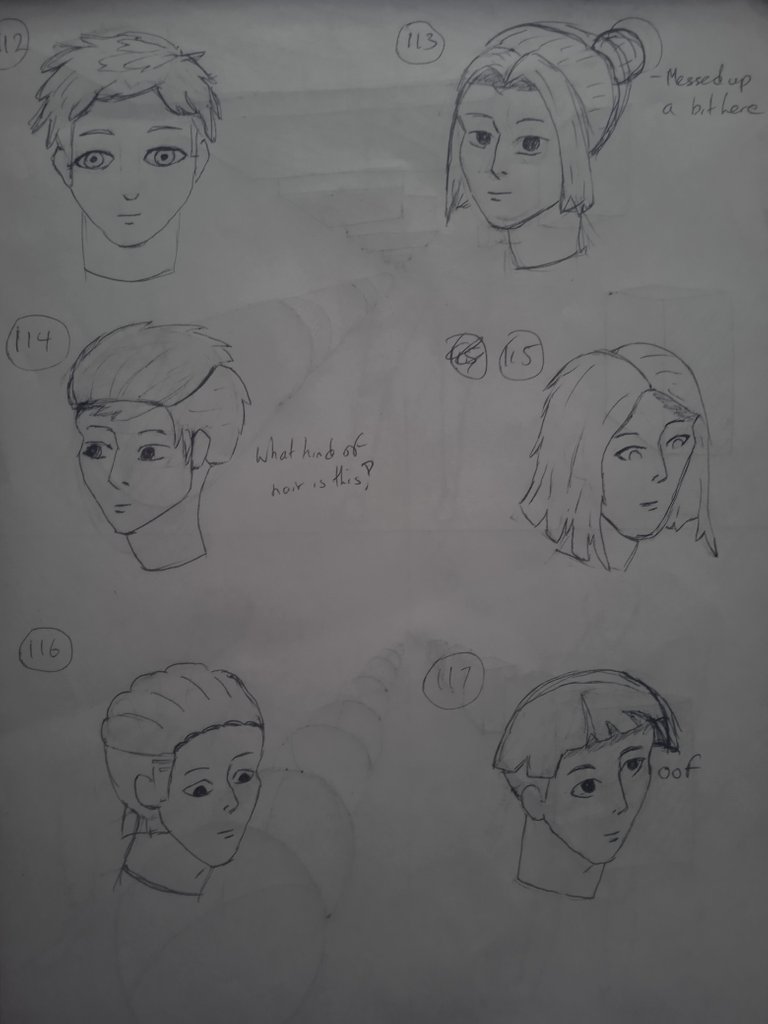
Well, the final results weren't perfect. I drew all of them from imagination so they may seem a bit off.
Now, I'm sure I have enough skill to so some pretty basic facial drawings that look decent. With enough time and practice, I'll definitely be able to get better at this and probably share some work too.


