Recently I subscribed to Capcut Pro after exhausting my one-year free period and I must say it didn't feel the same again using Capcut without its Pro features. I have gotten used to some of the features that the Pro offers to the extent that I had no other choice than to subscribe to Capcut Pro.
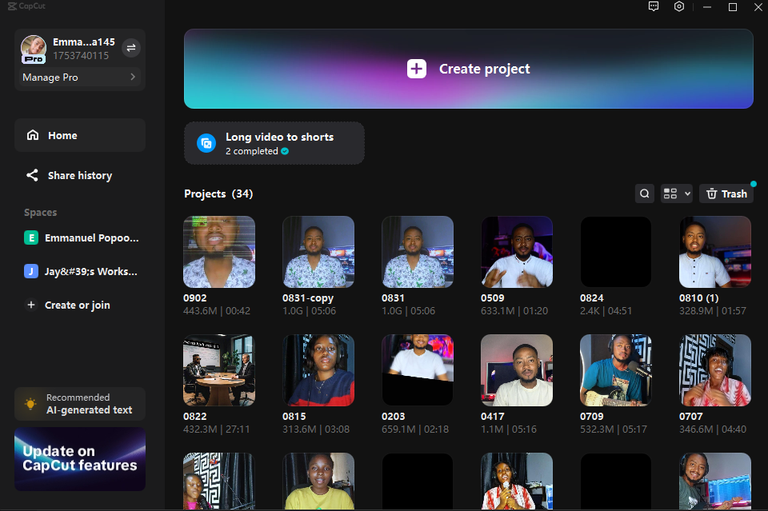
If you are new to using capcut on your PC, then you may receive the one year free of Pro Features before it is removed just like I did and since then, I have edited numerous videos, and most of them are light editing. When I say light editing, that means it only involves making some cuts, and transitions and nothing complex.
The video I uploaded yesterday, I will be going through some of the features that I used in editing the video. You can check out the video below:
Before I begin my major editing, I always make sure I have my video is ready alongside my script. In my script, I make sure to take note of areas where I will place B rolls as they make videos very engaging.
After importing my video on Capcut, the first thing I do is to make cuts. The major cuts I do are for errors, and areas where I want to put my B rolls, or instead I just mark them.

As you can see, I made a lot of cuts in this video because there were a lot of mistakes I made while shooting the original video. On the normal Capcut (the one without pro), you definitely have the cut feature in it.
Where the pro feature comes helpful is when I am editing the voice and also my video image quality. My Phone Camera is bad and without the pro features, I don't think the quality of this video would be anywhere near good.
| Image Quality | Voice Quality |
|---|---|
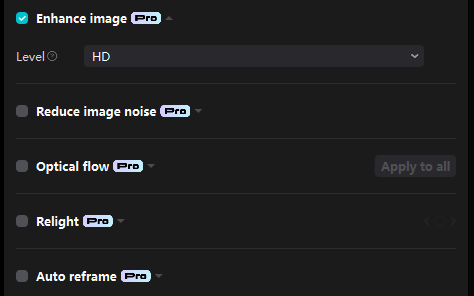 |  |
For the video image quality, I also did some color grading using the Adjustment Filter Options, to let my video look better.
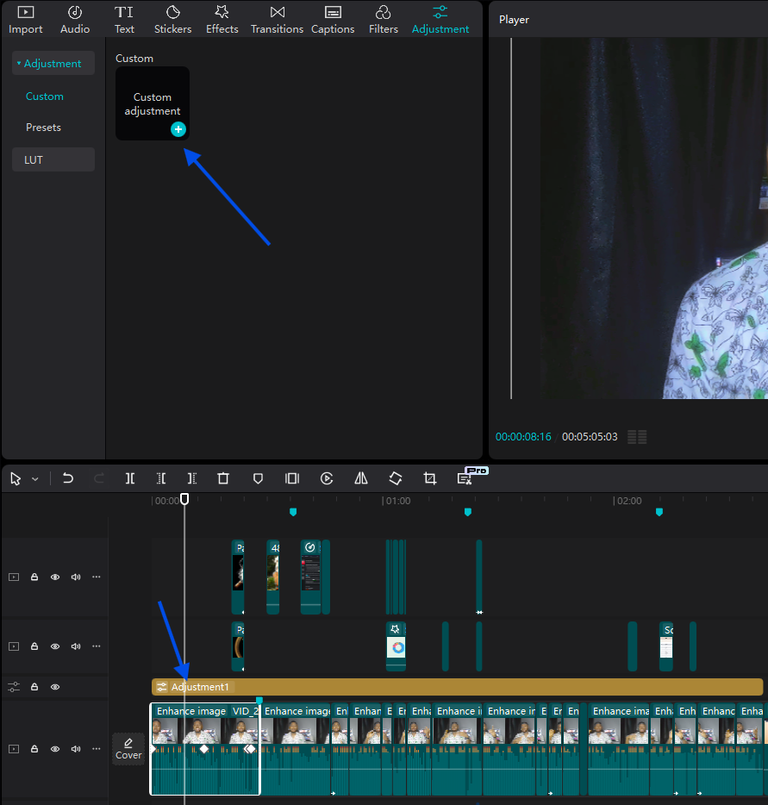
In the image above, I layered the adjustment filter above the video, then I applied the color grading to the adjustment filter. Below are some of the settings I applied to the filter in order to color grade the video.
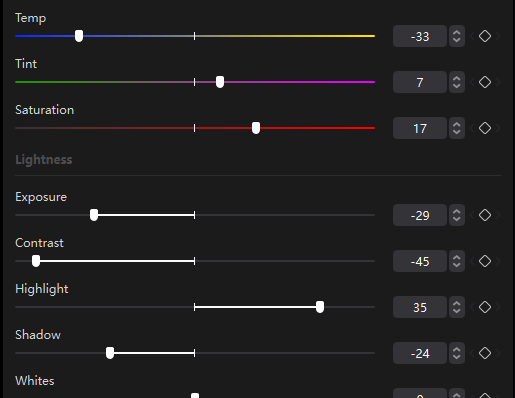
Here is the difference in image quality after applying all these setting:
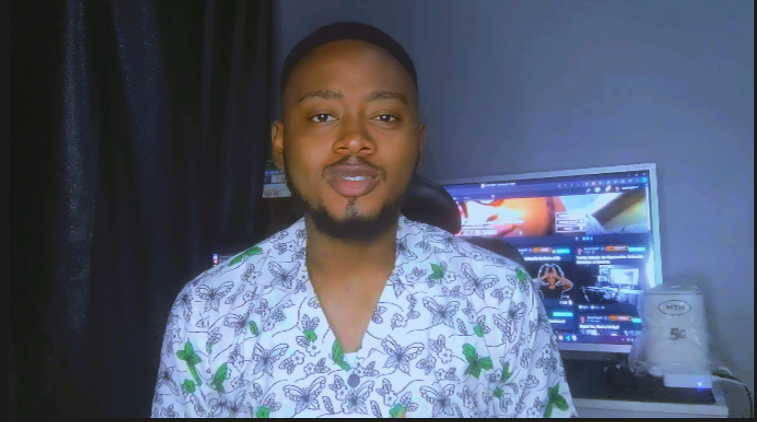 |  |
|---|---|
| With enhanced image quality and color grading | Video without added settings. |
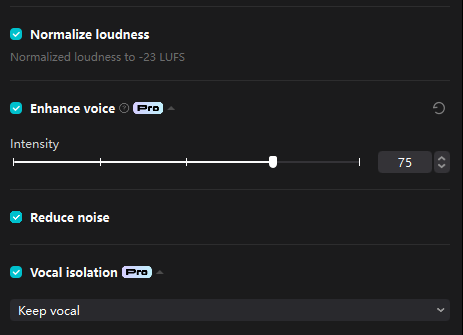
I wish I can show you the difference in voice quality, you would probably shout wow. This is because I shot this video without a microphone and sound card, and at that moment, rain was falling. There was noise all over the video, but with the Noise Remover, Voice Enhancer, and Normalize Loudness, I was able to bring up the quality of the video.
These are the reason why paying for the Pro features on Capcut is totally worth it. I have been able to adjust these errors easily.
I was able to convert the video above to shorts, as you see in the video below:
But for that, I did not use the long form to short option on the Capcut Pro because the AI did not take the key information I needed on the video. So what I had to do was export my long-form video and re-edit it, cutting out the less relevant part and bring the first 1 minute 30 seconds of the video down to 42 seconds.
So what do you think? What video editor are you using and you think I should try out?
Posted Using InLeo Alpha